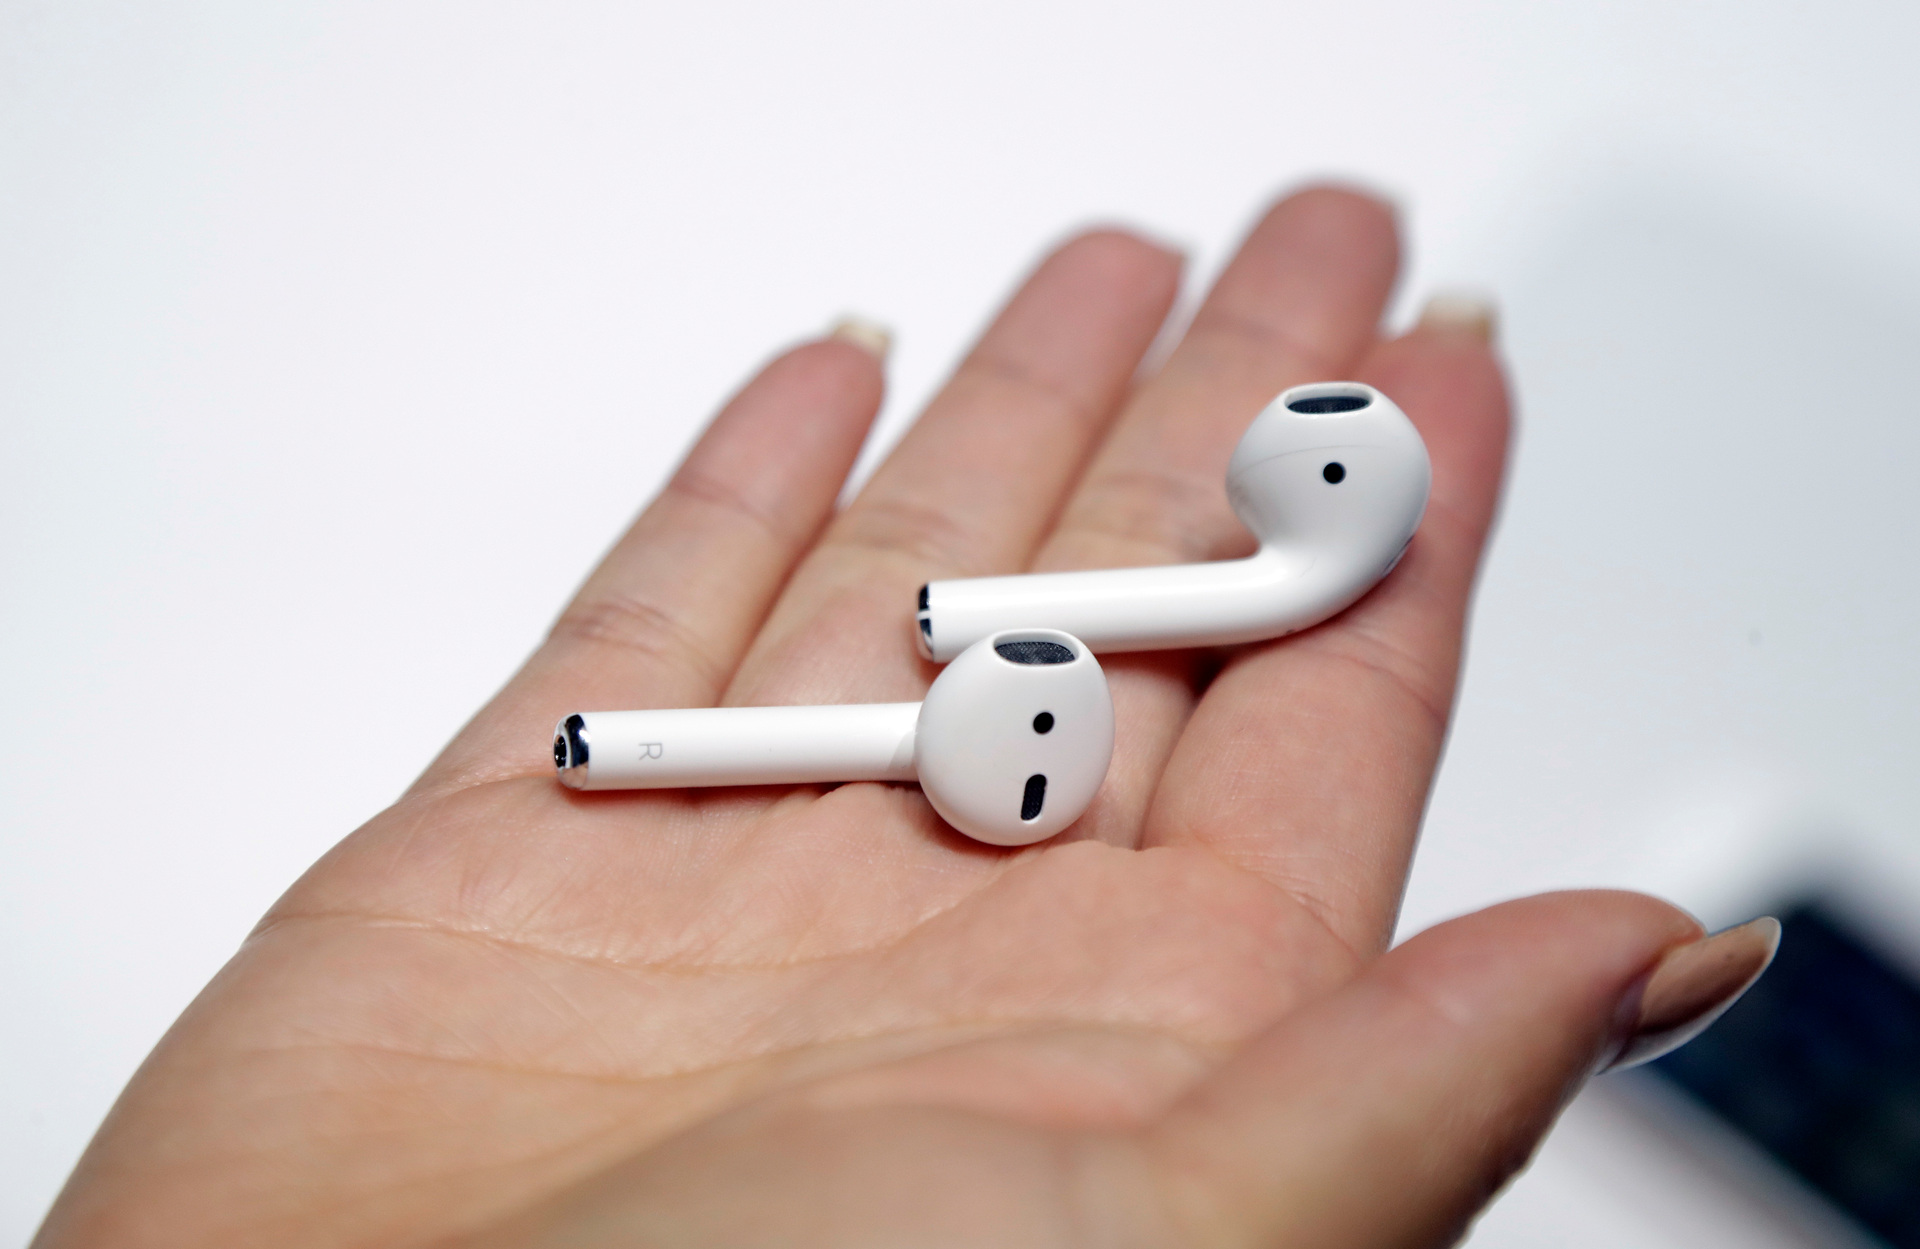
AirPods Live Listen is the official Apple accessibility feature that turns your iPhone or iPad into a remote microphone, streaming sound directly to your connected AirPods or Beats headphones. It’s the closest thing to “eavesdropping” you can do with Apple hardware, but it’s designed to help you hear conversations in noisy environments or from a distance, not to secretly record anyone. To use it, you need AirPods (3rd generation), AirPods Pro (1st or 2nd generation), or AirPods Max, and your iPhone or iPad must be running iOS or iPadOS 14.3 or later.
What is the AirPods Live Listen feature?
Live Listen is a built-in accessibility tool that uses the microphone on your iPhone or iPad to pick up sound and stream it to your AirPods in real time. It’s not a hidden spy mode or a third-party hack, it’s a standard feature Apple includes to help people with hearing difficulties follow conversations in loud rooms, lectures, or across a room. You can think of it as a personal hearing aid for your AirPods, but it works with any compatible model listed above. The feature is especially useful when you want to hear a single voice in a crowd, or when the person speaking is across a table and you’re struggling to catch every word.
How to add the Hearing control to Control Center
Before you can start a Live Listen session, you need to add the Hearing control to your Control Center. This is a one-time setup that takes about ten seconds. Here’s how:
- Open the Settings app on your iPhone or iPad.
- Tap “Control Center” (it’s in the list of settings).
- Scroll down to “More Controls” and find “Hearing.”
- Tap the green plus sign (+) next to “Hearing” to add it to your Control Center.
Once you’ve added it, the Hearing icon (an ear) will appear in your Control Center. You can reorder it by dragging the three-line handle if you want it easier to reach, but that’s optional. This step is essential because without the Hearing control, you won’t be able to activate Live Listen at all.
How to start a Live Listen session
With the Hearing control in place, you’re ready to start listening. Make sure your AirPods are in your ears and connected to your iPhone or iPad, this is critical, because Live Listen only works with your AirPods paired. Then follow these steps:
- Open Control Center on your iPhone or iPad. On a Face ID model, swipe down from the top-right corner. On a Home button model, swipe up from the bottom edge.
- Tap the Hearing icon (the ear). A menu will appear.
- Tap “Live Listen” to turn it on. The icon will highlight, and your iPhone or iPad’s microphone will start picking up sound.
Once Live Listen is active, you’ll hear the audio from your device’s surroundings directly in your AirPods. To stop the session, just go back to Control Center, tap the Hearing icon, and tap “Live Listen” again to turn it off. You can also double-tap the side of your AirPods (on AirPods Pro) or use the Digital Crown on AirPods Max to toggle it, but the Control Center method is the most reliable.
How to position your device and adjust the volume
The quality of what you hear depends heavily on where you place your iPhone or iPad. Live Listen turns the device into a remote microphone, so you need to position it near the sound source you want to hear. For example, if you’re at a café and want to hear a conversation across the table, place your iPhone on the table pointing toward the speakers. If you’re in a lecture hall, set it on the desk in front of you, or even in your shirt pocket if you’re close enough. The microphone is sensitive, but it’s not a long-range parabolic mic, it works best within a few feet. You can also use your iPad if it’s closer to the action, but the same positioning rules apply.
Volume control is straightforward: use the physical volume buttons on your iPhone or iPad while Live Listen is active. There’s no separate in-app slider, just press the volume up or down buttons on the side of your device. Start with a low volume and gradually increase it until you can hear clearly without feedback or distortion. If you’re using AirPods Pro, you can also squeeze the stem to switch between noise cancellation and transparency mode, but that doesn’t affect Live Listen’s volume, it only changes how much ambient sound your AirPods let in. For best results, keep your device stable and avoid covering the microphone with your hand or case.
Using Live Listen responsibly
Live Listen is an accessibility feature, not a surveillance tool. It’s meant to help you hear in situations where you’re a participant, like a noisy restaurant or a quiet conversation with a friend, not to secretly record others. Using it to eavesdrop on private conversations where people have a reasonable expectation of privacy is both unethical and, in many places, illegal. Always get consent if you’re in a private setting, and never use it to record or share sensitive information. If you’re in a public place where there’s no expectation of privacy, it’s generally acceptable, but that’s a legal gray area depending on where you live. The responsible approach is to use Live Listen only for its intended purpose: to help you hear better. If you’re struggling with your AirPods connecting to other devices, you might also want to stop AirPods from connecting to other phones to avoid interruptions. And if you’re on Android and want similar functionality, you’ll need to turn on noise cancelling on AirPods on Android separately, Live Listen is iOS-only. Respect others’ privacy, and use this feature to enhance your hearing, not to invade anyone’s space.
\nRelated reading: How To Turn Off Announcements On Airpods.