Introduction
Welcome to our guide on how to use AirPods as hearing aids! With the rise in popularity of Apple’s AirPods, many people are discovering new and innovative ways to utilize these wireless earbuds beyond just listening to music or making calls. One such use is using AirPods as hearing aids, providing assistance to those with hearing difficulties.
AirPods, with their sleek design and advanced technology, have proven to be an effective alternative to traditional hearing aids for some individuals. Not only do they offer high-quality sound, but they also come equipped with features that can enhance audio clarity and provide a personalized listening experience.
In this guide, we will explore how you can easily transform your AirPods into a practical solution for hearing impairment. We will walk you through the step-by-step process of pairing your AirPods with your iPhone, adjusting the audio settings, and activating the Live Listen feature, which acts as a real-time audio amplifier. We will also touch on how to customize your AirPods to suit your specific hearing needs.
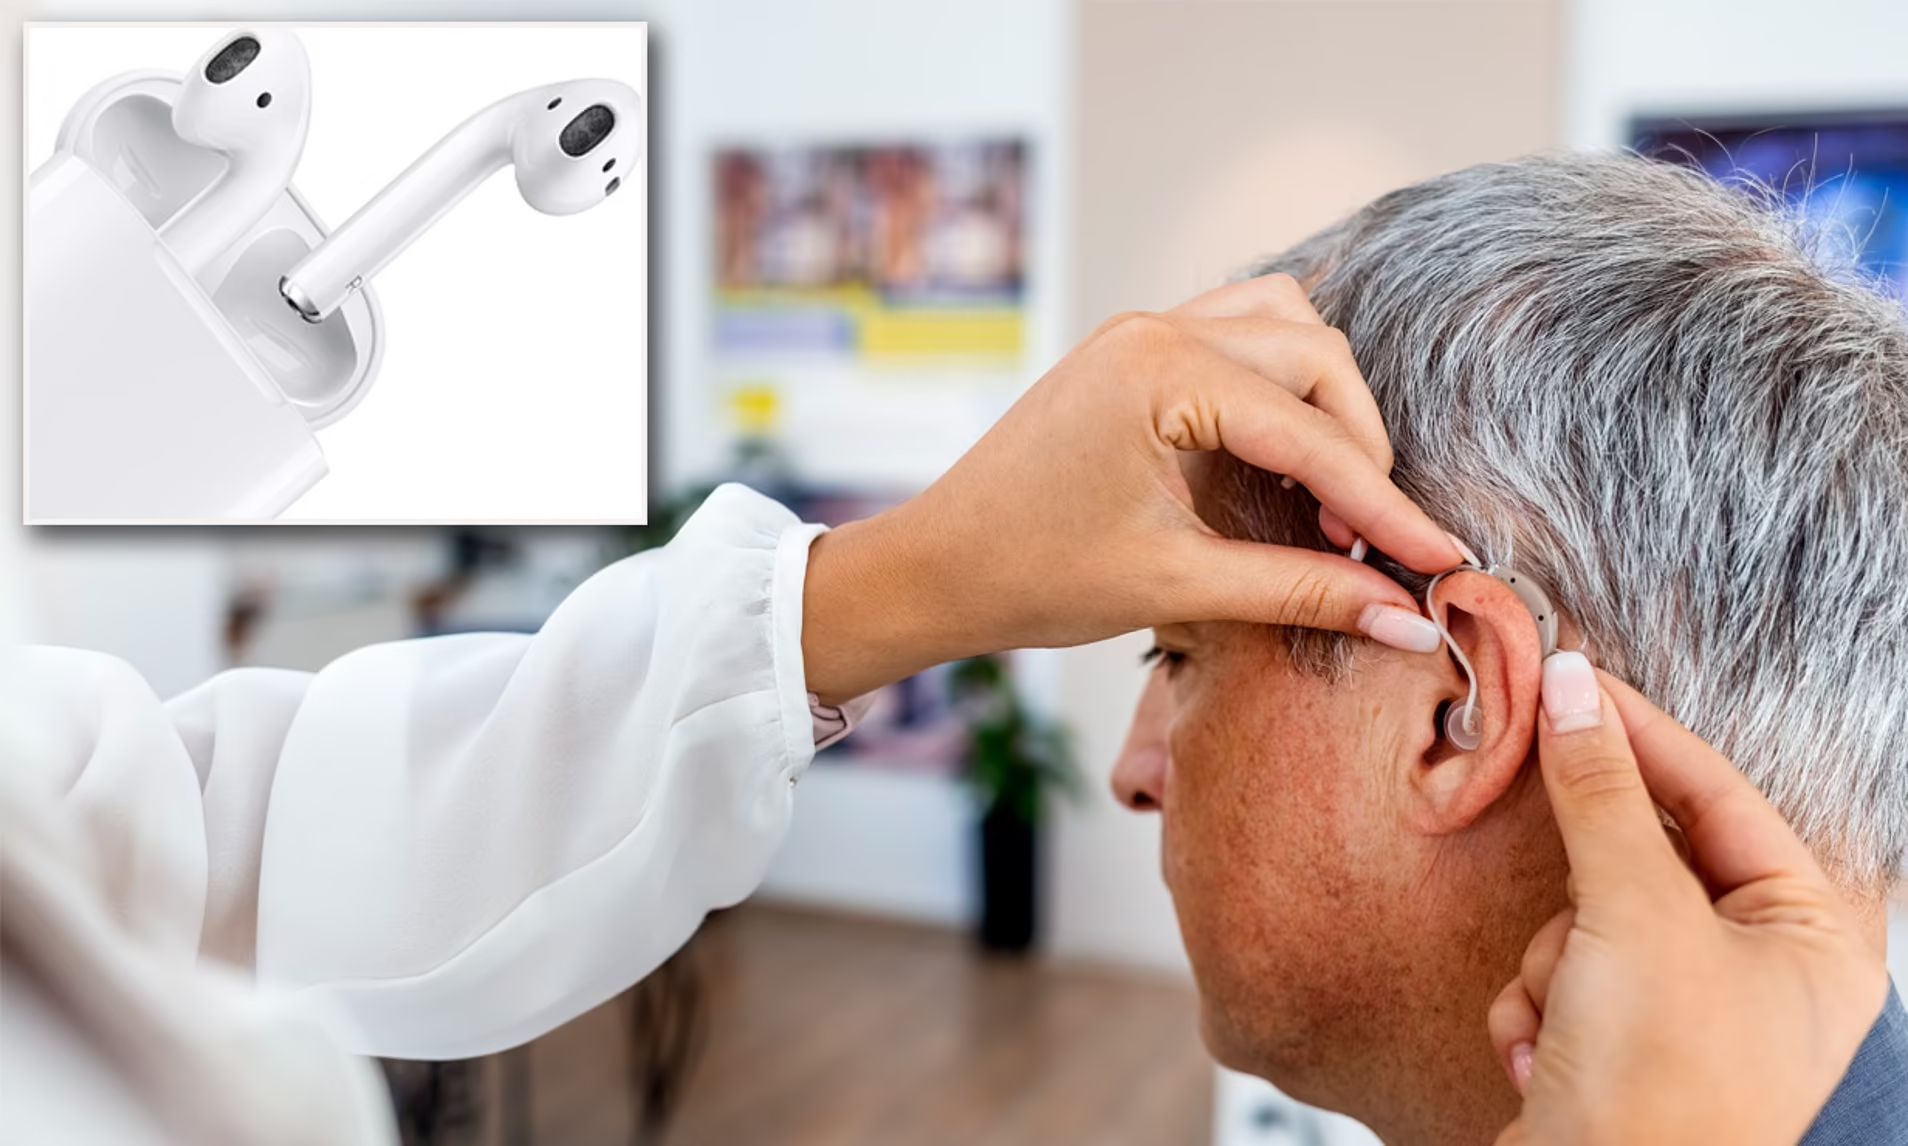
Before we dive into the details, it’s important to note that while AirPods can provide assistance for mild to moderate hearing loss, they are not a substitute for professional medical advice. If you suspect significant hearing loss or have any concerns about your hearing health, we strongly recommend consulting with an audiologist or hearing healthcare professional.
Now, let’s explore the incredible potential of using AirPods as hearing aids and learn how to make the most out of this technology to improve your listening experience!
Understanding AirPods
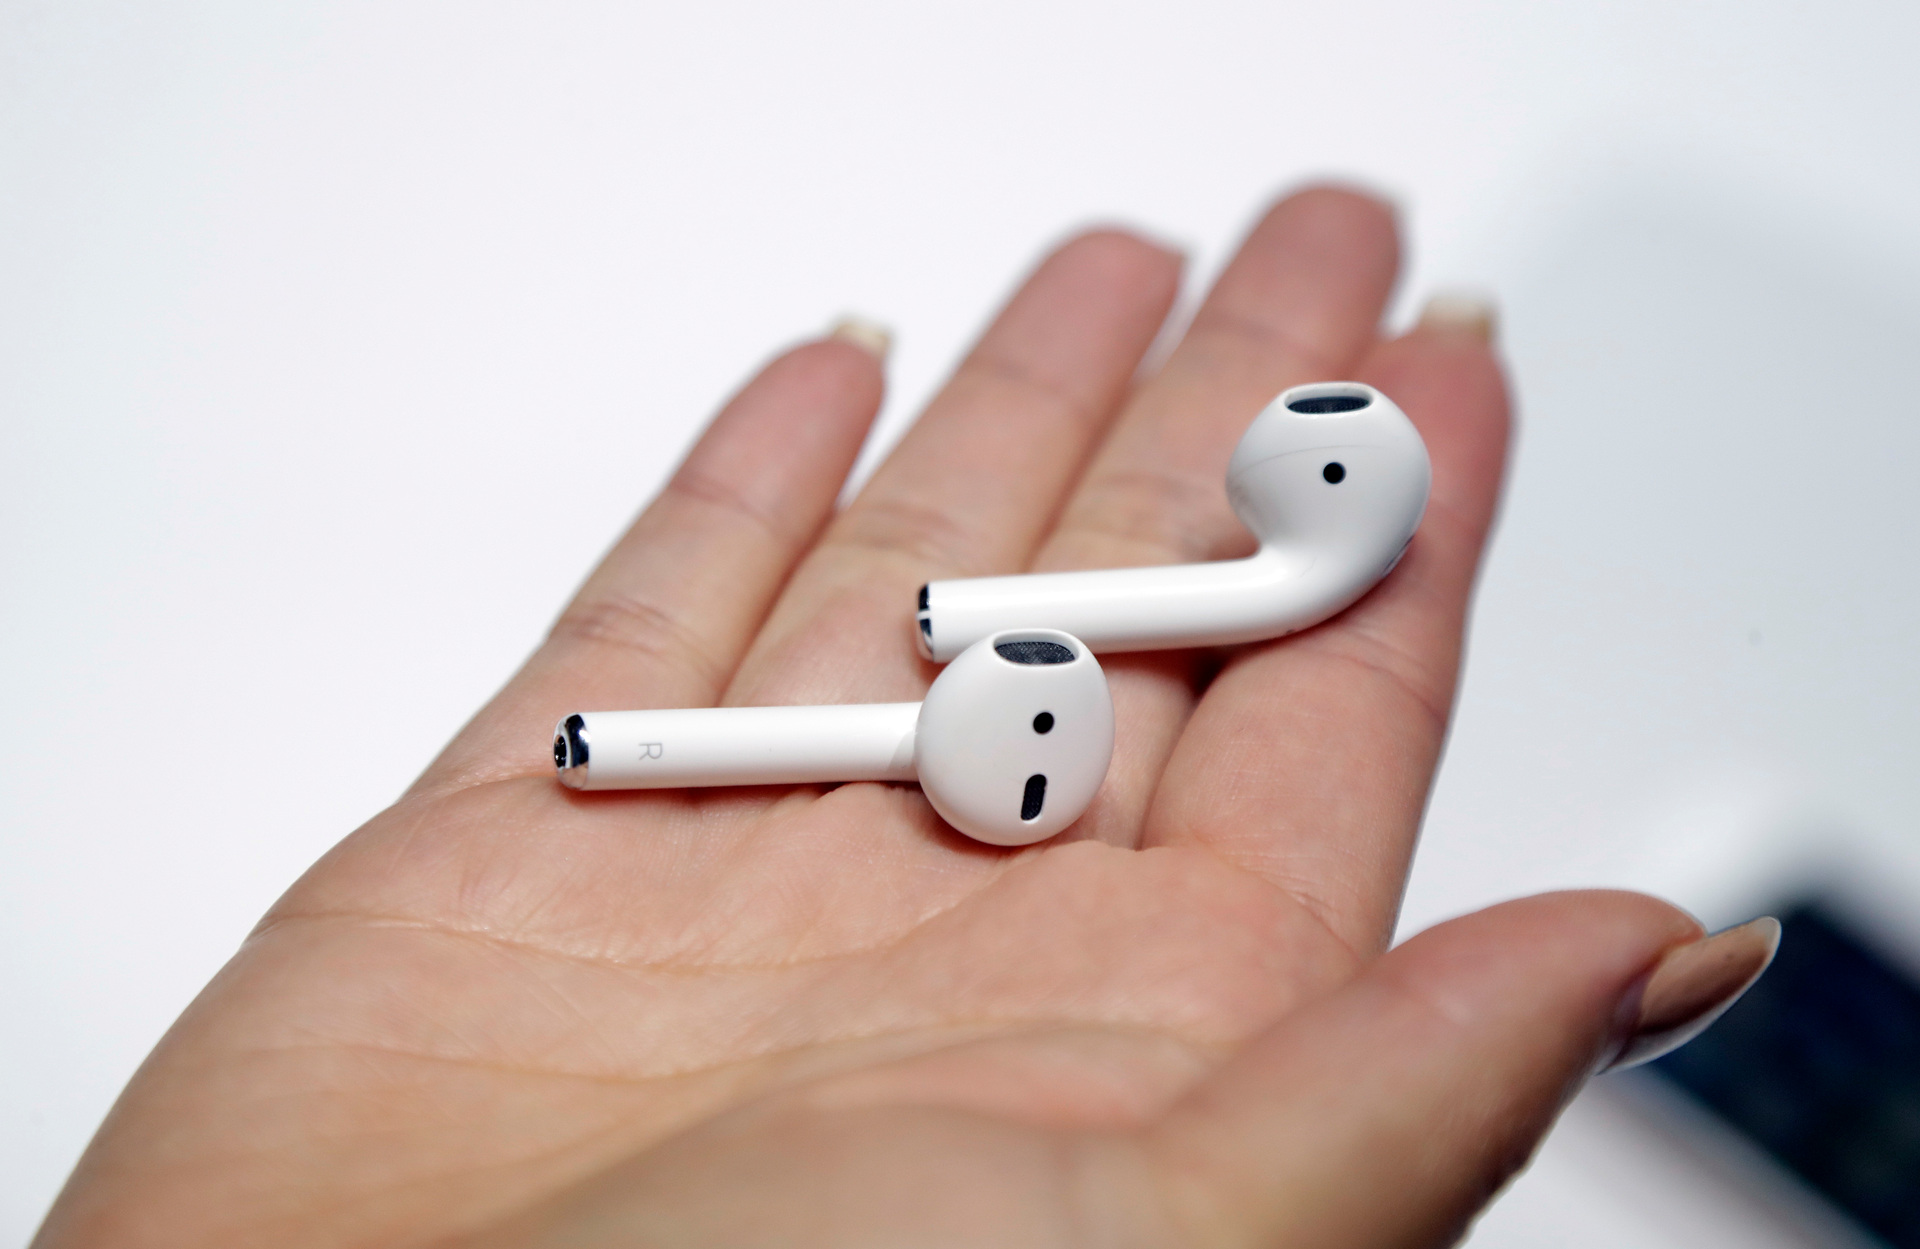
AirPods are wireless earbuds developed by Apple that have gained immense popularity since their release. They are designed to seamlessly connect to your compatible Apple devices, such as an iPhone or iPad, offering a convenient and immersive audio experience.
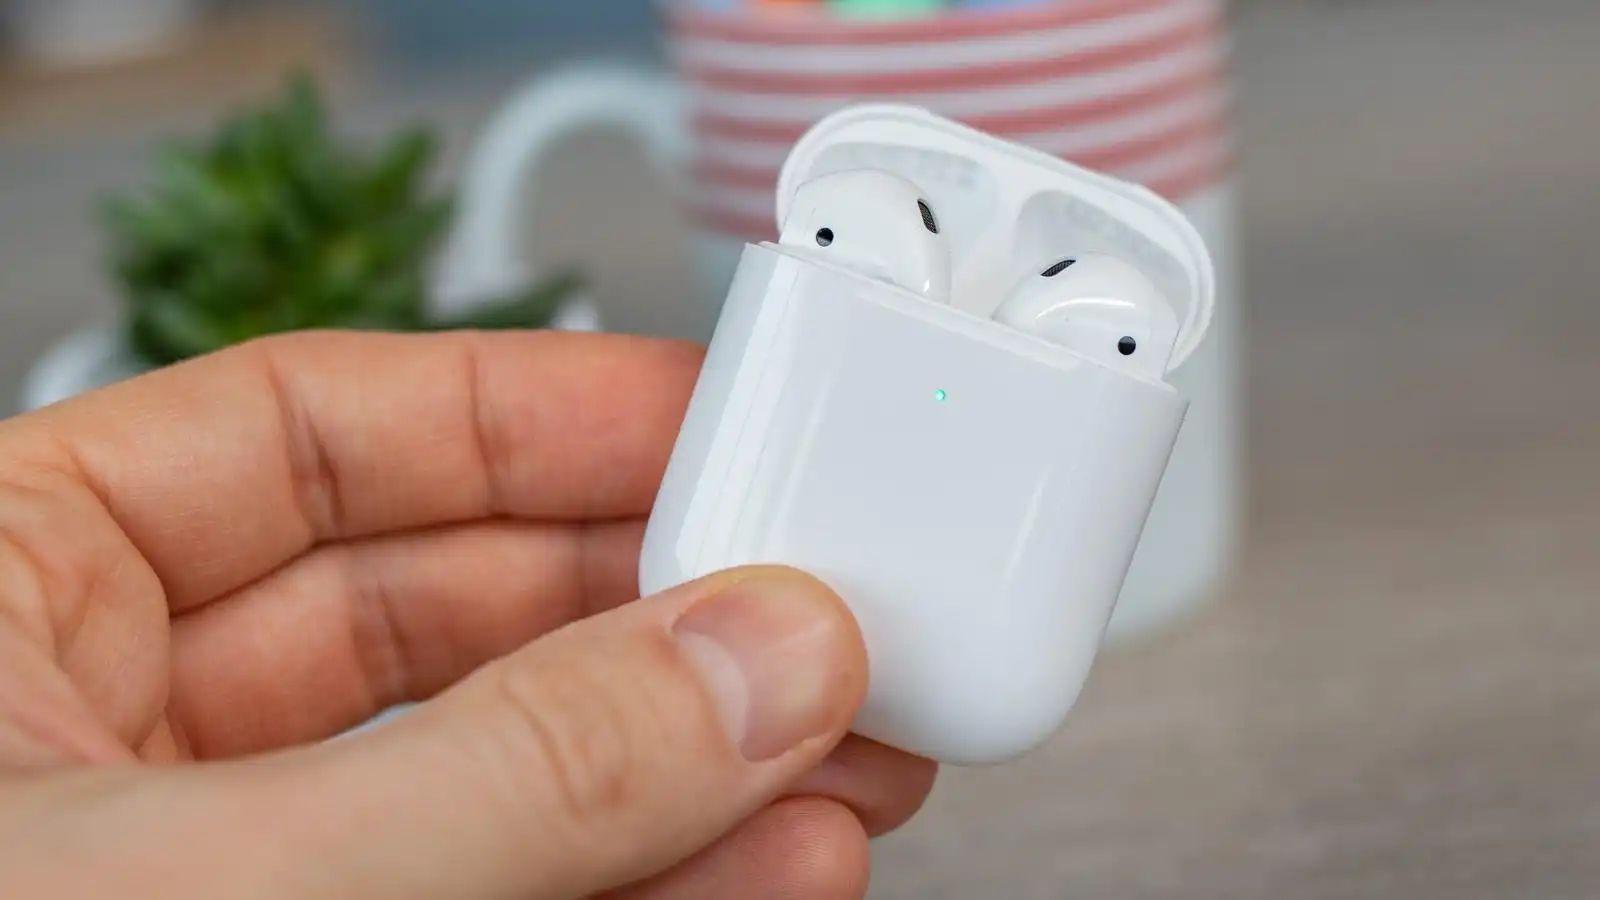
The AirPods are incredibly lightweight and come with a charging case that not only provides storage for the earbuds but also charges them when not in use. This ensures that your AirPods are always ready for use whenever you need them.
What sets AirPods apart from traditional earphones is their integration with Apple’s intelligent voice assistant, Siri. With just a tap on the AirPods, you can access Siri to control your device, make calls, send messages, and more, all hands-free.
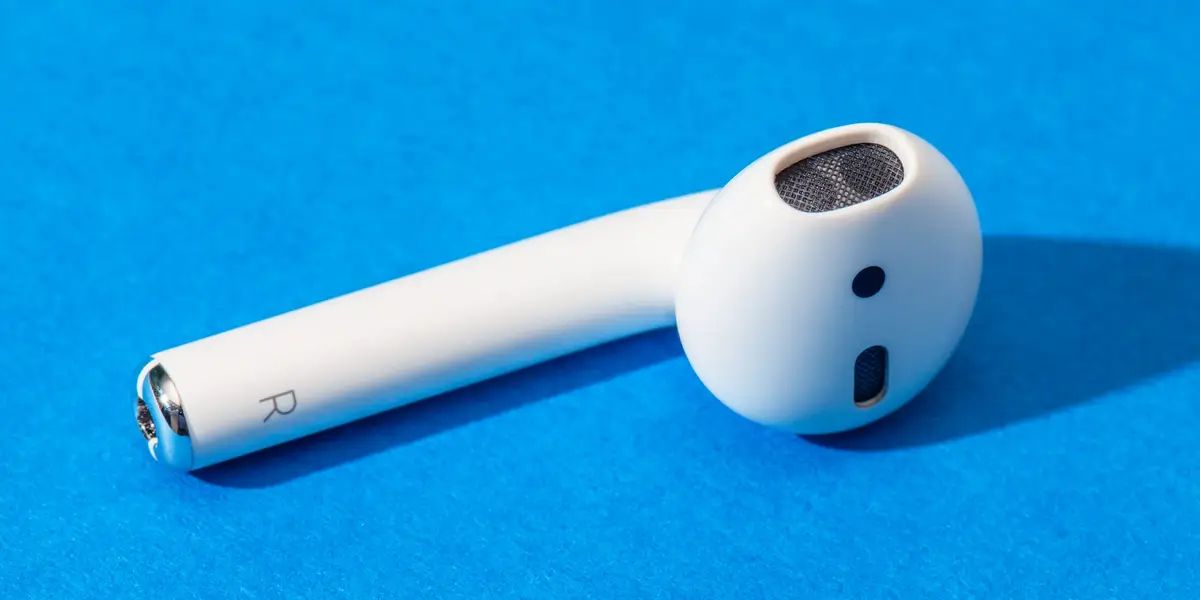
The AirPods are equipped with advanced audio technology that delivers a clear and immersive sound experience. With high-quality speakers and built-in microphones, they offer excellent audio output and input, making them suitable for a variety of purposes, including watching movies, listening to music, and conducting phone calls.
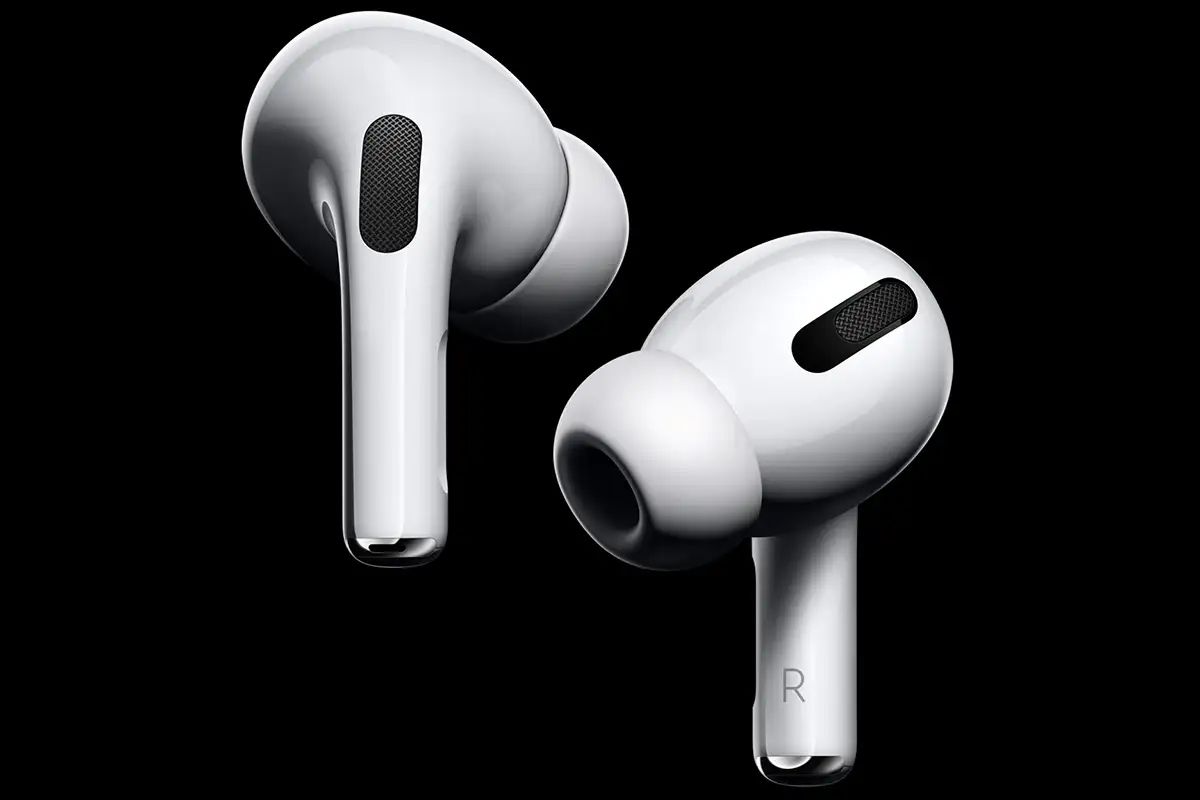
In addition to the standard AirPods, Apple also offers AirPods Pro, which introduce features like active noise cancellation and customizable ear tips for a more personalized and noise-free listening experience.
It’s important to note that while AirPods are not specifically marketed as hearing aids, they do have features that can assist individuals with hearing difficulties. These features make AirPods a versatile audio device that goes beyond the standard audio playback functionality.
In the following sections, we will explore how you can leverage the unique features of AirPods to enhance your hearing and use them as effective hearing aids.
How AirPods can be used as Hearing Aids
AirPods can be used as hearing aids by taking advantage of their advanced audio features and the assistive listening capabilities of your iPhone. While they may not replace professional hearing aids for severe hearing impairments, they can provide assistance for mild to moderate hearing loss and improve the overall listening experience.
One of the key features that make AirPods suitable for hearing-impaired individuals is the ability to amplify sound. By adjusting the audio settings on your iPhone, you can customize the volume levels and frequencies to suit your specific hearing needs. This allows you to enhance the clarity of speech and other sounds, making it easier to follow conversations and enjoy various forms of media.
Additionally, AirPods come with a feature called Live Listen, which acts as a real-time audio amplifier. By activating Live Listen on your iPhone, you can use your AirPods as dedicated listening devices. This feature uses the built-in microphones on your AirPods to pick up the surrounding sounds and then transmits them directly to your ears. It essentially turns your AirPods into a mini hearing aid, amplifying the sound in real-time and helping you hear better in different environments.
To activate Live Listen, you need to enable it in the Accessibility settings on your iPhone. Once activated, you can adjust the microphone sensitivity to fine-tune the sound amplification according to your preference.
It’s worth noting that while AirPods can significantly assist with hearing amplification, they do not provide all the complex functionalities of dedicated hearing aids, such as noise reduction, multiple listening modes, and advanced sound processing. However, they can serve as a more affordable and easily accessible alternative for individuals with mild to moderate hearing loss.
In the next sections, we will walk you through the process of pairing your AirPods with your iPhone and adjusting the necessary audio settings to optimize their performance as hearing aids.
Pairing AirPods with your iPhone
To begin using your AirPods as hearing aids, you first need to pair them with your iPhone. The pairing process is quick and simple, ensuring a seamless connection between the two devices.
Here’s how you can pair your AirPods with your iPhone:
- Make sure your AirPods are charged and in close proximity to your iPhone.
- Open the lid of your AirPods charging case.
- On your iPhone, go to the Home screen and navigate to the Settings app.
- In the Settings app, tap “Bluetooth” to open the Bluetooth settings.
- Under “My Devices,” you should see your AirPods listed. Tap on them to initiate the pairing process.
- Follow the on-screen instructions to complete the pairing. Your iPhone will recognize your AirPods and establish a connection.
- Once the pairing is successful, you will see the battery status and connection icon of your AirPods in the Bluetooth settings.
Once your AirPods are paired with your iPhone, they will automatically connect whenever they are within range and the Bluetooth is enabled on your iPhone. This eliminates the need for manual pairing each time you want to use your AirPods as hearing aids.
It’s important to note that AirPods can also be paired with other Apple devices, such as iPads and Mac computers, using a similar process. However, for the purpose of using them as hearing aids, we will focus on their integration with the iPhone.
Now that your AirPods are successfully paired with your iPhone, let’s move on to adjusting the audio settings to optimize their performance as hearing aids.
Adjusting the audio settings on your iPhone
Once your AirPods are paired with your iPhone, you can customize the audio settings to optimize their performance as hearing aids. By adjusting the volume levels, frequencies, and other audio settings, you can enhance the clarity and amplify the sound according to your specific hearing needs.
Here’s how you can adjust the audio settings on your iPhone:
- Go to the Home screen of your iPhone and open the Settings app.
- Scroll down and tap on “Accessibility.”
- In the Accessibility menu, tap on “Audio/Visual.”
- Under the “Hearing” section, you will find various audio settings that you can adjust to suit your preferences.
- To increase the volume, tap on “Volume Amplification” and move the slider to the right. This will boost the overall volume of the sound.
- For fine-tuning the frequencies, tap on “Settings” under the “Audio/Visual” section.
- Under “Audio/Visual,” tap on “Headphone Accommodations.”
- Enable “Headphone Accommodations” and tap on “Custom Audio Setup.”
- Follow the on-screen instructions to customize the audio settings based on your hearing preferences.
- You can adjust the level of Lows, Mids, and Highs to emphasize specific frequency ranges and enhance the clarity of speech or other sounds.
These audio settings on your iPhone work in conjunction with your AirPods to provide tailored sound amplification. Experiment with different settings to find the configuration that works best for your hearing needs.
By adjusting the audio settings, you can significantly improve the listening experience while using your AirPods as hearing aids. Whether you need to amplify the volume or fine-tune the frequencies, these settings allow you to customize the sound output to suit your preferences.
With the audio settings adjusted, you are now ready to leverage the assistive listening capabilities of AirPods through the Live Listen feature on your iPhone. In the next section, we will explore how to activate and use Live Listen to further augment your hearing experience.
Using AirPods as an assistive listening device
AirPods can serve as an effective assistive listening device, providing individuals with hearing difficulties added support in various listening environments. With the help of your iPhone’s accessibility features, you can activate and utilize the Live Listen function, which turns your AirPods into dedicated listening devices.
Here’s how you can use AirPods as an assistive listening device:
- Ensure your AirPods are connected to your iPhone.
- Open the Control Center on your iPhone by swiping down from the top right corner (for iPhone X or newer) or swiping up from the bottom of the screen (for iPhone models with a home button).
- In the Control Center, tap on the hearing aid icon (it looks like an ear with sound waves).
- If you don’t see the hearing aid icon in the Control Center, you may need to add it in the Control Center settings. Go to the Settings app, tap on “Control Center,” and customize controls to include “Hearing.”
- Once you tap on the hearing aid icon, a pop-up menu will appear. Tap on “Live Listen” to activate the feature.
- Your iPhone’s microphone will now pick up the surrounding sounds and transmit them to your AirPods in real-time.
- Put your AirPods in your ears and adjust the volume if needed.
By activating Live Listen, you can effectively amplify and clarify sound from your surroundings, allowing you to better hear conversations, lectures, or any audio source. This feature can be particularly helpful in noisy environments or situations where you find it challenging to focus on specific sounds.
Do keep in mind that Live Listen is not intended for eavesdropping or surreptitious recording and should be used ethically and responsibly.
Once you have enabled Live Listen, you can also adjust the microphone sensitivity to further fine-tune the audio amplification. To do this, go to the Settings app on your iPhone, navigate to “Accessibility” and then “Audio/Visual,” and adjust the “Live Listen” microphone sensitivity settings according to your preference.
With Live Listen enabled, your AirPods effectively function as personalized hearing aids, helping you hear more clearly in challenging listening situations. Experiment with different environments and settings to find the optimum configuration that suits your specific hearing needs.
While Live Listen provides valuable assistive listening capabilities, it’s essential to remember that AirPods are not a replacement for professional hearing aids. If you have concerns about your hearing or suspect significant hearing loss, consulting with an audiologist or hearing healthcare professional is essential for a comprehensive evaluation and appropriate treatment.
In the next section, we will delve into customizing AirPods for your specific hearing requirements.
Activating Live Listen feature on your iPhone
The Live Listen feature on your iPhone allows you to transform your AirPods into a real-time audio amplifier, amplifying the sounds around you and delivering them directly to your ears. It’s a powerful tool for individuals with hearing difficulties and can greatly enhance your listening experience in various environments.
Here’s how you can activate the Live Listen feature on your iPhone:
- Ensure your AirPods are connected to your iPhone.
- Open the Settings app on your iPhone and navigate to “Accessibility.”
- Tap on “Hearing Devices.”
- Under “Hearing Devices,” you should see your AirPods listed. Tap on them.
- In the AirPods settings, you will find the option for Live Listen. Enable the toggle switch to activate Live Listen.
- Put your AirPods in your ears to start using Live Listen.
Once Live Listen is activated, your iPhone’s microphone will pick up the sounds around you and transmit them wirelessly to your AirPods. This feature is incredibly useful in situations where you need extra support to hear conversations, lectures, or any other audio source. It allows you to focus on the sounds you want to amplify while minimizing background noise.
For optimal use of the Live Listen feature, it’s essential to position your iPhone in a strategic location. Placing it closer to the sound source or the person you want to hear will help ensure optimal audio capture.
Remember that Live Listen is not designed for eavesdropping or unauthorized audio recording. It should be used responsibly and ethically, with respect for privacy and legal considerations.
You can also adjust the sensitivity of the microphone during live listening sessions. While in the Live Listen mode, simply raise or lower the volume using the on-screen controls to adjust the volume of the ambient sounds captured by your iPhone’s microphone.
Using Live Listen with your AirPods can significantly enhance your listening experience and help overcome challenging hearing situations. Experiment with different environments and microphone sensitivity settings to find the optimal configuration for your specific needs.
Now that you have activated the Live Listen feature, let’s move on to the customization options available to further tailor your AirPods for your specific hearing requirements.
Customizing AirPods for hearing needs
AirPods offer customization options that allow you to further tailor the sound output to accommodate your specific hearing needs. These settings can help improve the clarity, volume, and overall listening experience while using AirPods as assistive listening devices.
Here’s how you can customize your AirPods for your hearing needs:
- Go to the Home screen of your iPhone and open the Settings app.
- Tap on “Accessibility” and then select “Audio/Visual.”
- Under the Audio/Visual settings, you will find “Headphone Accommodations.” Tap on it.
- Enable the “Headphone Accommodations” toggle switch.
- You have the option to select “Custom Audio Setup” to fine-tune the audio settings or choose “System Default” for automatic adjustments.
- If you choose “Custom Audio Setup,” you will be guided through a series of sound samples, where you can select the option that sounds better to you.
- Additionally, you can adjust the balance between the left and right audio channels if needed.
- Once you have made the desired adjustments, tap on “Done” to save the settings.
By customizing the audio settings, such as amplifying certain frequencies or adjusting the audio balance, you can optimize the sound output to match your specific hearing requirements. These settings work in conjunction with the Live Listen feature and the overall audio experience of your AirPods.
Moreover, if you have AirPods Pro, you can take advantage of the Active Noise Cancellation feature. This feature helps reduce background noise, making it easier to focus on the sounds you want to hear.
Remember, these customization options are not a substitute for professional hearing evaluations and solutions. For individuals with significant hearing loss or more complex hearing needs, it is crucial to consult with an audiologist or hearing healthcare professional to determine the best course of action.
By customizing your AirPods, you can enhance their performance as assistive listening devices and better cater to your unique hearing requirements. Enjoy a personalized and optimized listening experience with your AirPods!
Monitoring battery life and charging AirPods
As you use your AirPods as hearing aids, it’s crucial to keep an eye on their battery life and ensure they are adequately charged to support your listening needs. AirPods, along with their charging case, have a decent battery life, allowing for extended use throughout the day. Here’s how you can monitor the battery life and charge your AirPods effectively:
Checking AirPods battery status:
To check the battery status of your AirPods, follow these steps:
- Ensure your AirPods are connected to your iPhone.
- Open the lid of your AirPods charging case.
- Bring your AirPods close to your iPhone, and the battery status will be displayed on your iPhone’s screen.
The battery status will indicate the charge levels of both the AirPods and the charging case. This way, you can gauge how much battery life is remaining and plan your charging accordingly.
Charging AirPods:
To charge your AirPods, follow these steps:
- Place your AirPods back into the charging case.
- Close the lid of the charging case.
- Connect the Lightning cable to the charging port on the charging case.
- Plug the other end of the Lightning cable into a power source, such as a wall charger or USB port.
- Allow your AirPods to charge for a sufficient amount of time until the LED indicator on the front of the charging case turns green.
It’s essential to note that the charging case itself has its own battery that needs to be charged as well. The charging case can provide multiple charges to the AirPods before it needs to be recharged itself. You can monitor the battery status of the charging case by checking the LED indicator on the case.
Remember to charge your AirPods and the charging case on a regular basis to ensure they are always ready for use. If you anticipate extended periods of use throughout the day, it may be necessary to carry a portable charger or charging cable to top up the battery when needed.
By monitoring the battery life and charging your AirPods consistently, you can enjoy uninterrupted use and make the most out of your AirPods as hearing aids.
Frequently asked questions about using AirPods as hearing aids
As the use of AirPods as hearing aids becomes more prevalent, there are several common questions that arise. In this section, we will address some of the frequently asked questions about using AirPods for hearing assistance:
1. Can AirPods replace traditional hearing aids?
AirPods can provide assistance for mild to moderate hearing loss but are not intended to replace professional hearing aids. If you have significant hearing loss or other complex hearing needs, it is essential to consult with an audiologist or hearing healthcare professional for a comprehensive evaluation and appropriate treatment.
2. Can AirPods improve the clarity of speech?
Yes, AirPods can help improve the clarity of speech by adjusting the audio settings on your iPhone and using the Live Listen feature. These enhancements can make it easier to follow conversations and understand spoken words.
3. Can I use AirPods as hearing aids on Android devices?
While AirPods can be used as traditional wireless earphones on Android devices, the Live Listen feature and certain audio settings are exclusive to Apple devices. Therefore, the assistive listening capabilities of AirPods may be limited when used with Android phones.
4. Are AirPods comfortable to wear for extended periods?
AirPods are designed to be lightweight and comfortable for extended use. However, individual comfort may vary, and some users may find it necessary to try different ear tip options or ear cushion accessories to enhance comfort during prolonged wearing.
5. Can AirPods reduce background noise?
AirPods do not have active noise cancellation, but the AirPods Pro model offers this feature. The active noise cancellation helps reduce background noise, allowing for a more focused listening experience.
6. Can I use only one AirPod as a hearing aid?
Yes, you can use a single AirPod as a hearing aid by selecting the mono audio mode in the Accessibility settings on your iPhone. This allows you to focus the amplification on a specific ear if needed.
7. How long do the AirPods battery last when used as hearing aids?
The battery life of AirPods when used as hearing aids depends on various factors, such as the volume level, usage duration, and the generation of your AirPods. On average, AirPods provide several hours of continuous listening, and the charging case can provide multiple charges throughout the day.
8. Do I need an internet connection to use AirPods as hearing aids?
No, an internet connection is not required to use AirPods as hearing aids. AirPods connect directly to your iPhone via Bluetooth, and the audio customization settings are stored locally on your device.
These are just a few of the common questions that arise when using AirPods as hearing aids. Remember, if you have specific concerns or unique hearing needs, it is always best to consult with a professional for personalized advice and guidance.
Conclusion
AirPods offer a versatile and innovative solution for individuals with mild to moderate hearing difficulties. By leveraging their advanced audio technology and the assistive listening features on your iPhone, you can transform AirPods into practical and personalized hearing aids.
In this guide, we have explored how to use AirPods as hearing aids, starting with the basics of understanding AirPods and their unique capabilities. We learned how to pair AirPods with your iPhone and adjust the audio settings to optimize their performance for your hearing needs.
We then delved into the functionalities of using AirPods as an assistive listening device, activating the Live Listen feature to amplify sounds in real-time, and customizing AirPods for a tailored listening experience.
It’s important to remember that while AirPods can provide assistance for certain hearing impairments, they are not intended to replace professional hearing aids. For individuals with severe hearing loss or complex hearing needs, a consultation with an audiologist or hearing healthcare professional is crucial.
Monitor the battery life of your AirPods and ensure they are adequately charged to support your listening needs throughout the day. By following the guidelines for proper charging, you can enjoy uninterrupted usage and maximize the benefits of using AirPods as hearing aids.
Lastly, we addressed some frequently asked questions, providing further insights and clarifications on using AirPods as hearing aids.
Remember, the information provided in this guide serves as a starting point to help you utilize AirPods for improved hearing. Everyone’s hearing needs are unique, so feel free to explore and experiment with different settings to find the configuration that works best for you.
We hope this guide has been informative and helpful in your journey of using AirPods as hearing aids. Enjoy your enhanced listening experience and the convenience that AirPods bring to your everyday life!