Introduction
Welcome to the world of wireless earbuds, where the AirPods have become a popular choice for many. These sleek and stylish headphones have gained a loyal following since their release, offering a seamless wireless audio experience.
However, one common concern among AirPods users is how to determine if their beloved earbuds are dead or running low on battery. After all, nobody wants to be caught off guard with audio abruptly cutting out during an important phone call or favorite song.
In this guide, we’ll explore various methods to determine if your AirPods are dead or in need of a charge. Whether you’re an iPhone user or not, we’ll cover different techniques to check the battery level, LED indicators, low battery warnings, and Bluetooth connectivity.
So, if you’re ready to learn how to keep your AirPods powered up and ensure you never miss a beat, let’s dive in!
Checking the Battery Level on the iPhone
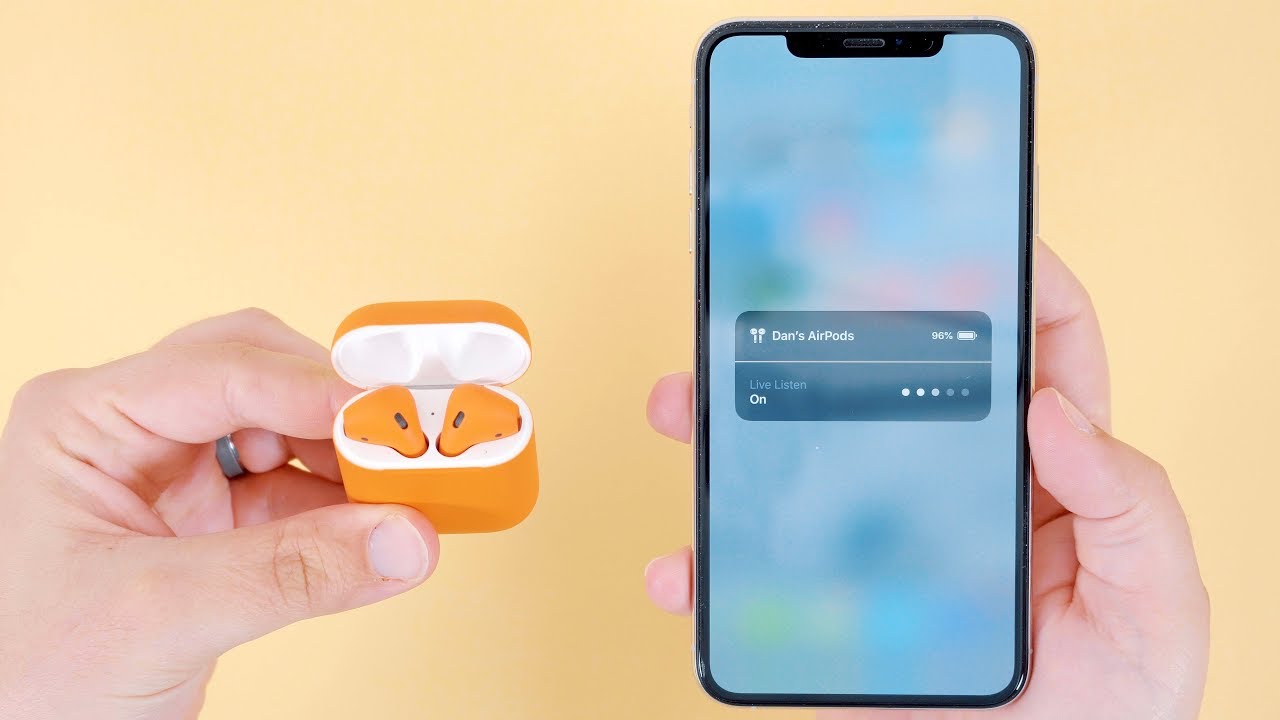
One of the easiest ways to check the battery level of your AirPods is by using your iPhone. If your AirPods are connected to your iPhone, you can quickly see the battery percentage of each AirPod as well as the charging case.
To do this, follow these steps:
- Open the charging case lid with your AirPods inside and place it near your iPhone.
- Unlock your iPhone and go to the home screen.
- Swipe down from the top-right corner to access the Control Center (on iPhones with Face ID) or swipe up from the bottom of the screen (on iPhones with a home button).
- Look for the “Now Playing” card in the Control Center, which displays the battery percentage of your connected AirPods and the charging case.
If you don’t see the battery percentage at first, you may need to customize your Control Center to include it. To do this, go to Settings > Control Center > Customize Controls, and add the “Batteries” option.
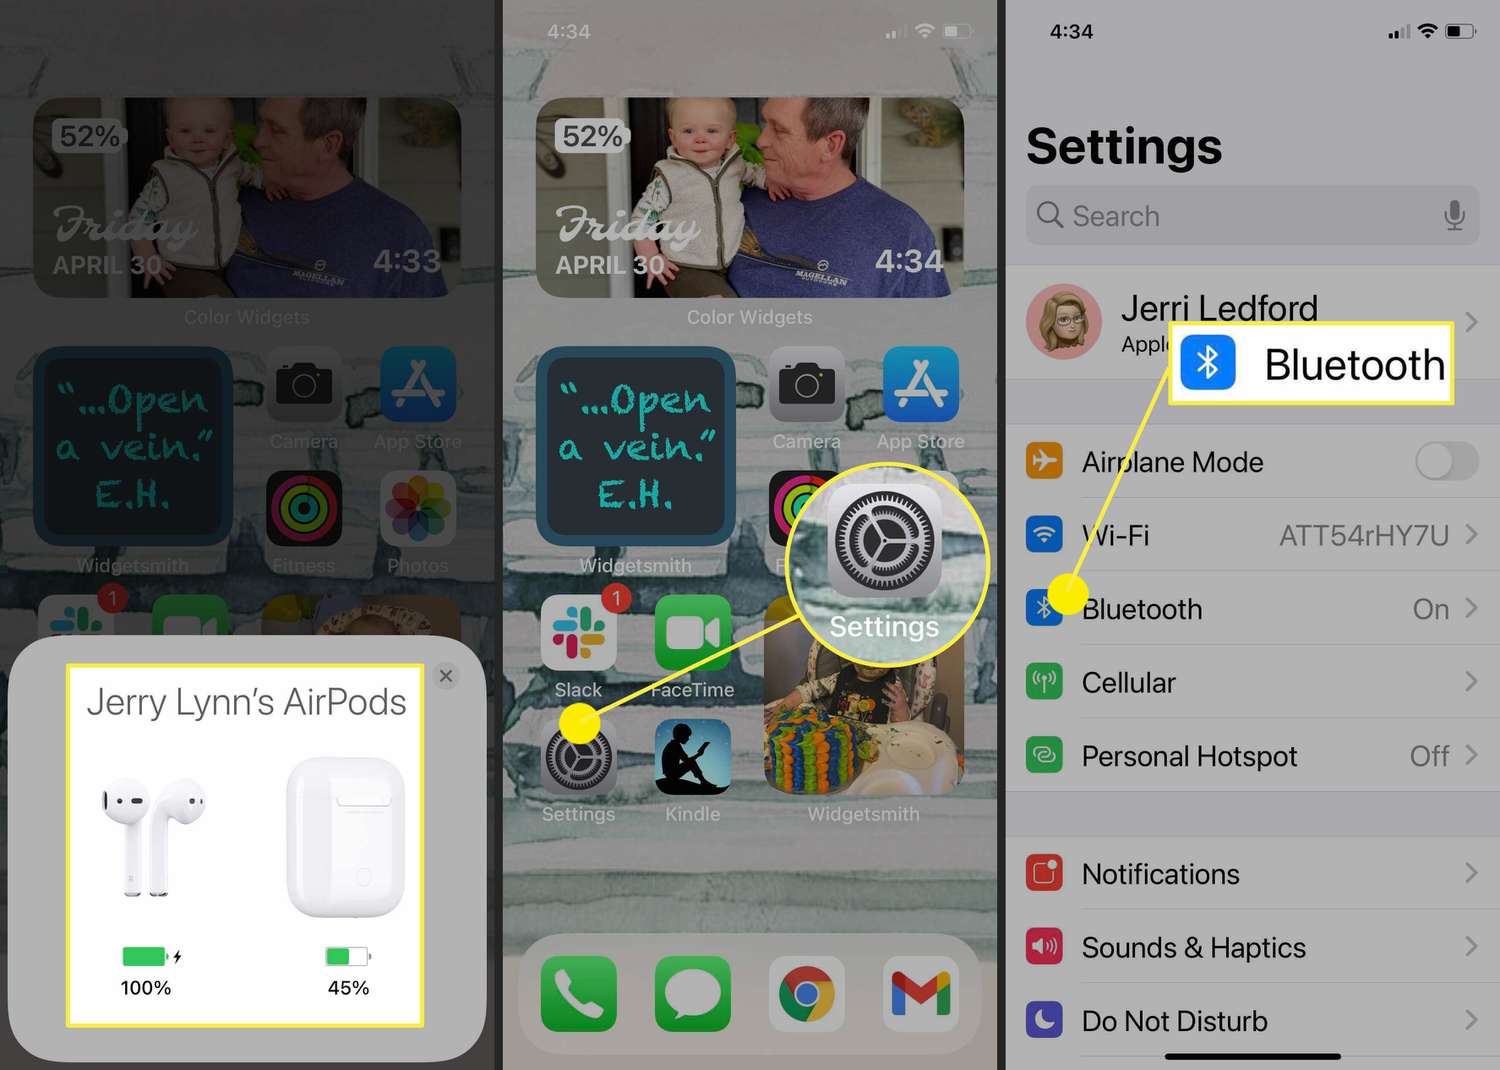
Additionally, you can also check the battery level of your AirPods by going to the Bluetooth settings on your iPhone. Here’s how:
- Open the “Settings” app on your iPhone.
- Tap on “Bluetooth”.
- Locate your connected AirPods in the list of devices.
- Next to your AirPods, you will see the battery percentage for each earbud and the charging case.
By following these simple steps, you can easily monitor the battery level of your AirPods and ensure they are charged and ready when you need them.
Checking the LED Indicator on the AirPods Case
Another way to determine if your AirPods are dead or need charging is by checking the LED indicator on the AirPods case. The charging case itself has a built-in light that provides valuable information about the battery status.
Here’s how you can interpret the LED indicator:
- Open the lid of the AirPods case.
- Take a close look at the small LED light located on the inside of the case.
- If the LED light is green, it means that the AirPods and the case are charged and in a good battery state.
- If the LED light is amber, it means that the AirPods and the case have less than one full charge remaining. This indicates that it’s time to charge them soon to avoid running out of battery.
It’s important to note that the LED indicator only provides a rough estimate of the battery level. For a more accurate measurement, it’s recommended to use the battery level displayed on your iPhone as mentioned in the previous section.
Keep in mind that the LED indicator may not be visible if the AirPods are not properly seated in the case or if the lid is not completely closed. Ensure that you have properly placed the AirPods in the case and that the lid is securely closed to get an accurate reading.
By observing the LED indicator on the AirPods case, you can have a quick visual indication of the battery state and take necessary actions to charge your AirPods when needed.
Listening for the Low Battery Warning
In addition to checking the battery level on your iPhone or the LED indicator on the AirPods case, you can also listen for the low battery warning directly from your AirPods.
When the battery level of your AirPods is low, you will hear a sound notification to alert you. This warning signal is designed to give you ample time to recharge your AirPods before they completely run out of battery.
The low battery warning is typically a simple sound cue, like a beeping or a tone, that plays through the AirPods themselves. When you hear this warning, it means that you should start thinking about charging your AirPods soon to avoid any interruptions during use.
If you’re actively using your AirPods when the low battery warning kicks in, you may also hear “Battery low” prompts from Siri. This serves as an additional reminder that it’s time to find the nearest charger and give your AirPods a power boost.
Keep in mind that the specific low battery warning sound may vary depending on the version of AirPods you have and the firmware installed on them. It’s essential to familiarize yourself with the sound so that you can recognize it when it occurs.
In summary, when you start hearing the low battery warning sound or “Battery low” prompts from Siri through your AirPods, it’s a clear indication that it’s time to charge them and ensure a continuous listening experience.
Checking the Bluetooth Connectivity
Another way to determine if your AirPods are dead or running low on battery is to check the Bluetooth connectivity between your device and the AirPods.
If your AirPods are out of battery or not charged enough, they may not be able to establish a Bluetooth connection with your device. By checking the Bluetooth connectivity, you can quickly determine if the issue lies with the battery level.
Here’s how you can check the Bluetooth connectivity:
- Open the Bluetooth settings on your device.
- Look for the name of your AirPods in the list of available devices.
- If your AirPods appear in the list and show a connected status, it means they are still charged and ready to use.
- However, if your AirPods do not appear in the list or show a disconnected status, it may indicate that the battery is dead or critically low.
If you find that your AirPods are not connecting via Bluetooth, it is recommended to charge them and repeat the steps mentioned above. If the issue persists even after charging, there may be a different issue causing the connectivity problem, and further troubleshooting may be required.
By checking the Bluetooth connectivity, you can get a quick indication of the battery status of your AirPods. Remember to charge them before using them again for a seamless wireless audio experience.
Charging the AirPods
When you find that your AirPods are running low on battery or completely dead, it’s time to charge them up to ensure uninterrupted use. Charging your AirPods is a straightforward process, and there are a few methods you can use.
Here’s how you can charge your AirPods:
- Place the AirPods back into their charging case.
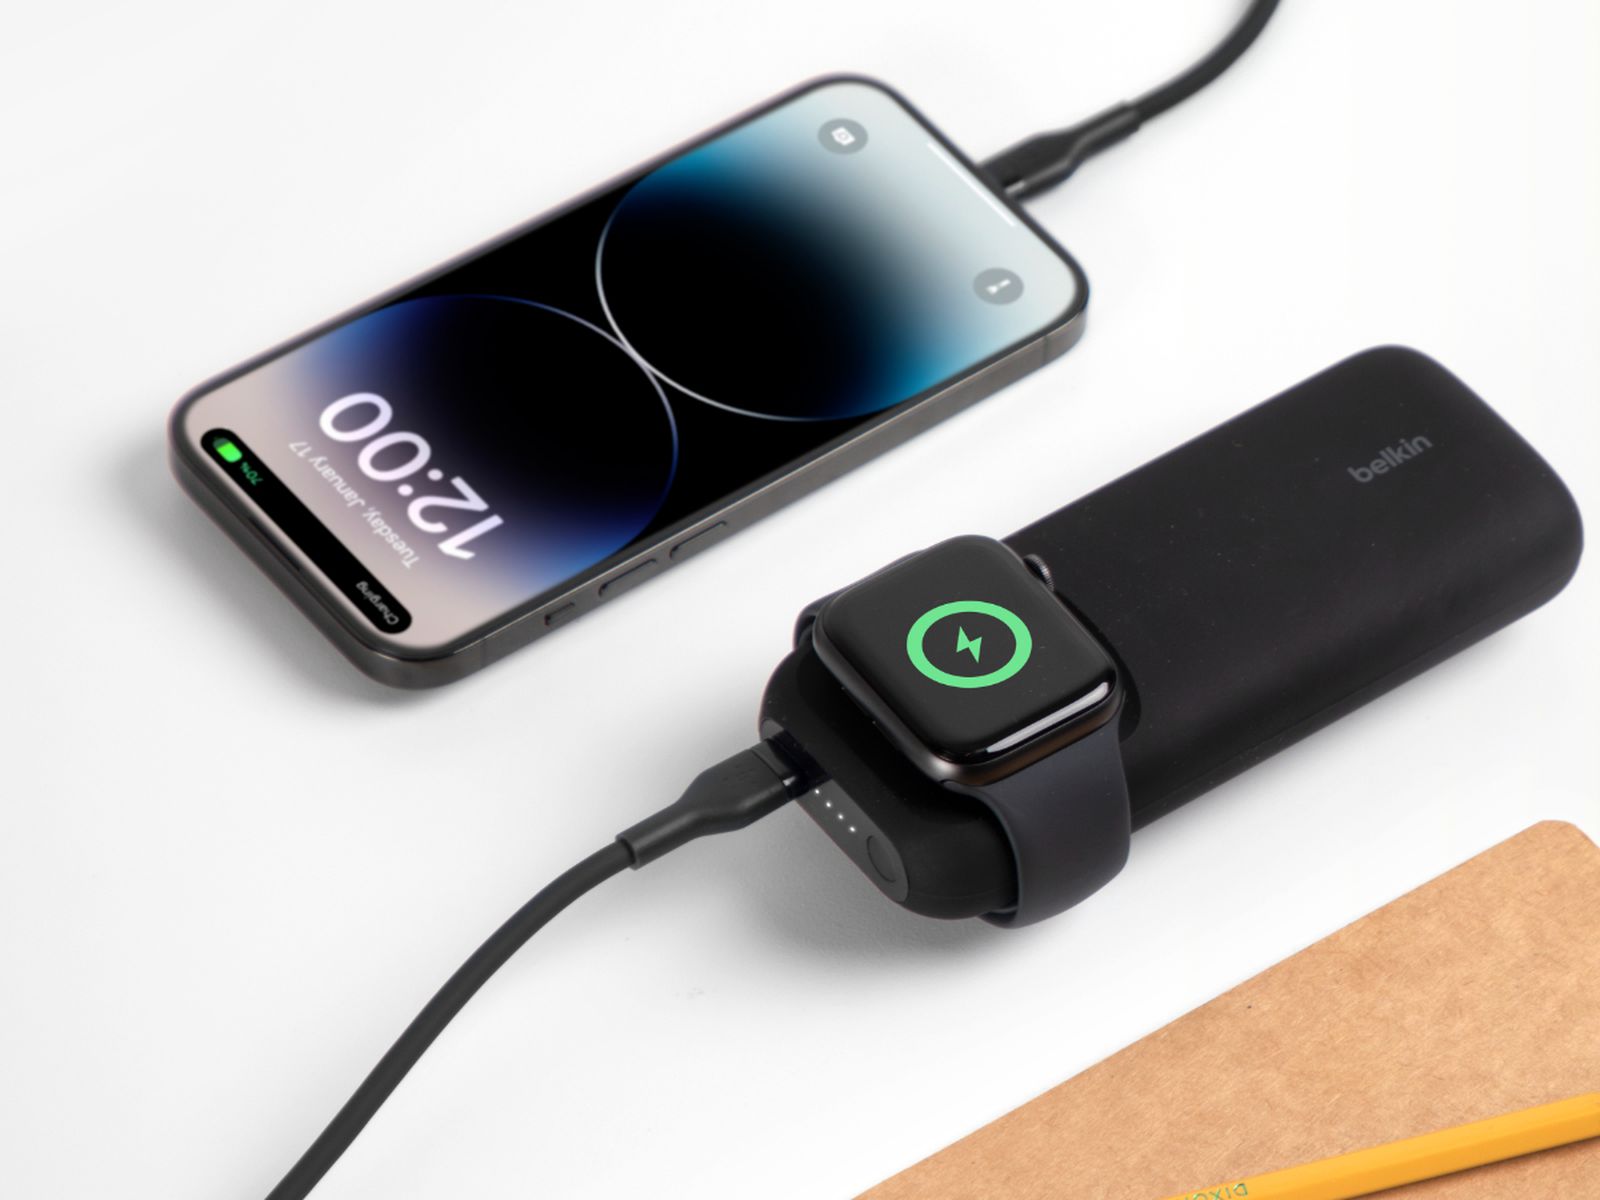
- Connect the charging cable (Lightning cable) to the Lightning port on the charging case.
- Plug the other end of the cable into a power source, such as a USB port on a computer or a wall adapter.
- The LED indicator on the front of the charging case will light up to indicate that your AirPods are charging.
- Leave your AirPods in the charging case until they reach a sufficient charge level. This usually takes around 20 minutes to 1 hour, depending on the remaining battery level.
- Once your AirPods are fully charged, the LED indicator on the charging case will turn green.
Alternatively, if you have a wireless charging case for your AirPods, you can simply place the case on a wireless charging pad that supports Qi charging technology. The LED indicator will still light up to indicate the charging progress.
It is important to note that it is not possible to charge the AirPods directly without using the charging case. The charging case serves as a convenient and portable charging station for your AirPods.
By following these steps, you can easily charge your AirPods and ensure they are ready to use whenever you need them. Regularly charging your AirPods after use will help you avoid any inconvenience caused by a dead battery during your listening sessions.
Resetting the AirPods
If you’re experiencing persistent issues with your AirPods, such as connectivity problems or unusual behavior, resetting them can often resolve these issues. Resetting the AirPods essentially restores them to their default settings and can help fix any software-related issues.
To reset your AirPods, follow these steps:
- Place your AirPods in the charging case and close the lid.
- Wait for about 30 seconds.
- Open the lid of the charging case.
- Locate the small button on the back of the case.
- Press and hold the button for about 15 seconds until the LED indicator on the case flashes amber, then white.
- Release the button.
Once the reset process is complete, you’ll need to reconnect your AirPods to your device. To do this, follow the standard pairing process by opening the Bluetooth settings on your device and selecting your AirPods from the list of available devices.
Resetting your AirPods can help resolve various issues, including connectivity problems, audio glitches, or unresponsive controls. However, it’s important to note that resetting your AirPods does not erase any stored data or settings on your connected devices.
If you’re still experiencing issues after resetting your AirPods, you may need to reach out to Apple support for further assistance or consider getting them inspected for any hardware-related issues.
By resetting your AirPods, you can troubleshoot and fix common software-related issues, ensuring optimal performance and a seamless audio experience.
Conclusion
In conclusion, knowing how to determine if your AirPods are dead or in need of charging is essential for a seamless wireless listening experience. By utilizing various methods, such as checking the battery level on your iPhone, observing the LED indicator on the AirPods case, listening for low battery warnings, and checking Bluetooth connectivity, you can easily stay on top of your AirPods’ battery status.
Remember to regularly monitor the battery level using the available indicators to avoid unexpected interruptions during use. Charging your AirPods is a simple process that involves placing them back into the charging case and connecting it to a power source. Additionally, resetting your AirPods can help resolve any software-related issues that you may encounter.
It’s important to note that the battery life of your AirPods may vary depending on factors such as usage time, audio volume, and overall battery health. However, by adopting good charging habits and being mindful of your AirPods’ battery status, you can ensure that they are always ready for use when you need them.
If you’re facing persistent issues with your AirPods, it’s recommended to reach out to Apple’s support for further assistance. They can provide you with additional troubleshooting steps or guide you through the warranty process if required.
Ultimately, taking care of your AirPods’ battery health will contribute to a more enjoyable and uninterrupted wireless audio experience. Keep these tips in mind and enjoy the freedom and convenience of your AirPods to the fullest!