Introduction
Are you tired of your AirPods connecting to other phones without your consent? It can be frustrating when your wireless earbuds automatically connect to someone else’s device nearby, interrupting your listening experience. But don’t worry, there are several ways to prevent AirPods from connecting to other phones and regain control over your audio.
When you invest in a pair of AirPods, you expect them to seamlessly connect with your own devices and maintain a private connection. However, due to the nature of Bluetooth technology, AirPods can sometimes mistakenly connect to nearby devices that are not yours.
This can happen when someone else’s phone, tablet, or computer has Bluetooth turned on and is in close proximity to your AirPods. The devices can mistakenly discover and pair with your AirPods, leading to unwanted interruptions and potentially compromising your privacy.
In this guide, we will explore various methods to prevent AirPods from connecting to other phones and ensure that they only connect to your preferred devices. From unpairing your AirPods to disabling automatic switching, these steps will help you reclaim control over your audio experience and eliminate any unwanted connections.
By following these simple steps, you can ensure that your AirPods remain exclusively connected to your devices and provide you with a seamless and uninterrupted listening experience. Let’s delve into each method in detail to understand how to prevent interference and regain control over your wireless earbuds.
Why do AirPods connect to other phones?
One of the most common frustrations AirPods users face is their earbuds connecting to other phones unexpectedly. This issue can arise due to various factors inherent to Bluetooth technology.
Firstly, AirPods use Bluetooth to establish a wireless connection with devices. Bluetooth relies on radio signals, which can be picked up by any device with Bluetooth capabilities that is in close proximity to your AirPods. This means that if someone else’s phone, tablet, or computer has Bluetooth turned on and is within range of your AirPods, it can detect and attempt to pair with them.
Furthermore, AirPods are designed to connect to the most recently used device automatically. This feature, known as Automatic Switching, is intended to enhance the user experience by seamlessly switching between devices. However, this can also lead to unintended connections with devices that you don’t want your AirPods to connect to.
Another factor that can contribute to AirPods connecting to other phones is the absence of automatic ear detection. AirPods are equipped with sensors that can detect when they are placed in your ears. When you remove your AirPods from your ears, they automatically pause the audio playback. Without automatic ear detection, your AirPods may continue to play audio even when not in use, increasing the chances of connecting to other devices.
It’s important to note that AirPods connecting to other phones is not a flaw in the AirPods themselves, but rather a result of the inherent nature and behavior of Bluetooth technology. However, there are steps you can take to prevent these unwanted connections and regain control over your AirPods connections.
Through the following methods, you can ensure that your AirPods only connect to your desired devices, minimizing the likelihood of them connecting to other phones and providing you with a seamless and uninterrupted listening experience.
How to prevent AirPods from connecting to other phones
If you’re tired of your AirPods connecting to other phones without your permission, there are several effective methods you can employ to regain control over your wireless earbuds. Let’s explore these methods in detail:
-
Unpair AirPods
The first step is to unpair your AirPods from any devices they might be connected to. Begin by accessing the Bluetooth settings of the device your AirPods are currently paired with. Locate your AirPods in the list of connected devices and select “Forget” or “Unpair.” This will remove the existing connection and prevent them from connecting automatically to that device.
-
Disable Bluetooth
Another simple and effective solution is to disable Bluetooth on your AirPods and the devices you don’t want them to connect to. This ensures that your AirPods won’t detect any nearby Bluetooth signals and eliminates the chance of unwanted connections.
-
Forget AirPods on other devices
If your AirPods have connected to other devices in the past, you can prevent them from connecting again by using the “Forget This Device” option. Access the Bluetooth settings of the device you want to remove, locate your AirPods, and select the option to forget them. This will erase the pairing information, making it difficult for the device to connect to your AirPods again.
-
Enable Automatic Ear Detection
To prevent your AirPods from connecting to other phones when not in use, ensure that the Automatic Ear Detection feature is enabled. This feature uses sensors in the AirPods to detect when they are in your ears. When you remove them, the audio playback automatically pauses, preventing accidental connections and preserving battery life.
-
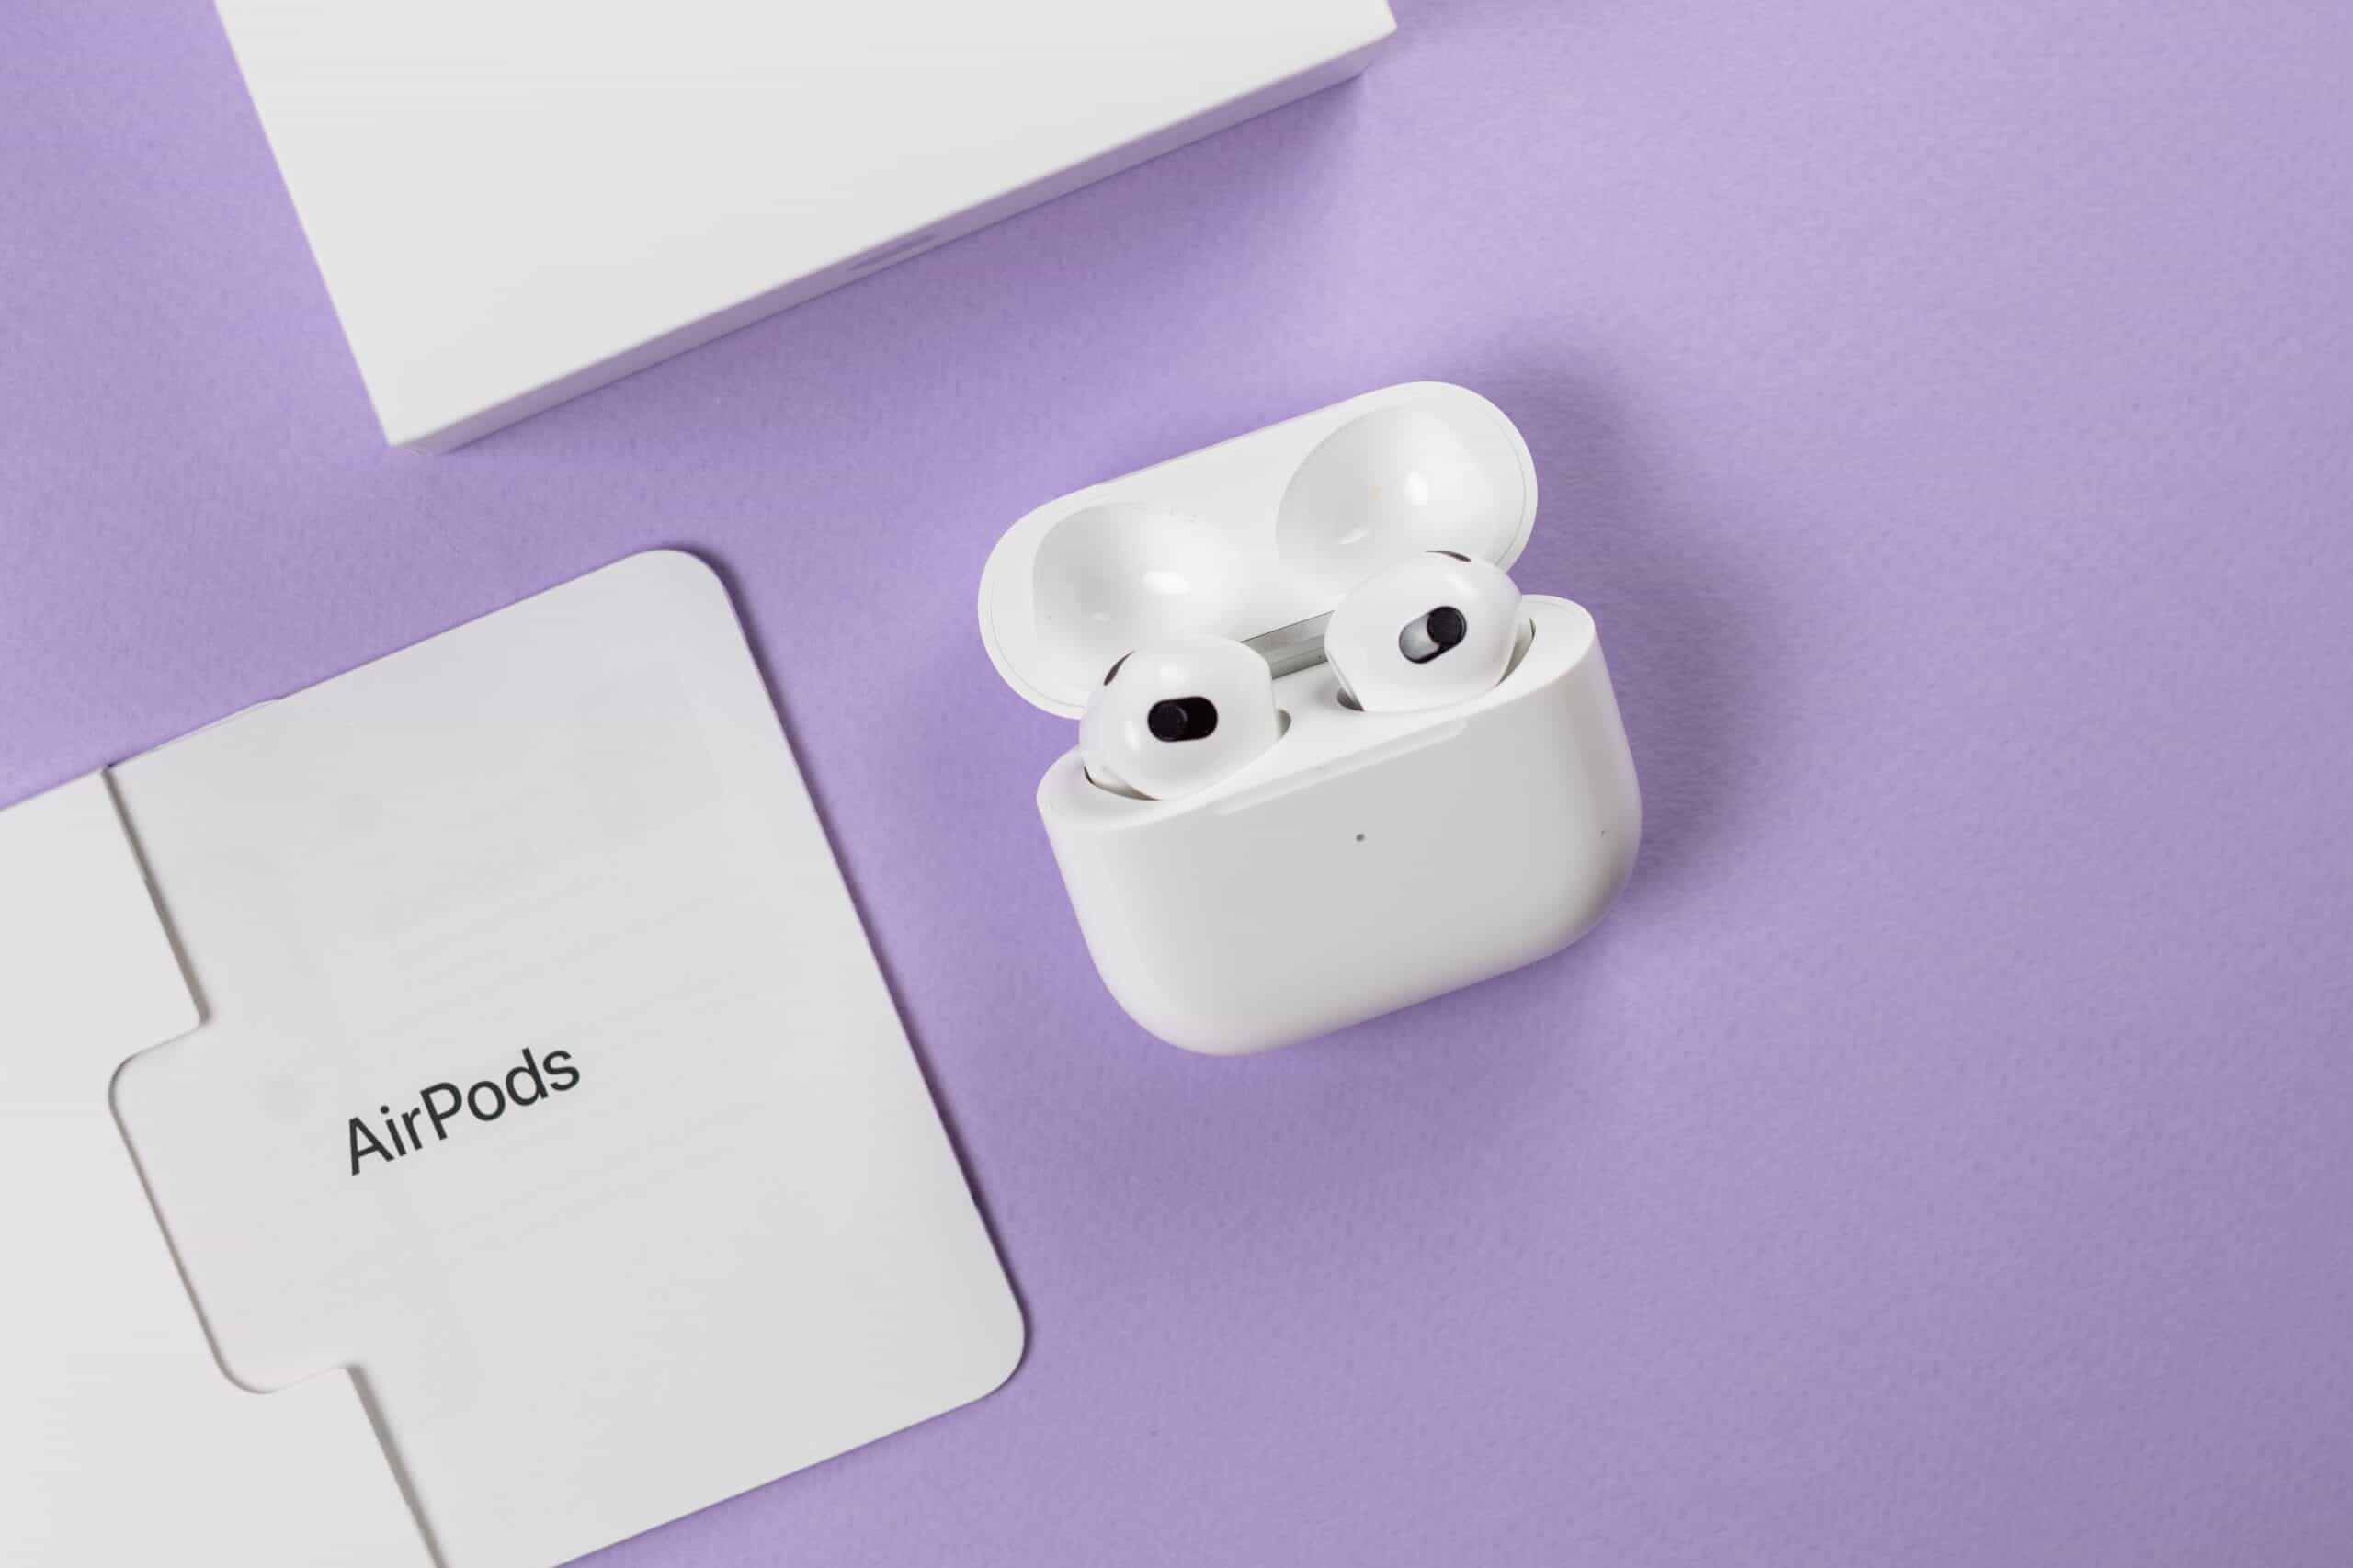
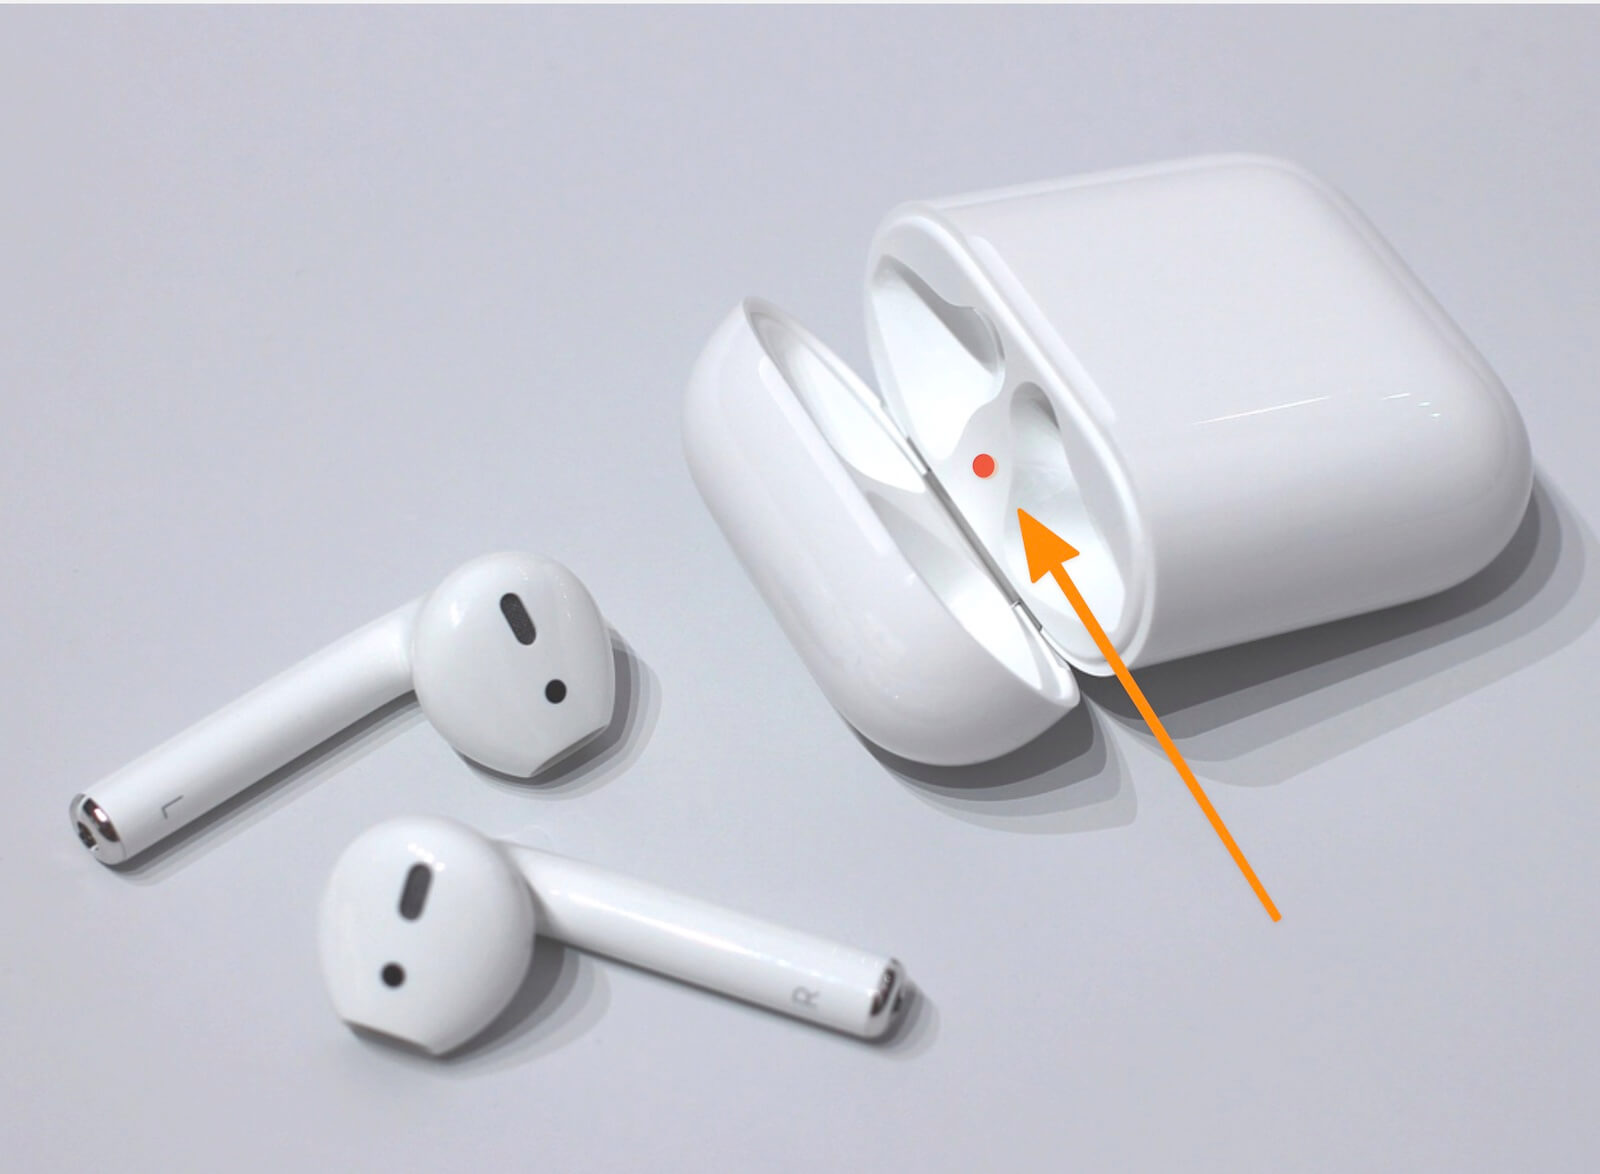
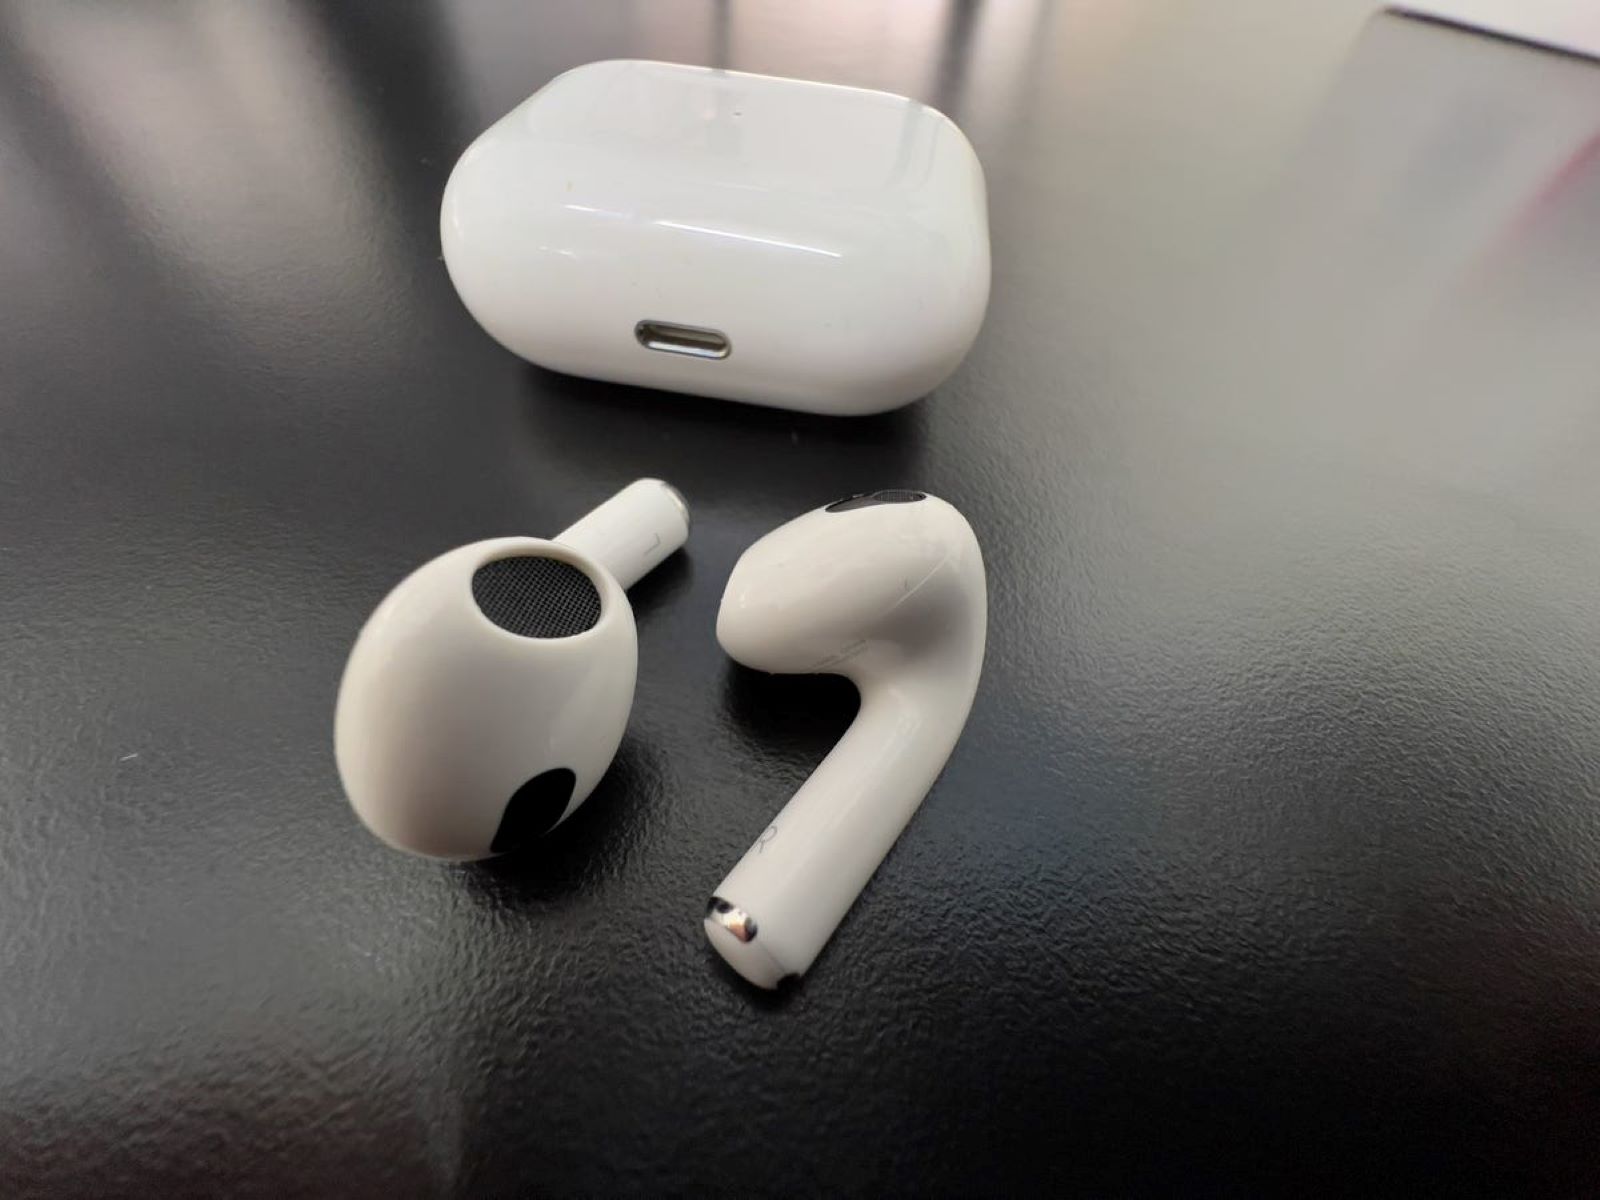
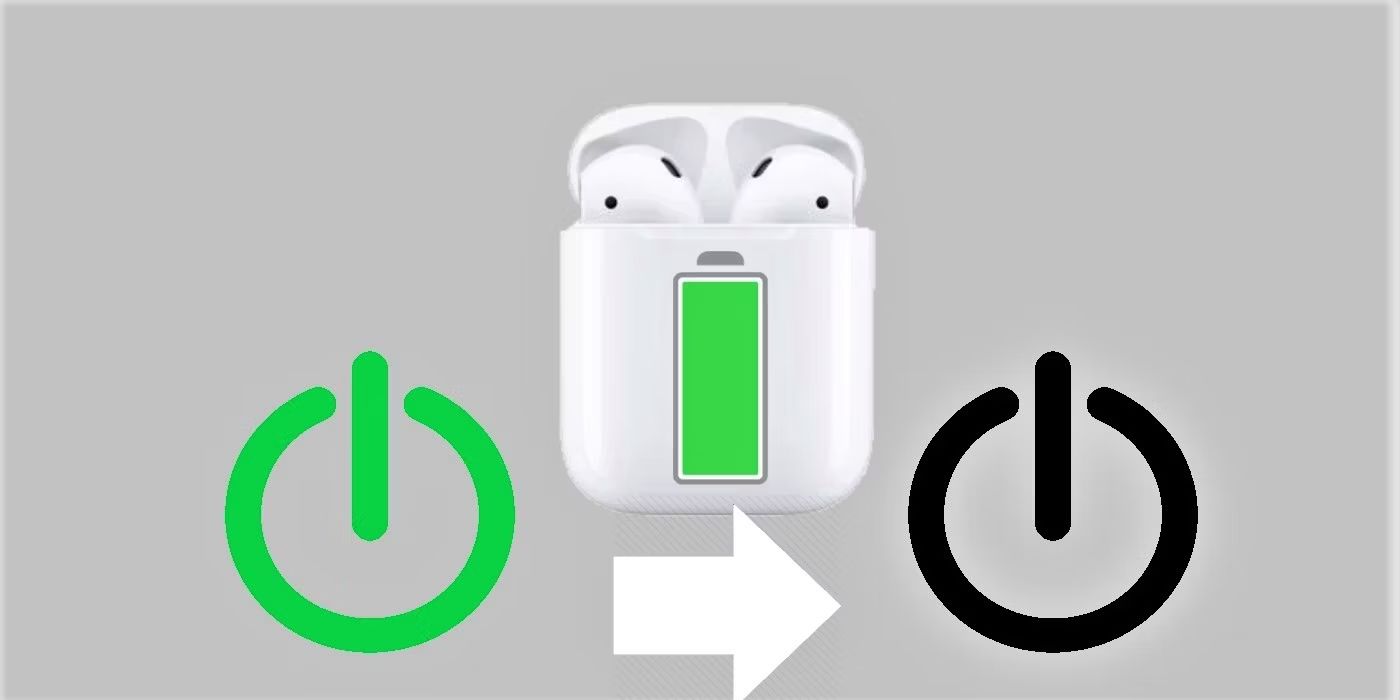
Keep your AirPods in their case
One of the simplest ways to prevent AirPods from connecting to other phones is to keep them in their case when you’re not using them. When your AirPods are stored in the case, they are less likely to be detected by other devices and will only connect to your devices when you intentionally remove them from the case.
-
Disable Automatic Switching on iOS devices
If you primarily use iOS devices, you can disable the Automatic Switching feature to prevent your AirPods from connecting to other phones. Go to the Bluetooth settings on your iOS device, locate your AirPods, and disable the “Automatic Switching” option. This ensures that your AirPods will only connect to the device you manually select.
-
Disable Automatic Switching on macOS devices
For macOS users, the process is slightly different. Open the Bluetooth menu on your Mac, click on your AirPods, and uncheck the “Connect to This Mac” option. This will prevent your AirPods from automatically connecting to your Mac and reduce the chances of them connecting to other phones.
By following these methods, you can take control over your AirPods connections and prevent them from automatically connecting to other phones. Remember to customize the settings on your devices, enable automatic ear detection, and keep your AirPods securely stored in their case when not in use. With these precautions in place, you can enjoy a seamless and uninterrupted audio experience with your AirPods.
Unpair AirPods
If you want to prevent your AirPods from connecting to other phones, unpairing them from any existing connections is a crucial step. Here’s how you can unpair your AirPods from devices they are currently connected to:
1. Begin by accessing the Bluetooth settings on the device your AirPods are paired with. This could be your iPhone, iPad, Mac, or any other Bluetooth-enabled device.
2. Locate your AirPods in the list of connected devices. They should be listed with their name, such as “John’s AirPods” or “AirPods Pro.”
3. Once you have found your AirPods, select the option to “Forget” or “Unpair” them. The wording may vary depending on the device and operating system you’re using.
4. Confirm your action when prompted to proceed with unpairing. This will remove the existing connection between your AirPods and the device, preventing them from automatically connecting in the future.
5. Repeat this process for any other devices your AirPods might be paired with. It’s important to unpair them from all devices you no longer want them to connect to.
By unpairing your AirPods, you ensure that they are no longer tied to specific devices and won’t automatically connect to them. This is particularly useful if you have previously connected your AirPods to devices that are no longer in your possession or that you no longer wish to use.
Keep in mind that unpairing your AirPods will require you to manually reconnect them to your desired devices when you want to use them again. However, this inconvenience is outweighed by the increased control and privacy you gain by preventing them from connecting to other phones without your permission.
By following the simple steps to unpair your AirPods, you can exert more control over their connections and ensure that they only connect to the devices you want them to. This helps to eliminate any unwanted connections and guarantees a seamless listening experience with your AirPods.
Disable Bluetooth
Disabling Bluetooth on your AirPods and the devices you don’t want them to connect to is an effective way to prevent unwanted connections. By turning off Bluetooth, you eliminate the possibility of your AirPods detecting and pairing with nearby devices. Here’s how you can disable Bluetooth:
1. On your iOS device, swipe up from the bottom of the screen to access the Control Center. If you’re using an Android device, check the notification panel or the Settings menu for the Bluetooth option.
2. Look for the Bluetooth icon, which usually resembles a stylized “B.” Tap on it to disable Bluetooth. The icon may change color or disappear to indicate that Bluetooth is turned off.
3. Repeat this process on all devices you want to prevent your AirPods from connecting to. This includes smartphones, tablets, laptops, and any other Bluetooth-enabled devices.
4. To re-enable Bluetooth when you want to use your AirPods, simply follow the same steps and toggle the Bluetooth button to the “On” position.
Keep in mind that disabling Bluetooth may also affect other wireless devices and services that rely on it, such as wireless keyboards, speakers, and smartwatches. If you have other devices that rely on Bluetooth, consider disabling Bluetooth only on the specific devices you don’t want your AirPods to connect to.
By disabling Bluetooth, you create a buffer zone around your AirPods, reducing the chances of them connecting to other phones or devices inadvertently. This method provides a simple yet effective way to regain control over your AirPods’ connections and ensure they only connect to your desired devices.
Remember to re-enable Bluetooth when you want to use your AirPods again or when you want to connect them to your preferred devices. By actively managing Bluetooth settings, you can maintain a seamless and uninterrupted audio experience with your AirPods.
Forget AirPods on other devices
If your AirPods have connected to other devices in the past and you no longer want them to connect, you can use the “Forget This Device” option to remove their pairing information. Forgetting your AirPods on other devices ensures that they won’t automatically connect and minimizes the chances of unwanted connections. Here’s how you can forget your AirPods on different devices:
1. Start by accessing the Bluetooth settings on the device you want to remove your AirPods from. This can be an iPhone, iPad, Mac, or any other device that your AirPods have previously paired with.
2. Locate your AirPods in the list of paired devices. They should be listed with their name, such as “John’s AirPods” or “AirPods Pro.”
3. Tap on the “i” or information icon next to your AirPods’ name. This will open the device details and options related to your AirPods.
4. Look for the option to “Forget” or “Unpair” your AirPods. The wording may vary depending on the device and operating system you’re using. Select this option to initiate the removal process.
5. Confirm your action when prompted to proceed with forgetting your AirPods on the device. This will erase the pairing information and prevent the device from automatically connecting to your AirPods in the future.
6. Repeat this process on all devices you want to remove your AirPods from. It’s essential to forget your AirPods on each device to ensure complete disconnection.
By forgetting your AirPods on other devices, you sever the connection between them, preventing any automatic connections and minimizing the chances of accidental or unwanted pairings.
It’s important to note that forgetting your AirPods on other devices doesn’t affect their connection to your primary devices. Your AirPods will still be paired and ready to connect to your preferred devices, ensuring a seamless listening experience.
By actively managing the paired devices and forgetting your AirPods on devices you don’t want them to connect to, you maintain control over their connections and significantly reduce the chances of them connecting to other phones or devices without your consent.
Enable Automatic Ear Detection
Enabling the Automatic Ear Detection feature can help prevent your AirPods from connecting to other phones when you’re not using them. This feature utilizes sensors in your AirPods to detect when they are placed in your ears. When you remove them, the audio playback automatically pauses, reducing the chances of accidental connections. Here’s how you can enable Automatic Ear Detection:
1. Open the Settings app on your iOS device, such as an iPhone or iPad, that is paired with your AirPods.
2. Scroll down and tap on “Bluetooth.”
3. Locate your AirPods in the list of paired devices and tap on the “i” or information icon next to them.
4. On the AirPods settings page, you should see an option for “Automatic Ear Detection.” Toggle this option to the “On” position.
5. Close the Settings app, and your AirPods will now have the Automatic Ear Detection feature enabled.
With Automatic Ear Detection enabled, your AirPods will pause audio playback when you remove them from your ears. This not only helps preserve battery life but also significantly reduces the chances of your AirPods connecting to other phones or devices while not in use.
It’s worth noting that Automatic Ear Detection relies on the sensors in your AirPods, so ensure that they are properly positioned in your ears for accurate detection. Additionally, if you place only one AirPod in your ear while keeping the other in the case, audio playback may not automatically pause.
By enabling Automatic Ear Detection, you can have peace of mind knowing that your AirPods will only play audio when they are in your ears and will pause playback when not in use. This feature helps minimize accidental connections and ensures that your AirPods remain connected to your preferred devices for a seamless listening experience.
Keep your AirPods in their case
One of the simplest and most effective ways to prevent your AirPods from connecting to other phones is to keep them securely stored in their case when you’re not using them. The case acts as a protective and disconnected environment for your AirPods, minimizing the chances of unintended connections. Here’s why and how to keep your AirPods in their case:
1. Whenever you take your AirPods out of your ears, make it a habit to immediately place them back in their case. This ensures that they are not left unattended and reduces the chances of them accidentally pairing with nearby devices.
2. The AirPods case is designed to keep your earbuds safe and protected. It also serves as a disconnected state for your AirPods, preventing them from actively searching for new connections.
3. When your AirPods are in the case, their Bluetooth radio signal is greatly minimized, making it less likely for other devices to detect and connect to them.
4. When you’re not actively using your AirPods, keeping them in the case helps conserve battery life. The case itself can also recharge your AirPods, ensuring that they are ready to use when you need them.
By keeping your AirPods in their case, you take control over their connection status. This simple practice ensures that your AirPods are only connected to your desired devices and avoids any unwanted connections to other phones or devices.
Additionally, carrying your AirPods in their case provides a convenient and portable solution, allowing you to easily store them when they’re not in use and minimize the chances of losing them. The case is compact and fits easily in your pocket, bag, or purse, ensuring that your AirPods are protected and readily accessible whenever you need them.
Remember that your AirPods will automatically connect to your preferred devices once you remove them from the case. This seamless connectivity, combined with the practice of keeping them in the case when not in use, helps maintain full control over their connections and enhances your overall AirPods experience.
Disable Automatic Switching on iOS devices
If you primarily use iOS devices and want to prevent your AirPods from automatically switching to other phones, disabling the Automatic Switching feature is essential. This feature allows your AirPods to seamlessly switch between your Apple devices, but it can also lead to unintended connections. Here’s how you can disable Automatic Switching on your iOS devices:
1. Open the Settings app on your iPhone or iPad that is paired with your AirPods.
2. Scroll down and tap on “Bluetooth.”
3. Locate your AirPods in the list of connected devices and tap on the “i” or information icon next to them.
4. On the AirPods settings page, you should see an option for “Automatic Switching.” Toggle this option to the “Off” position.
5. Close the Settings app, and your AirPods will no longer automatically switch between your iOS devices.
Disabling Automatic Switching prevents your AirPods from seamlessly switching between your iPhone, iPad, and other iOS devices. While this feature can be convenient for some users, it can also lead to unexpected connections when you’re using a different device nearby. By turning off Automatic Switching, you maintain more control over which device your AirPods are connected to.
Keep in mind that disabling Automatic Switching means that you will need to manually select your AirPods’ connection when switching between devices. To do this, access the Control Center on your iOS device, swipe down or up (depending on the model), and tap on the AirPlay icon. From there, select your AirPods from the list of available devices.
By taking the time to disable Automatic Switching, you ensure that your AirPods only connect to the device you manually choose, reducing the chances of them connecting to other phones and devices without your consent. This way, you maintain control over your AirPods connections and enjoy a seamless listening experience.
Disable Automatic Switching on macOS devices
If you use macOS devices and want to prevent your AirPods from automatically switching to other phones or devices, disabling the Automatic Switching feature is crucial. Automatic Switching allows your AirPods to seamlessly switch between your Apple devices, but it can also lead to unwanted connections. Here’s how you can disable Automatic Switching on your macOS devices:
1. Open the Bluetooth menu on your Mac by clicking on the Bluetooth icon in the menu bar. If you don’t see the Bluetooth icon, go to System Preferences > Bluetooth to access the Bluetooth settings.
2. In the Bluetooth menu, locate your AirPods under the “Devices” section. It should display the name of your AirPods, such as “John’s AirPods” or “AirPods Pro”.
3. Right-click (or Control-click) on the name of your AirPods and select “Options” from the context menu that appears.
4. In the options submenu, you will see an option for “Connect to This Mac.” Uncheck this option to disable automatic switching for your AirPods.
5. Close the Bluetooth menu, and your AirPods will no longer automatically switch between your macOS devices.
By disabling Automatic Switching on your macOS devices, you regain control over the connection behavior of your AirPods. This means that they will no longer automatically switch between different Apple devices without your input.
It’s important to note that disabling Automatic Switching on one macOS device does not affect the behavior of your AirPods with other macOS devices or iOS devices. Each device has its own settings for Automatic Switching, so you may need to repeat these steps on each macOS device you want to disable automatic switching on.
By taking the time to disable Automatic Switching on your macOS devices, you can prevent your AirPods from unexpectedly connecting to other phones or devices. This gives you more control over their connections and ensures a seamless listening experience with your preferred device.
Conclusion
Preventing your AirPods from connecting to other phones requires a proactive approach and a few simple steps. By implementing the methods outlined in this article, you can regain control over your AirPods’ connections and enjoy a seamless listening experience. Let’s recap the key strategies we’ve covered:
- Unpairing your AirPods from devices they are currently connected to ensures they don’t automatically connect.
- Disabling Bluetooth on your AirPods and other devices minimizes the chances of unintended connections.
- Forgetting your AirPods on other devices removes their pairing information, reducing the likelihood of automatic connections.
- Enabling Automatic Ear Detection helps prevent your AirPods from connecting to other phones when not in use.
- Keeping your AirPods in their case provides a secure and disconnected environment, lessening the chances of unintended connections.
- Disabling Automatic Switching on iOS devices and macOS devices ensures your AirPods only connect to the devices you choose.
By following these strategies, you can customize the behavior of your AirPods and minimize the risk of them connecting to other phones or devices. It’s important to remember that each method serves a specific purpose and may require different steps on various devices.
By actively managing your AirPods’ connections, you can enjoy a seamless and uninterrupted audio experience, knowing that your AirPods will connect only to your preferred devices. Whether you’re using them with an iPhone, iPad, Mac, or any other Bluetooth-enabled device, these strategies provide effective ways to prevent unwanted connections and maintain control over your AirPods’ behavior.
Now it’s time to take action! Choose the methods that suit your needs and preferences, and implement them to prevent your AirPods from connecting to other phones or devices. By doing so, you’ll ensure that your AirPods are always connected to the devices you choose, providing you with an optimal listening experience.