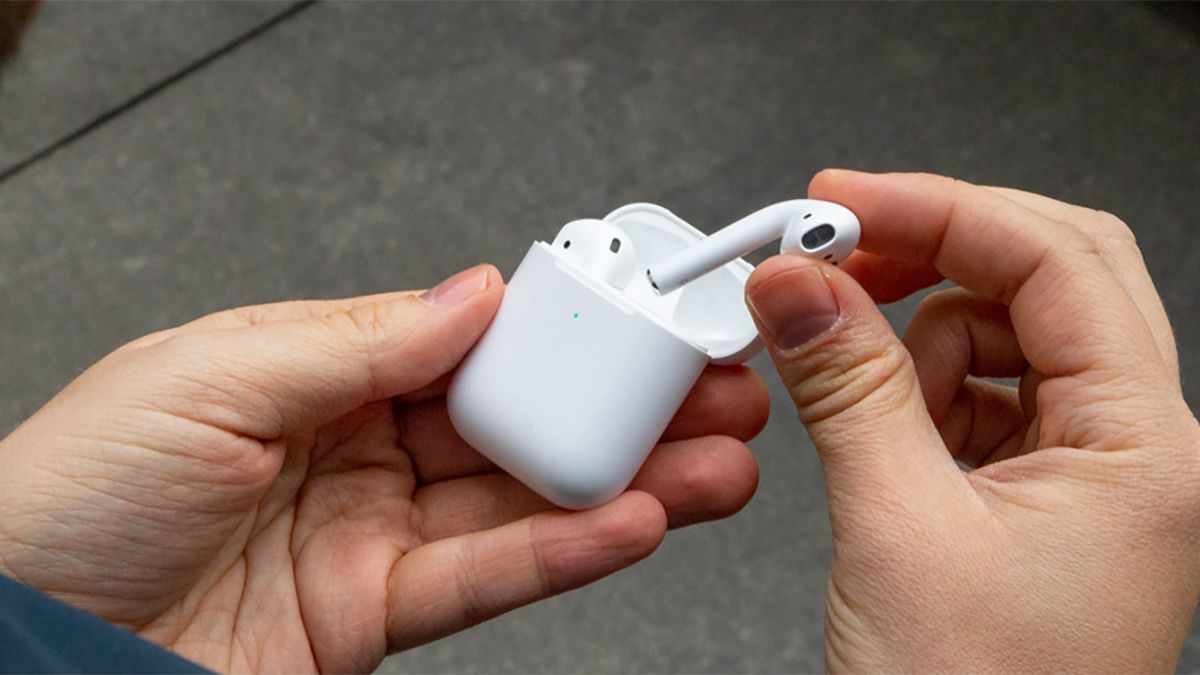
Introduction
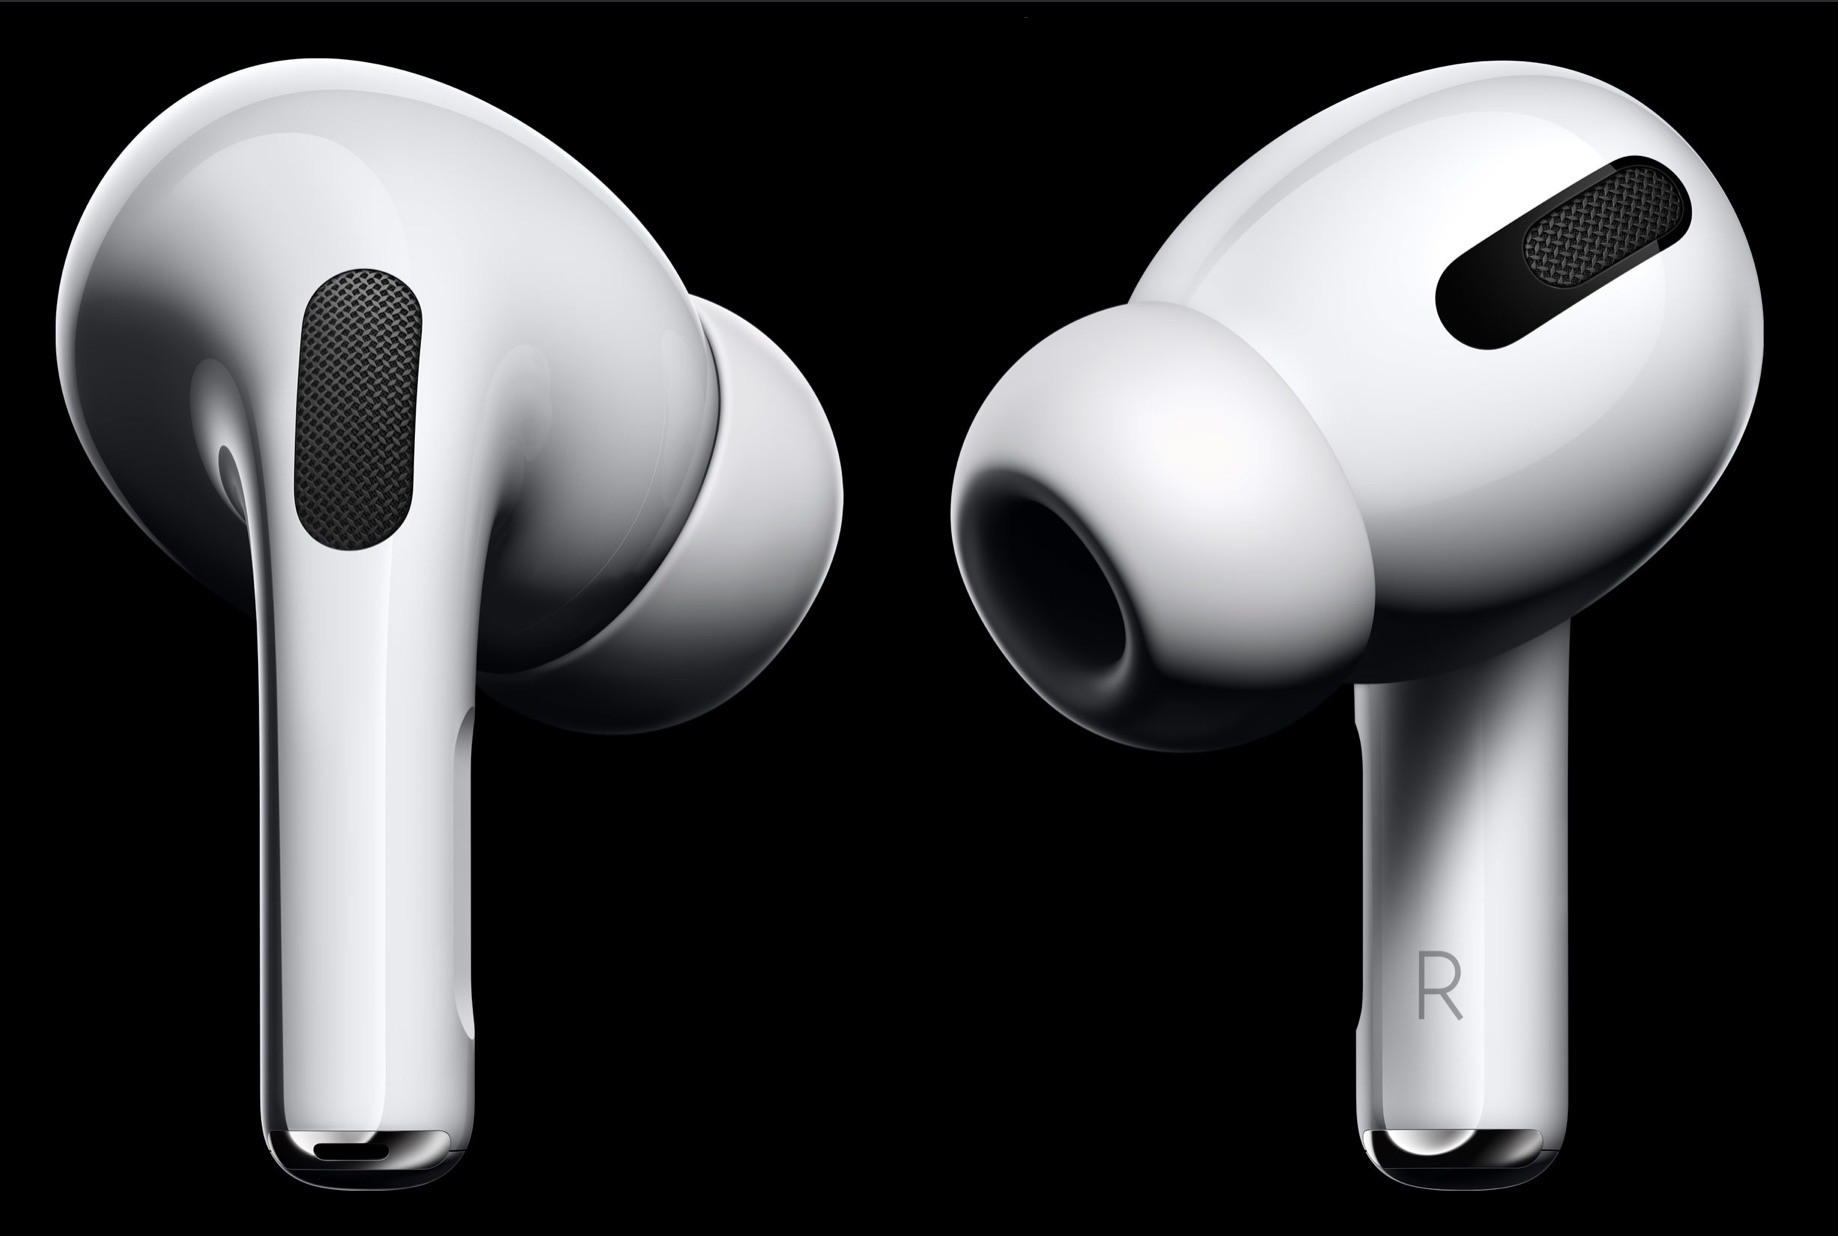
Keeping your AirPods microphone clean is essential for maintaining the sound quality and overall functionality of these popular wireless earphones. Whether you use your AirPods for work calls, virtual meetings, or simply for listening to music, a clean microphone ensures clear audio transmission and a better user experience.
Over time, the microphone on your AirPods can accumulate dirt, dust, and even earwax, which can affect the microphone’s performance and result in muffled or distorted sound. Regularly cleaning your AirPods microphone not only improves its longevity but also safeguards your hearing by preventing the need to increase the volume in noisy environments.
In this article, we will guide you through the step-by-step process of cleaning your AirPods microphone effectively. We will also provide you with some tips on how to maintain the cleanliness of your AirPods microphone to ensure optimal performance and hygienic use.
Note: It’s important to mention that while cleaning the AirPods microphone, you should avoid excessive moisture or any direct contact with water, as this can damage the internal components of your AirPods.
Why is it important to clean your AirPods microphone?
Regularly cleaning your AirPods microphone is crucial for several reasons:
- Maintaining sound quality: The microphone on your AirPods plays a vital role in capturing your voice and transmitting it to the receiver. Any debris or buildup on the microphone can obstruct sound transmission, resulting in muffled or distorted audio.
- Prolonging microphone lifespan: Dirt, dust, and other particles can accumulate on the microphone over time, potentially causing damage or affecting its functionality. By cleaning the microphone regularly, you can prevent these issues and ensure the longevity of your AirPods.
- Improving call quality: If you frequently use your AirPods for phone calls or virtual meetings, a clean microphone is essential for crystal-clear communication. Removing any buildup on the microphone will help eliminate background noise and ensure your voice is captured accurately.
- Preventing hygiene concerns: Properly cleaning your AirPods microphone not only helps with sound quality but also promotes good hygiene. Earwax, sweat, and other residues can accumulate on the microphone, making it unhygienic to use. Regular cleaning eliminates these concerns, ensuring a clean and pleasant listening experience.
- Enhancing user experience: Clean AirPods with a functioning microphone enhance your overall listening experience. Whether you use them for music, podcasts, or calls, a clean microphone ensures that you can fully enjoy the intended sound quality without any disruptions or disturbances.
By taking the time to clean your AirPods microphone regularly, you can maintain their performance, prolong their lifespan, and enjoy crisp, high-quality audio whenever you use them.
Materials needed for cleaning the AirPods microphone
Before you begin cleaning your AirPods microphone, gather the following materials:
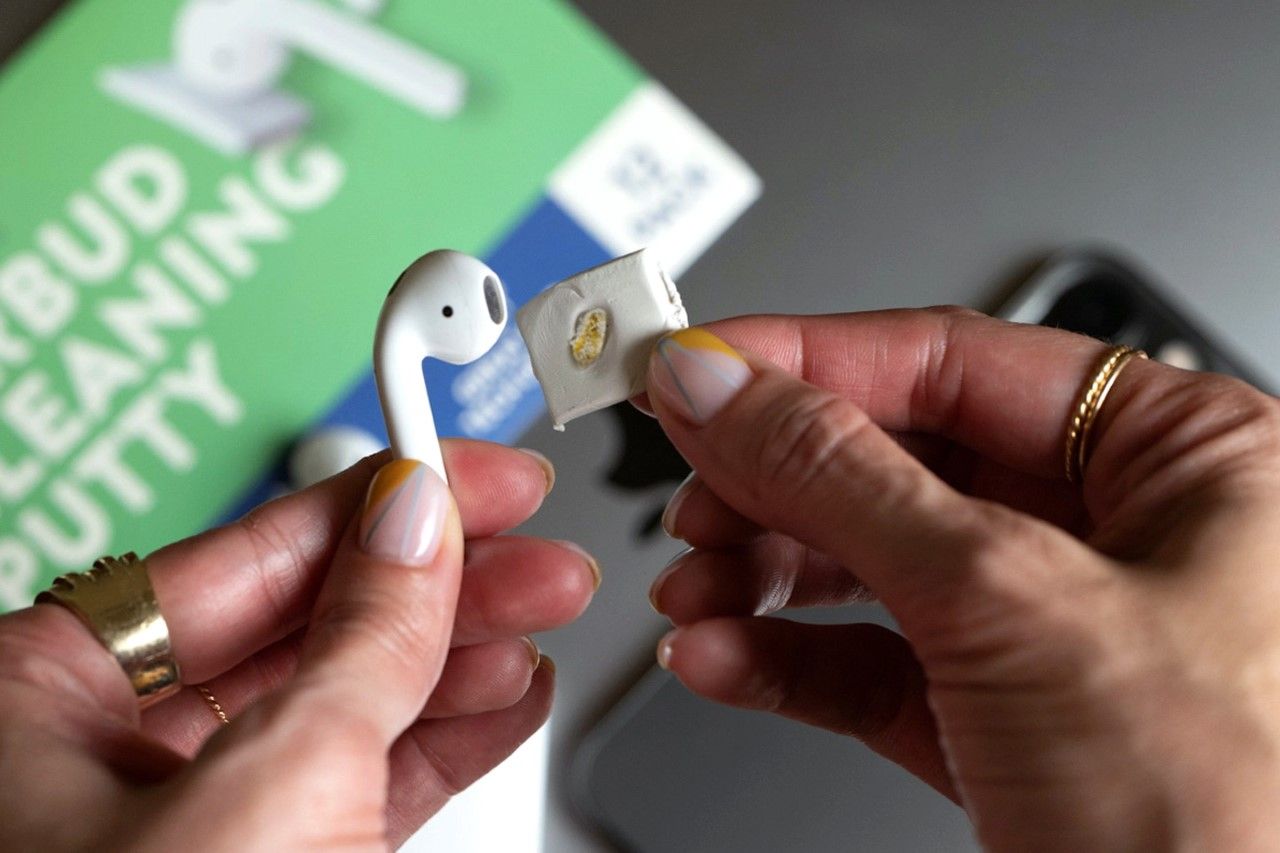
- Microfiber cloth: A soft and lint-free microfiber cloth is essential for removing dirt, dust, and smudges from your AirPods microphone without causing any scratches or damage.
- Cotton swabs: Cotton swabs, also known as Q-tips, can be useful for reaching into small crevices of the AirPods and gently cleaning the microphone area.
- Rubbing alcohol: Isopropyl alcohol with a concentration of 70% or higher is suitable for disinfecting the AirPods microphone. It helps eliminate bacteria and other germs that may be present on the surface.
- Toothpick or needle: A toothpick or a needle can be handy for careful removal of any stubborn debris or buildup around the microphone area. Be cautious when using these tools to avoid damaging the delicate components of your AirPods.
- Blower or compressed air: Using a blower or compressed air can help dislodge any loose particles or dust that may have accumulated around the microphone. This can be particularly useful for hard-to-reach areas.
- Optional: Anti-static brush: An anti-static brush, though not required, can be used to gently sweep away any dust particles that may be clinging to the surface of the AirPods or microphone area.
Having these materials handy will ensure that you have everything you need to effectively clean your AirPods microphone and maintain its optimal performance.
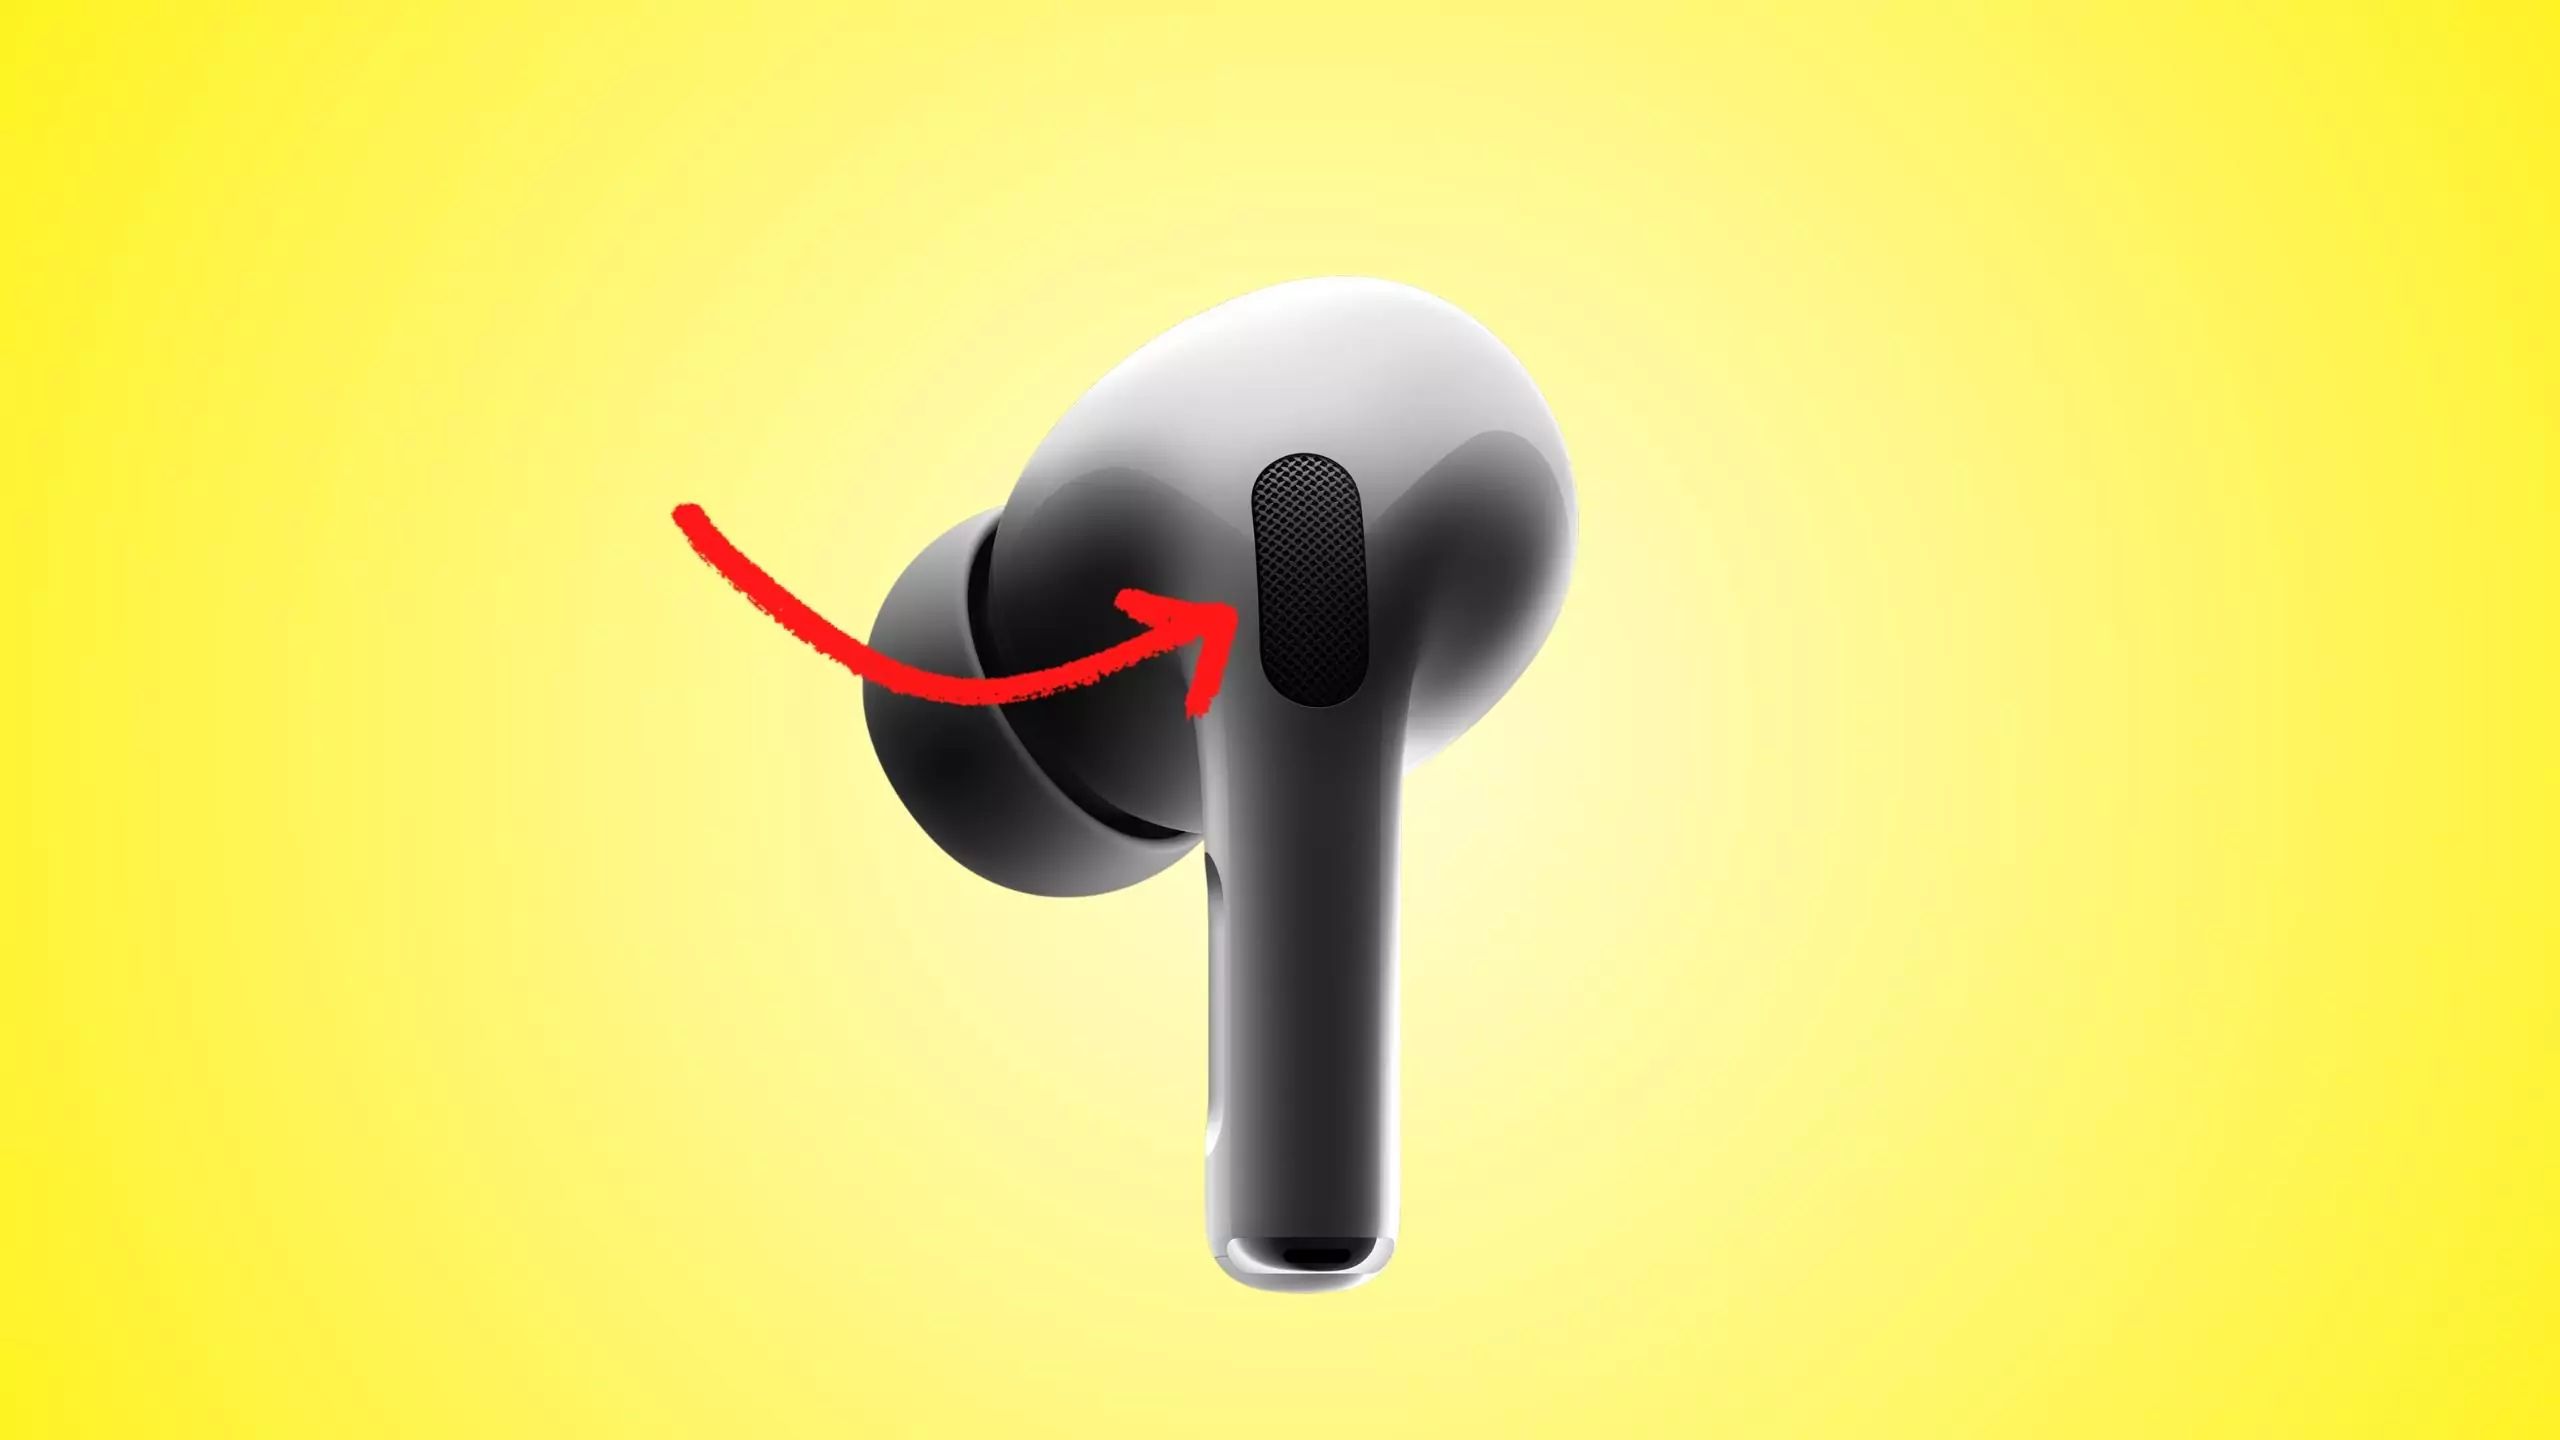
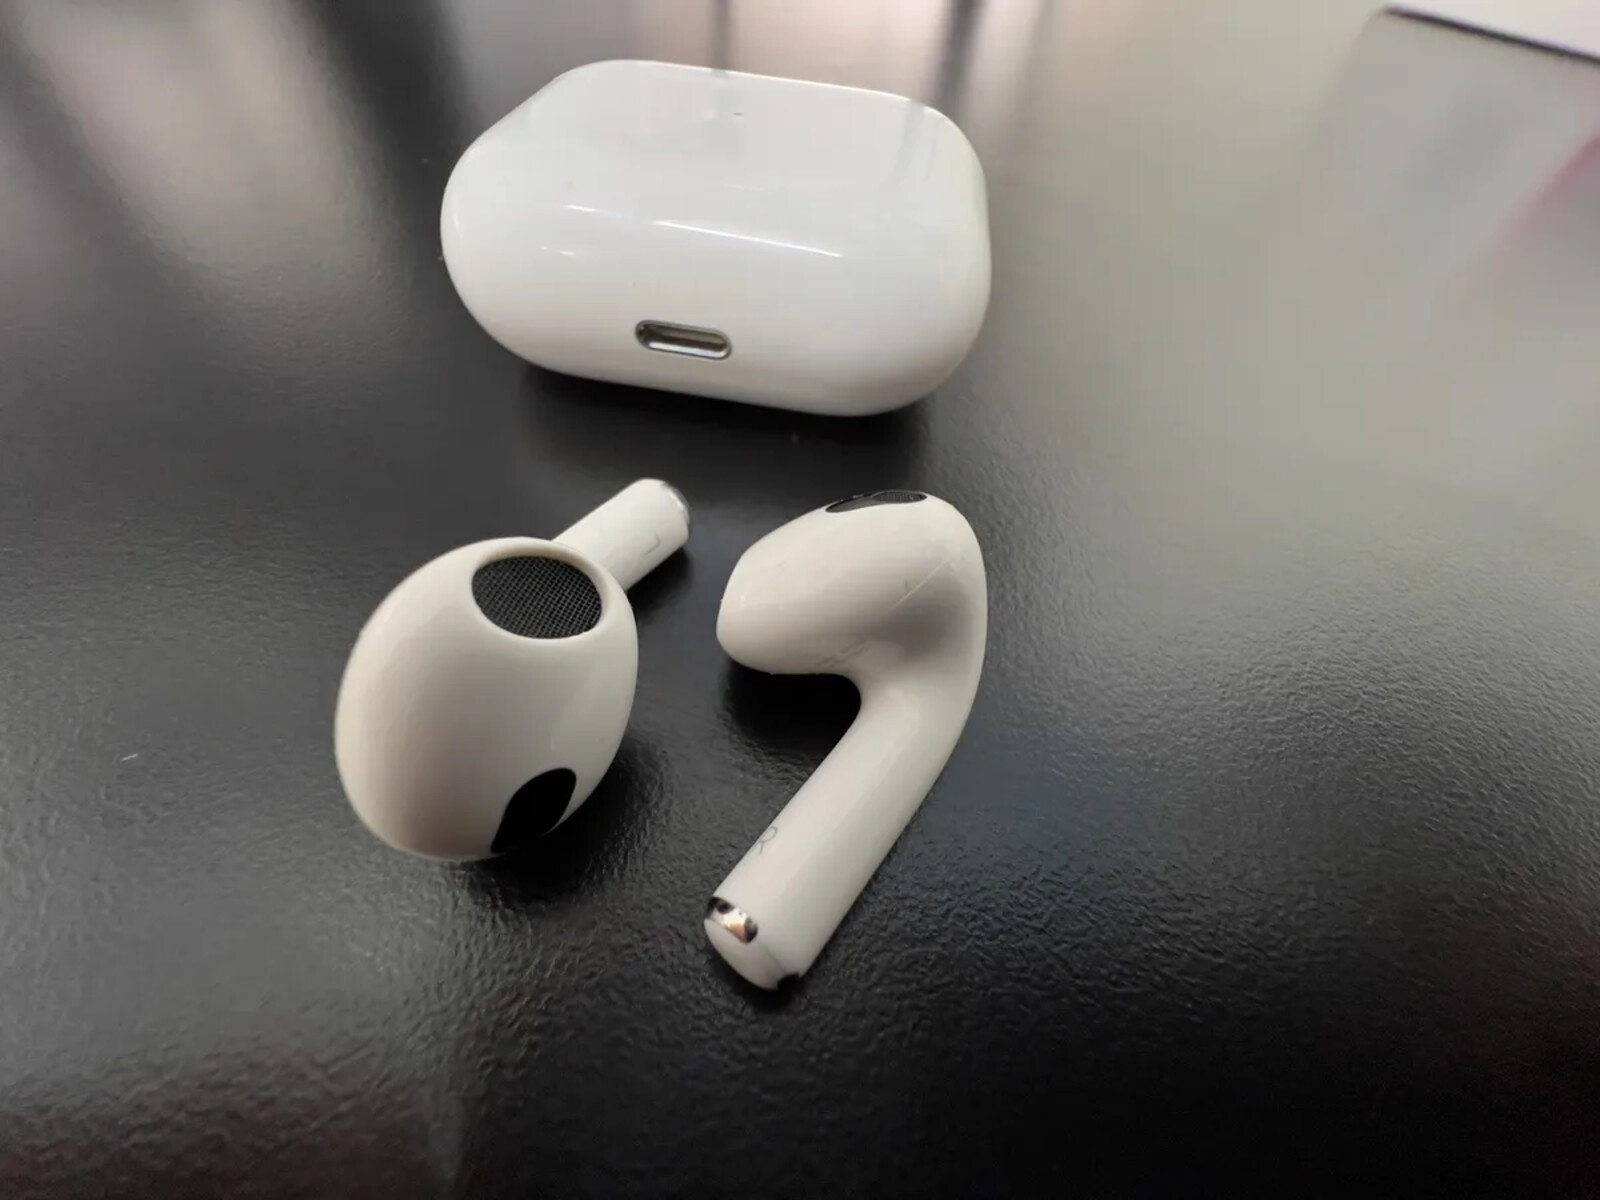
Step 1: Remove dirt and debris from the microphone
Before you start cleaning the AirPods microphone, it’s essential to remove any dirt, dust, or debris that may have accumulated around the microphone area. Here’s how:
- Inspect the microphone: Carefully examine the microphone area of your AirPods to identify any visible dirt or debris. Take note of any stubborn particles that may require extra attention.
- Use a soft brush or blower: Gently brush away loose dirt and debris from the microphone using a soft brush or a blower. If using a blower, be careful not to blow air directly into the microphone to avoid causing any damage.
- Remove stubborn dirt: For more stubborn dirt or debris, you can use a toothpick or needle to carefully dislodge them. Be extremely gentle to prevent scratching or damaging the microphone.
- Swipe with a microfiber cloth: Take a clean microfiber cloth and lightly swipe the microphone area to remove any remaining dirt or dust. Ensure that the cloth is dry and free of any moisture.
- Check for cleanliness: Inspect the microphone area again to ensure that it is free of any dirt or debris. If there are still visible particles, repeat the process until the microphone appears clean.
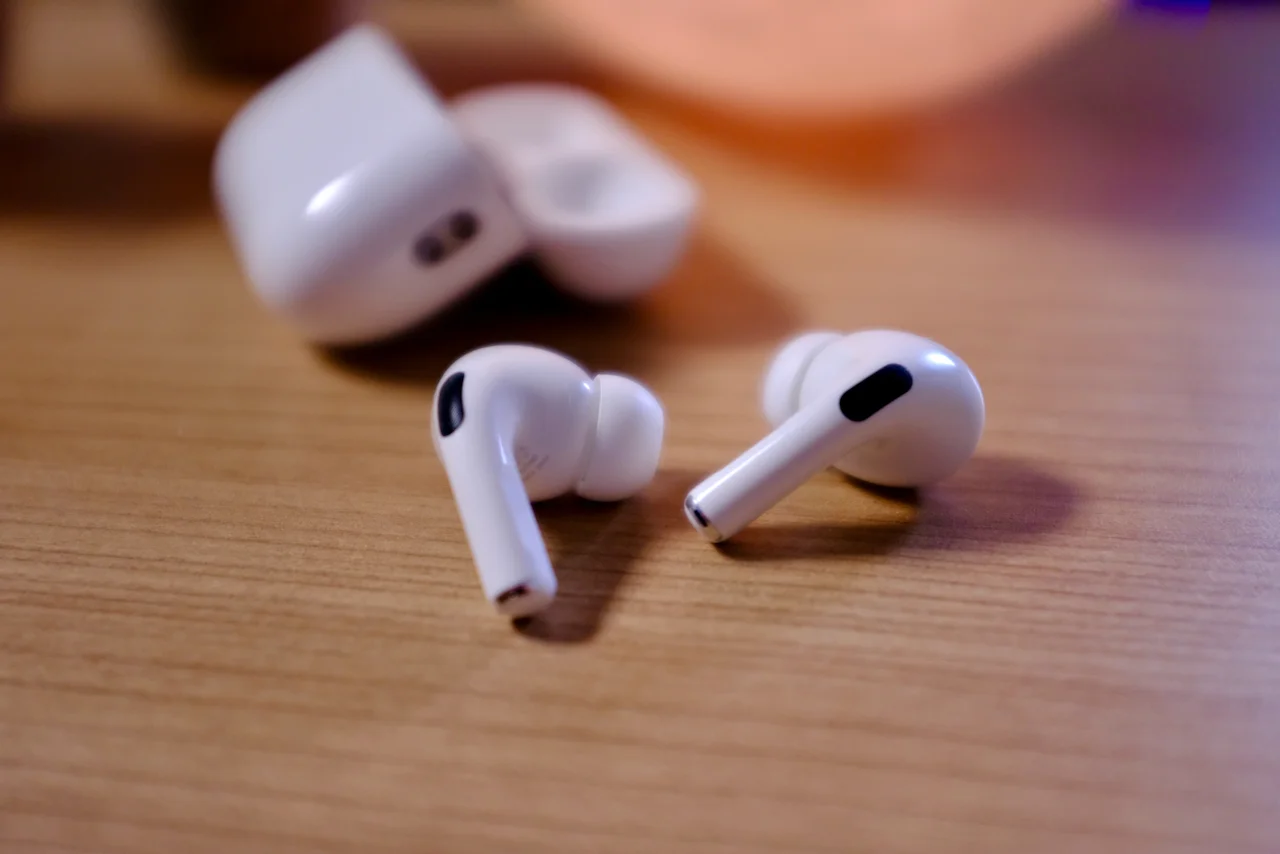
- Repeat the process for the other AirPod: It’s essential to clean both AirPods simultaneously to achieve balanced audio performance. Repeat the above steps for the microphone of the other AirPod.
By thoroughly removing dirt and debris from the AirPods microphone, you lay the foundation for a more effective cleaning process and help maintain optimal audio quality.
Step 2: Clean the microphone with a microfiber cloth
Once you have removed dirt and debris from the AirPods microphone, it’s time to clean it using a microfiber cloth. Follow these steps:
- Fold the microfiber cloth: Take a clean microfiber cloth and fold it into a small, manageable size. This will allow for better control and precision while cleaning the microphone.
- Gently wipe the microphone: Using the folded microfiber cloth, gently wipe the microphone area of your AirPods. Make sure to apply only light pressure to avoid damaging the microphone or other components of your AirPods.
- Use circular motions: Clean the microphone in small circular motions, covering the entire area. This helps dislodge and remove any remaining dirt or smudges effectively.
- Pay attention to edges and corners: Ensure that you clean the edges and corners around the microphone thoroughly, as these areas can often accumulate dirt and grime.
- Inspect for cleanliness: After wiping the microphone, inspect it to ensure that there are no visible dirt, smudges, or streaks. If necessary, repeat the process until the microphone appears clean and clear.
- Repeat for the other AirPod: Remember to clean the microphone of the other AirPod using the same technique.
By cleaning the microphone with a microfiber cloth, you can remove fingerprints, smudges, and any residue that may affect the performance of your AirPods microphone. This step contributes to maintaining clear sound quality and optimal functionality.
Step 3: Disinfect the microphone with rubbing alcohol
After removing dirt and cleaning the AirPods microphone, it’s important to disinfect it to eliminate bacteria and germs. Follow these steps to disinfect the microphone using rubbing alcohol:
- Dampen a cotton swab: Take a cotton swab and dampen one end with rubbing alcohol. It’s important not to soak the swab; a slightly dampened swab is sufficient for effective disinfection.
- Swipe the microphone: Gently swipe the dampened end of the cotton swab across the surface of the microphone. Make sure to cover the entire area, including the edges and corners.
- Avoid excess moisture: Be cautious not to apply excessive moisture to the microphone. It’s important to use just enough rubbing alcohol to disinfect the microphone without damaging the internal components of your AirPods.
- Allow drying time: After disinfecting the microphone, allow it to air dry for a few minutes. This will ensure that any remaining moisture evaporates completely before using your AirPods again.
- Repeat for the other AirPod: Repeat the above steps to disinfect the microphone of the other AirPod. It’s important to disinfect both AirPods simultaneously for balanced and hygienic use.
Disinfecting the microphone with rubbing alcohol helps eliminate bacteria and germs, ensuring a cleaner and more hygienic audio experience. However, remember to be cautious and avoid excessive moisture to prevent any potential damage to your AirPods.
Step 4: Dry the microphone properly
Once you have disinfected the AirPods microphone, it is crucial to ensure that it is dried thoroughly before using them again. Follow these steps to properly dry the microphone:
- Air dry: After disinfecting the microphone with rubbing alcohol, allow it to air dry naturally. Avoid using a hairdryer, as the heat can damage the delicate components of your AirPods. Patience is key at this stage.
- Check for moisture: Once you believe the microphone is dry, it’s essential to double-check for any remaining moisture. Look closely at the microphone area under good lighting to ensure there are no visible signs of dampness.
- Let it sit longer if needed: If you find any traces of moisture, give the microphone additional time to dry. It’s better to err on the side of caution to avoid potential damage or compromised performance.
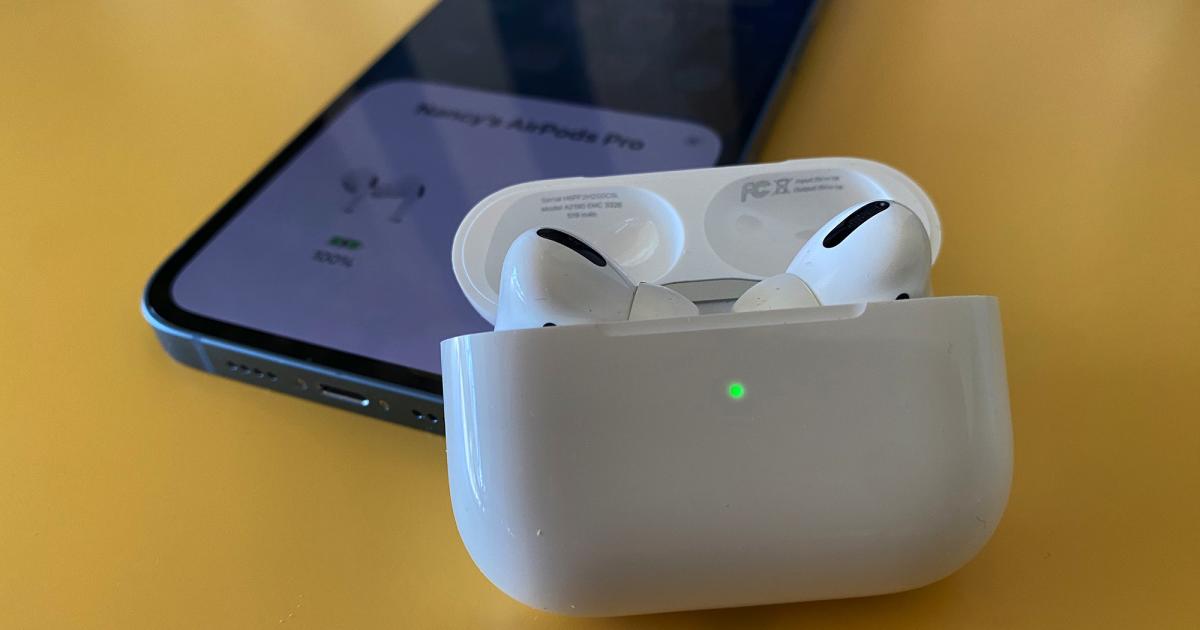
- Reassemble the AirPods: Once you are confident that the microphone is completely dry, reassemble the AirPods and ensure that they are securely in place. This is particularly important if you had removed the AirPods from their charging case during the cleaning process.
Properly drying the microphone is crucial to prevent any moisture-related issues and to ensure the optimal functionality of your AirPods. Take the necessary time to allow the microphone to dry completely before using them again.
Additional tips for maintaining the cleanliness of your AirPods microphone
To keep your AirPods microphone clean and in optimal condition, consider the following tips:
- Regular cleaning routine: Incorporate cleaning your AirPods microphone into your regular device maintenance routine. This will help prevent excessive dirt and buildup, ensuring better audio quality and longevity.
- Avoid excessive moisture: As mentioned earlier, it’s crucial to avoid excessive moisture when cleaning the AirPods microphone. Moisture can damage the internal components and compromise overall performance. Use a damp cloth sparingly and never submerge your AirPods in water.
- Store them properly: When you’re not using your AirPods, store them in their charging case or a protective case. This helps shield them from dust, debris, and potential damage. Keeping them in a clean environment can significantly reduce the need for frequent cleaning.
- Avoid sharing with others: Sharing your AirPods with others may increase the risk of dirt and bacteria transfer. If sharing is unavoidable, consider cleaning the microphones before and after sharing to maintain hygiene.
- Handle with clean hands: Before using or cleaning your AirPods, ensure that your hands are clean. This minimizes the transfer of dirt, oils, and other substances onto the microphone or other parts of your AirPods.
- Use a protective screen or cover: Consider using a protective screen or cover specifically designed for AirPods. These accessories can provide an extra layer of protection to prevent dirt and debris from accumulating on the microphone and other areas.
- Regularly clean the charging case: Don’t forget to regularly clean the charging case of your AirPods as well. A dirty charging case can transfer dirt and debris onto your AirPods, including the microphone area.
By following these additional tips, you can maintain the cleanliness of your AirPods microphone and ensure optimal performance, sound quality, and overall hygiene.
Conclusion
Regularly cleaning your AirPods microphone is crucial for maintaining clear audio quality, prolonging the lifespan of your device, and promoting hygienic use. By following the step-by-step cleaning process and implementing the additional maintenance tips mentioned in this article, you can keep your AirPods microphone in optimal condition.
Start by removing dirt and debris from the microphone, using a soft brush or blower to dislodge particles. Then, clean the microphone with a microfiber cloth, ensuring the entire surface is free from smudges and fingerprints. Disinfect the microphone with rubbing alcohol, taking care not to use excessive moisture. Allow the microphone to air dry thoroughly before reassembling your AirPods.
To maintain the cleanliness of your AirPods microphone, establish a regular cleaning routine and store your AirPods properly. Avoid sharing them with others to minimize the transfer of dirt and bacteria. Keep your hands clean when handling the AirPods and consider using a protective screen or cover. Additionally, don’t forget to regularly clean the charging case to prevent dirt and debris from affecting your AirPods.
By following these guidelines, you can ensure that your AirPods microphone continues to deliver crystal-clear sound and optimal performance for your listening pleasure, phone calls, virtual meetings, and more. Take care of your AirPods, and they will provide you with an enjoyable and hygienic audio experience for a long time to come.