Introduction
Welcome to our guide on how to put AirPods on noise cancelling mode! If you’re a proud owner of Apple’s popular wireless earbuds, you may be wondering how to optimize your listening experience in noisy environments. Luckily, AirPods are equipped with noise cancelling capabilities that can help you block out unwanted background sounds and focus on your favorite audio.
When you activate noise cancelling mode on your AirPods, you’ll be able to immerse yourself in your music, podcasts, or calls without any distractions. Whether you’re in a bustling coffee shop, on a crowded subway, or working in a noisy office, noise cancelling can make a significant difference in your overall enjoyment.
In this guide, we’ll take you through the process of putting your AirPods on noise cancelling mode step by step. Additionally, we’ll offer troubleshooting tips to help you address any potential issues you may encounter along the way.
Before we dive into the details, let’s take a closer look at what AirPods are and the concept of noise cancelling.
What are AirPods?
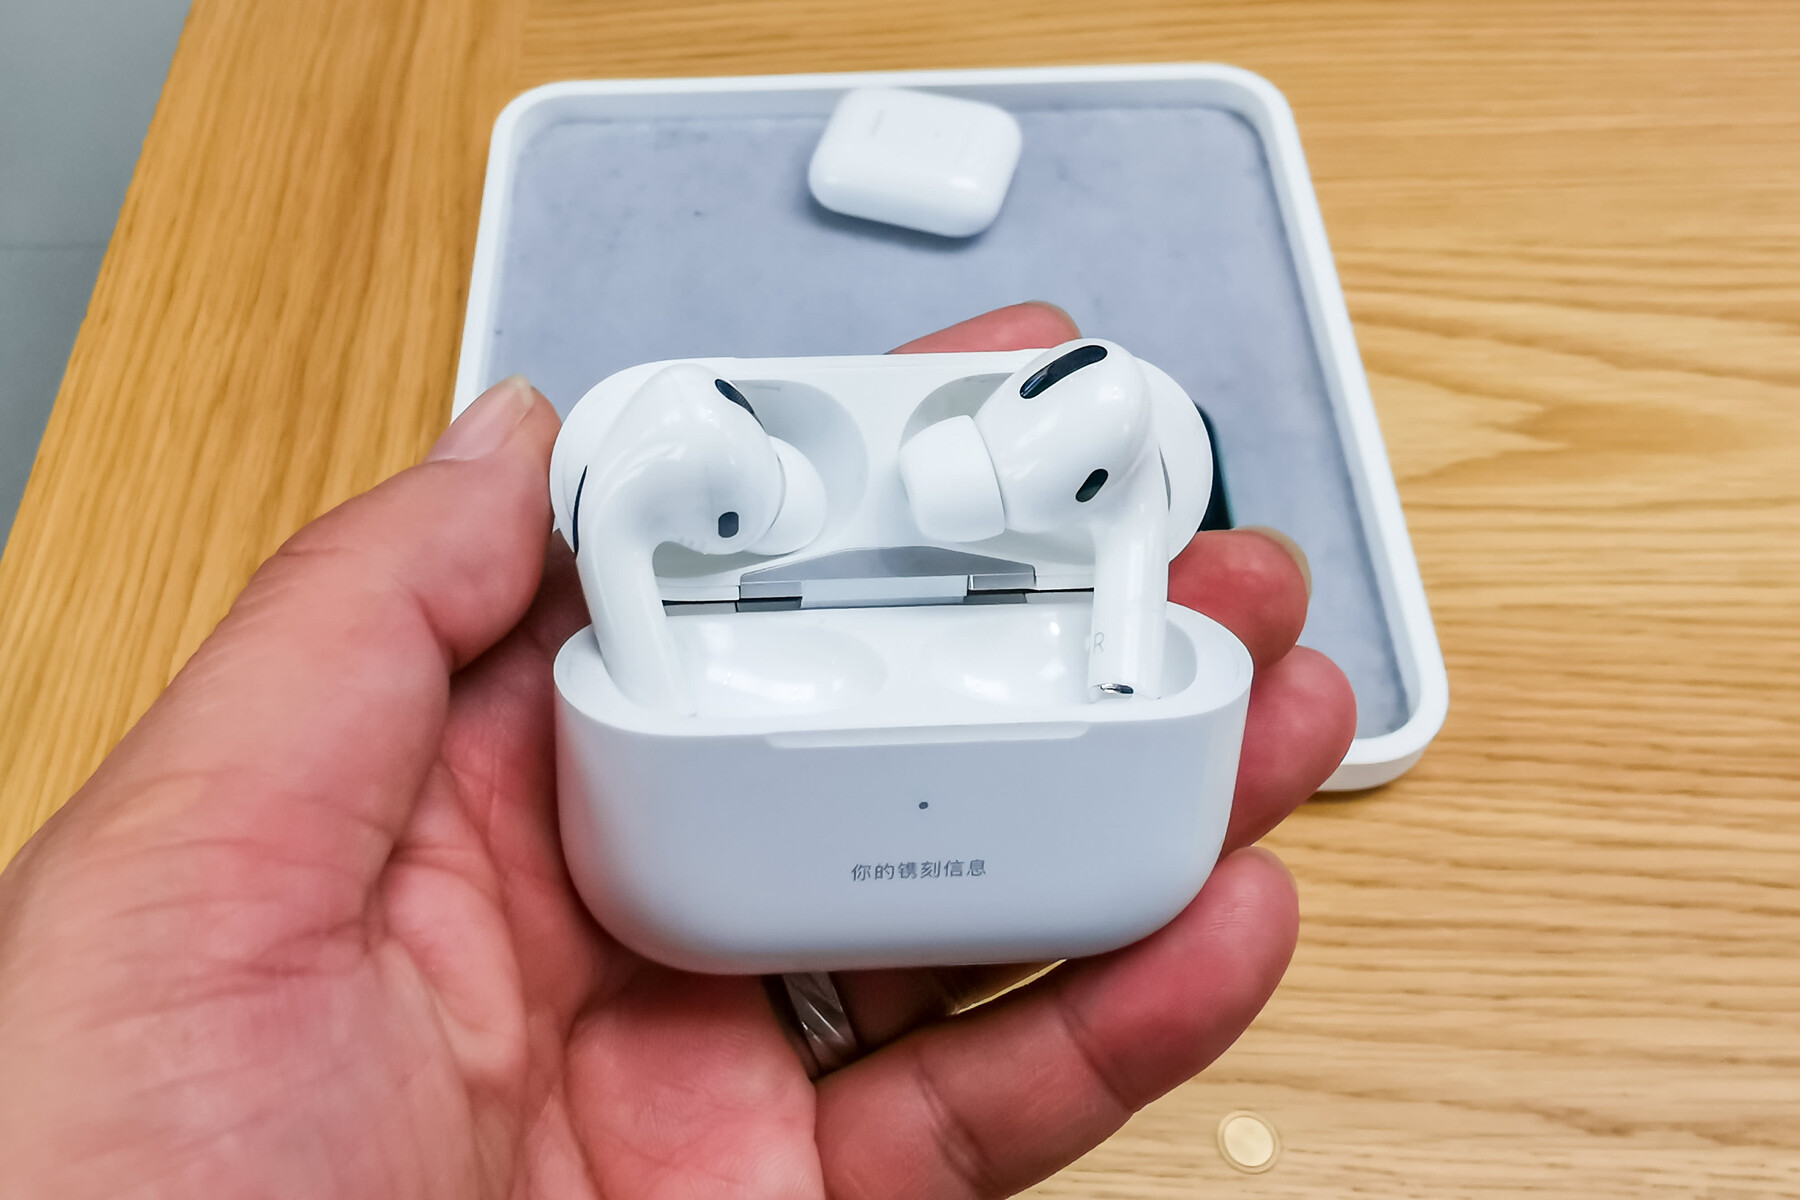
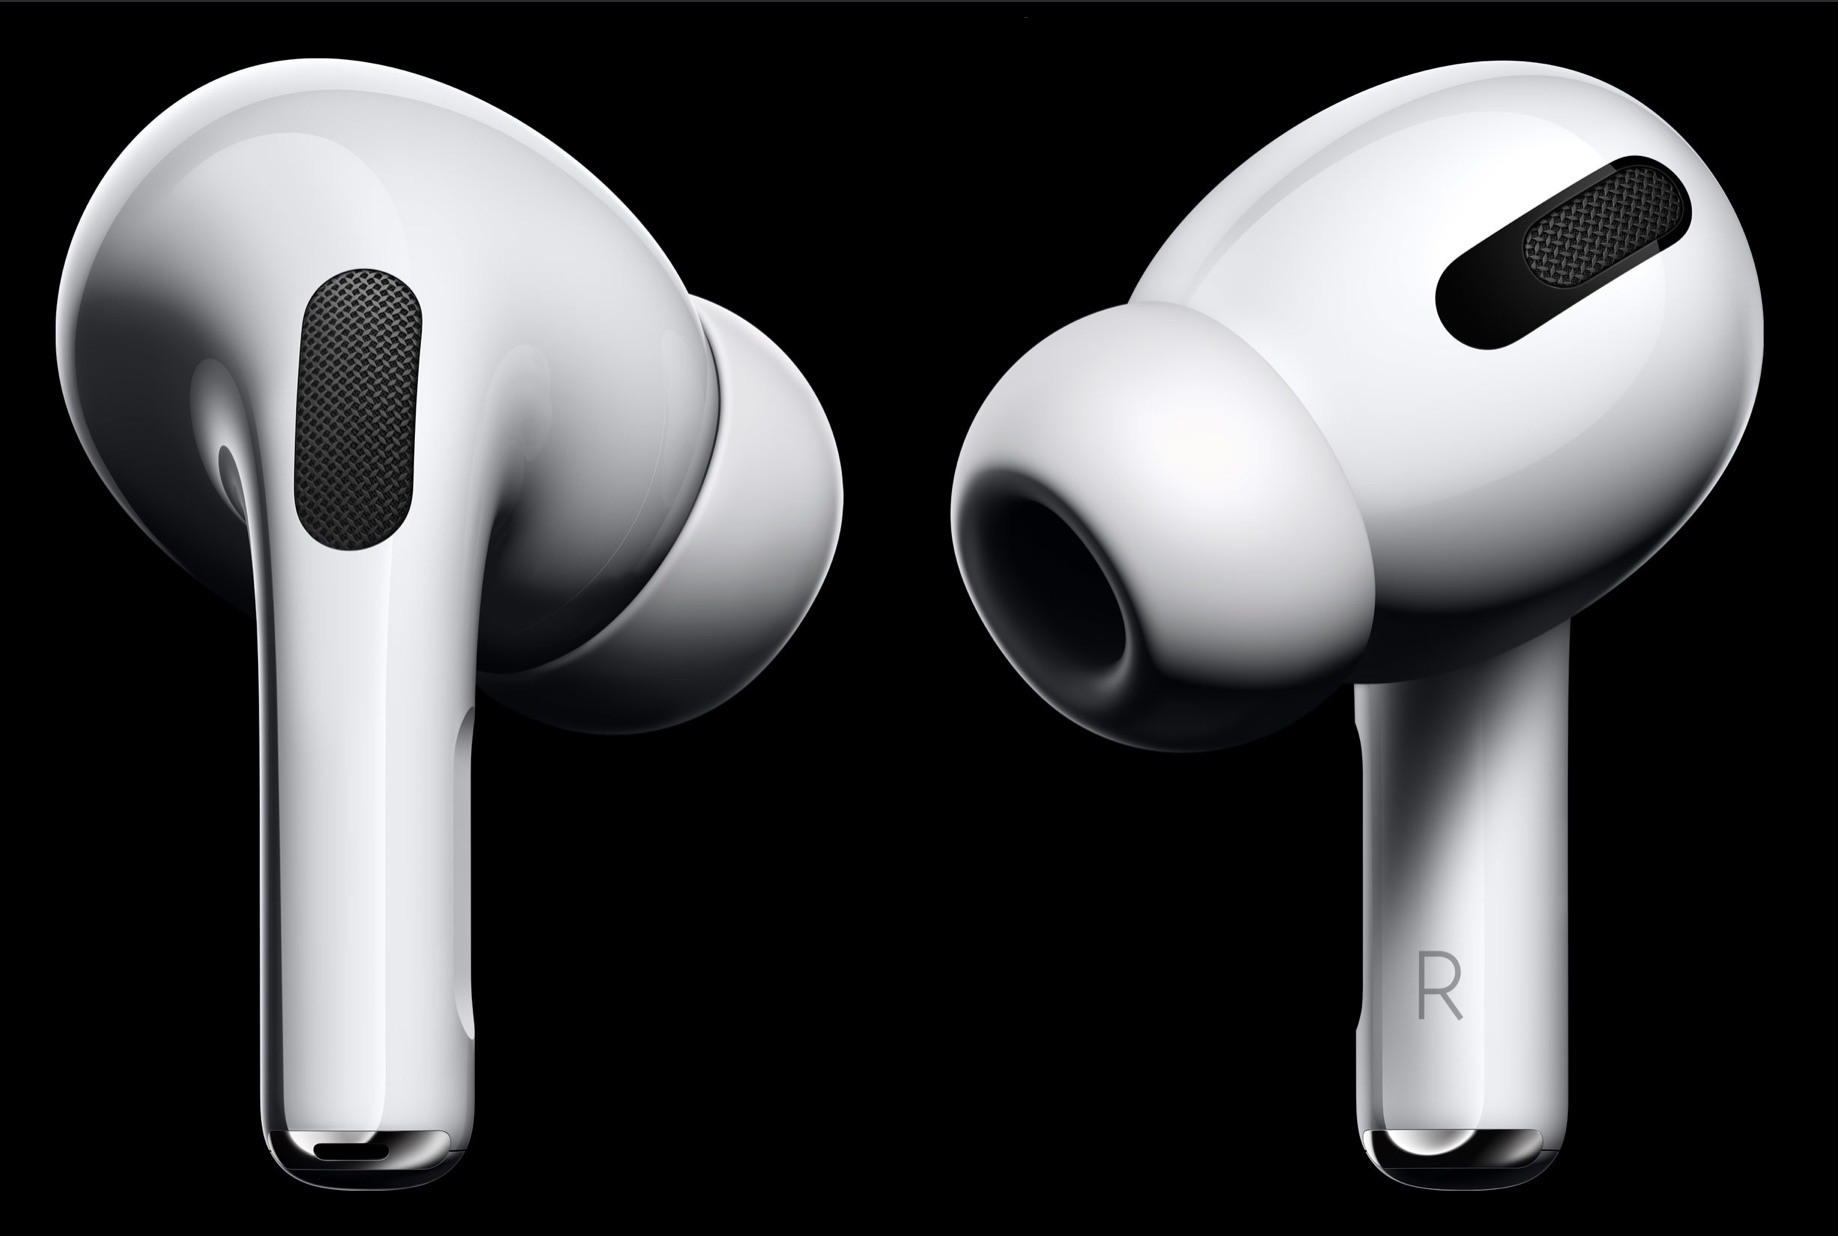
AirPods are wireless earbuds designed and produced by Apple. Launched in 2016, these sleek, compact devices have gained immense popularity due to their seamless integration with Apple devices and superior sound quality. AirPods offer a wireless listening experience powered by Bluetooth technology, allowing users to enjoy their favorite audio content without the hassle of tangled cords.
Unlike traditional wired earphones, AirPods come with a charging case that not only keeps them protected when not in use but also charges them on the go. The charging case provides multiple charges, extending the battery life of the AirPods and ensuring that they are always ready for use.
With their cutting-edge features and user-friendly design, AirPods have revolutionized the way we experience audio. They offer a range of functionalities, including touch controls for adjusting volume, skipping tracks, and activating voice assistants like Siri.
Moreover, AirPods are equipped with accelerometers and optical sensors that detect when they are inserted in your ears. This enables them to automatically pause playback when you remove them and resume when you put them back in, providing a seamless and convenient listening experience.
One of the standout features of AirPods is their integration with Apple’s ecosystem. They are designed to seamlessly connect with iPhones, iPads, Macs, and Apple Watches, allowing for quick and easy pairing and switching between devices. This integration extends to features like Siri, which can be activated with a simple voice command, and the ability to sync audio playback across multiple Apple devices.
Now that we have a better understanding of what AirPods are, let’s explore the concept of noise cancelling and how it can enhance your listening experience.
Understanding Noise Cancelling
Noise cancelling is a technology that helps minimize or eliminate ambient sounds, allowing you to enjoy your audio content without distractions. It works by employing microphones to detect external noises and then generating inverse sound waves to cancel them out.
The process of noise cancelling begins with the microphones on the AirPods picking up the sounds in your environment. These sounds can include background chatter, traffic noise, or the hum of an air conditioner. The microphones analyze these sounds and transmit the information to the AirPods’ built-in processor.
The processor then generates unique sound waves that are precisely out of phase with the detected external sounds. When these inverted sound waves combine with the incoming sounds, they effectively cancel each other out, significantly reducing the overall amount of noise you hear.
This noise cancelling technology is particularly beneficial in environments where there is consistent and predictable noise. It can help create a more immersive listening experience by reducing the distractions that can diminish the enjoyment of your audio.
It’s important to note that noise cancelling is most effective at canceling out low-frequency sounds, such as the hum of engines or the rumble of a dishwasher. While it can also reduce high-frequency sounds, like conversations or sirens, its effectiveness may vary in these cases.
AirPods provide two modes of noise cancellation: Active Noise Cancelling (ANC) and Transparency mode. In ANC mode, the external sounds are actively canceled out, providing a more isolated listening experience. On the other hand, Transparency mode allows you to hear and interact with the sounds around you while still enjoying your audio content, making it safer for situations like walking on the street or having a conversation.
Now that we have a grasp on what noise cancelling is and how it works, let’s move on to the step-by-step guide on putting your AirPods on noise cancelling mode.
Step-by-Step Guide to Putting AirPods on Noise Cancelling
Putting your AirPods on noise cancelling mode is a simple process that can be done directly from your connected Apple device. Follow these steps to activate noise cancelling on your AirPods:
- Ensure that your AirPods are connected to your iPhone, iPad, or other Apple device.
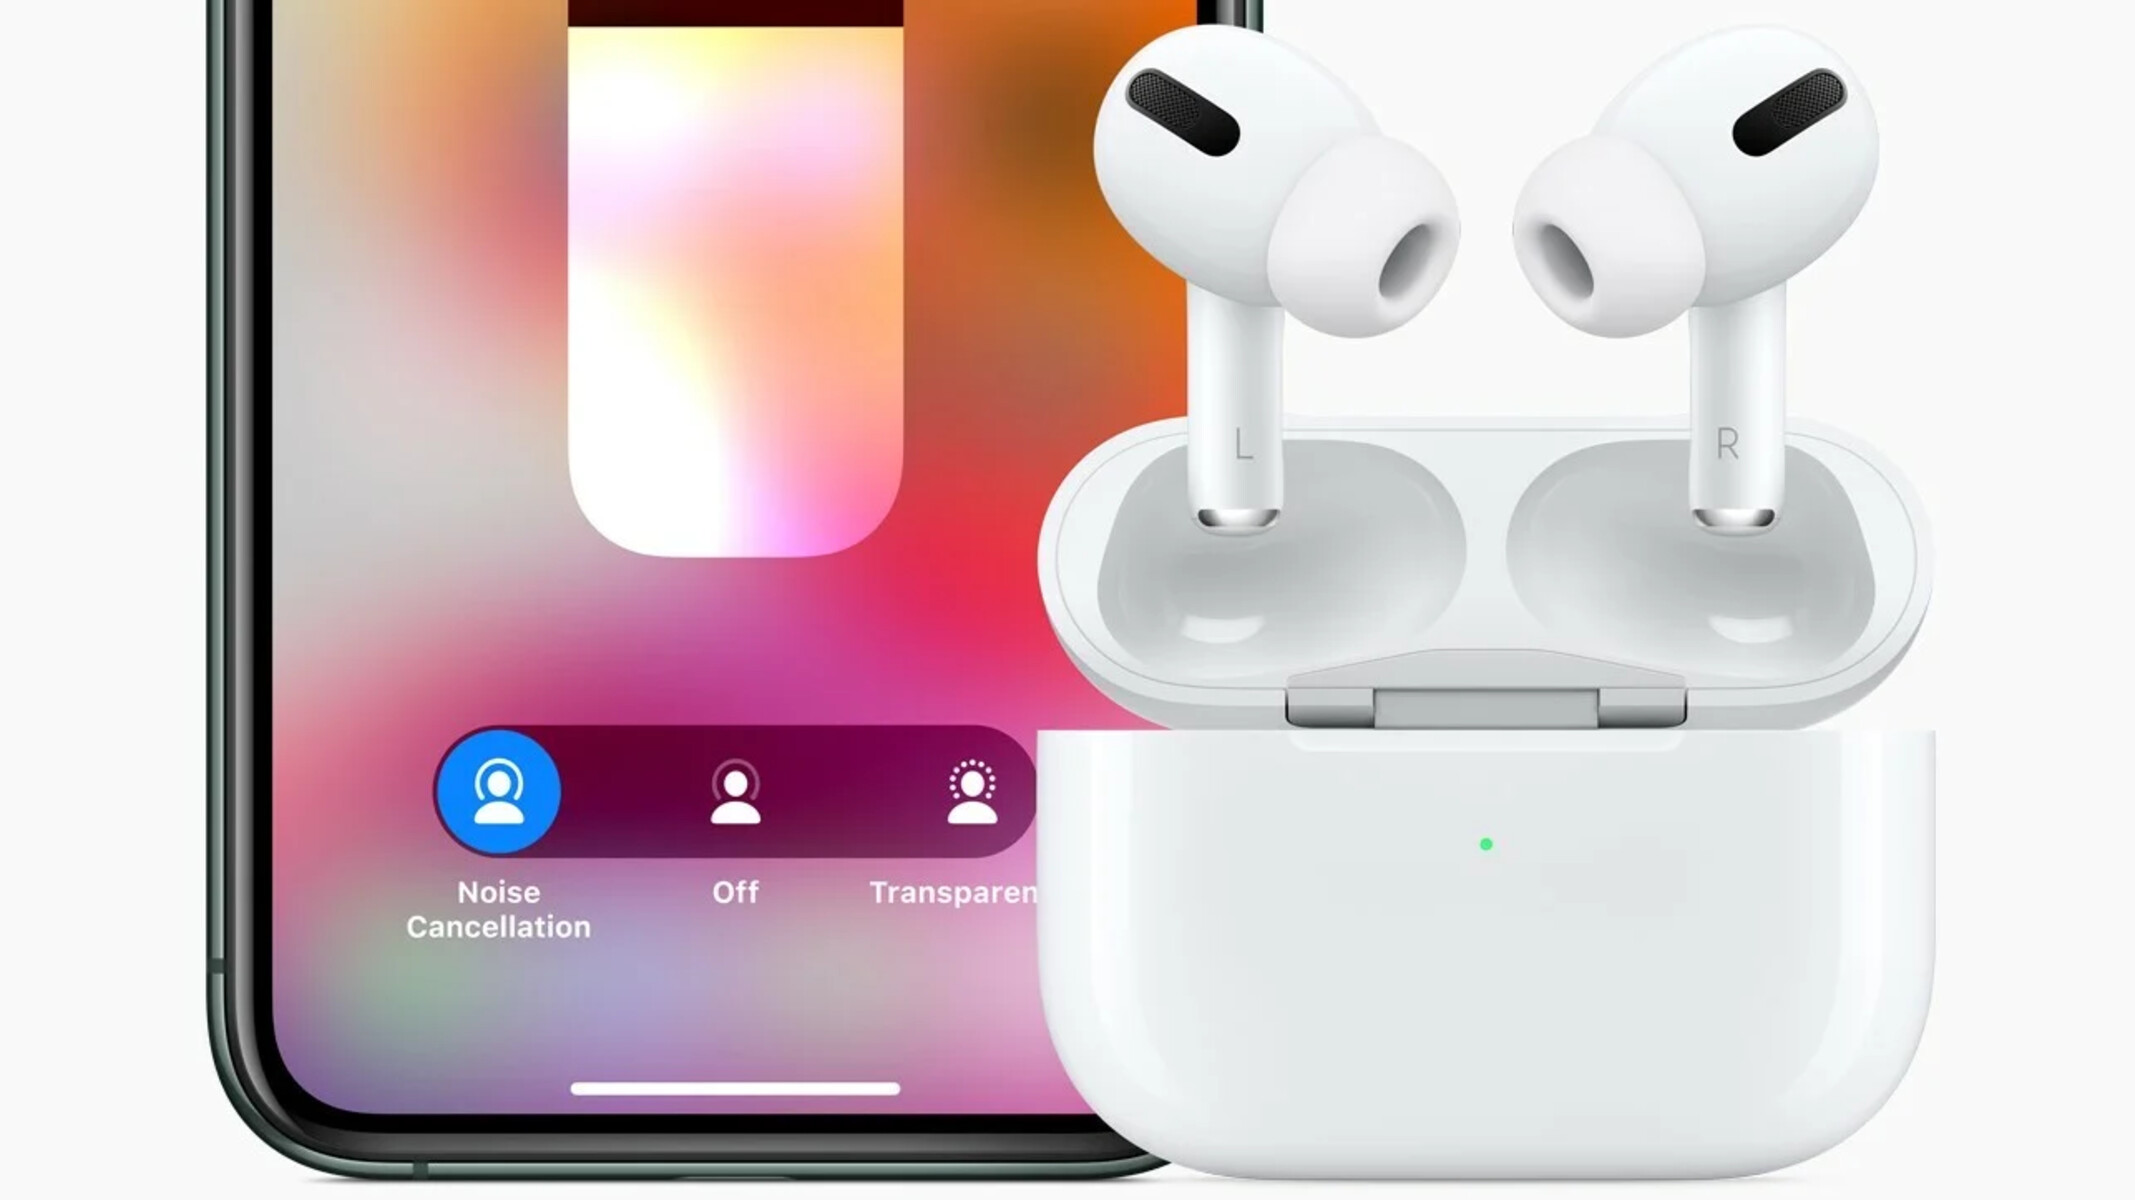
- Open the Control Center on your Apple device by swiping down from the top-right corner (iPhone X or later) or swiping up from the bottom (iPhone 8 or earlier).
- Press and hold the volume slider in the Control Center to expand it and reveal more options.
- Look for the volume slider labeled “AirPods” or “AirPods Pro” and tap on it.
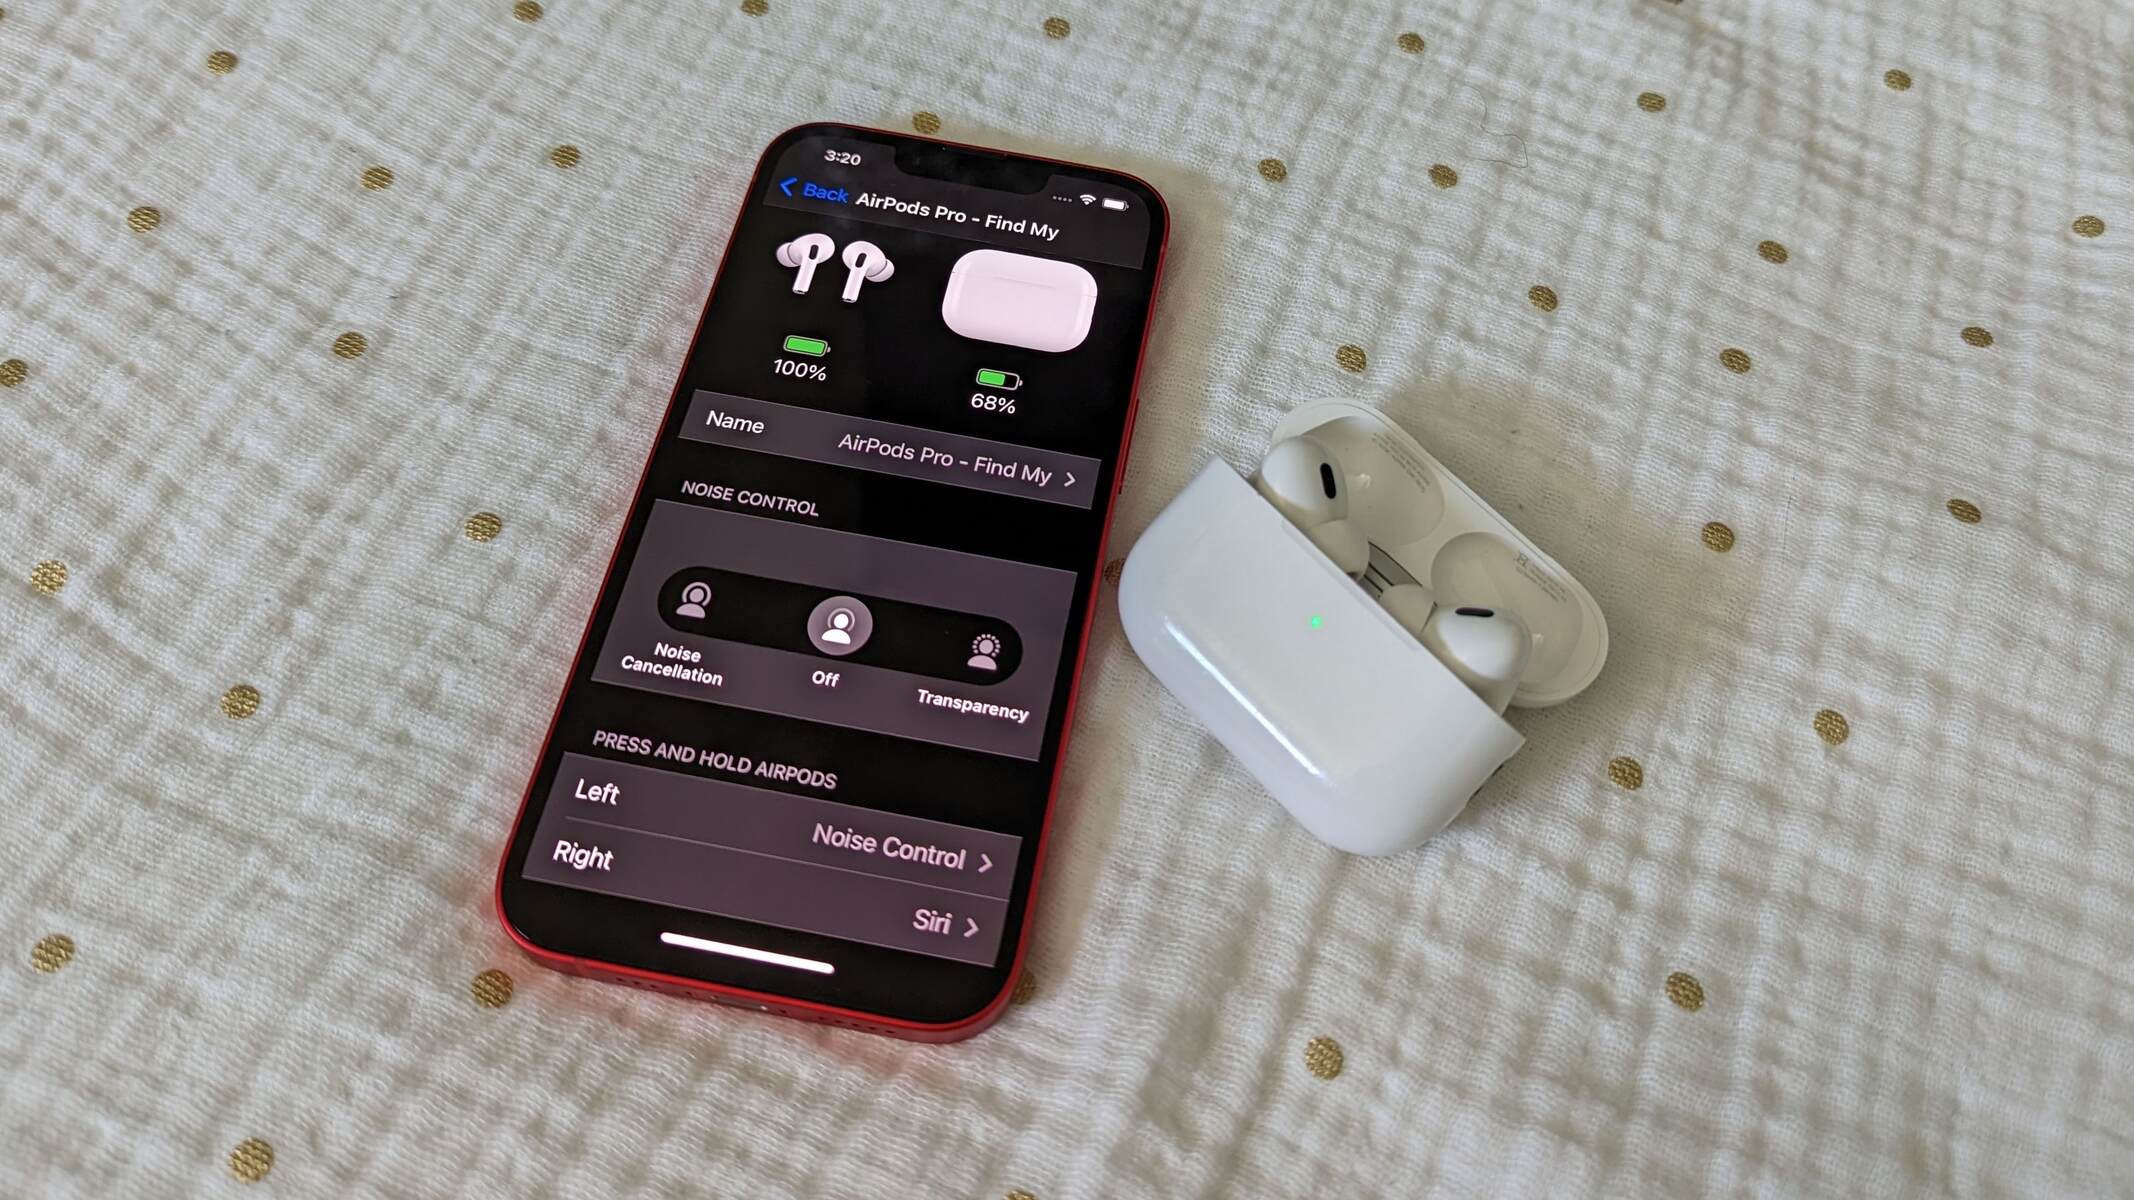
- A menu will appear with three options: Off, Noise Cancelling, and Transparency.
- Select “Noise Cancelling” to activate noise cancelling mode on your AirPods.
- You’ll notice a significant reduction in external noise as the AirPods begin canceling out the ambient sounds.
And that’s it! You’ve successfully put your AirPods on noise cancelling mode. Enjoy your audio content without any disruptive background noise.
If you prefer to quickly switch between noise cancelling and Transparency mode, you can customize the AirPods’ functionality through the Settings app on your Apple device. Simply go to Settings, select Bluetooth, tap the “i” icon next to your connected AirPods, and adjust the Noise Control settings to enable the double-tap feature on your AirPods.
With this feature enabled, you can double-tap either AirPod to switch between noise cancelling and Transparency mode on the go, providing you with more control over your listening experience.
Now that you know how to activate noise cancelling on your AirPods, let’s move on to troubleshooting any issues you may encounter.
Troubleshooting Noise Cancelling Issues
While noise cancelling on AirPods is generally reliable, you may encounter some issues or challenges along the way. Here are some common troubleshooting steps to address noise cancelling problems:
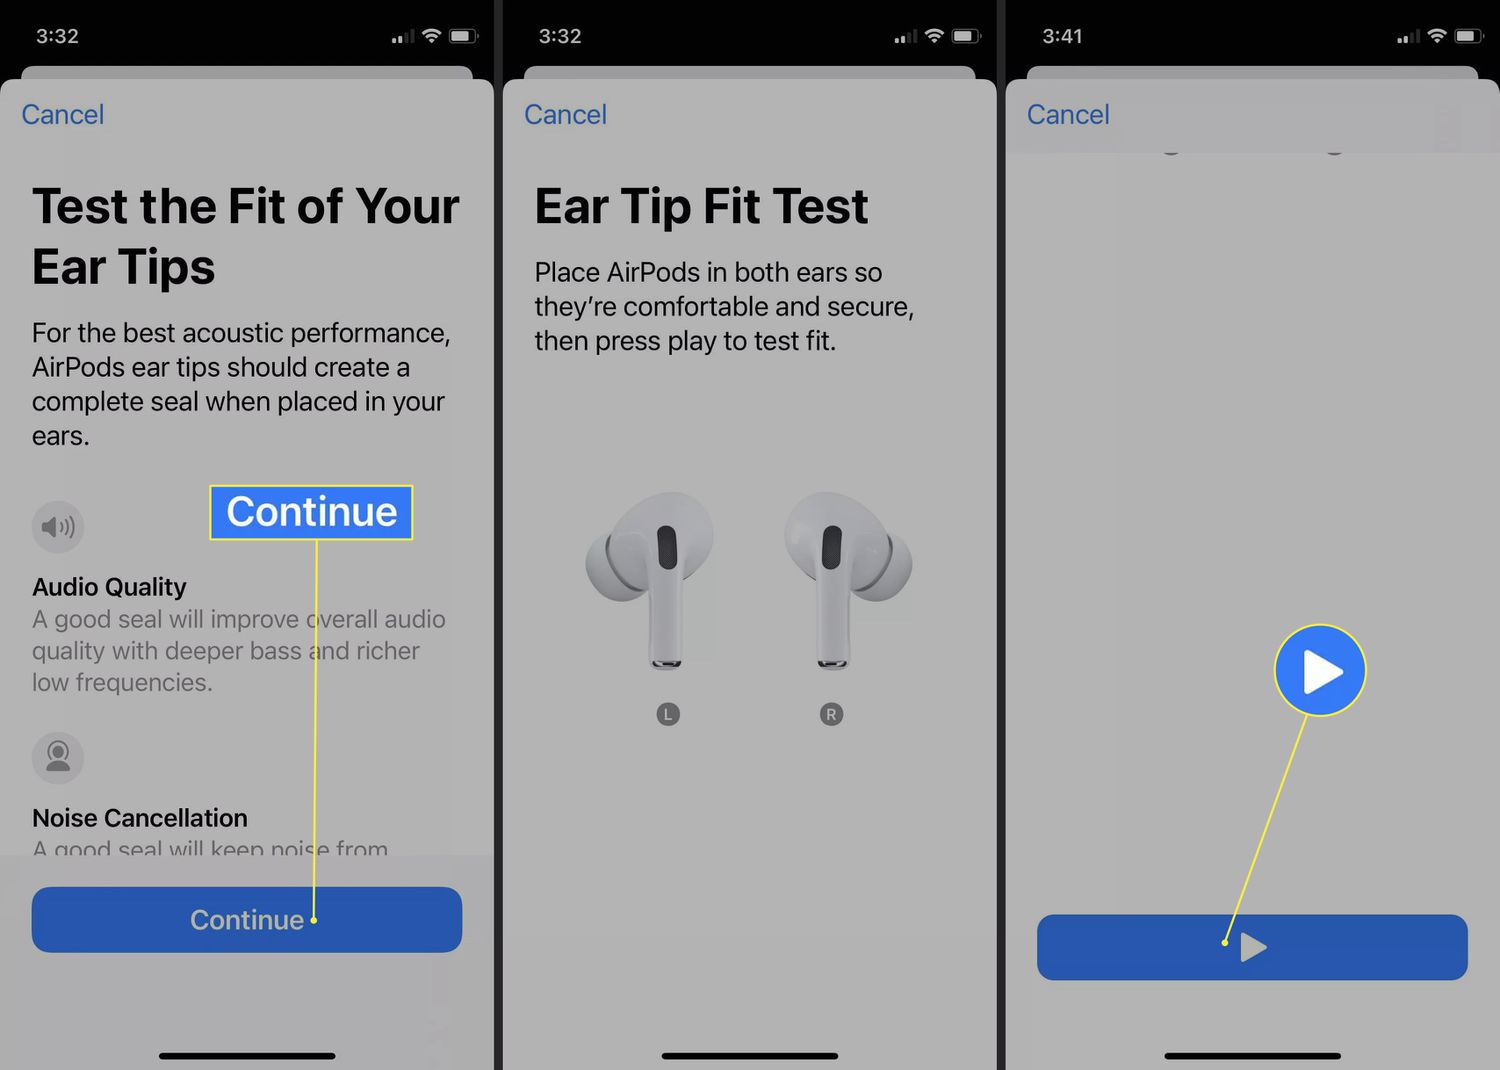
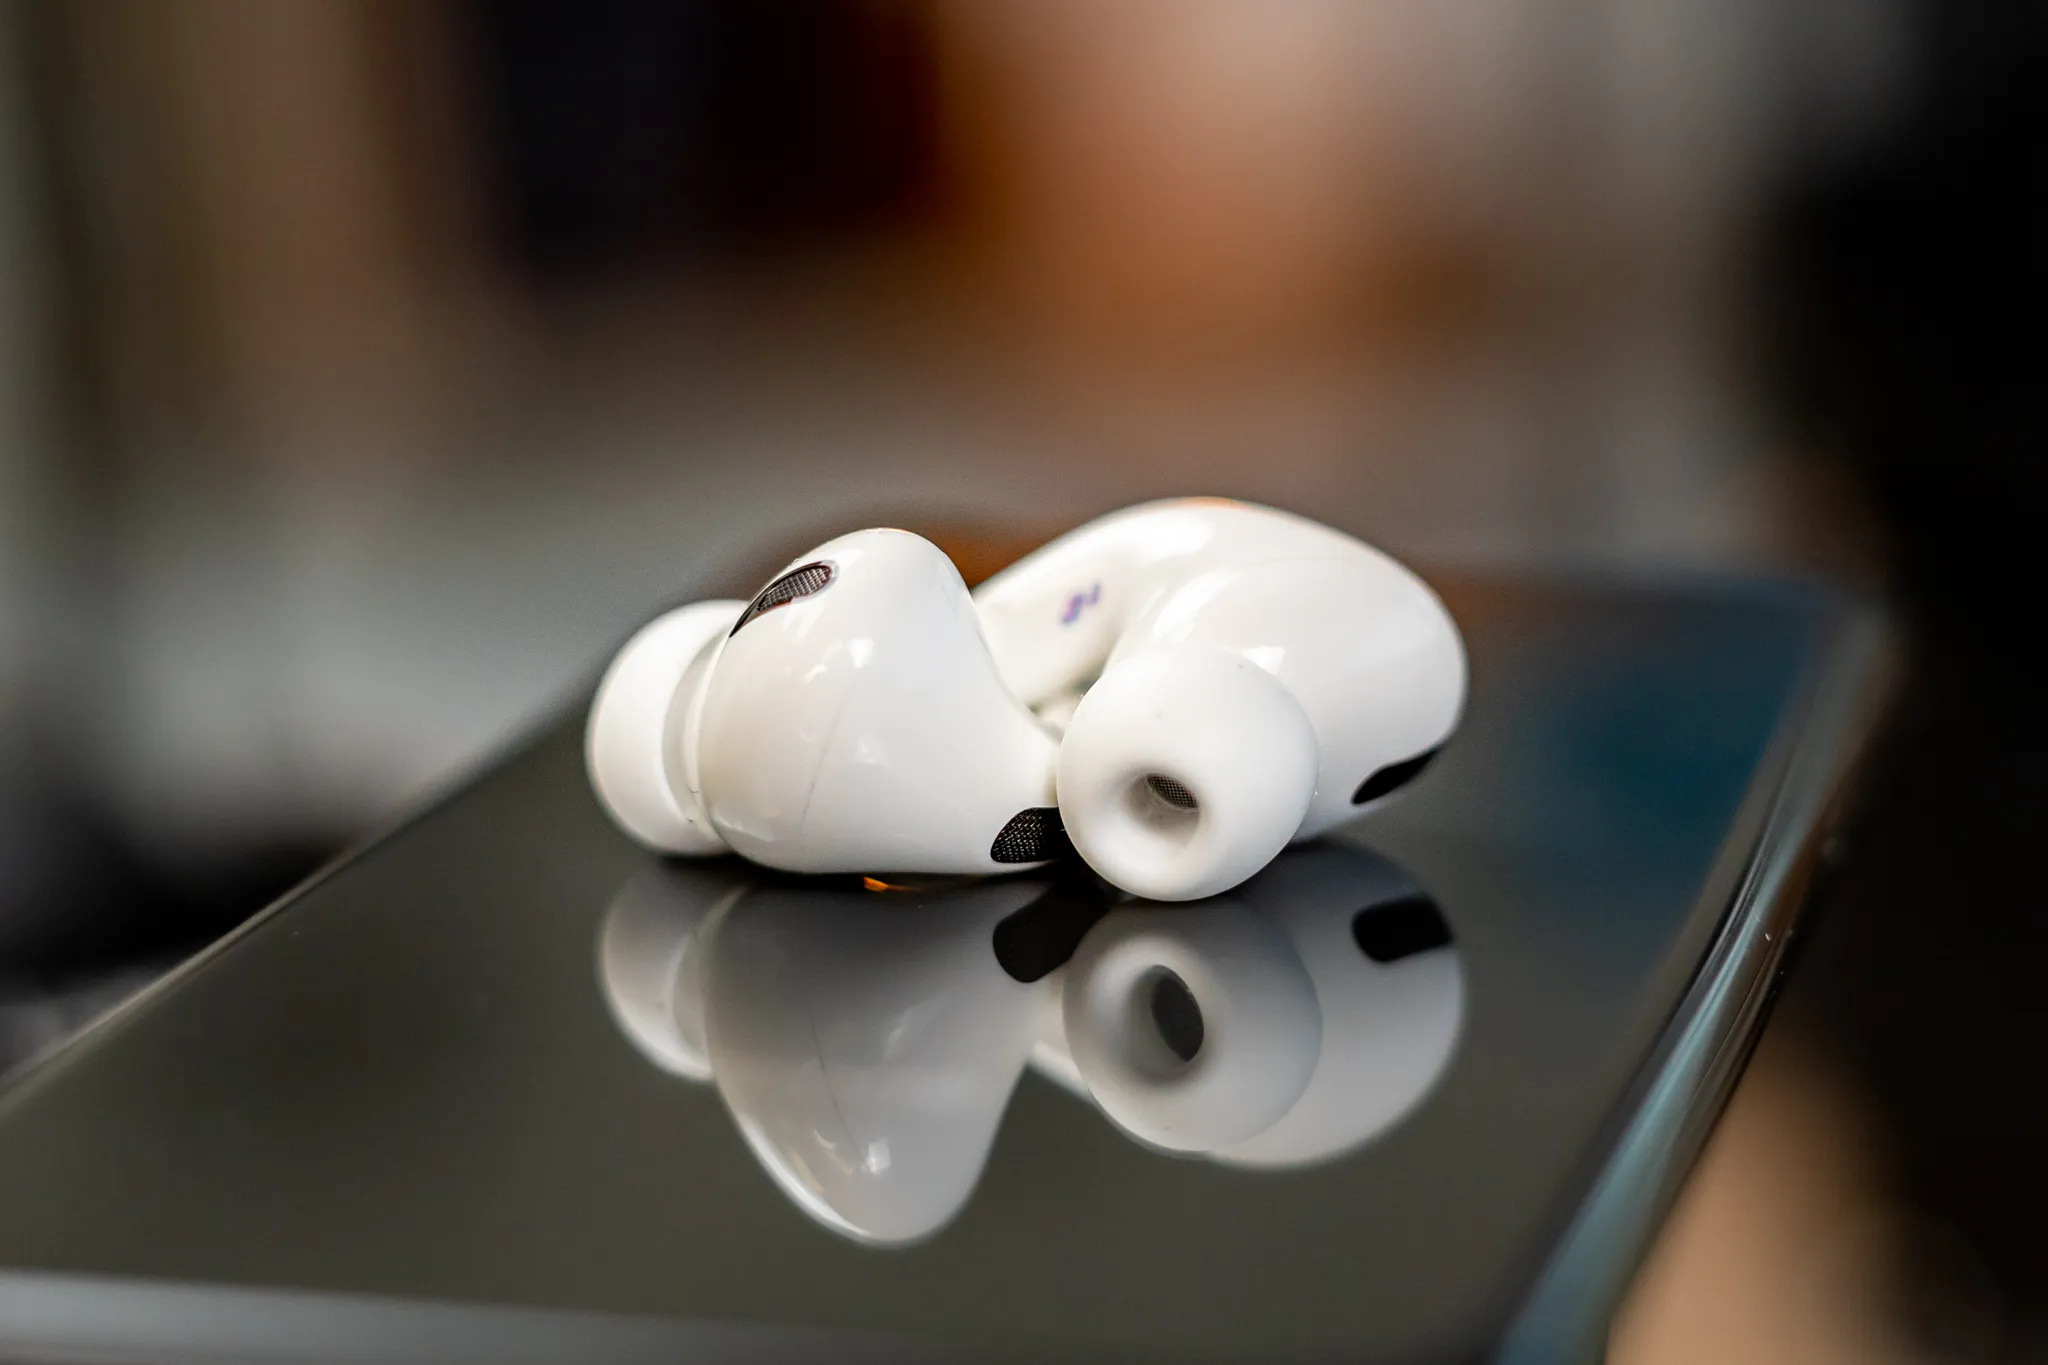
1. Ensure a proper fit: A secure fit is crucial for optimal noise cancellation performance. Make sure that your AirPods are snugly inserted into your ears, creating a tight seal that helps isolate external sounds.
2. Clean your AirPods: Over time, dirt, debris, or earwax buildup can affect the overall performance of your AirPods. Clean them gently using a soft, lint-free cloth or a small brush to remove any accumulated particles that may be obstructing the microphones or speaker grills.
3. Update your software: Check for any available software updates on your connected Apple device. Keeping your device and AirPods up to date ensures that you have the latest features and bug fixes that can improve the noise cancelling performance.
4. Reset your AirPods: If you’re still experiencing issues, try resetting your AirPods. To do this, go to the Bluetooth settings on your Apple device, locate your AirPods, and tap on “Forget This Device.” Then, place your AirPods back in the charging case, close the lid, and wait for a few seconds. Open the lid, and press and hold the setup button on the back of the case until the LED light starts flashing white. Follow the on-screen instructions to reconnect your AirPods.
5. Test noise cancelling in different environments: Noise cancelling effectiveness can vary depending on the environment you’re in. Try testing the noise cancelling feature in different settings to determine if it performs better in certain conditions.
6. Contact Apple support: If none of the troubleshooting steps have resolved the issue, reach out to Apple support for further assistance. Their team can provide guidance specific to your AirPods model and help address any hardware or software-related problems you may be experiencing.
By following these troubleshooting steps, you can overcome common noise cancelling issues and ensure a smooth and immersive listening experience with your AirPods.
Now that you have a better understanding of how to troubleshoot noise cancelling problems, let’s wrap up the guide.
Conclusion
Putting your AirPods on noise cancelling mode can greatly enhance your listening experience by reducing unwanted background noise and allowing you to focus on your favorite audio content. Whether you’re looking to enjoy music, podcasts, or make clear phone calls in noisy environments, noise cancelling can make a significant difference.
In this guide, we covered the basics of AirPods and their innovative features, including their seamless integration with Apple devices and the convenience of their wireless design. We also explored the concept of noise cancelling and how it works to minimize or eliminate ambient sounds.
We then provided a step-by-step guide on how to put your AirPods on noise cancelling mode, allowing you to easily activate this feature and immerse yourself in your audio without distractions. We also discussed troubleshooting tips to address any potential issues you may encounter along the way.
Remember to ensure a proper fit, keep your AirPods clean, and stay up to date with software updates. If you’re still experiencing issues, don’t hesitate to contact Apple support for further assistance.
With the knowledge and guidance provided in this guide, you’re now equipped to make the most of noise cancelling on your AirPods. Enjoy a more immersive and focused listening experience, no matter where you are.
Thank you for reading!