Introduction
Welcome to our guide on how to connect your new AirPods to the case! AirPods have gained immense popularity for their wireless convenience and superior sound quality. If you recently purchased a pair of AirPods, you’ll need to connect them to the charging case before enjoying the full benefits.
Connecting your AirPods to the case is a straightforward process that can be completed in a matter of minutes. In this guide, we will walk you through the step-by-step instructions to ensure a seamless setup. Whether you are a tech-savvy individual or a beginner, you’ll find this guide easy to follow.
Don’t worry if you’re unfamiliar with the technical aspects of setting up Bluetooth devices. We will provide clear instructions and tips to help you successfully connect your AirPods to the case without any hassle. Soon, you’ll be able to pair your AirPods with your device and enjoy your favorite music, podcasts, or make hands-free calls.
Before we dive into the steps, ensure that both your AirPods and the charging case are fully charged. This will ensure optimal performance and prevent any interruption during the pairing process.
Step 1: Prepare Your AirPods and Case
Before you can connect your new AirPods to the case, it’s essential to ensure that both the AirPods and the charging case are ready for pairing. Here’s what you need to do:
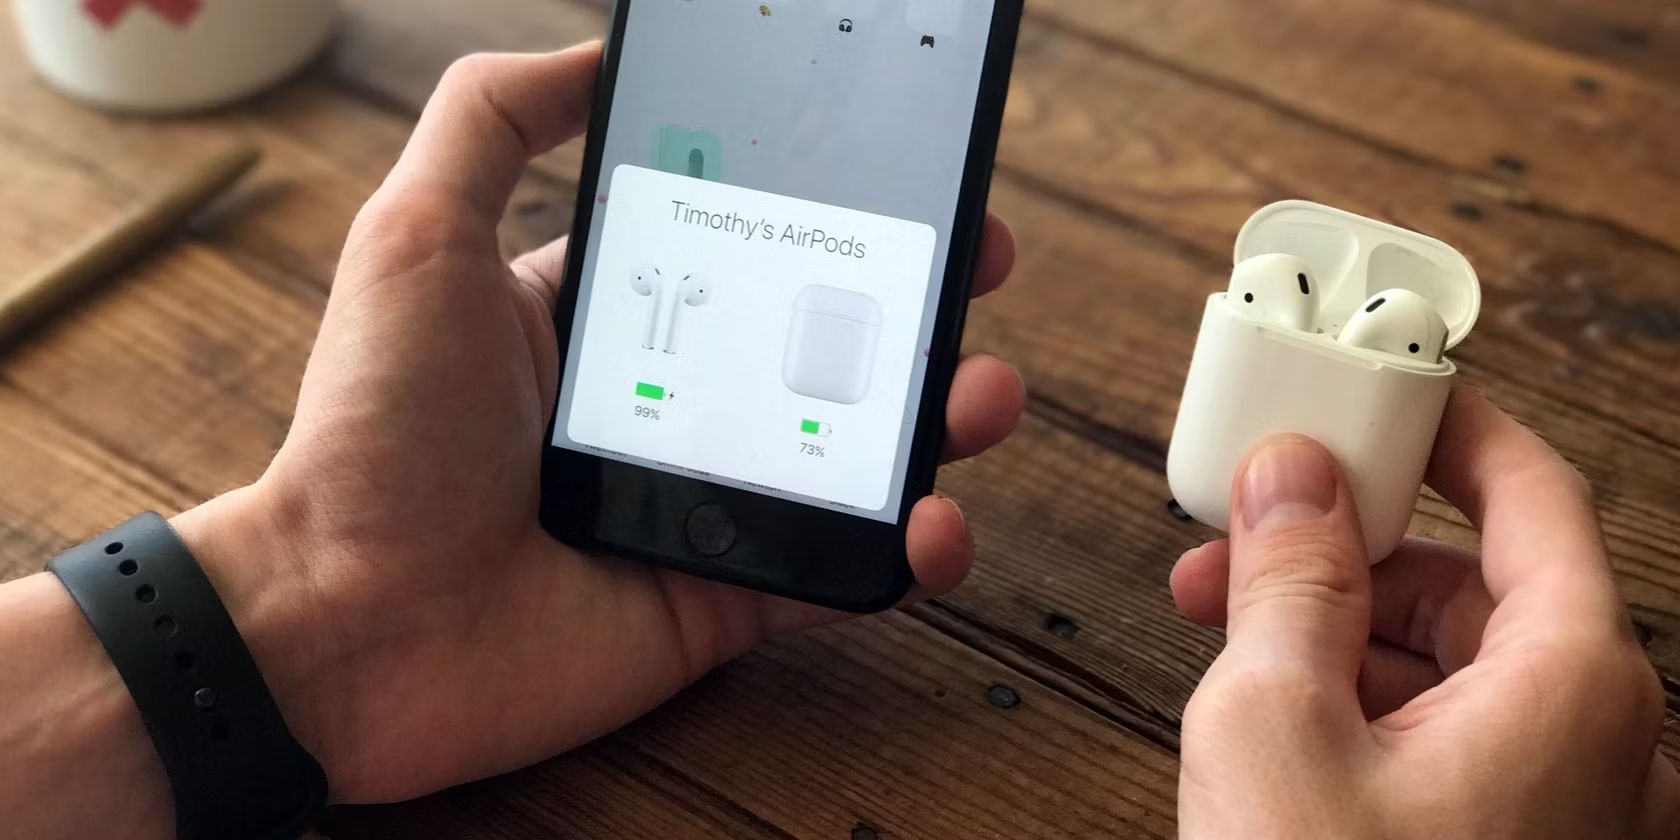
- Check the battery level: Make sure your AirPods and charging case have enough battery life to complete the pairing process. You can check the battery level by opening the AirPods case near your iPhone or by using the Batteries widget on your iPhone.
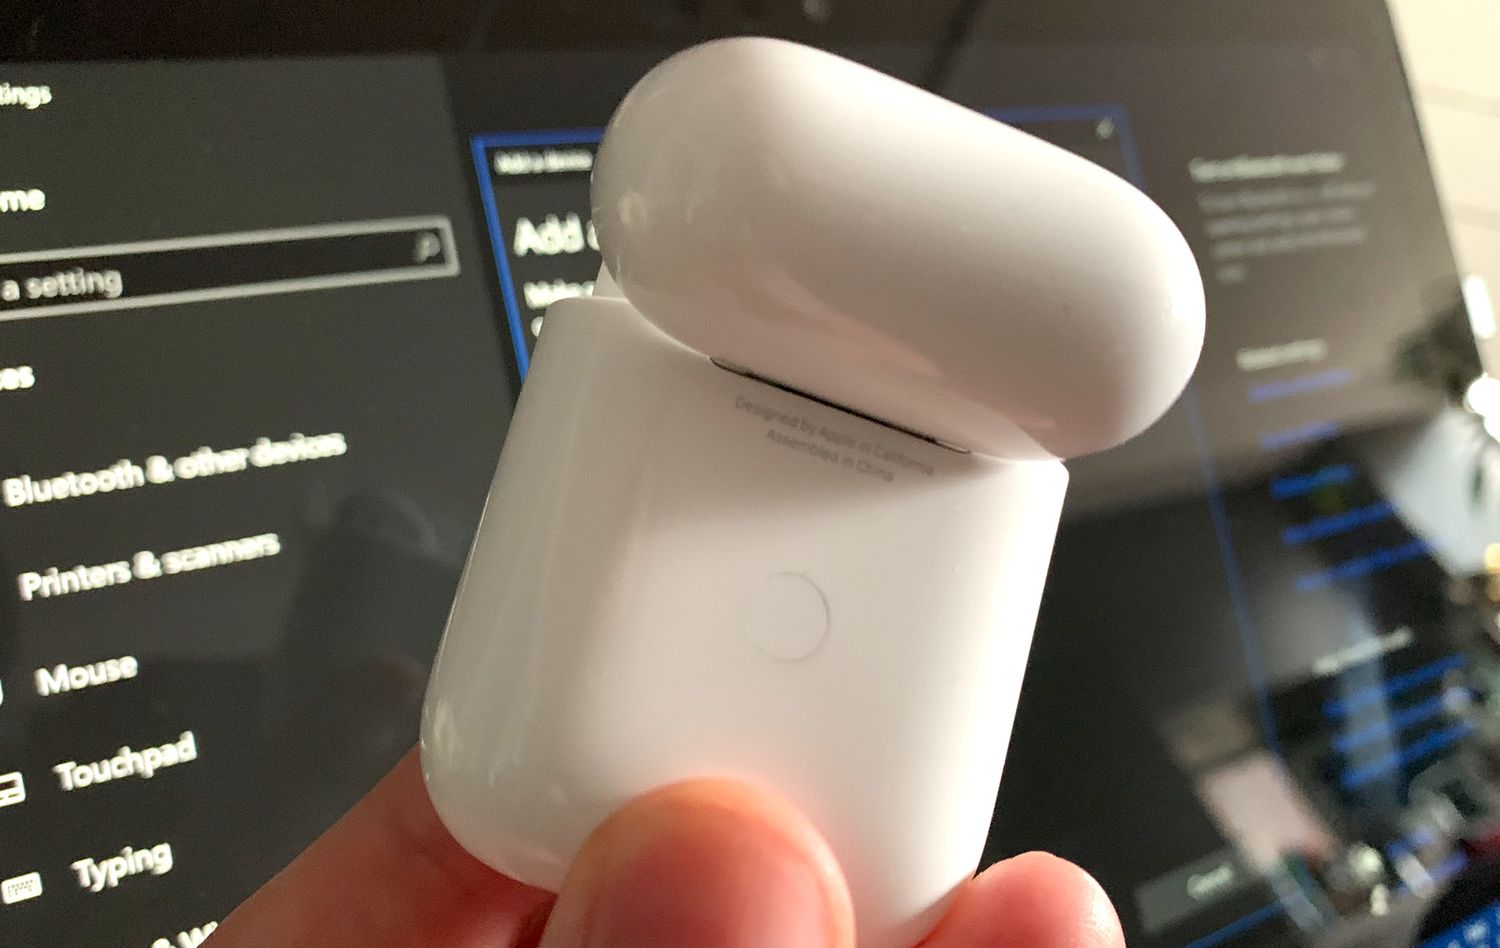
- Confirm the AirPods are charged: Open the AirPods case and check if the LED light on the case is green, indicating that the AirPods are charged. If the LED light is amber, you may need to charge the AirPods before proceeding.
- Clean the AirPods and case: Wipe the AirPods and the charging case with a soft, lint-free cloth to remove any dust or debris. Keeping them clean will promote better connectivity and audio quality.
Once you have completed these steps, your AirPods and charging case are ready for the pairing process. Now, let’s move on to the next step: opening the AirPods case.
Step 2: Open the AirPods Case
To connect your AirPods to the case, you first need to open the case. Here’s how:
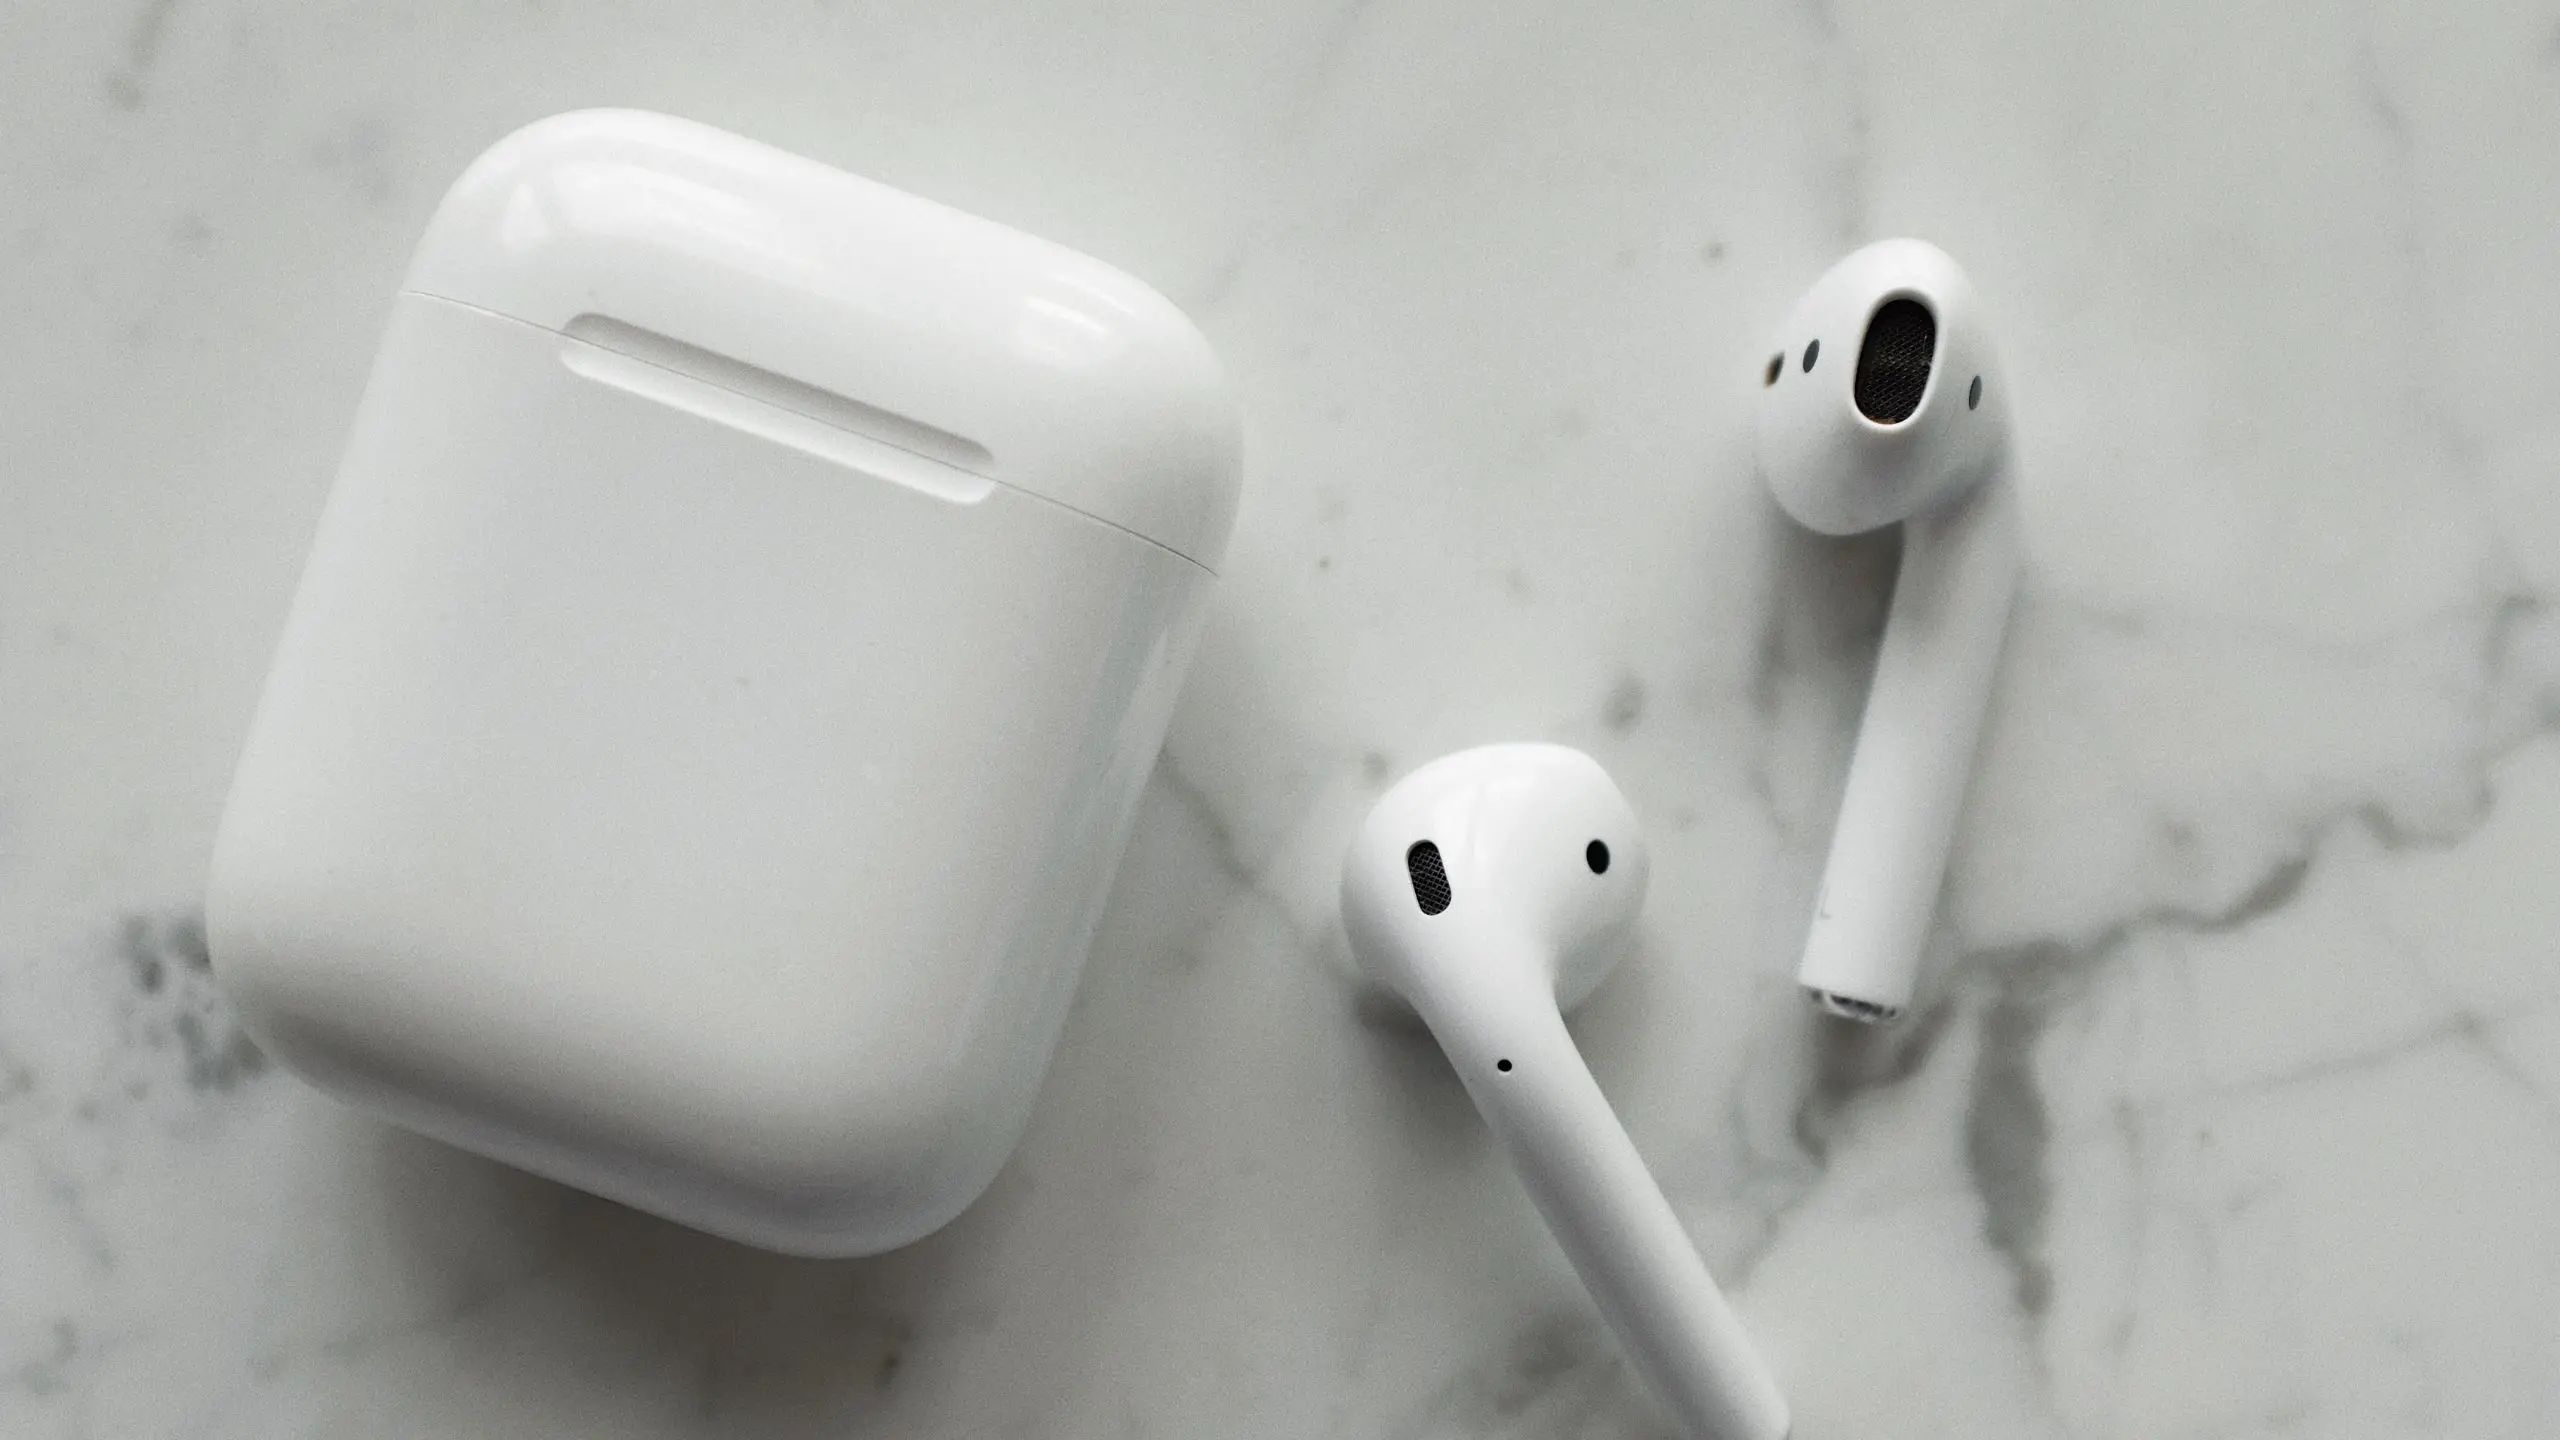
- Locate the AirPods case: The AirPods case is a small, rectangular-shaped case that holds and charges your AirPods.
- Hold the AirPods case in your hand: Take the AirPods case in your hand, ensuring a firm grip.
- Flip open the lid: Find the lid of the AirPods case and gently flip it open. The lid is attached to the case and will open upwards.
By following these simple steps, you have successfully opened the AirPods case. Now, it’s time to activate Bluetooth on your device to continue with the pairing process. Move on to the next step to learn how.
Step 3: Activate Bluetooth on Your Device
In order to connect your AirPods to your device, you need to ensure that Bluetooth is activated. The following steps will guide you through the process:
- Unlock your device: If your device is locked, enter your passcode or use your biometric authentication method (fingerprint or face recognition) to unlock it.
- Open the Settings menu: Locate the Settings app on your device’s home screen and tap on it to open it. The Settings app typically has an icon that resembles gears.
- Find the Bluetooth option: Within the Settings menu, look for the Bluetooth option. It is usually represented by a Bluetooth icon.
- Toggle Bluetooth on: Once you have found the Bluetooth option, tap on the toggle switch to enable Bluetooth. The switch should change from “Off” to “On” or display a green color, indicating that Bluetooth is now active.
Activating Bluetooth on your device is essential for establishing a connection with your AirPods. With Bluetooth enabled, you’re now ready to move on to the next step: pressing and holding the button on the AirPods case.
Step 4: Press and Hold the Button on the AirPods Case
In this step, you will need to press and hold the button on the AirPods case. Follow these instructions to proceed:
- Locate the button: On the back of the AirPods case, you will find a small button. It is usually located towards the bottom center of the case.
- Press and hold the button: Use your finger to press and hold the button on the AirPods case. Hold it until you see the LED light on the front of the case start to flash white.
- Keep the case open: While still holding the button, make sure to keep the AirPods case lid open. Holding the button with the case closed may not initiate the pairing process.
Pressing and holding the button on the AirPods case initiates the pairing mode, allowing your AirPods to be discovered by your device. Once the LED light starts flashing white, you’re ready to move on to the next step: pairing the AirPods with your device.
Step 5: Pairing the AirPods with Your Device
With the AirPods in pairing mode, you can now proceed to pair them with your device. Follow these steps to complete the pairing process:
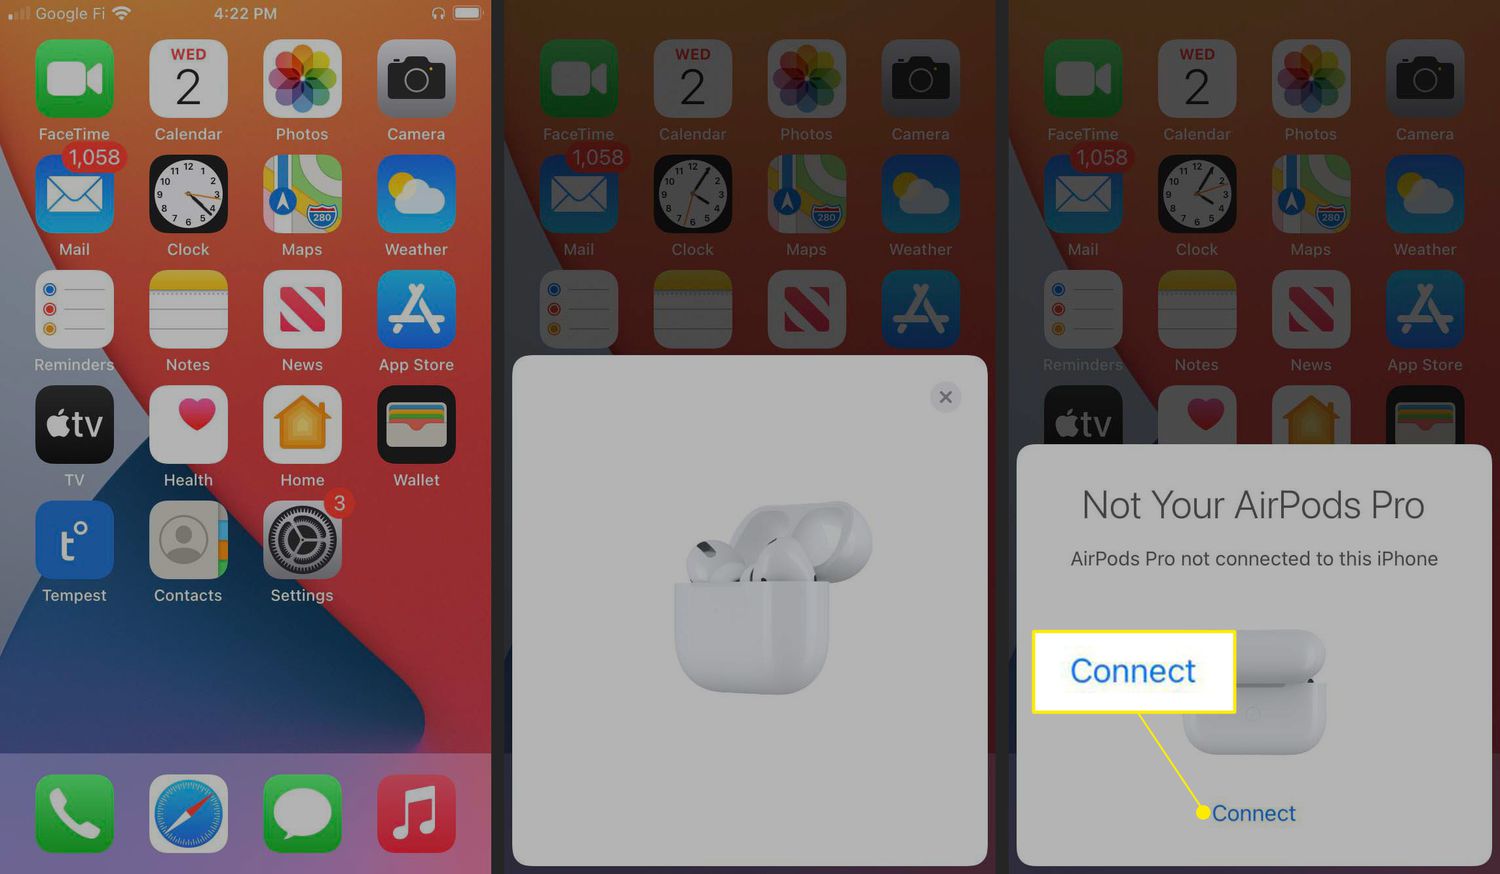
- Open the Bluetooth settings on your device: Go to the Settings menu on your device and find the Bluetooth option. Tap on it to open the Bluetooth settings.
- Look for your AirPods in the list of available devices: Your device will start searching for nearby Bluetooth devices. Look for your AirPods in the list of available devices. They should appear as “AirPods” or a similar name.
- Select your AirPods to initiate the pairing: Once you have located your AirPods in the Bluetooth settings, tap on them to select them. Your device will then attempt to pair with the AirPods.
- Follow any on-screen prompts: Depending on your device, you may be prompted to confirm the pairing or enter a PIN code. Follow any on-screen prompts to successfully complete the pairing process.
- Wait for the pairing to be confirmed: After completing the necessary steps, your device will confirm the successful pairing with your AirPods. This may take a few moments.
Once the pairing is confirmed, your AirPods are now connected to your device. You can now enjoy wireless audio and convenient controls with your new AirPods. In the next step, we will check the connection and test the sound quality.
Step 6: Checking Connection and Testing Sound
After successfully pairing your AirPods with your device, it’s important to check the connection and test the sound quality to ensure everything is working as expected. Here’s what you need to do:
- Place the AirPods in your ears: Take both AirPods out of the charging case and insert them into your ears. Make sure they fit comfortably and securely.
- Play audio on your device: Open your music app, YouTube, or any other audio source on your device, and play a song or video to test the sound quality.
- Verify the connection: Pay attention to the audio coming through your AirPods. Ensure that both AirPods are producing sound and that there are no noticeable connection issues or distortions.
- Adjust volume and controls: Use the volume controls on your device or the controls on the AirPods themselves to adjust the volume or take advantage of other features like pausing, skipping tracks, or activating Siri.
- Walk around and test range: Move around your space while listening to audio through your AirPods. Test the range and make sure there are no dropouts or loss of connection as you move away from your device.
If you encounter any issues such as poor sound quality, connection problems, or difficulty with controls, refer to the troubleshooting guide provided by Apple or contact their customer support for assistance.
Congratulations! You have successfully connected your new AirPods to the case, paired them with your device, and tested their functionality. Now you can enjoy the freedom and convenience of wire-free listening!
Conclusion
Congratulations on successfully connecting your new AirPods to the charging case and pairing them with your device! You’ve taken the first step towards a wireless and seamless audio experience.
In this guide, we’ve covered the step-by-step process of preparing your AirPods and case, opening the case, activating Bluetooth on your device, pressing and holding the button on the AirPods case, pairing your AirPods with your device, and finally, checking the connection and testing the sound quality.
By following these simple instructions, you can now enjoy the convenience and impressive audio quality that AirPods offer. Whether you’re listening to music, taking calls, or using voice commands with Siri, your AirPods will deliver a truly wireless experience.
If you encounter any issues during the setup process or face any difficulties with your AirPods, refer to the troubleshooting guide provided by Apple or seek assistance from their customer support team. They’ll be able to help you resolve any problems and ensure you make the most out of your AirPods.
Now, it’s time to immerse yourself in your favorite music, podcasts, or any audio content of your choice with your new AirPods. Enjoy the freedom of movement and the exceptional sound quality!