Introduction
Welcome to our guide on how to connect AirPods to your tablet. AirPods are a popular choice for wireless earphones, known for their unrivaled convenience and seamless integration with Apple devices. Fortunately, you don’t need an Apple device to enjoy the benefits of AirPods – they can be easily paired with various tablets running on different operating systems.
Whether you have an Android tablet or a Windows device, connecting your AirPods is a straightforward process that will allow you to enjoy your favorite music, podcasts, and videos wirelessly. In this guide, we will walk you through the steps to pair your AirPods with your tablet, ensuring a hassle-free connection.
Before we get started, make sure your AirPods are charged and your tablet’s Bluetooth is enabled. Once you have these basics covered, you’ll be ready to connect your AirPods and take advantage of the truly wireless experience. So, without further ado, let’s dive into the step-by-step instructions to connect AirPods to your tablet.
Step 1: Turn on Bluetooth
The first step in connecting your AirPods to your tablet is to ensure that Bluetooth is turned on. Bluetooth is the wireless technology that allows devices to communicate and connect with each other without the need for cables. By turning on Bluetooth, you enable your tablet to search for and connect to nearby Bluetooth devices, including your AirPods.
To turn on Bluetooth on your tablet, follow these simple steps:
- Go to the Settings on your tablet. The Settings app is usually represented by a gear icon and can be found either on the home screen or in the app drawer.
- Once in the Settings, look for the “Bluetooth” option. It is typically located under the “Connections” or “Wireless & Networks” section.
- Tap on the Bluetooth option to access the Bluetooth settings.
- On the Bluetooth settings screen, locate the toggle switch or button that allows you to turn on Bluetooth. Depending on your tablet’s make and model, the switch may be labeled “On” or simply depict a Bluetooth icon.
- Slide the toggle switch or tap the button to enable Bluetooth. Once turned on, the Bluetooth icon should appear in the status bar or notification panel of your tablet, indicating that Bluetooth is now active.
With Bluetooth turned on, your tablet is now ready to search for and pair with your AirPods. Proceed to the next step to continue the process.
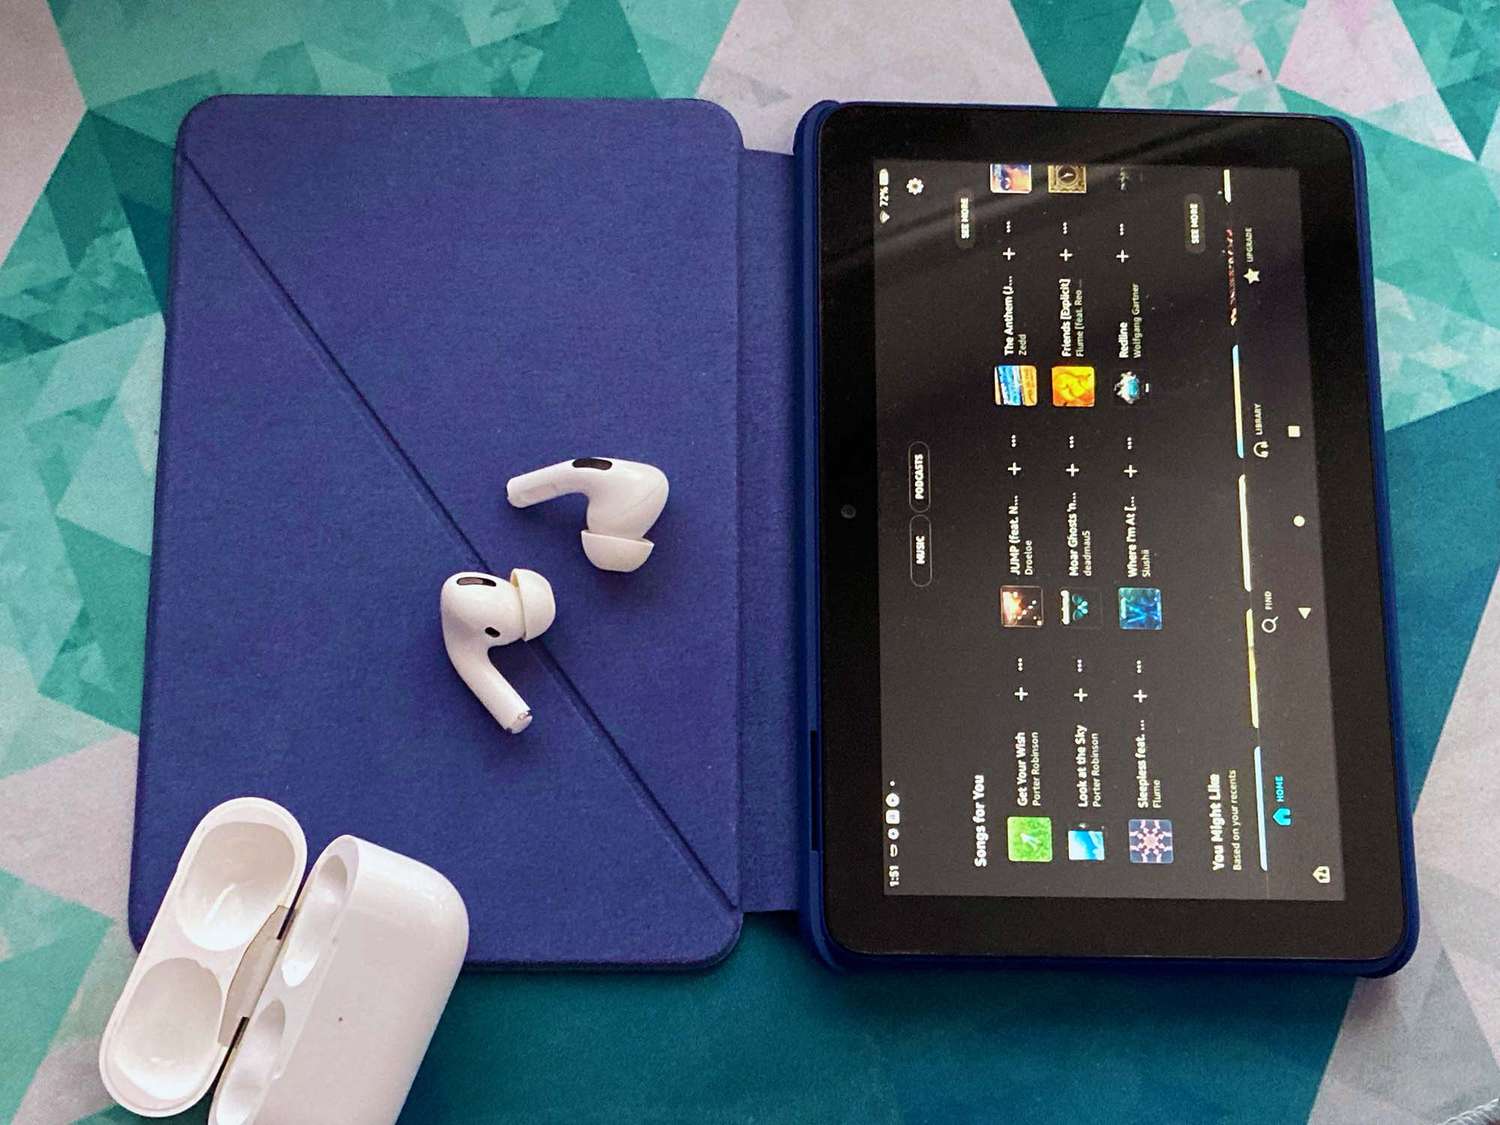
Step 2: Open the AirPods case
With Bluetooth enabled on your tablet, the next step is to open the case of your AirPods. Opening the case will activate the pairing mode of your AirPods, allowing them to be discovered by your tablet and establishing a connection.
Follow these instructions to open the AirPods case:
- Remove the AirPods case from its protective cover or pouch, if applicable.
- Hold the AirPods case in your hand with the lid facing upwards.
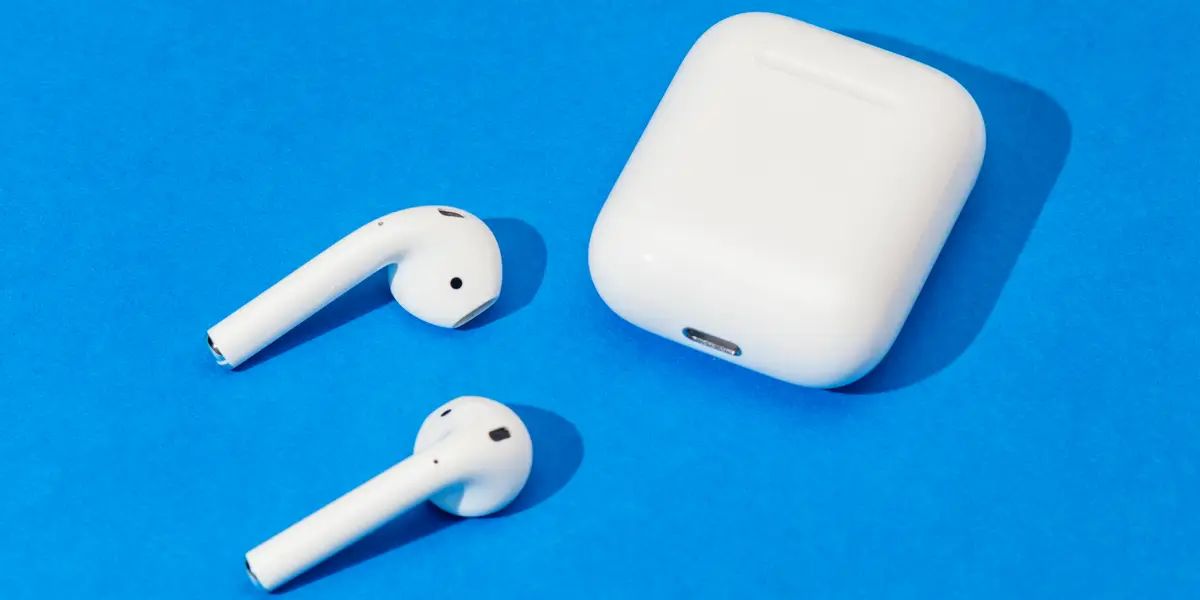
- Using your thumb or fingers, gently lift the lid of the case. The lid should open smoothly, revealing the AirPods nestled within.
Once you have opened the AirPods case, you will notice a small LED light on the front of the case. This light serves as an indication of the pairing status and battery level of your AirPods. At this point, the LED light should be pulsing white, indicating that your AirPods are in pairing mode and ready to be connected to a new device.
Keep the AirPods case open as you proceed to the next step of the pairing process. It’s important to keep the case open to allow your tablet to recognize the AirPods and establish a connection.
Step 3: Set your AirPods into Pairing Mode
Now that you have opened the AirPods case, it’s time to put your AirPods into pairing mode. Pairing mode allows your AirPods to be discoverable by your tablet, enabling the connection to be established.
Follow these steps to set your AirPods into pairing mode:
- Ensure that the AirPods are still within the open case.
- Locate the small button on the back of the AirPods case. It is usually situated towards the bottom and may be recessed, requiring a firm press.
- Press and hold the button on the back of the AirPods case for a few seconds. As you hold down the button, the LED light on the front of the case should begin to flash white.
- Continue holding the button until the LED light on the case turns amber. This signifies that your AirPods are now in pairing mode and ready to be connected.
It’s worth noting that if your AirPods have already been paired with another device, such as an iPhone, they may enter automatic pairing mode when you open the case near that device. In such cases, you can skip this step and proceed directly to the next step of connecting your AirPods to your tablet.
With your AirPods in pairing mode, you are now ready to move on to the next step, where we’ll guide you through the process of connecting your AirPods to your tablet.
Step 4: Open the Settings on your Tablet
Now that your AirPods are in pairing mode, it’s time to open the settings on your tablet to start the connection process. Opening the settings on your tablet will allow you to access the Bluetooth menu, where you can search for and connect to nearby devices, including your AirPods.
Follow these steps to open the settings on your tablet:
- Unlock your tablet and go to the home screen.
- Look for the “Settings” app icon. It is usually represented by a gear or wrench icon and can be found either on the home screen or in the app drawer.
- Tap on the “Settings” app icon to launch the settings menu.
Opening the settings on your tablet will give you access to various system and device settings. You’ll be able to customize different aspects of your tablet, including network settings, display settings, and more.
Now that you have successfully opened the settings menu on your tablet, continue on to the next step where we will guide you through the process of connecting your AirPods.
Step 5: Tap on Bluetooth or Connections
After opening the settings on your tablet, the next step is to locate the Bluetooth or Connections option. This is where you will find the list of available devices, including your AirPods, to establish a connection.
Follow these steps to find the Bluetooth or Connections option on your tablet:
- Within the settings menu, scroll down or swipe to find the section that contains wireless and network-related settings. This section may be labeled as “Connections,” “Network & Internet,” or simply “Wireless & Networks,” depending on your tablet’s make and model.
- Once you have located this section, tap on it to access the wireless and network settings.
- Look for the “Bluetooth” option within the wireless and network settings. In some cases, it may be directly labeled as “Bluetooth,” while in others, you may find it nested under additional options like “Connections” or “Device Connections.”
- Tap on “Bluetooth” to enter the Bluetooth settings on your tablet.
By tapping on the Bluetooth or Connections option, you will be directed to the Bluetooth settings page on your tablet. This is where you will be able to search for and connect to your AirPods.
Continue to the next step for instructions on how to connect your AirPods to your tablet once you have accessed the Bluetooth settings.
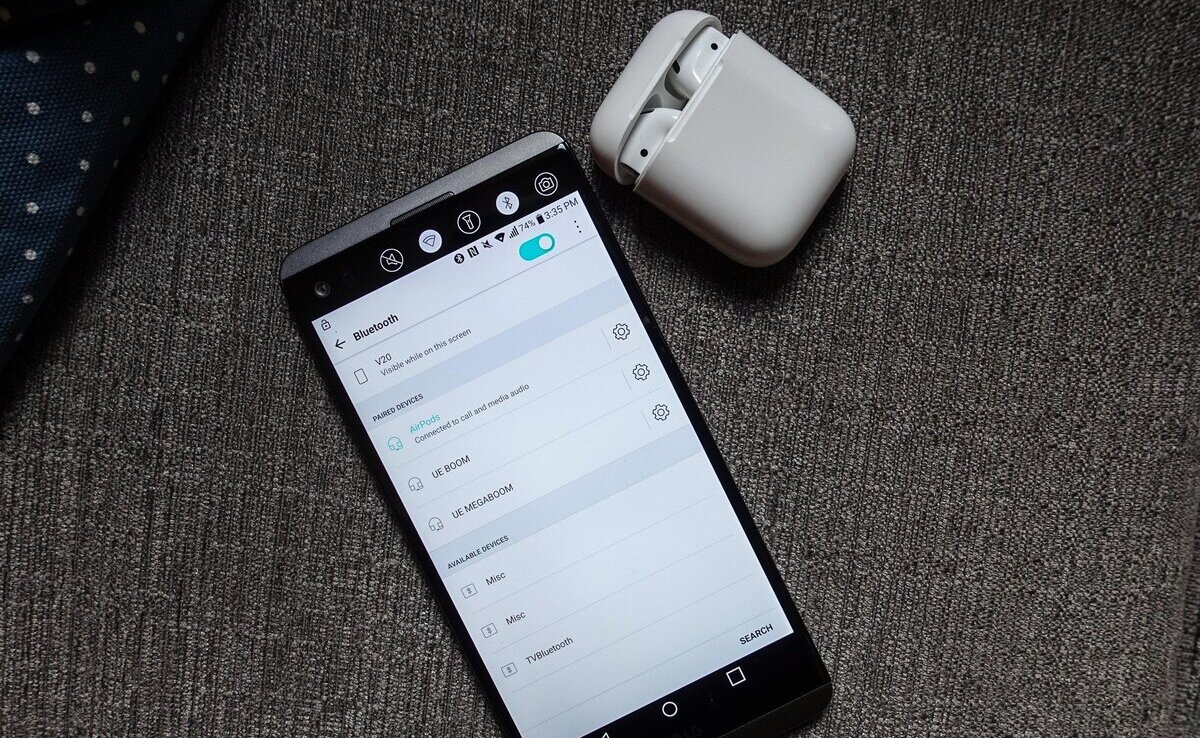
Step 6: Wait for your AirPods to appear
Once you have accessed the Bluetooth settings on your tablet, it’s time to wait for your AirPods to appear in the list of available devices. This process might take a few moments, as your tablet scans for nearby Bluetooth devices and populates the list.
Follow these steps as you wait for your AirPods to appear:
- Make sure Bluetooth is turned on and active on your tablet. If it’s not already enabled, you can turn it on by toggling the Bluetooth switch to the “On” position within the Bluetooth settings.
- Keep the AirPods case open and within close proximity to your tablet. Ensure that the AirPods are in pairing mode, indicated by an amber LED light on the front of the case.
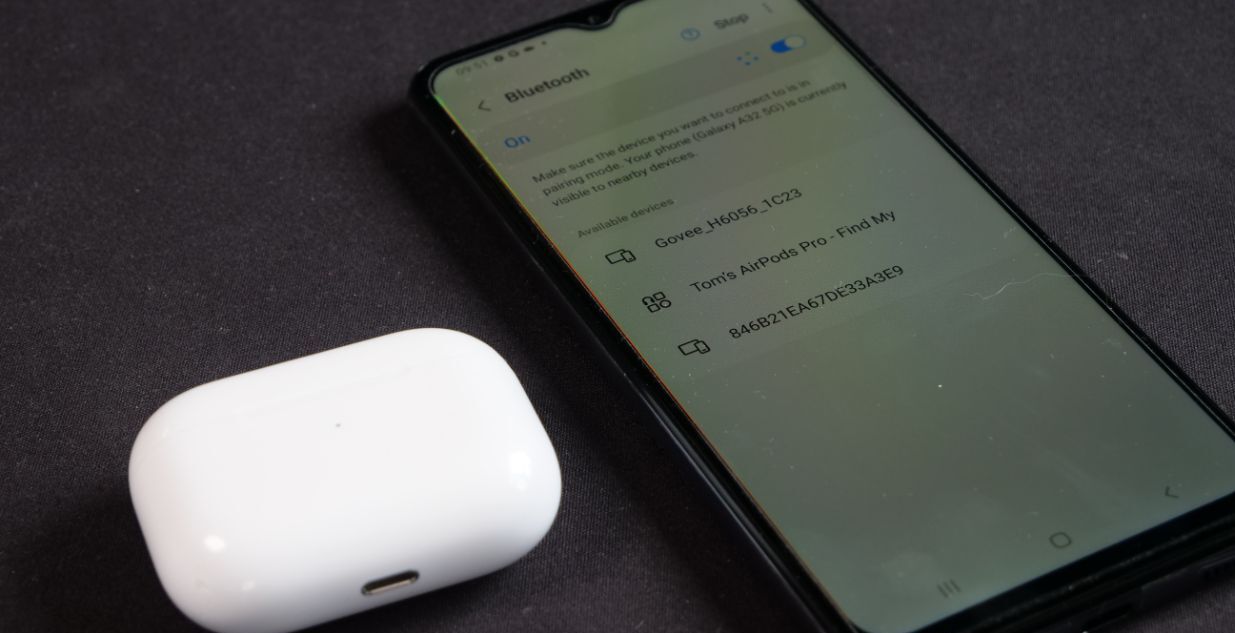
- As your tablet searches for nearby Bluetooth devices, it will display a list of available devices. Wait patiently for your AirPods to appear in this list.
It is important to note that the name of your AirPods might vary depending on how you have personalized them. By default, they will be labeled as “AirPods” followed by the name of the person associated with the Apple ID that initially set up the AirPods.
Once your AirPods appear in the list of available devices, you are ready to establish a connection. Proceed to the next step for instructions on how to connect your AirPods to your tablet.
Step 7: Tap on your AirPods from the list of available devices
Now that your AirPods have appeared in the list of available devices within the Bluetooth settings on your tablet, it’s time to establish the connection by tapping on your AirPods.
Follow these steps to connect your AirPods to your tablet:
- From the list of available devices, locate your AirPods. They will typically be listed as “AirPods” followed by the name associated with the Apple ID that initially set up the AirPods.
- Tap on the name of your AirPods to initiate the connection process.
After tapping on your AirPods, your tablet will attempt to connect to them. This process may take a few seconds, so be patient while the connection is established.
Once the connection is successfully established, a confirmation message may appear on your tablet, indicating that the AirPods are connected and ready to use.
It’s worth noting that some tablets may automatically pair with your AirPods after tapping on them, while others may require you to manually confirm the pairing request. If prompted, follow the on-screen instructions to confirm the pairing request from your AirPods.
Congratulations! You have successfully connected your AirPods to your tablet. Now, you can enjoy your favorite audio content wirelessly through your AirPods.
Step 8: Confirm the pairing request
After tapping on your AirPods from the list of available devices on your tablet, you may be prompted to confirm the pairing request. This step is necessary to establish a secure connection between your AirPods and your tablet, ensuring that only authorized devices can connect.
Follow these steps to confirm the pairing request:
- After tapping on your AirPods, a pairing request may appear on your tablet’s screen. This request will ask you to confirm the connection between your AirPods and your tablet.
- On your tablet, tap “Pair” or “Confirm” to proceed with the pairing process.
Depending on your tablet’s operating system, the wording and appearance of the pairing request may vary slightly. However, the overall process remains the same – you need to confirm the connection between your AirPods and your tablet.
Once you have confirmed the pairing request, your AirPods will be successfully connected to your tablet. You can now enjoy a seamless wireless audio experience on your tablet using your AirPods. The pairing information will be saved on your tablet, allowing for automatic reconnection in the future as long as your AirPods and tablet are within range of each other.
Now that you have confirmed the pairing request, you’re all set to enjoy your favorite audio content using your AirPods. Proceed to the next step for optional instructions on how to adjust AirPods settings on your tablet.
Step 9: Adjust AirPods settings (optional)
Once you have successfully connected your AirPods to your tablet, you may want to explore and adjust the AirPods settings to personalize your audio experience further. While this step is optional, it allows you to customize various features and functionalities of your AirPods according to your preferences.
Follow these steps to adjust the AirPods settings on your tablet:
- Open the settings on your tablet.
- Scroll down or navigate to the “Bluetooth” section within the settings menu.
- Locate your AirPods from the list of connected devices and tap on their name to access the AirPods settings.
- Inside the AirPods settings, you may find various options to customize your AirPods. These options can vary depending on your tablet’s operating system and the version of Bluetooth technology supported. Some common settings include:
- Double-tap settings: Customize what happens when you double-tap on your AirPods, such as playing/pausing audio, skipping tracks, activating voice assistant, or disabling the double-tap feature.
- Microphone settings: Choose which AirPods microphone to use, either the left, right, or automatic switching.
- Automatic ear detection: Enable or disable the feature that automatically pauses audio when you remove one or both AirPods from your ears.
- Equalizer settings: Adjust the audio equalizer to enhance the sound quality based on your preferences.
- Renaming: Change the name displayed for your AirPods to make them easier to identify.
- Adjust the settings according to your preferences and tap “Save” or “Apply” to apply the changes.
By exploring the AirPods settings on your tablet, you can fine-tune the audio experience, control playback, and customize other essential features. Feel free to experiment and find the settings that suit your personal preferences best.
With the optional adjustment of AirPods settings complete, you’re now ready to enjoy an enhanced wireless audio experience on your tablet with your personalized AirPods setup.
Conclusion
Congratulations! You have successfully learned how to connect your AirPods to your tablet. Whether you have an Android tablet, Windows device, or any other compatible tablet, the steps outlined in this guide have provided you with the knowledge to establish a wireless connection and enjoy your favorite audio content seamlessly.
We began by turning on Bluetooth on your tablet and opening the AirPods case to activate pairing mode. Then, we guided you through the process of accessing the settings on your tablet, tapping on Bluetooth or Connections, and waiting for your AirPods to appear. Once your AirPods were visible in the list of available devices, we instructed you to tap on them to initiate the connection process. Additionally, we covered the steps to confirm the pairing request, and for those who desired further customization, we explored adjusting the AirPods settings on your tablet.
Remember, the pairing information will be saved on your tablet, allowing for automatic reconnection in the future as long as your AirPods and tablet are within range of each other.
Now that you have successfully connected your AirPods to your tablet, you can enjoy the convenience of wireless listening, crisp sound quality, and the freedom to move without the hassle of tangled wires. Whether you’re streaming music, watching movies, or making video calls, your AirPods will enhance your audio experience on your tablet.
Thank you for using our guide. We hope it has been helpful to you and that you continue to enjoy your wireless AirPods and tablet combination for all your audio needs!