Introduction
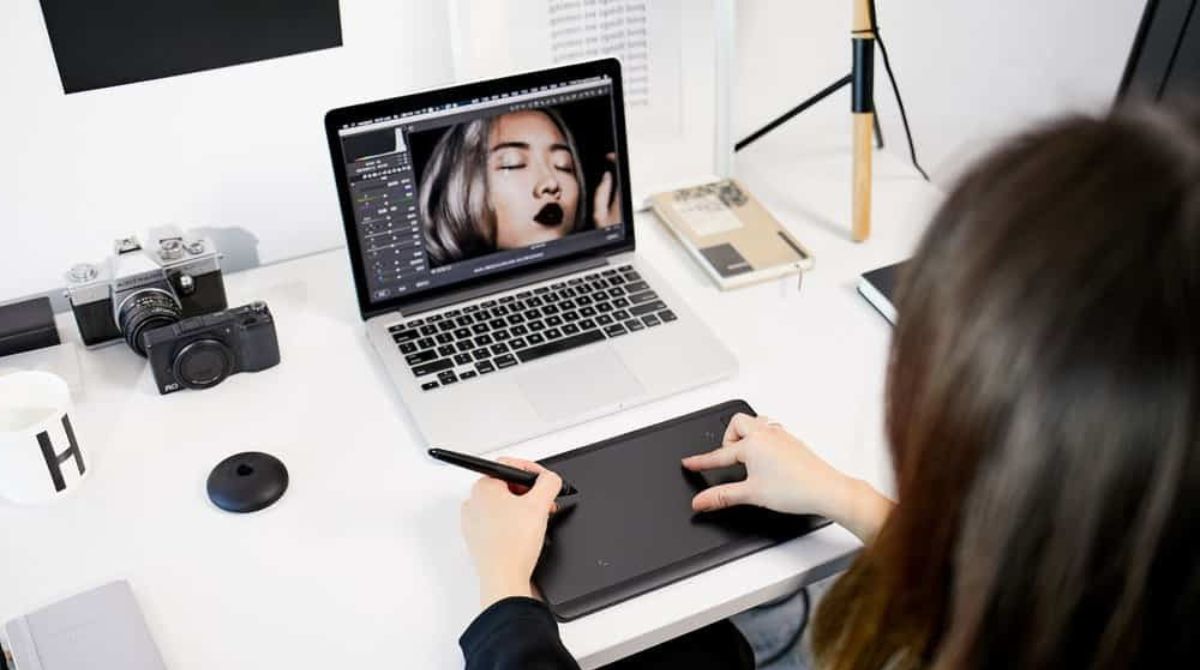
Welcome to the world of digital art and creativity! If you’ve recently purchased an Intuos tablet or are considering getting one, you’re in for a treat. Intuos tablets from Wacom are renowned for their exceptional quality and precision, making them a popular choice among artists, designers, and creators of all kinds.
In this guide, we’ll take you through the step-by-step process of installing your Intuos tablet, so you can start unleashing your creative potential right away. Whether you’re a beginner or a seasoned professional, setting up your Intuos tablet is a straightforward task that can be completed in just a few minutes.
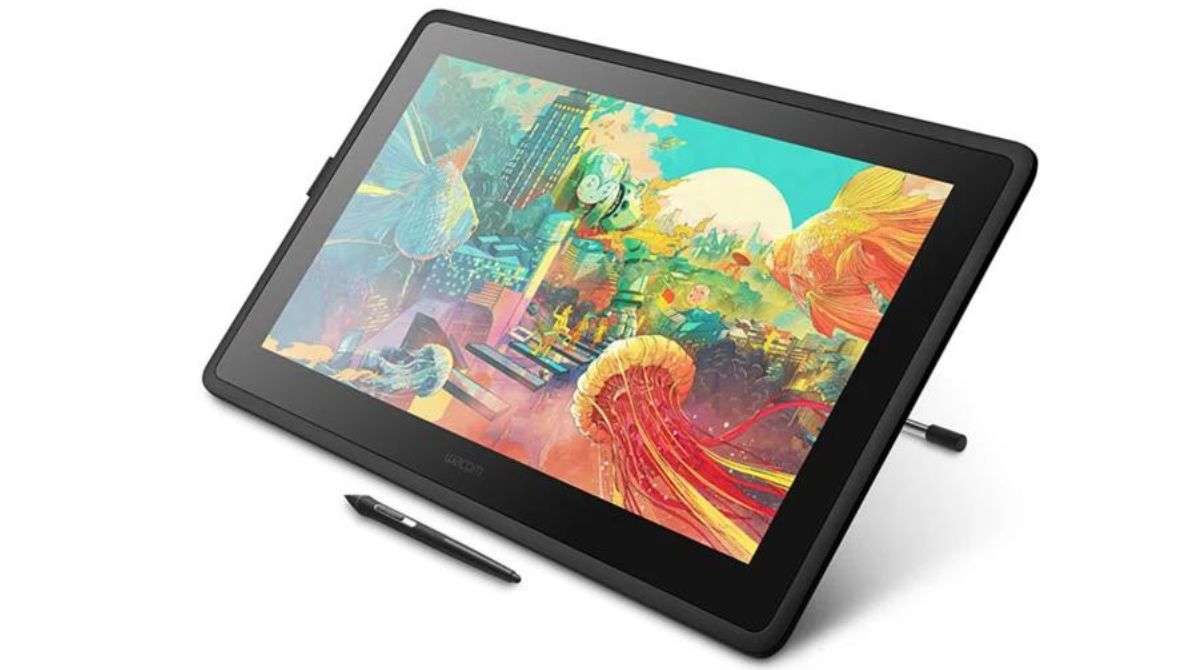
Before we dive into the installation process, it’s essential to understand the key components of an Intuos tablet. These sleek and compact devices consist of two main parts: the tablet itself and the stylus, also known as the pen. The tablet acts as a canvas for your creations, while the stylus allows you to draw, sketch, and navigate with precision and accuracy.
Now that you have a basic understanding of what an Intuos tablet entails, let’s get started with the installation process. By the end of this guide, you’ll have your Intuos tablet up and running, ready to explore new artistic possibilities and bring your imagination to life.
Step 1: Unpacking the Intuos Tablet
Congratulations on your new Intuos tablet! Before we begin the installation process, it’s important to carefully unpack and familiarize yourself with the contents of the package.
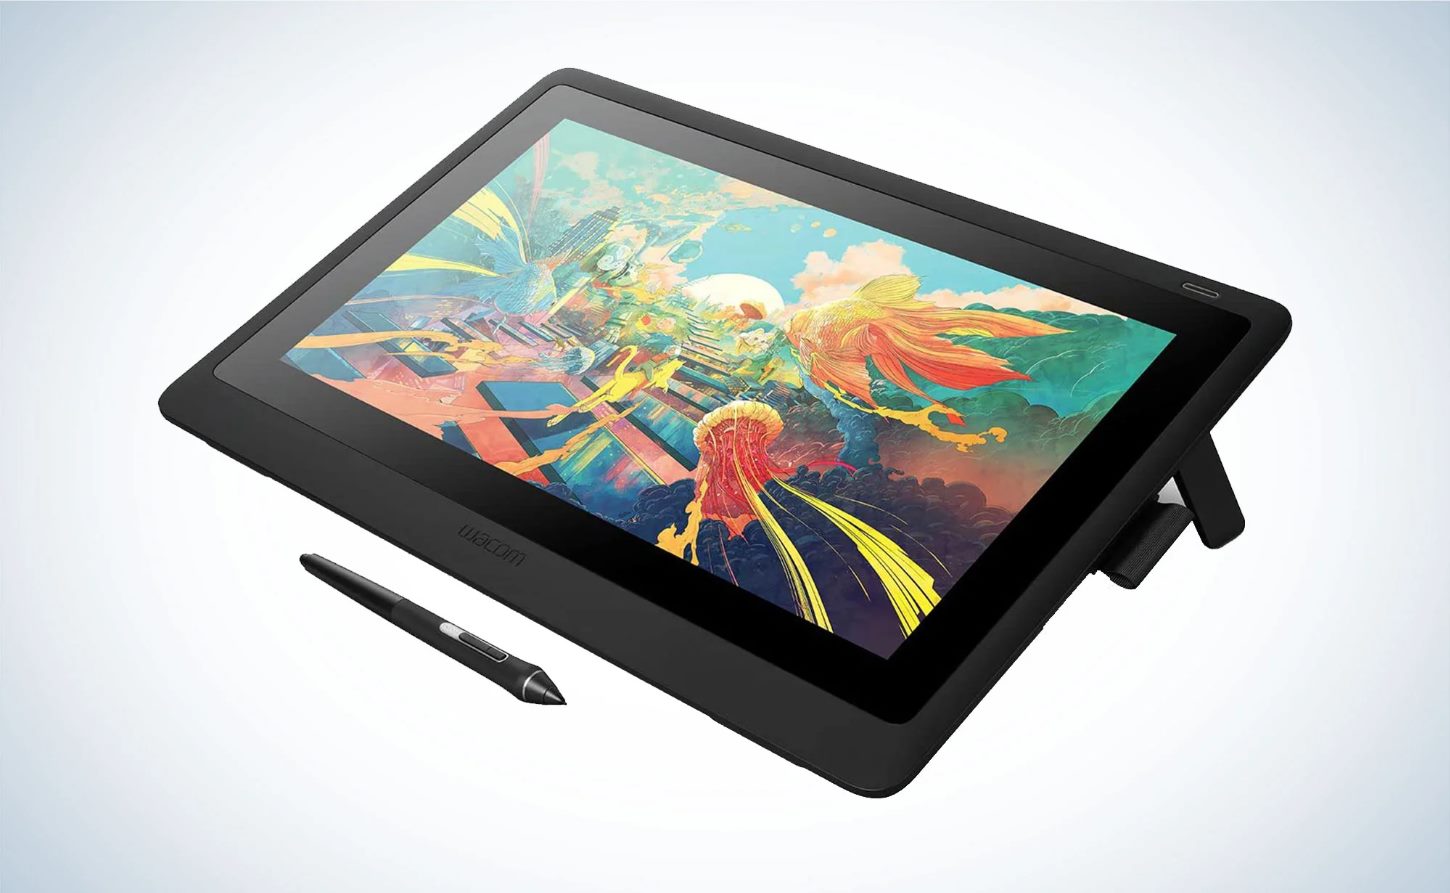
Start by locating the box that contains your Intuos tablet. Carefully open the packaging and remove the tablet, making sure to handle it with care. Take a moment to appreciate the sleek design and lightweight construction of the tablet.
Inside the box, you’ll find the stylus or pen that accompanies the tablet. Gently remove it from its designated compartment. The Intuos stylus is ergonomically designed for a comfortable grip, ensuring a natural drawing experience.
Next, locate the USB cable included in the package. This cable will be used to connect your Intuos tablet to your computer. Take a moment to inspect the cable for any signs of damage.
Depending on the model of your Intuos tablet, you may also find additional accessories included in the package, such as a pen holder, replacement nibs, or a wireless kit. These accessories enhance the functionality and versatility of your tablet.
Once you have unpacked all the components, take a moment to review the user manual or quick start guide that came with your Intuos tablet. This guide provides detailed instructions specific to your tablet model and will ensure a smooth installation process.
Now that you have familiarized yourself with the contents of the package, you’re ready to move on to the next step: installing the necessary drivers for your Intuos tablet.
Step 2: Installing the Drivers
Installing the drivers for your Intuos tablet is an essential step to ensure proper functionality and compatibility with your computer. The drivers act as a bridge between your tablet and operating system, allowing you to make the most of its features.
Start by connecting your Intuos tablet to your computer using the USB cable provided. Once connected, your computer should recognize the tablet and prompt you to install the necessary drivers. If the installation process does not start automatically, don’t worry. You can manually download the drivers from the official Wacom website.
Open your preferred web browser and visit the Wacom website. Look for the “Support” or “Drivers” section, and navigate to the page specifically for Intuos tablets. Select your tablet model and operating system from the available options.
Once you’ve identified the correct drivers for your setup, click on the download link and save the installation file to your computer. Once the download is complete, locate the file and double-click on it to start the installation process.
Follow the on-screen instructions provided by the driver installation wizard. It will guide you through the process, including accepting the license agreement, specifying installation preferences, and selecting the destination location for the drivers.
Once the drivers are successfully installed, restart your computer to ensure all changes take effect. After restarting, your Intuos tablet should be fully recognized by the operating system, enabling you to enjoy its full range of features and functionalities.
It’s worth mentioning that Wacom periodically releases driver updates to improve performance, address bugs, and introduce new features. It is recommended to regularly check the Wacom website for any available driver updates and install them to keep your Intuos tablet up to date.
Congratulations! You’ve successfully installed the drivers for your Intuos tablet. Now, let’s move on to the next step and connect your tablet to your computer.
Step 3: Connecting the Tablet to Your Computer
Now that you have installed the necessary drivers, it’s time to connect your Intuos tablet to your computer and establish a seamless connection. Follow the steps below to ensure a secure and reliable connection.
First, locate the USB cable that came with your Intuos tablet. Connect one end of the cable to the USB port on your Intuos tablet, and the other end to an available USB port on your computer. Make sure the connection is secure and snug.
Once the tablet is connected, your computer will detect the device and recognize it as a peripheral input device. Depending on your operating system, you may receive a notification or see a detection prompt on your screen.
It’s important to note that for a few older Intuos models, you may need to connect the tablet using a wireless connection instead of a USB cable. Refer to your tablet’s user manual or the documentation provided by Wacom to learn specific instructions for your model.
If your computer does not immediately recognize the tablet, try unplugging the USB cable and plugging it back in. This simple step often resolves any connectivity issues.
Once your Intuos tablet is successfully connected, it’s time to configure the tablet preferences to suit your artistic needs. Proceed to the next step to learn how to customize the settings of your tablet.
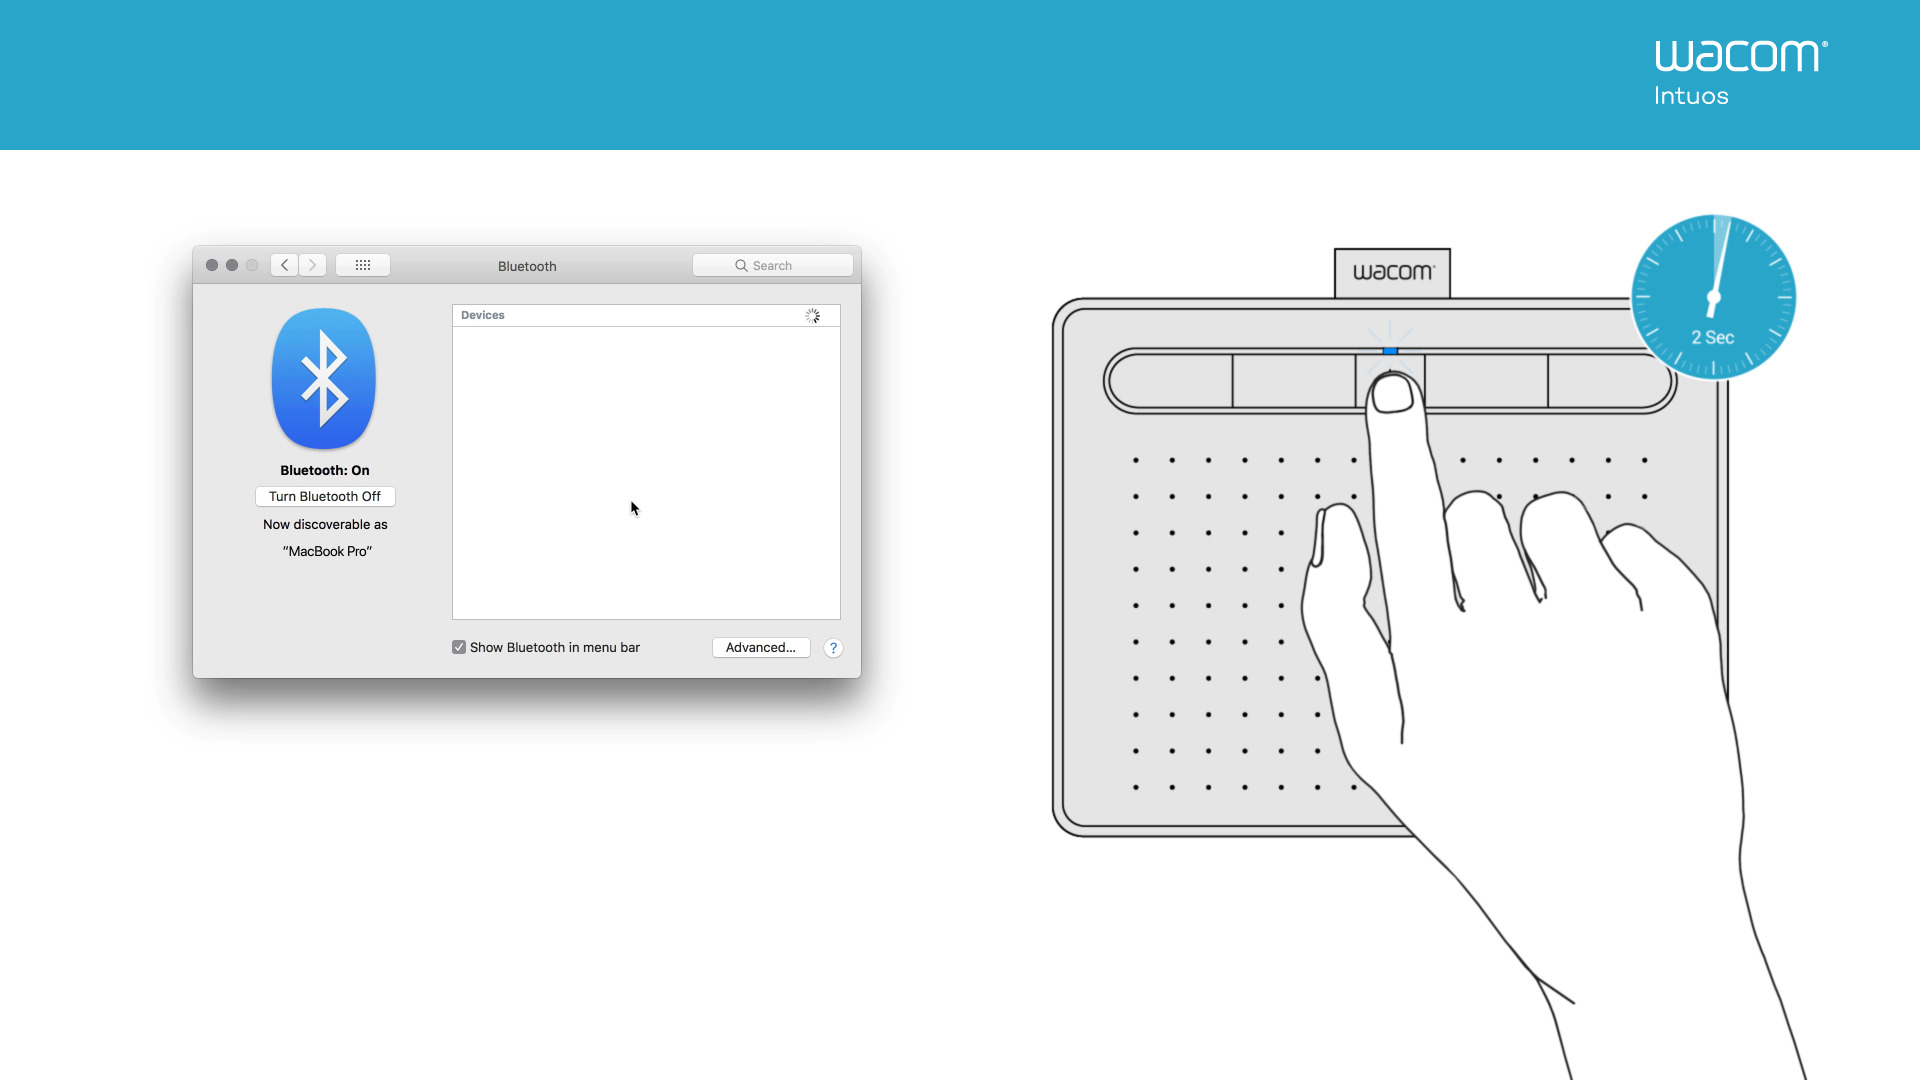
Before moving on, it’s important to note that if you’re using a wireless connection for your Intuos tablet, make sure the wireless kit is properly installed and connected to both the tablet and your computer. Refer to the user manual for detailed instructions on setting up a wireless connection.
With your Intuos tablet now securely connected to your computer, you’re ready to move on to the next step and configure the tablet preferences according to your preferences.
Step 4: Configuring the Tablet Preferences
After connecting your Intuos tablet to your computer, it’s time to customize its settings and tailor them to your specific preferences. The tablet preferences allow you to adjust parameters such as pen sensitivity, button assignments, and touch controls. Follow the steps below to configure your Intuos tablet preferences.
Start by locating the Wacom tablet settings on your computer. Depending on your operating system, you can usually find the settings by searching for “Wacom Tablet” in the Start menu or accessing the control panel.
Open the Wacom tablet settings and navigate to the “Pen” or “Stylus” settings. Here, you can adjust the sensitivity of the pen, including pressure sensitivity and tilt sensitivity. Experiment with different settings to find the configuration that feels most natural and comfortable for your artistic style.
Next, explore the “Button Settings” or “ExpressKeys” section. Here, you can assign specific functions or shortcuts to the buttons on your Intuos tablet. For example, you can assign a button to undo or redo, switch between brush sizes, or activate a specific tool in your preferred software.
Take some time to familiarize yourself with the available customization options for touch controls, if applicable to your tablet model. Touch controls allow you to use gestures, such as pinch-to-zoom or swipe, to navigate and interact with your digital workspace.
As you customize the tablet preferences, take note of any specific needs or requirements for your creative workflow. Adjust the settings to suit your preferred software, whether it’s Photoshop, Illustrator, or any other graphic design or drawing application.
Remember to save your preferences after making any changes. This ensures that your customized settings remain intact, even if you disconnect and reconnect your Intuos tablet.
Now that you have configured your tablet preferences, it’s time to test your Intuos tablet and ensure that everything is working as expected.
Proceed to the next step to learn how to test your Intuos tablet and make final adjustments if necessary.
Step 5: Testing Your Intuos Tablet
Now that you have successfully configured the preferences for your Intuos tablet, it’s time to put it to the test and ensure that everything is functioning as expected. Follow the steps below to conduct a quick test.
Start by opening your preferred drawing or graphic design software. Ensure that the software recognizes your Intuos tablet as the primary input device. If not, double-check your settings and make sure the tablet is properly connected to your computer.
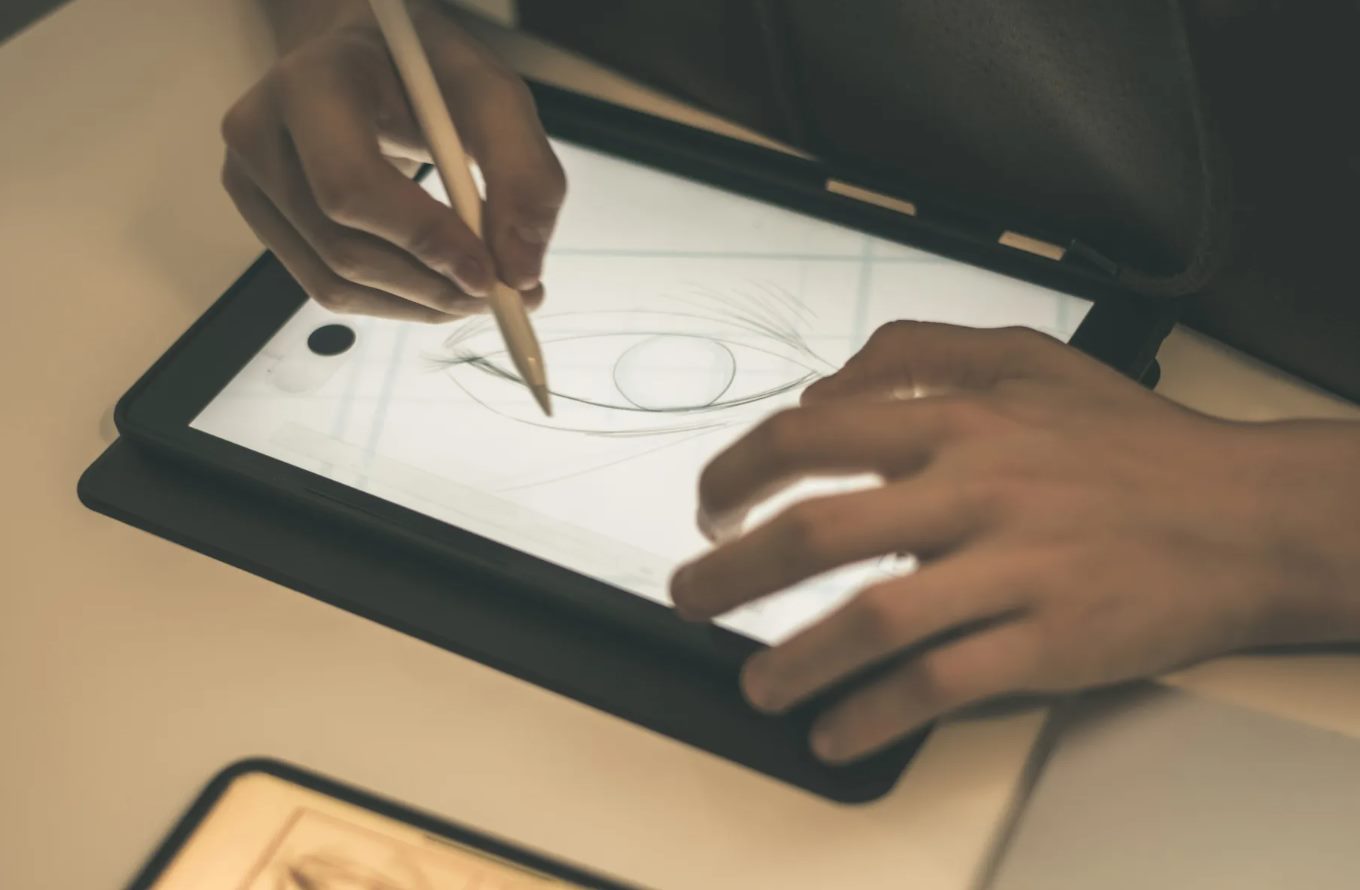
Now, take your Intuos stylus or pen in hand and make a few strokes or lines on the tablet’s surface. Pay close attention to the response of the software and monitor the brush strokes on the screen. The pen should feel precise and the strokes should be accurately reflected in the software.
Test the pressure sensitivity of the pen by varying the amount of pressure you apply while drawing. See if the software responds accordingly with thicker or thinner lines. This feature allows you to create realistic and dynamic effects in your digital artwork.
Experiment with different pen angles to test the tilt sensitivity of your Intuos tablet, if applicable to your tablet model. Tilt the pen to different angles and observe how the software responds. This feature can be especially useful for creating natural shading and gradients.
While testing, try utilizing the programmable buttons or express keys on your Intuos tablet. See if the assigned functions or shortcuts are properly triggered within the software. This can help streamline your workflow and enhance productivity.
If you have touch controls on your Intuos tablet, test them by performing gestures such as swiping or zooming in and out. Ensure that the touch controls respond accurately and allow you to navigate and interact with your digital workspace effortlessly.
If you encounter any issues during the testing process, refer to the user manual or online resources provided by Wacom for troubleshooting tips. You can also contact Wacom customer support for further assistance with any technical difficulties.
Congratulations! You have successfully installed, configured, and tested your Intuos tablet. Now, it’s time to unleash your creativity and explore the endless possibilities that your Intuos tablet offers.
Continue to practice and experiment with different art styles and techniques. The more you use your Intuos tablet, the more you will uncover its capabilities and unleash your artistic potential.
Conclusion
Congratulations on successfully installing, configuring, and testing your Intuos tablet! You have now embarked on a journey filled with creativity, artistic expression, and limitless possibilities.
Throughout this guide, we explored the step-by-step process of unpacking your Intuos tablet, installing the necessary drivers, connecting it to your computer, configuring the tablet preferences, and testing its functionality. By following these steps, you have ensured a smooth setup process and optimal performance for your Intuos tablet.
Remember, your Intuos tablet is not just a device but a powerful tool that empowers you to bring your imagination to life. Whether you are a digital artist, graphic designer, or creative enthusiast, the Intuos tablet provides you with the precision and control necessary to create stunning digital artwork.
Continue to explore the various features and customization options available for your Intuos tablet. Experiment with different brushes, strokes, and software settings to find the perfect combination that suits your artistic style.
Additionally, stay up to date with the latest driver updates and firmware releases from Wacom to ensure that your Intuos tablet operates at its best. Regularly visit the Wacom website to check for any updates and take advantage of new features and improvements.
So now, go ahead and let your creativity soar. Whether you’re creating beautiful illustrations, editing stunning photographs, or designing captivating graphics, your Intuos tablet is there to support and enhance your artistic journey.
Keep practicing, exploring, and challenging yourself. With your Intuos tablet by your side, your imagination is the only limit. Embrace the digital canvas and enjoy the wonderful world of digital art!