Introduction
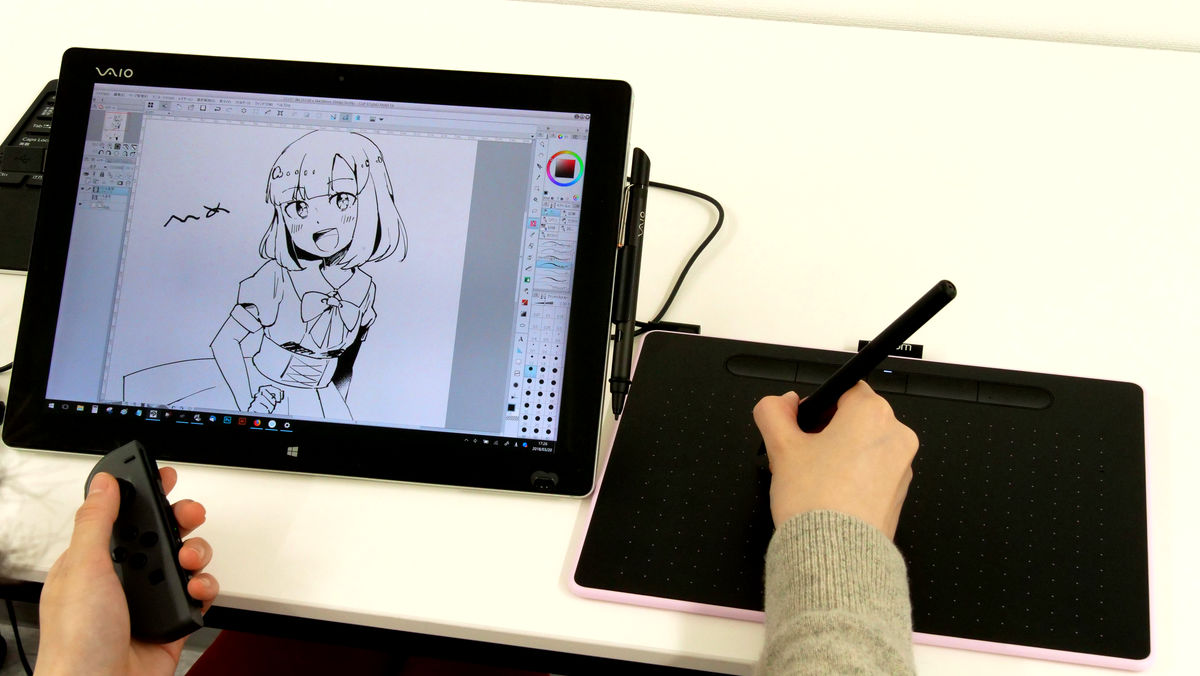
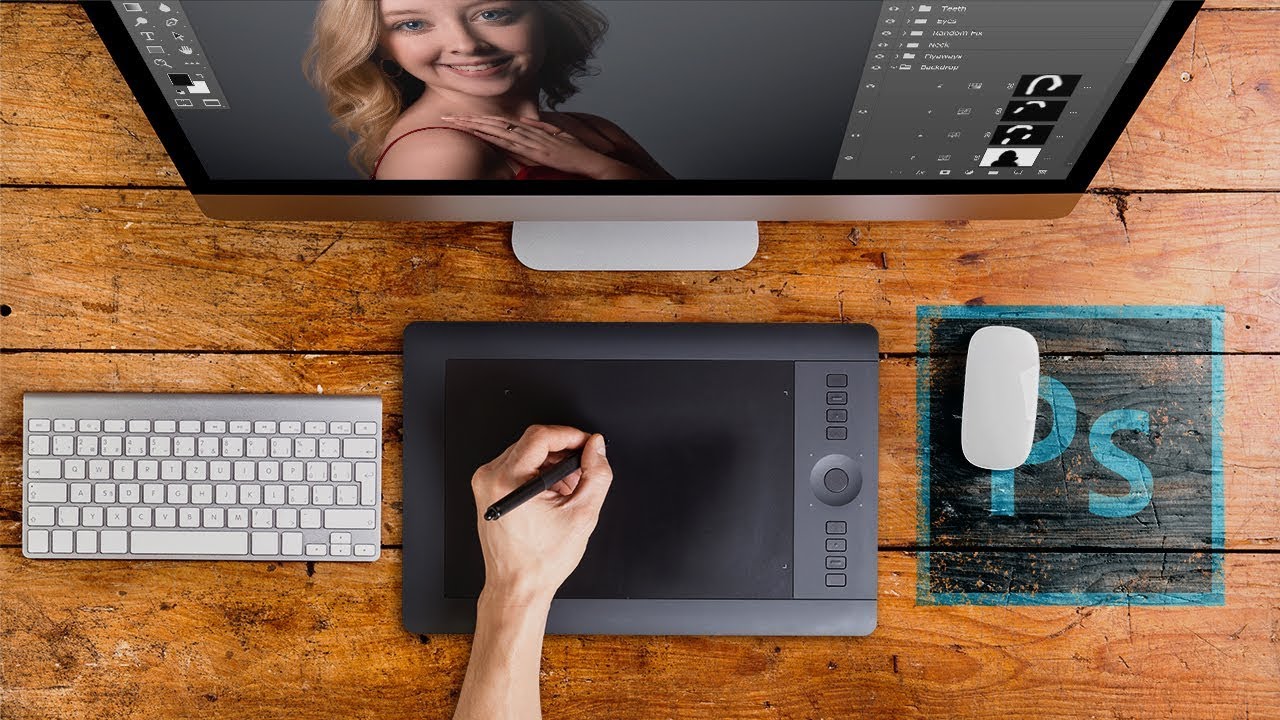
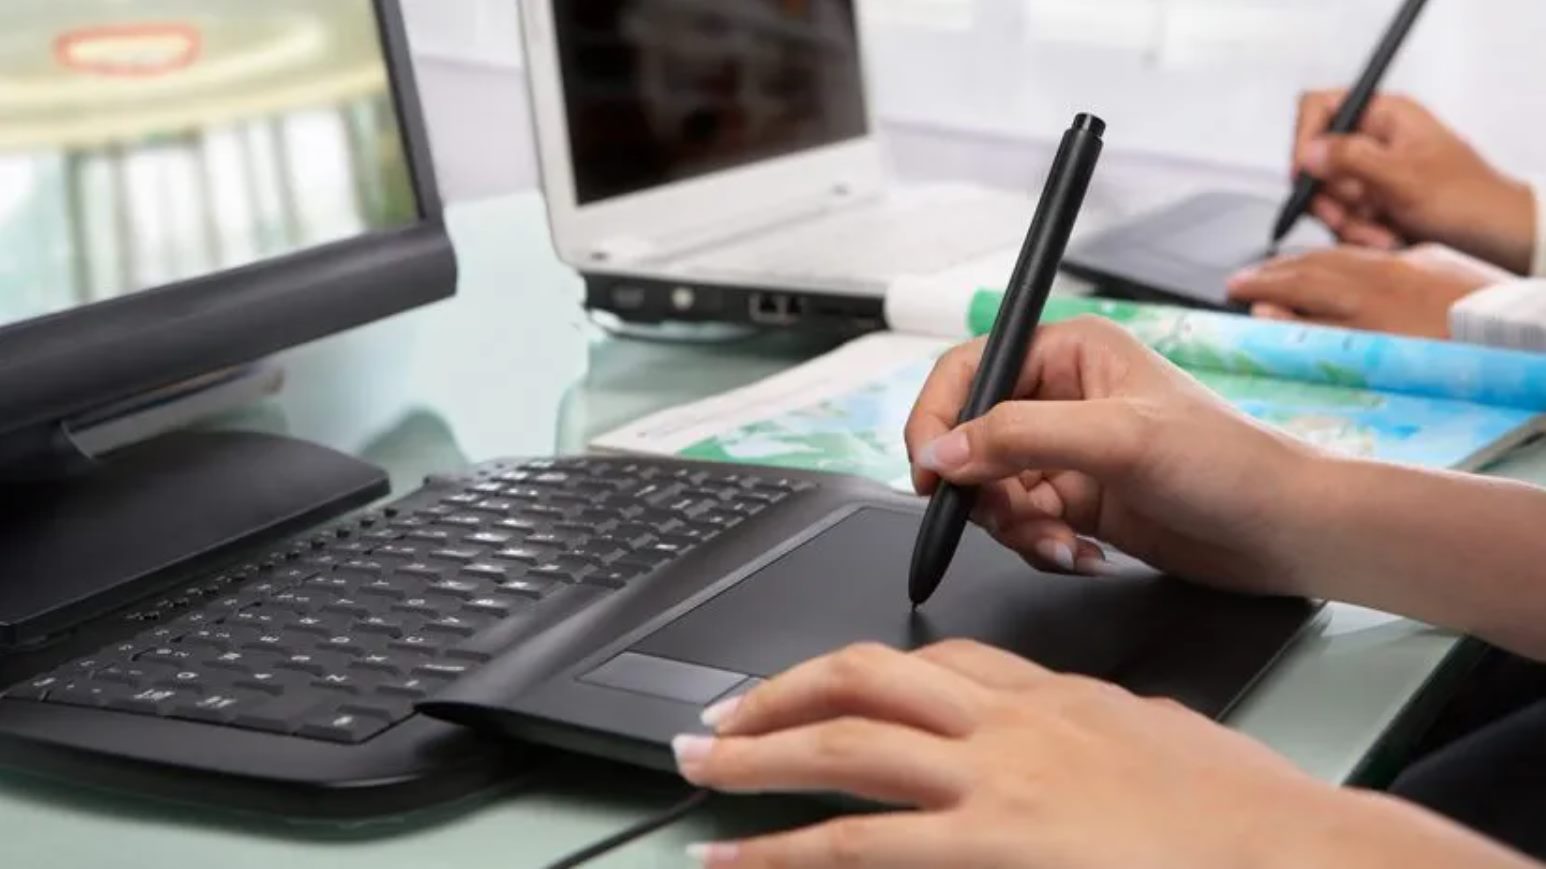
In today’s digital age, graphic designers and digital artists rely heavily on software like Adobe Photoshop to unleash their creativity and bring their artistic visions to life. While using a mouse or trackpad is certainly an option, many professionals opt for a tablet for a more intuitive and precise experience. Tablets offer advanced features such as pen pressure sensitivity, which allows for more control over brush strokes and finer details.
Setting up a tablet for Photoshop is a crucial step to ensure a seamless workflow and unleash the full potential of your digital artistry. In this guide, we will walk you through the necessary steps to set up your tablet and maximize its functionality with Photoshop.
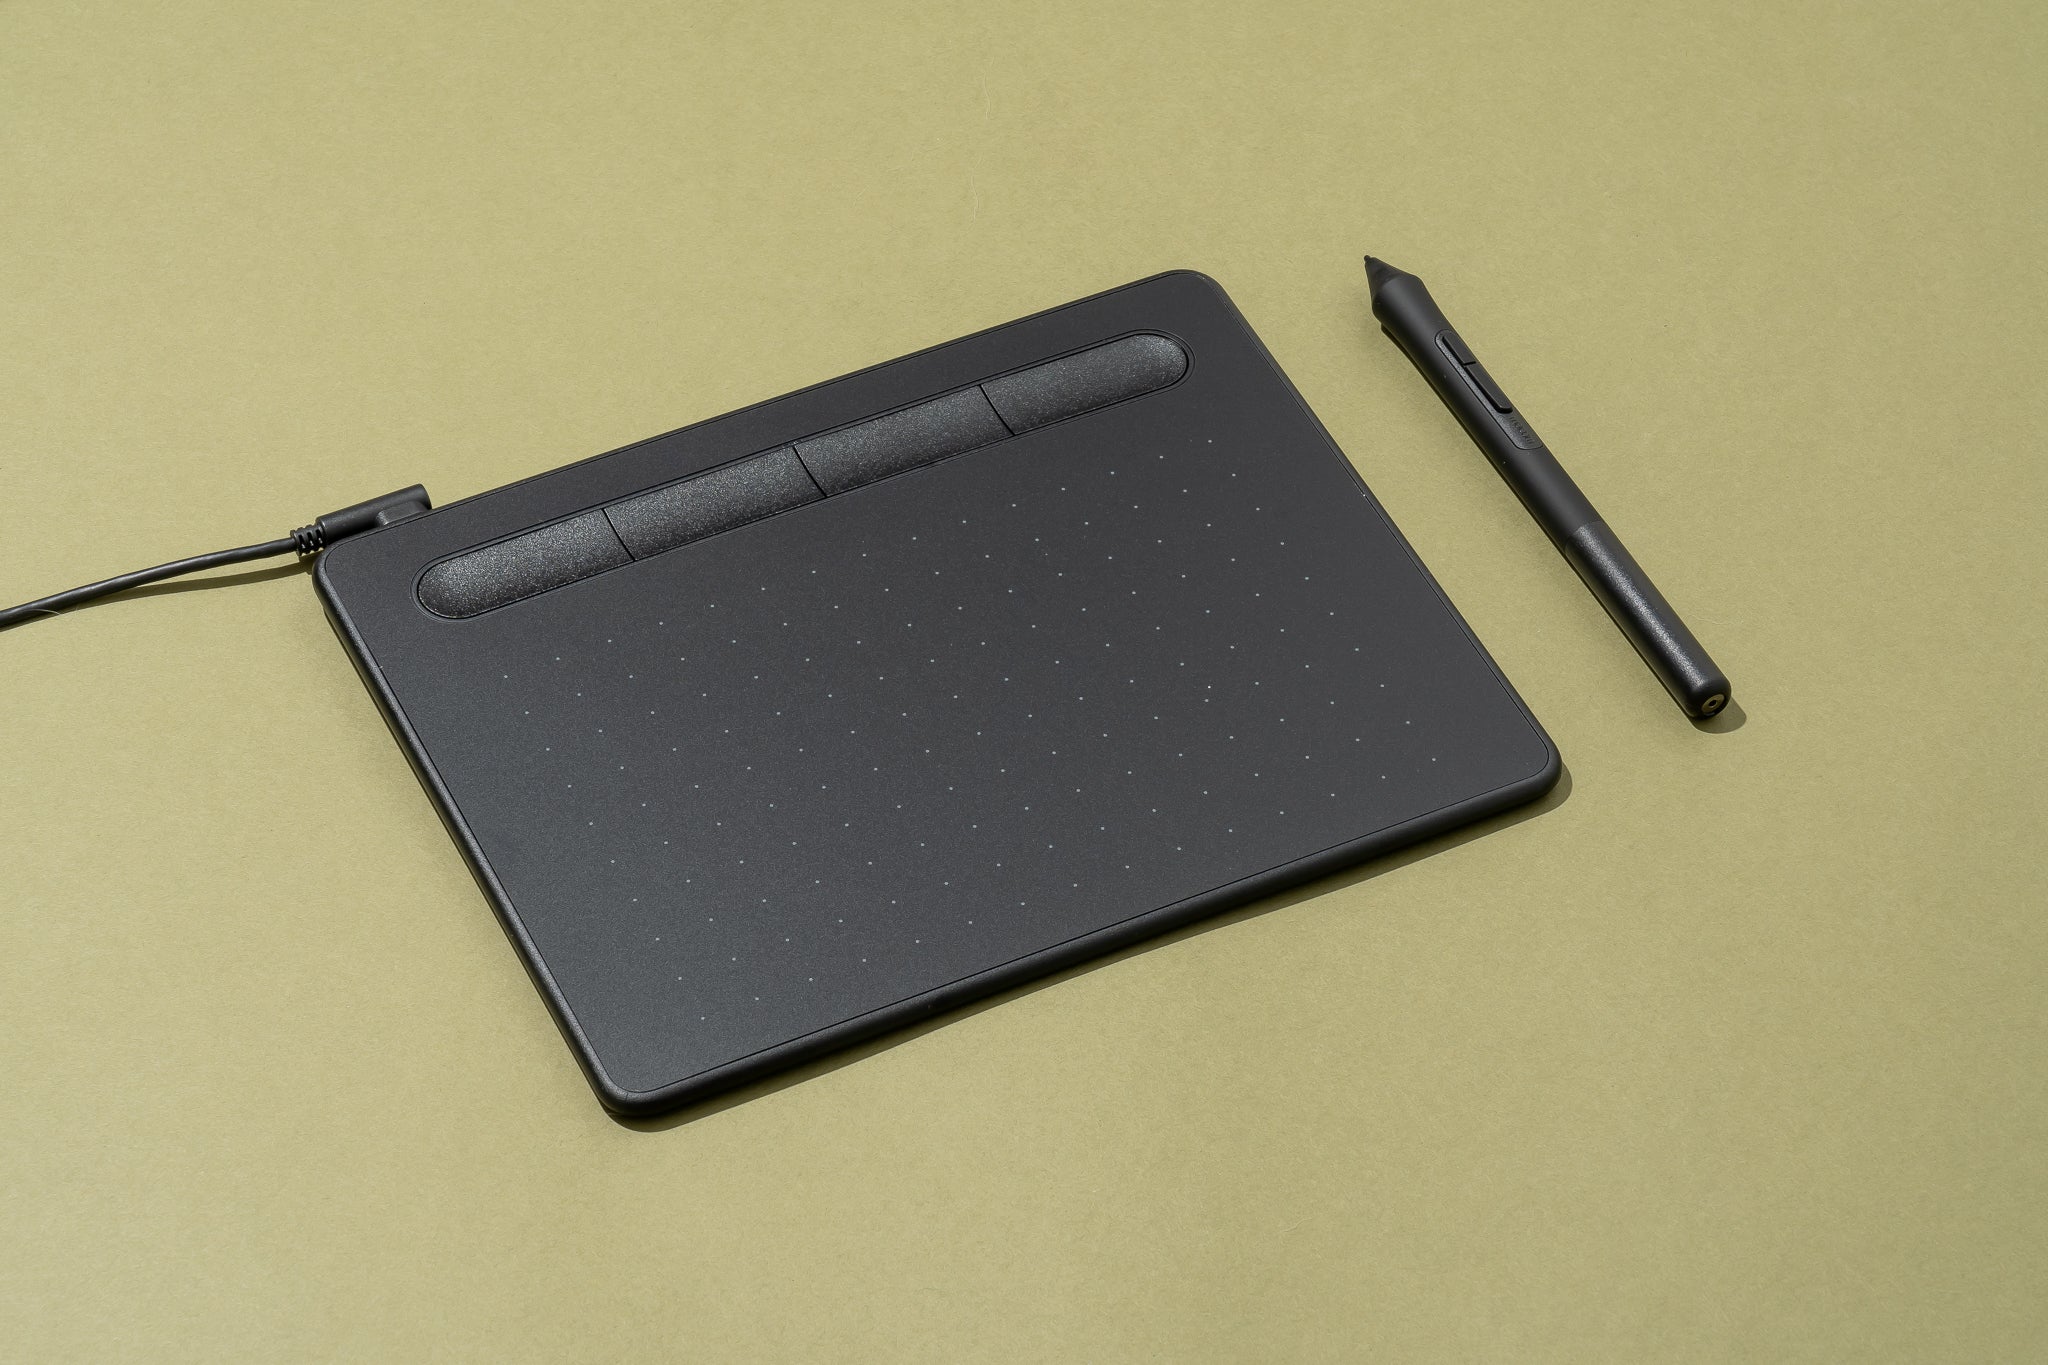
Before we dive into the setup process, it’s important to choose the right tablet for your needs. There are various options available in the market, ranging from budget-friendly to professional-grade tablets designed specifically for digital artists. Consider factors such as size, pressure sensitivity levels, tilt functionality, and overall compatibility with your computer system.
Once you have chosen the perfect tablet, the next steps involve installing Photoshop and configuring your tablet’s settings to optimize its performance with the software. We’ll cover everything from installing the necessary drivers to customizing pen pressure sensitivity and mapping tablet buttons to specific functions in Photoshop.
Whether you’re a seasoned professional or just starting your journey in digital art, setting up your tablet for Photoshop can greatly enhance your creative process. So, let’s dive in and explore the step-by-step process to unlock the full potential of your tablet and elevate your digital art to new heights.
Choosing the Right Tablet
When it comes to choosing the right tablet for Photoshop, there are several factors to consider that will ensure you have the best tool for your digital artistry. Here are some key considerations to keep in mind:
1. Size: Tablets come in various sizes, ranging from small and compact to large and spacious. Consider your creative workflow and preferences. If you require portability or have limited desk space, a smaller tablet may be a better fit. However, if you prefer a larger drawing surface to work on intricate details, a larger tablet might be the way to go.
2. Pressure Sensitivity: One of the most important features to look for in a tablet is pressure sensitivity. This feature allows the tablet to respond to varying degrees of pressure applied to the pen, resulting in thicker or thinner lines. Look for a tablet that offers a high level of pressure sensitivity, as it will give you more control over your brush strokes and allow for more expressive artwork.
3. Tilt Functionality: Some tablets offer tilt functionality, which allows you to create realistic shading and achieve more natural brush effects. With tilt functionality, the tablet can detect the angle at which you hold the pen, allowing you to mimic the behavior of traditional art tools like pencils and brushes.
4. Compatibility: Ensure that the tablet you choose is compatible with your operating system and computer. Most tablets are compatible with both Windows and macOS, but it’s always a good idea to double-check before making a purchase.
5. Brand and Reviews: Research different brands and read reviews from other artists to determine the reliability and performance of the tablet. Consider factors such as build quality, durability, customer support, and overall user satisfaction.
Remember, choosing the right tablet is essential for a smooth and enjoyable digital art experience. Take your time to research and consider your specific needs and preferences to find the perfect tablet that will enhance your creative process and unleash your artistic potential.
Installing Photoshop
Before you can begin using your tablet with Photoshop, you need to have the software installed on your computer. Follow these steps to install Photoshop:
1. Obtain the Software: Visit the Adobe website or authorized retailers to purchase or subscribe to Photoshop. Adobe offers various pricing plans, including monthly subscriptions and one-time purchases.
2. Download and Run the Installer: Once you have the software, download the installer from the Adobe website. Follow the on-screen instructions to run the installer and begin the installation process.
3. Choose Installation Location: During the installation, you will be prompted to select the installation location. Choose the appropriate location on your computer where you want Photoshop to be installed.
4. Agree to Terms and Conditions: Before proceeding with the installation, you will need to read and accept Adobe’s terms and conditions. Make sure to carefully review the terms before agreeing.
5. Configure Preferences: Once the installation is complete, you may be prompted to configure your preferences. This includes settings such as language preferences, default file formats, and workspace layout. Set these preferences according to your personal preferences.
6. Activate Your License: If you have purchased a license for Photoshop, you will need to activate it by entering the provided serial number. Follow the on-screen prompts to complete the activation process.
7. Launch Photoshop: After the installation and activation are complete, you can launch Photoshop. Depending on your computer and internet speed, it may take a few moments for Photoshop to open.
Congratulations! You have successfully installed Photoshop on your computer. Now you can move on to setting up your tablet to work seamlessly with the software.
Setting Up Tablet Driver
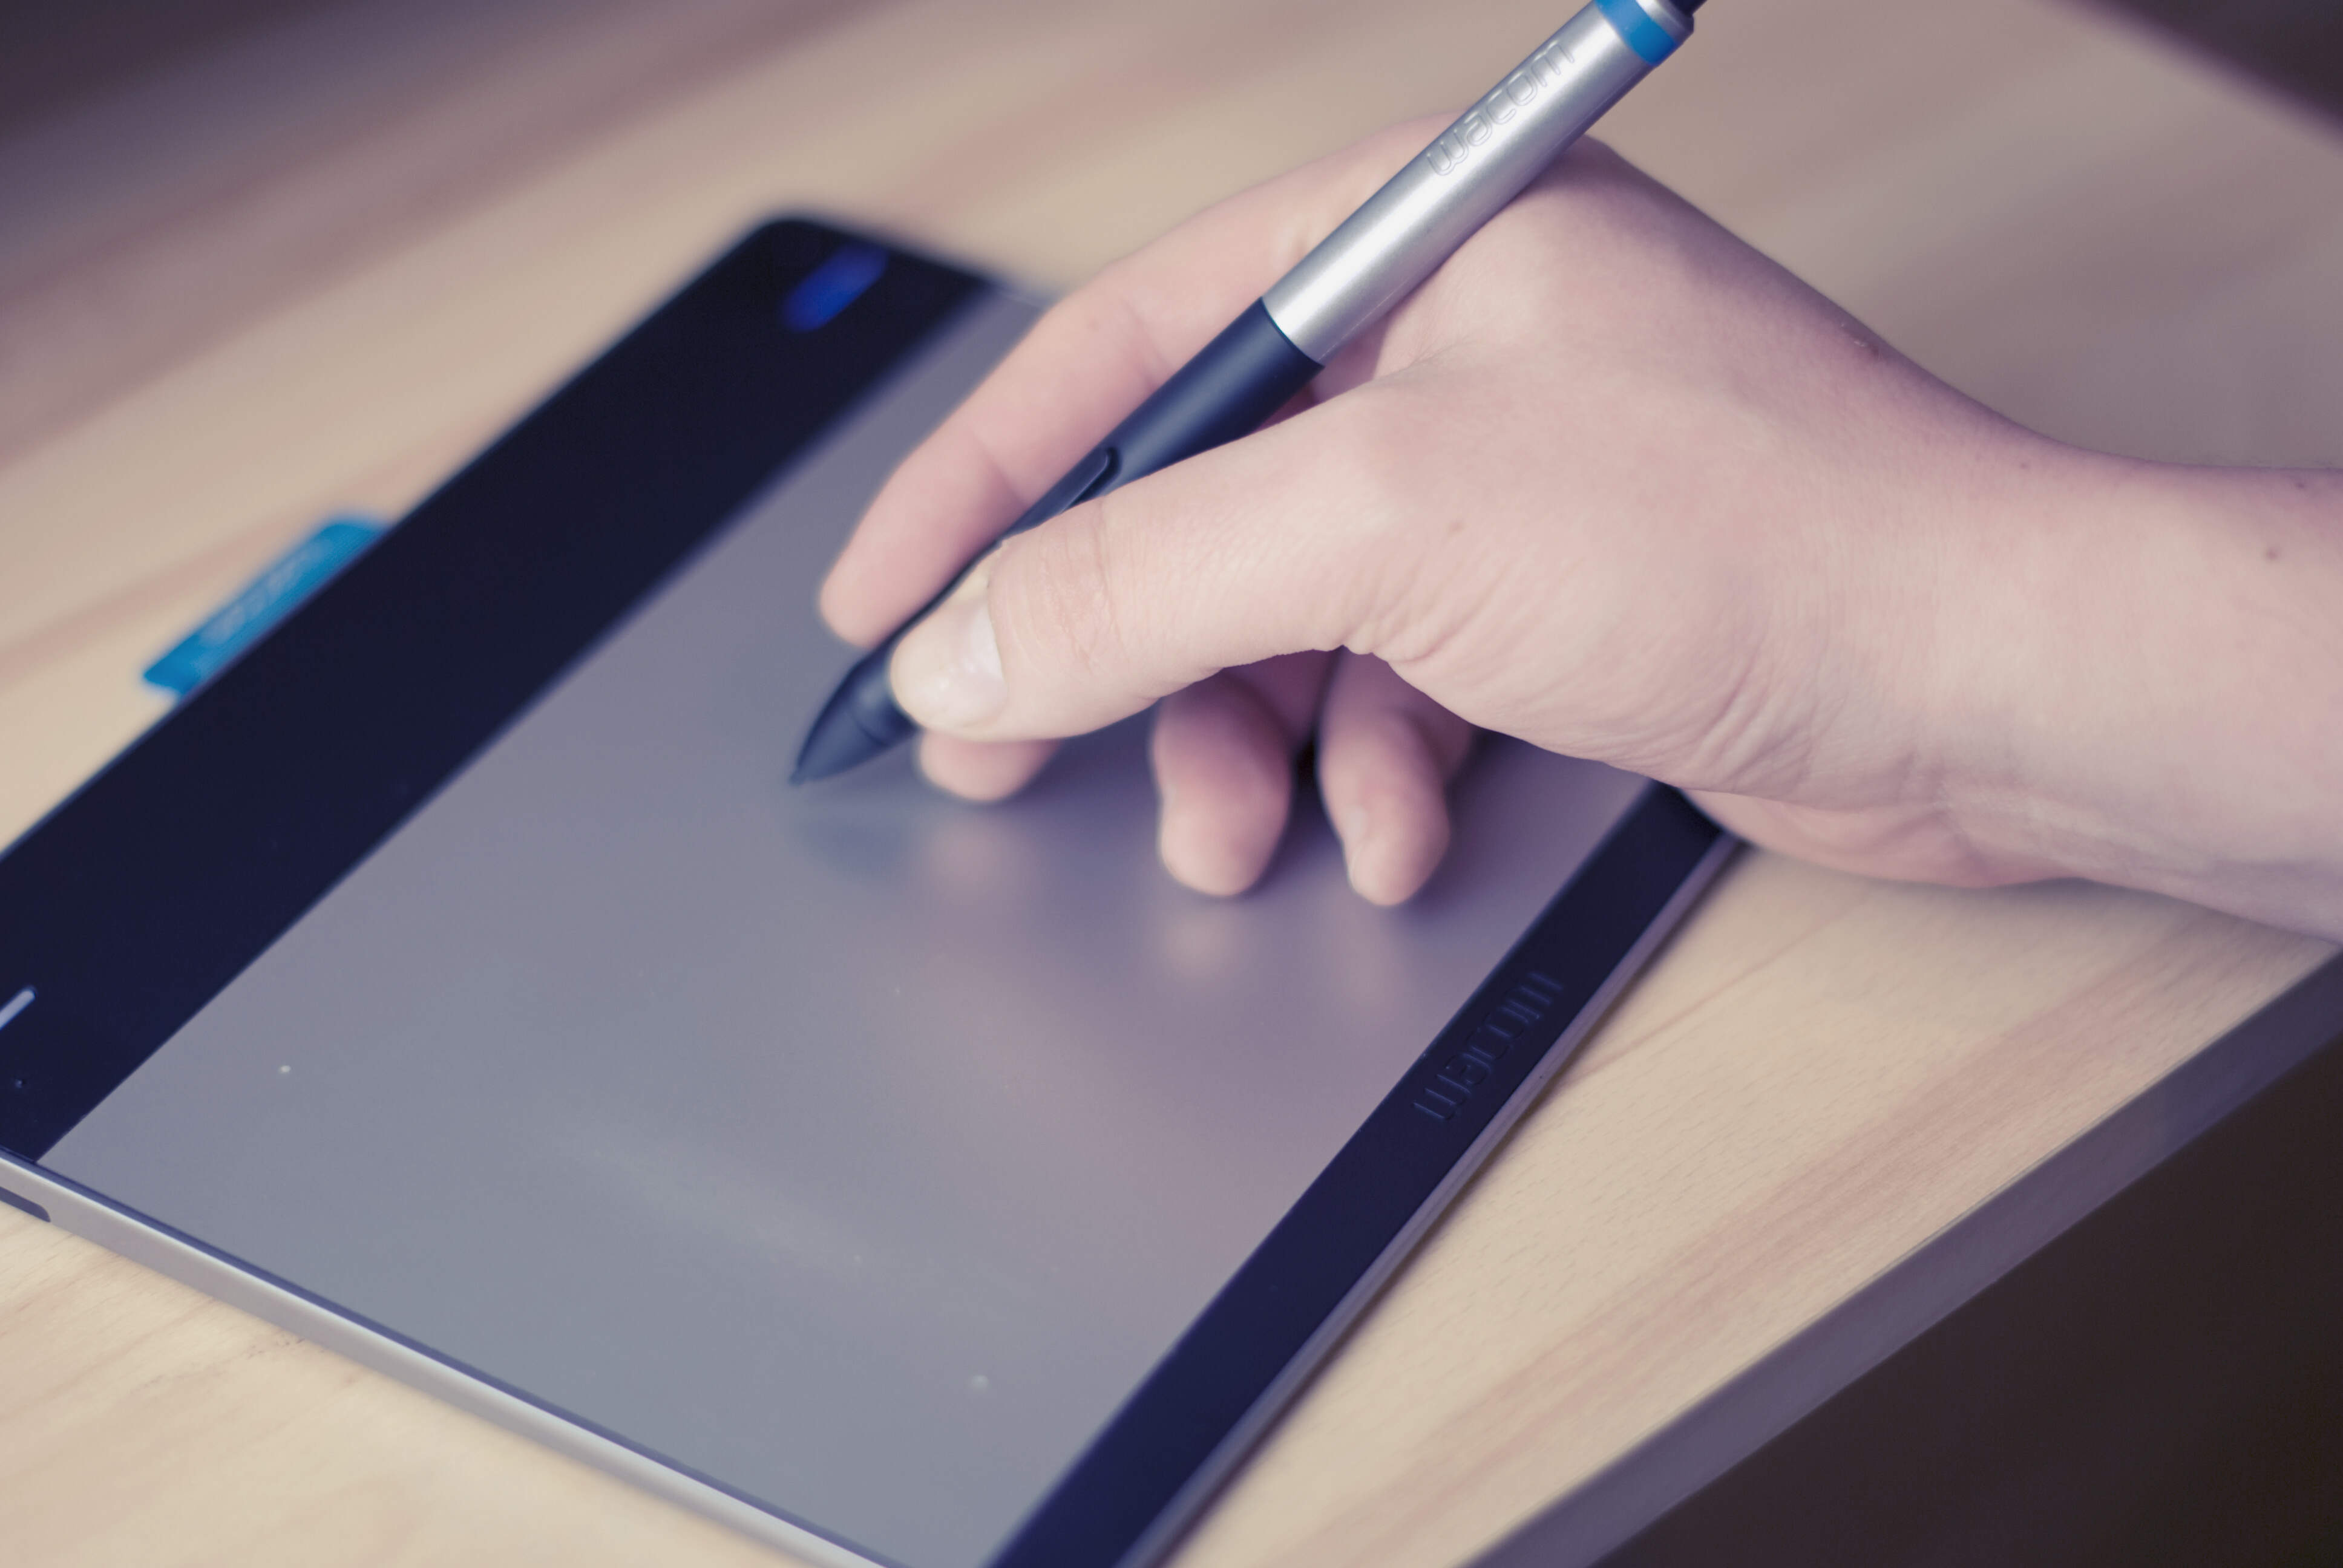
Before you can start using your tablet with Photoshop, you need to install the appropriate driver software provided by the tablet manufacturer. The tablet driver acts as a bridge between your tablet and your computer, allowing them to communicate effectively. Here’s how to set up the tablet driver:
1. Visit the Manufacturer’s Website: Go to the official website of the tablet manufacturer to download the latest driver software. Look for the “Support” or “Downloads” section of the website.
2. Locate Your Tablet Model: Find your tablet model in the list of available drivers. Make sure to download the driver that corresponds to your tablet model and operating system.
3. Download and Install the Driver: Once you have located the appropriate driver, download it to your computer. Run the installer file and follow the on-screen instructions to install the driver software.
4. Connect Your Tablet: Connect your tablet to your computer using the provided USB cable. Make sure your tablet is turned on and ready to be detected by your computer.
5. Restart Your Computer: After the driver installation is complete, it’s recommended to restart your computer. This ensures that the driver is properly recognized and integrated into your system.
6. Configure Tablet Settings: After restarting your computer, open the tablet driver software. Depending on the manufacturer, the software may have a unique name, such as “Wacom Tablet Properties” for Wacom tablets. In the driver software, you can customize various tablet settings such as pen sensitivity, button functions, and display mapping.
7. Test Tablet Functionality: To ensure that the tablet driver is set up correctly, test the tablet functionality by drawing or navigating with the pen on your tablet. Check if the cursor on your screen moves in sync with the pen movements and if pressure sensitivity is working properly.
By setting up the tablet driver, you have established a seamless connection between your tablet and your computer. Now, let’s move on to configuring pen pressure sensitivity to enhance your Photoshop experience.
Configuring Pen Pressure Sensitivity
One of the key advantages of using a tablet for Photoshop is the ability to utilize pen pressure sensitivity. This feature allows you to control the thickness and opacity of your brush strokes based on the pressure applied to the tablet’s pen. Configuring pen pressure sensitivity correctly can greatly enhance your digital artwork. Here’s how to do it:
1. Open Tablet Driver Software: Launch the tablet driver software on your computer. This software is usually provided by the tablet manufacturer and allows you to customize various tablet settings.
2. Access Pen Settings: Within the tablet driver software, locate the pen settings or mapping section. This is where you can adjust the pen pressure sensitivity settings.
3. Adjust Pressure Curve: Most tablet drivers offer a pressure curve adjustment feature. This allows you to customize the sensitivity levels of the pen based on the pressure applied. You can adjust the curve to make the pen more or less sensitive to pressure, depending on your preferences. Test different pressure levels to find the best settings for your workflow.
4. Test Pressure Sensitivity: After adjusting the pressure curve, it’s essential to test the sensitivity levels within the tablet driver software. Most driver software provides a testing area where you can draw or write to check if the pen pressure is responding accurately to your input.
5. Fine-tune as Needed: If you find that the pen sensitivity is not to your liking, you can further fine-tune the settings within the tablet driver software. Experiment with different sensitivity levels to achieve the desired responsiveness.
6. Verify Settings in Photoshop: Open Photoshop and test the pen pressure sensitivity within the software. Create a new document, select a brush tool, and start drawing. Ensure that the brush thickness and opacity vary based on the pressure applied to the tablet’s pen. If necessary, you can further adjust the brush settings within Photoshop to fine-tune the pressure sensitivity response.
By properly configuring the pen pressure sensitivity, you can unlock a whole new level of control and precision in your digital artwork. Spend some time experimenting with different settings to find what works best for your artistic style and workflow.
Customizing Tablet Buttons
Tablets often come with programmable buttons that can be customized to perform specific functions, helping streamline your workflow and increase productivity while working in Photoshop. Here’s how you can customize the tablet buttons:
1. Open Tablet Driver Software: Launch the tablet driver software on your computer. This software allows you to access and customize the tablet’s button settings.
2. Locate Button Settings: Within the tablet driver software, navigate to the section that allows you to customize the tablet’s button settings. This section may be labeled as “Button Settings,” “Key Mapping,” or something similar.
3. Identify Available Buttons: The tablet driver software will display the available buttons on your tablet. Depending on your tablet model, you may have physical buttons on the tablet surface, the pen itself, or a combination of both.
4. Assign Functions: Select a button and choose the function you want to assign to it. The available functions will vary depending on the tablet’s driver software, but common options include common keyboard shortcuts, brush tools, zoom, or even opening specific panels or menus in Photoshop.
5. Test Button Assignments: After assigning a function to a button, test it out within the tablet driver software. Make sure that pressing the assigned button activates the desired function.
6. Multiple Profiles: Many tablet drivers allow you to create multiple profiles to customize button settings for different software applications. This lets you switch between different button configurations depending on the program you’re using. Create a specific profile for Photoshop to optimize your workflow in the software.
7. Save and Apply Settings: Once you are satisfied with your button assignments, save the settings within the tablet driver software. This ensures that your customized configuration is applied every time you use the tablet.
Customizing the tablet buttons to suit your specific needs can greatly enhance your efficiency while working in Photoshop. Spend some time experimenting with different button assignments and profiles to find the configuration that works best for your workflow.
Adjusting Tablet Settings for Photoshop
To optimize your tablet’s performance and ensure a seamless experience while using it with Photoshop, it’s important to adjust the tablet settings specifically for the software. Here are some recommended adjustments you can make:
1. Brush Size and Opacity: In Photoshop, the size and opacity of a brush are crucial for creating dynamic and detailed artwork. Map the tablet’s pen pressure to control brush size and opacity. This mapping allows you to vary the brush’s thickness and transparency based on the pressure applied.
2. Zoom and Scroll: By default, tablets often have touch gestures that allow you to zoom in and scroll on the canvas. Adjust these settings within the tablet driver software to match your preferred gestures that are intuitive for you.
3. Modifier Keys: Customize the tablet buttons to act as modifier keys such as Alt/Option, Ctrl/Cmd, or Shift. These keys are essential for various Photoshop functions like duplicating, moving selections, or changing brush attributes. Assigning them to tablet buttons can significantly speed up your workflow.
4. Rotate and Flip Canvas: Tablets with tilt functionality enable you to rotate and flip the canvas in Photoshop. This feature can be particularly useful for digital painting or working on specific angles. Configure the tablet driver to recognize tilt gestures and translate them as canvas rotation or flipping commands in Photoshop.
5. ExpressKeys for Quick Actions: Some tablets have ExpressKeys, which are customizable buttons that offer quick access to frequently used commands. Assign commonly used Photoshop actions to these buttons—for example, undo, redo, save, or switching between different tools—to streamline your workflow and increase productivity.
6. Tablet Display Mapping: Tablet display mapping determines the area on the tablet surface that corresponds to your computer screen. Ensure that the mapping is proportional and aligned correctly, so your hand movements on the tablet accurately translate to the cursor movement on the screen.
7. Test and Refine: After making these adjustments, test your tablet settings within Photoshop. Create a new document, use various brushes, and try different gestures and button functions to ensure everything is working as desired. Fine-tune the settings as needed to achieve the best results.
By adjusting the tablet settings specifically for Photoshop, you can tailor the device to your digital artistic needs. Take the time to explore the available options in your tablet driver software, experiment with different settings, and find the configuration that complements your Photoshop workflow.
Configuring Photoshop’s Brush Settings for Tablet
To fully harness the power of your tablet while using Photoshop, it’s important to configure the brush settings to take advantage of the tablet’s pressure sensitivity and other features. Here are some key adjustments you can make:
1. Brush Dynamics: Access the Brush Settings panel in Photoshop and enable brush dynamics. This feature allows you to control various aspects of the brush, such as size, opacity, flow, and scattering, based on the pressure applied to the tablet’s pen.
2. Pressure Sensitivity: Within the Brush Settings panel, ensure that the “Shape Dynamics” option is checked. Adjust the sliders for “Size Jitter” and “Opacity Jitter” to determine the range of variation in brush size and opacity based on pen pressure. Experiment with different settings to achieve the desired effect.
3. Other Dynamics: Explore other brush dynamics settings such as “Scattering” and “Dual Brush” to add more depth and texture to your brush strokes. These settings can be adjusted to respond to the tablet’s pressure sensitivity, offering more creative possibilities in your artwork.
4. Transfer Options: The “Transfer” options in the Brush Settings panel allow you to control aspects such as brush flow and blending modes. By enabling transfer options and adjusting their settings, you can create more nuanced and realistic brush effects based on pen pressure.
5. Save Custom Brushes: After configuring the brush settings to your liking, consider saving your custom brushes for future use. This allows you to create and access a library of brushes tailored to your specific needs and artistic style.
6. Utilize Brush Presets: Take advantage of the pre-installed brush presets in Photoshop or explore online resources for additional brush packs. Many of these brush presets are designed to fully utilize the features of tablets, offering a range of realistic and expressive brushes that respond beautifully to pen pressure.
7. Test and Refine: After making adjustments to the brush settings, create a new document and test the brushes with your tablet. Experiment with different brush sizes, opacities, and pressure levels to see how the adjustments reflect in your strokes. Refine the settings as needed to achieve the desired results.
By configuring Photoshop’s brush settings to work seamlessly with your tablet, you can unlock a whole new level of creative control and achieve more nuanced and expressive results in your digital artwork.
Troubleshooting Tablet Issues
While tablets can greatly enhance your digital art experience, it’s not uncommon to encounter occasional issues. Here are some common tablet issues and troubleshooting steps you can take:
1. Driver Related Problems: If your tablet isn’t working correctly or not recognized by your computer, start by ensuring that you have the latest driver software installed. Visit the manufacturer’s website, download the latest driver for your specific tablet model and operating system, and reinstall the driver.
2. Connectivity Issues: If your tablet is not connecting to your computer or experiencing intermittent connectivity, try the following steps:
- Check the USB cable for any damages or loose connections. Consider trying a different USB cable if necessary.
- Disconnect and reconnect the tablet to the computer.
- Restart your computer, as sometimes a simple reboot can resolve connectivity issues.
3. Pen Pressure Sensitivity Problems: If the pen pressure sensitivity is not functioning correctly in Photoshop, try the following troubleshooting steps:
- Ensure that the pen pressure sensitivity option is enabled both in the tablet driver settings and Photoshop’s brush settings.
- Check if there are any conflicting brush settings within Photoshop that might be overriding the pen pressure sensitivity. Resetting the brush tool settings to default can often help.
- Reinstall the tablet driver and update both the tablet driver software and Adobe Photoshop to the latest versions.
4. Button Mapping Issues: If the tablet buttons are not mapped correctly or not responding, try the following:
- Check the tablet driver software for any button mapping conflicts or incorrect assignments. Adjust the mappings accordingly.
- Ensure that Photoshop is set to recognize the tablet buttons. Go to Photoshop’s preferences and make sure the tablet buttons are assigned to the desired functions.
5. System Compatibility: If you have recently updated your operating system or installed new software, ensure that your tablet’s driver is compatible with the new system. Visit the tablet manufacturer’s website and download any necessary updates or patches if available.
If you continue to experience issues with your tablet, consult the manufacturer’s support resources or reach out to their customer support for further assistance. They can provide specific troubleshooting steps tailored to your tablet model.
Remember to always keep your tablet driver software and Photoshop updated to ensure compatibility and access to the latest features. By addressing and troubleshooting common tablet issues, you can get back to focusing on your creative process and unleashing your artistic potential.
Conclusion
Setting up your tablet for Photoshop is a pivotal step in maximizing your digital artistry and unleashing your creativity. By choosing the right tablet that suits your needs, installing Photoshop, and configuring the tablet driver, you can unlock the tablet’s full potential and enjoy a seamless workflow.
Adjusting settings such as pen pressure sensitivity, customizing tablet buttons, and configuring Photoshop’s brush settings further enhance your tablet experience, allowing for precise control and customized workflows. Additionally, being able to troubleshoot common tablet issues ensures that you can quickly resolve any technical challenges that may arise.
Remember, the key is to strike a balance between optimizing your tablet settings for Photoshop, while still allowing for your own personal artistic style and preferences to shine through. Experimenting with different settings and brushes will help you fine-tune your tablet’s performance to perfectly suit your artistic needs.
With your tablet working seamlessly with Photoshop, you can create stunning digital artwork, manipulate images with precision, and bring your artistic visions to life. So, dive into the world of digital art, let your imagination run wild, and enjoy the limitless possibilities that your tablet and Photoshop offer.