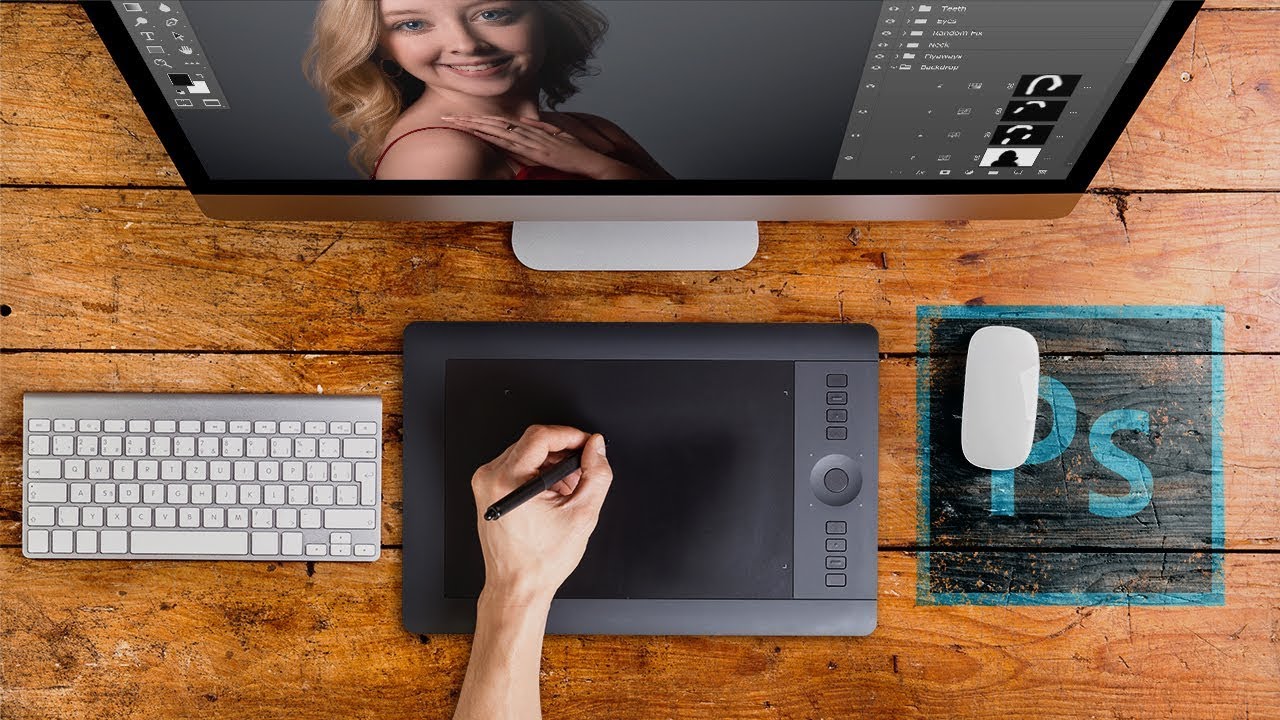
Introduction
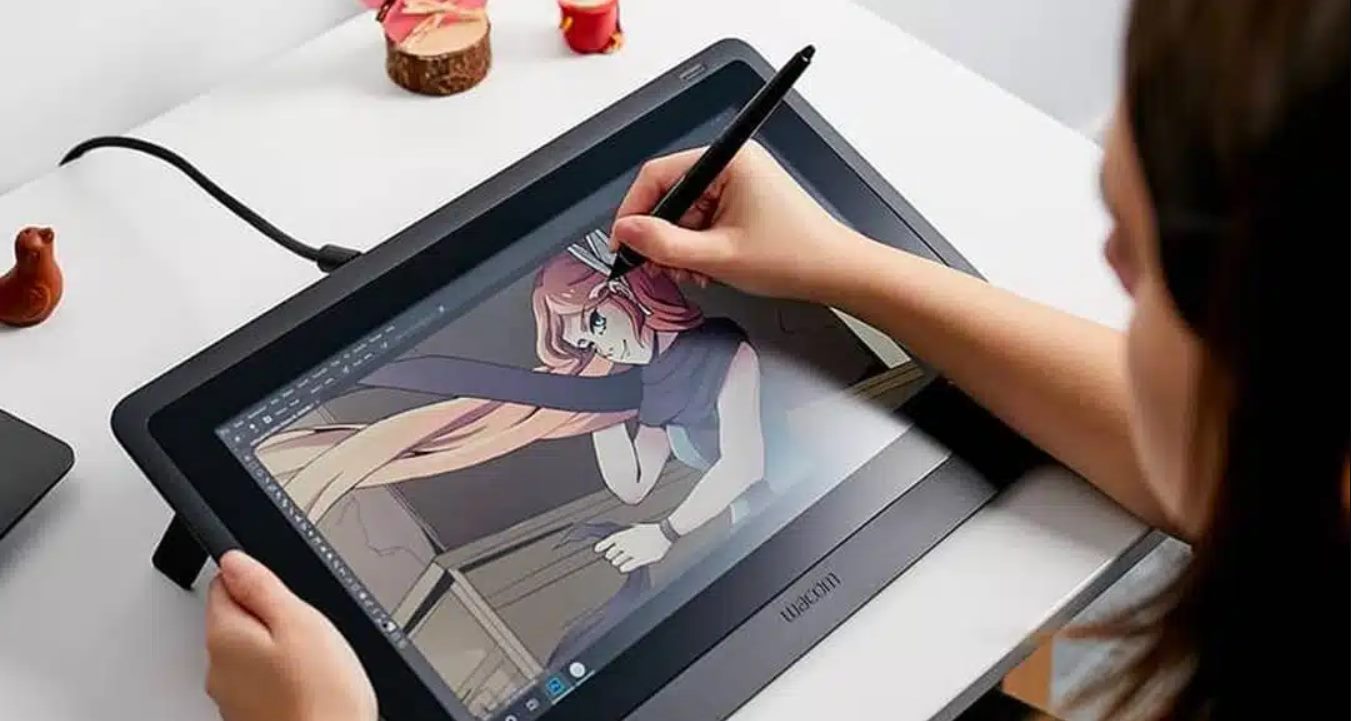
Welcome to the world of digital art and design! If you’re an aspiring artist or a professional graphic designer, chances are you’ve heard of Wacom tablets and their incredible capabilities. These tablets have revolutionized the way artists work, providing a seamless and intuitive way to interact with digital media.
In this article, we will explore how to use a Wacom tablet with Photoshop, one of the most popular and powerful digital art software programs available. Whether you’re a beginner exploring your artistic potential or an experienced digital artist looking to enhance your workflow, you’re in the right place.
Using a Wacom tablet with Photoshop offers a unique and immersive experience, allowing you to achieve precise control over your digital artwork. With its pressure-sensitive pen, customizable ExpressKeys, and touch ring, a Wacom tablet becomes an extension of your creative imagination.
Throughout this guide, we will cover everything you need to know to get started with your Wacom tablet and use it effectively in conjunction with Photoshop. From configuring your tablet settings to utilizing pressure sensitivity, we’ll walk you through the necessary steps to optimize your workflow and create stunning digital artwork.
Additionally, we’ll explore advanced features, such as customizing ExpressKeys and the touch ring, which can significantly boost your productivity. We’ll also delve into techniques for navigating and zooming, drawing and painting, and retouching photos using your Wacom tablet.
This article aims to provide a comprehensive overview of using a Wacom tablet with Photoshop, ensuring that artists of all skill levels can make the most out of their creative process. So, let’s dive in and unlock the full potential of your Wacom tablet with Photoshop!
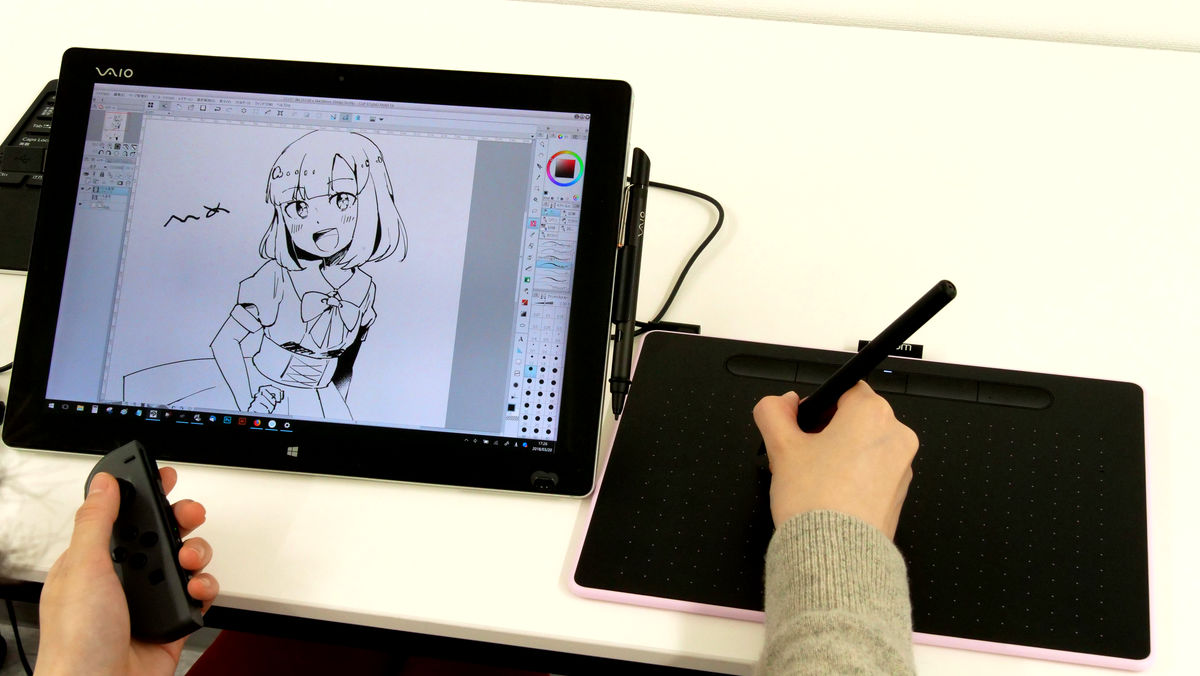
Getting started with your Wacom Tablet
Before you begin using your Wacom tablet with Photoshop, it’s essential to set up your device correctly. The following steps will guide you through the process of getting started with your Wacom tablet:
1. Connect your tablet: Plug in your tablet to your computer using the USB cable provided. Ensure that the tablet is placed on a flat and stable surface.
2. Install the driver: Visit the official Wacom website and download the latest driver software for your tablet model. Run the installer and follow the on-screen instructions to install the driver.
3. Calibration: Once the driver is installed, it’s crucial to calibrate your tablet to ensure accurate pen tracking. Open the Wacom Tablet Properties or Wacom Tablet Control Panel from your computer’s system settings and follow the instructions to calibrate your tablet.
4. Pen setup: Now it’s time to customize your pen settings. Adjust the pen pressure sensitivity to your liking using the software provided with your tablet. Experiment with different pen nibs to find the one that suits your art style and preference.
5. Test your tablet: Launch Photoshop and create a new document. Test the pen pressure sensitivity by drawing light and heavy strokes. If you notice any issues with the pen’s response, refer to the troubleshooting section of this article.
6. Explore tablet buttons: Most Wacom tablets come with ExpressKeys that can be customized to perform various functions. Experiment with different shortcuts and commands to create a personalized workflow. The touch ring, if available, can also be customized to control features like brush size or zoom level.
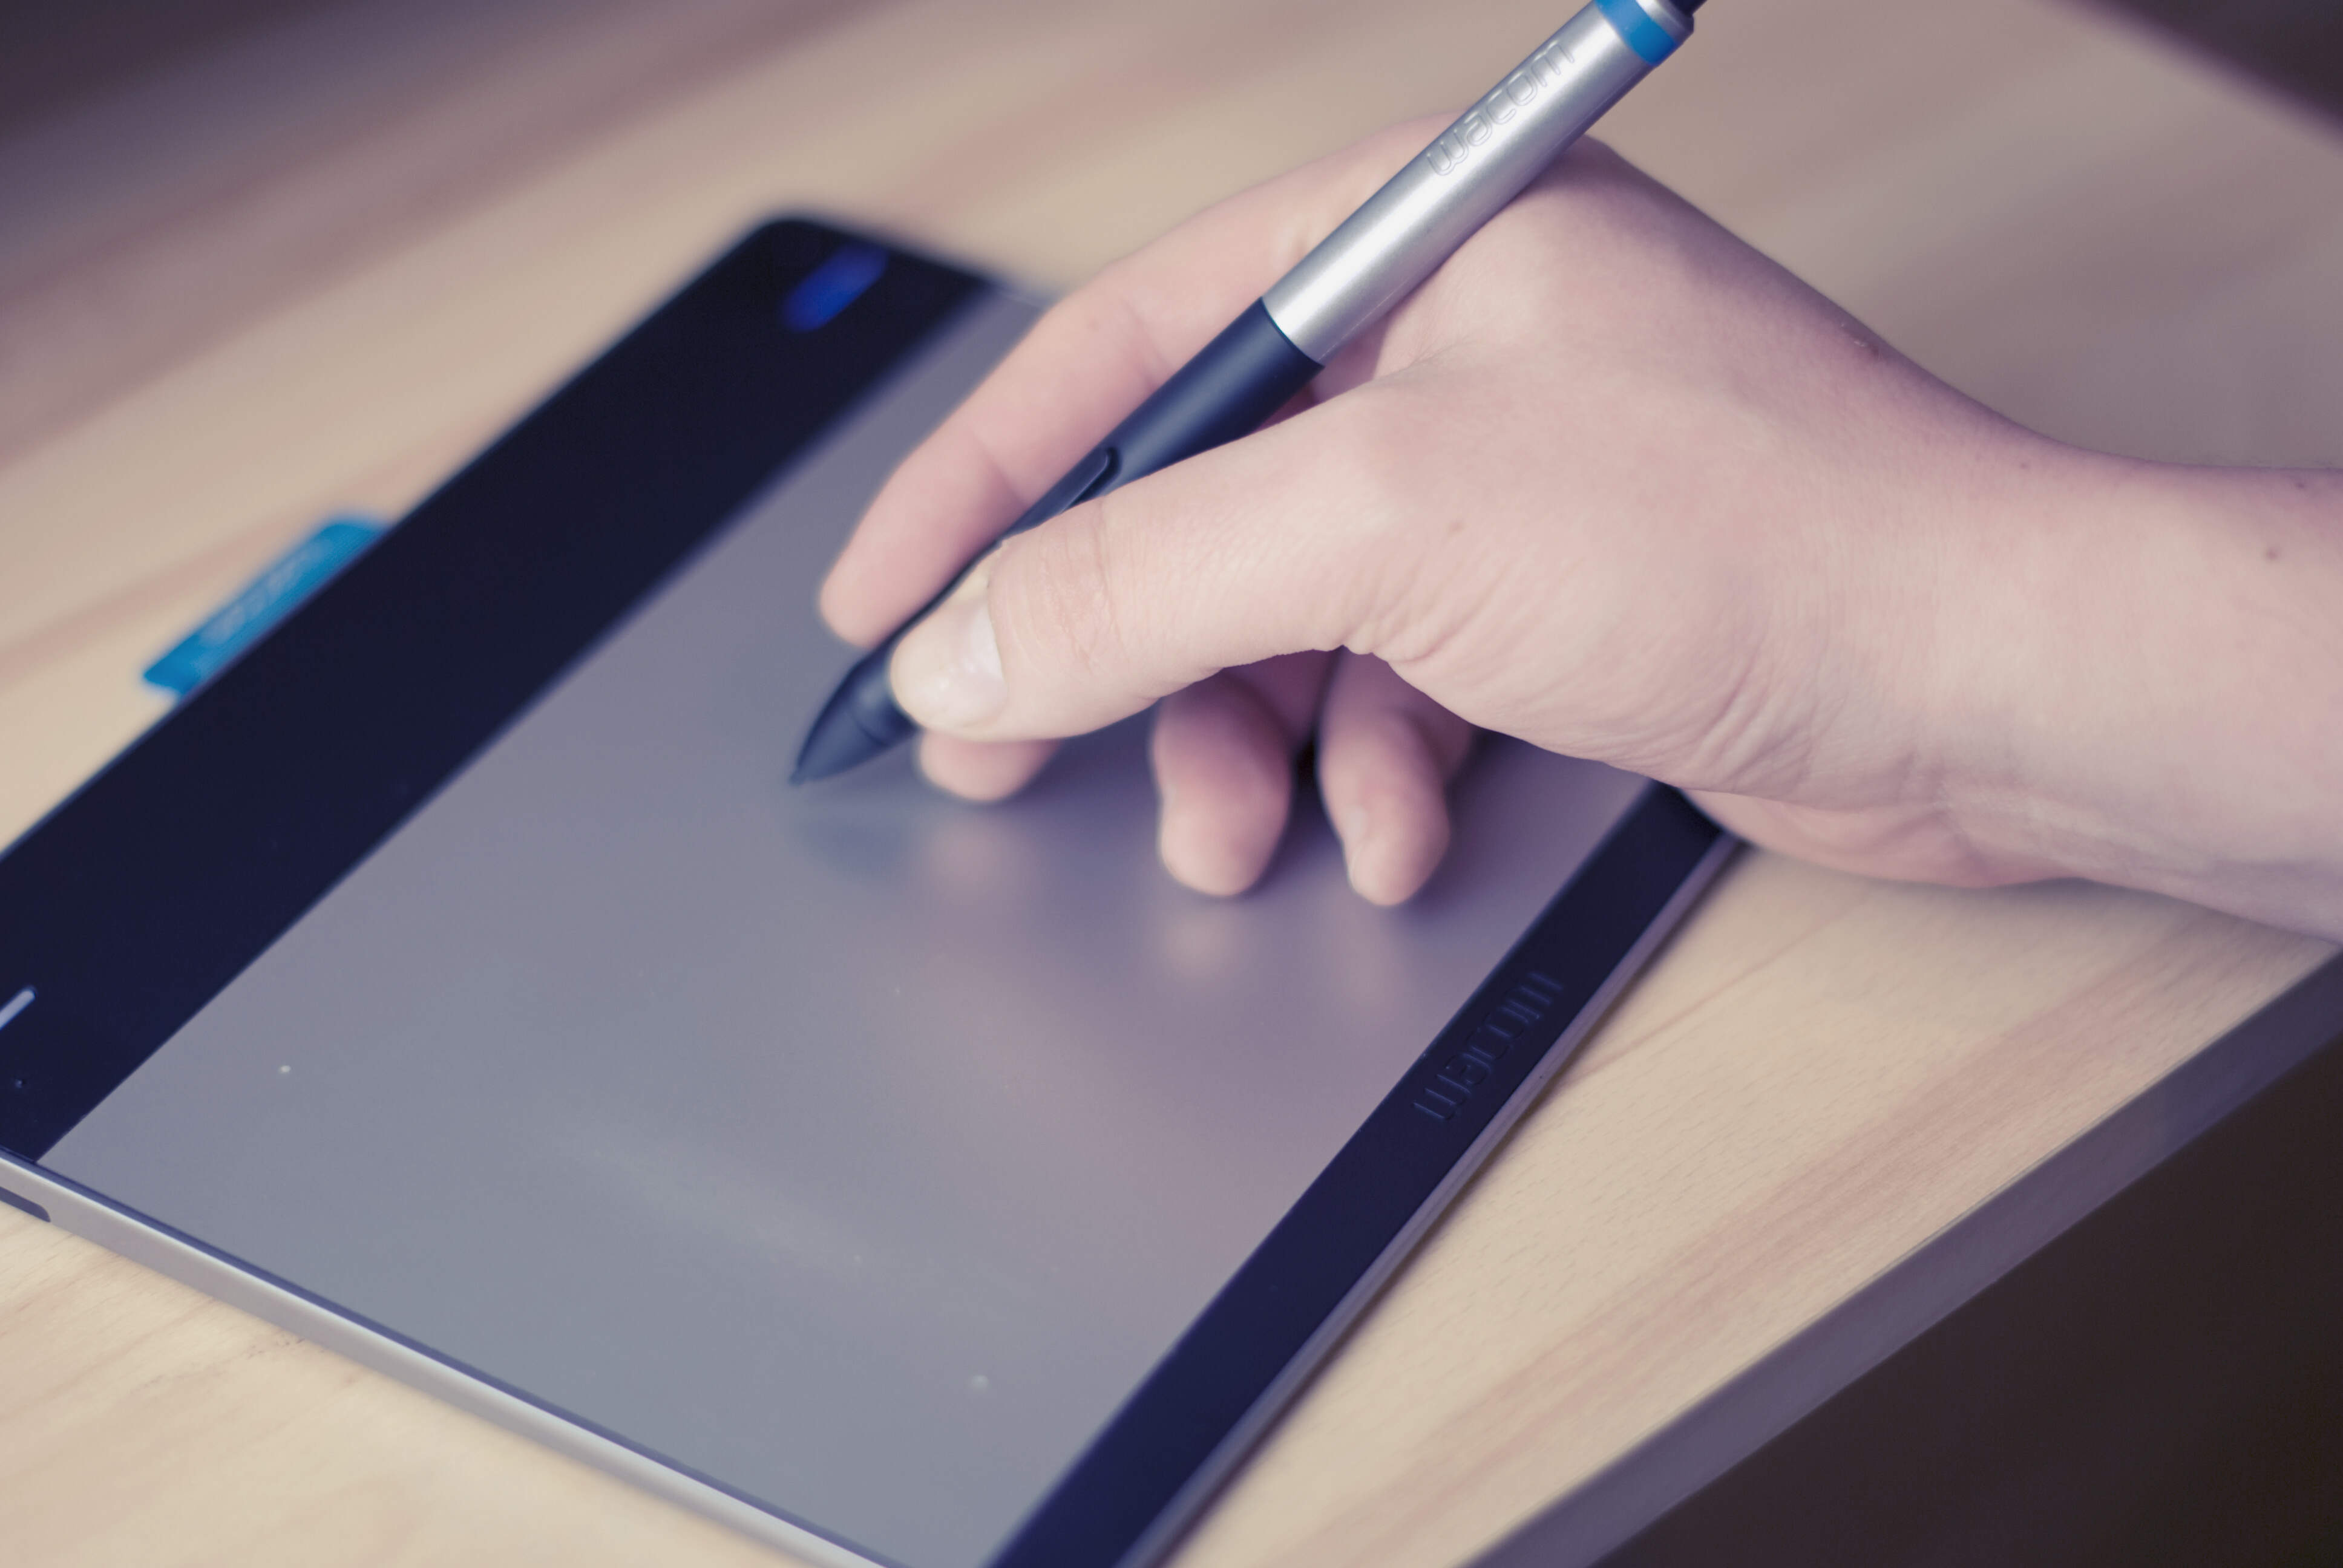
7. Familiarize yourself with the pen stand: The pen stand not only provides a secure place to store the pen but also allows you to change the pen tip when needed. Make sure to keep spare pen tips handy to avoid interruptions during your creative sessions.
By following these steps, you’ll have your Wacom tablet set up and ready to use with Photoshop. Having a properly configured tablet will enhance your overall experience and enable you to concentrate on unleashing your creativity. In the next sections, we’ll dive deeper into customizing your tablet settings and exploring the various features that make it a powerful tool for digital art and design.
Configuring your tablet settings
Once you have your Wacom tablet connected and installed, it’s time to dive into the settings and personalize your tablet for optimal performance and workflow efficiency. Here’s how you can configure your tablet settings:
1. Open Wacom Tablet Properties: Launch the Wacom Tablet Properties software either from your computer’s system settings or by right-clicking on the Wacom tablet icon in the system tray. This software allows you to customize various aspects of your tablet’s functionality.
2. Mapping: The mapping tab in the settings allows you to define the active area of your tablet. Adjust the screen area by dragging the sliders or select “Full” to map the tablet to your entire screen. This ensures that your pen’s movements accurately correspond to the cursor’s position on the screen.
3. Pen settings: Under the pen settings tab, you can fine-tune your pen’s behavior. Adjust the sensitivity for pressure, tilt, and rotation, depending on your preference and art style. You can also set custom functions for the pen buttons, such as right-click or undo.
4. ExpressKeys and touch ring: Customize the ExpressKeys and touch ring to streamline your workflow. Assign frequently used shortcuts, such as zoom, brush size adjustment, or switching between layers. Experiment with different configurations and find the setup that works best for you.
5. Radial menu: The radial menu feature allows you to access additional functions quickly. Configure the radial menu to display commonly used tools, like the eraser or selection tool, by simply pressing a button on your tablet. This helps speed up your workflow and eliminates the need to constantly switch tools in Photoshop.
6. Touch gestures (if available): If your tablet supports touch gestures, take advantage of this feature to navigate and zoom within Photoshop easily. Enable gestures like pinch-to-zoom or swipe to scroll, adjusting the settings to your preference for a seamless and intuitive touch experience.
7. Backup and restore settings: Once you have customized your tablet settings, it’s a good idea to save a backup. The software provided by Wacom allows you to save and restore settings, making it easier to switch between different setups or in case you need to reinstall the software.
By configuring your tablet settings to align with your specific needs and workflow, you can maximize your efficiency and unleash your creativity. Don’t hesitate to experiment with different settings and adjustments until you find what feels most comfortable and intuitive. In the upcoming sections, we’ll explore specific features and techniques to enhance your digital art experience with your Wacom tablet and Photoshop.
Understanding the different pen modes
To fully utilize your Wacom tablet’s capabilities, it’s essential to understand the various pen modes available. These modes determine how your pen interacts with the software and can significantly impact your digital art experience. Let’s explore the different pen modes and their functions:
1. Pen mode: The default mode for your Wacom pen is the Pen mode. In this mode, the pen’s tip registers as the primary input, while the pen buttons act as secondary inputs. It’s the most commonly used mode for drawing, painting, and navigating through Photoshop.
2. Eraser mode: Many Wacom pens come with an eraser on the back. When the pen is flipped, it automatically switches to Eraser mode. In this mode, the eraser end functions as the primary input, while the pen tip becomes a secondary input. This allows for convenient and seamless erasing while working on your digital artwork.
3. Mouse mode: Mouse mode is an alternative mode that converts your pen into a mouse-like device. In this mode, the tablet surface acts like a touchpad, enabling you to move the cursor by gliding the pen across the tablet. This mode is useful for navigating menus, selecting options, and performing other mouse-related actions within Photoshop.
4. Art Pen mode (for compatible pens): If you are using an Art Pen, it comes with its own unique set of features. Depending on your pen model, you may have access to features like rotation sensitivity, allowing you to control brush angle with pen rotation. Art Pen mode enhances your artistic capabilities by providing more control over your digital brushes.
By understanding and utilizing the different pen modes, you can enhance your creative process and make the most of your Wacom tablet’s versatility. Experiment with each mode to discover which one suits your artistic style and workflow preferences. In the next sections, we’ll explore how to leverage the pressure sensitivity of your Wacom tablet to add depth and realism to your digital artwork in Photoshop.
Using pressure sensitivity in Photoshop
One of the standout features of using a Wacom tablet with Photoshop is the ability to take advantage of pressure sensitivity. Pressure sensitivity allows your digital brushes to respond to the pressure applied by the pen, giving you more control over the opacity, size, and flow of your strokes. Here’s how you can make the most of pressure sensitivity in Photoshop:
1. Adjust brush settings: Open the Brush Settings window in Photoshop by selecting a brush tool and clicking on the brush icon in the Options Bar. Increase the “Opacity” or “Flow” settings to use pressure sensitivity for controlling the brush intensity. Experiment with different brush settings and pressure levels to achieve the desired effects.
2. Vary brush size: By applying more pressure with your pen, you can increase the brush size dynamically. This feature allows for smooth transitions between thin and thick strokes, mimicking the natural behavior of traditional brushes. Adjust the brush size using the bracket keys [ and ] or by assigning it to the ExpressKeys on your tablet for quick access.
3. Control brush opacity: Pressure sensitivity can be utilized to control brush opacity, allowing for more nuanced and realistic results. Apply gentle pressure for subtle color blending or press harder for more pronounced brush strokes. Adjust the opacity settings in the Brush Settings window to fine-tune the responsiveness of your brush strokes.
4. Use blending modes: Pressure sensitivity can be further enhanced by using different blending modes in Photoshop. Experiment with blending modes like “Multiply,” “Overlay,” or “Hard Light” to achieve unique and dynamic brush effects. Combine blending modes with varying pressure levels to add depth and dimension to your artwork.
5. Gradient maps and pressure sensitivity: Another interesting way to leverage pressure sensitivity is by using gradient maps. Assign a gradient map to your brush and adjust the opacity and size based on the applied pressure. This technique allows you to create smooth gradient effects or add texture to your brush strokes, enhancing the overall visual impact of your artwork.
6. Explore digital brush libraries: Take advantage of the vast collection of digital brush libraries available online. These libraries offer a wide range of brushes specifically designed for use with Wacom tablets and pressure sensitivity. Experiment with different brushes, such as pencil, charcoal, or watercolor, to expand your creative options and achieve specific visual effects.
By utilizing pressure sensitivity in Photoshop, you can elevate your digital artwork to new levels of realism and expressiveness. Take the time to explore and experiment with different settings, brushes, and techniques to find the perfect balance that aligns with your artistic vision. In the next sections, we’ll delve into customizing the ExpressKeys and the touch ring on your Wacom tablet to further enhance your workflow in Photoshop.
Customizing the ExpressKeys and Touch Ring
One of the standout features of a Wacom tablet is the ability to customize the ExpressKeys and Touch Ring to suit your specific workflow and preferences. These programmable buttons and the touch-sensitive ring can significantly enhance your productivity in Photoshop. Here’s how you can customize them:
1. Open the tablet settings: Launch the Wacom Tablet Properties software on your computer. Select the “ExpressKeys” tab to access the customization options for the programmable buttons. If your tablet has a Touch Ring, you can find its settings under the “Touch Ring” tab.
2. Assign keyboard shortcuts: The ExpressKeys can be programmed to perform a wide range of functions, including keyboard shortcuts. Select a button and choose the desired shortcut from the drop-down menu. Assign commonly used commands such as “Undo,” “Copy,” or “Save” to streamline your workflow and save time.
3. Customize application-specific settings: Take advantage of the application-specific settings feature to assign different functions to the ExpressKeys and Touch Ring for specific applications like Photoshop. This allows you to have customized shortcuts and commands dedicated to Photoshop, maximizing your efficiency when working with the software.
4. Utilize radial menus: Radial menus are circular menus that can be accessed by pressing an ExpressKey. These menus provide quick access to a variety of functions, tools, and shortcuts. Create custom radial menus with commonly used Photoshop tools like brushes, layers, or selection tools, allowing for seamless transitions during your creative process.
5. Adjust Touch Ring settings: If your tablet has a Touch Ring, you can customize its functionality to suit your needs. Assign functions like zoom in/out, brush size adjustment, or canvas rotation to the Touch Ring. Customize the sensitivity and rotation direction to match your preferred style of interaction.
6. Experiment with different setups: Don’t be afraid to experiment with different ExpressKey and Touch Ring configurations to find what works best for you. Try grouping related functions together or assigning different sets of commands for different stages of your workflow. With time, you’ll discover the most efficient setup that enhances your productivity and creativity.
Customizing the ExpressKeys and Touch Ring on your Wacom tablet allows for greater accessibility and efficiency when using Photoshop. By mapping your most frequently used functions to these programmable buttons, you can streamline your workflow, minimize reliance on keyboard shortcuts, and focus on your creative process. In the following sections, we’ll explore techniques for navigating and zooming within Photoshop, as well as drawing and painting using your Wacom tablet.
Navigating and zooming with your tablet
When working in Photoshop, it’s essential to have efficient methods for navigating through your artwork and zooming in or out for detailed edits. Your Wacom tablet offers convenient ways to perform these actions, improving your overall workflow. Here’s how you can navigate and zoom using your tablet:
1. Pan and scroll: To navigate your canvas, simply hold down the spacebar on your keyboard and use your pen to drag the canvas in any direction. This allows for smooth panning and scrolling, making it easier to navigate large or detailed artwork. You can also assign the spacebar function to one of the ExpressKeys for quick access.
2. Zoom in and out: Zooming in and out is crucial for fine-tuning details in your artwork. Use the touch-sensitive ring on your Wacom tablet if available by rotating it clockwise to zoom in and counterclockwise to zoom out. Alternatively, you can assign zoom functions to ExpressKeys or use the keyboard shortcuts in Photoshop for zooming.
3. Touch gestures: If your Wacom tablet supports touch gestures, take advantage of this feature for seamless navigation and zooming. Pinch-to-zoom allows you to zoom in or out by using a two-finger pinching gesture on your tablet’s surface. Swipe gestures can be used for navigation, allowing you to move smoothly through your artwork.
4. Assign specific functions: Customize your ExpressKeys to perform specific navigation and zooming functions in Photoshop. Assign shortcuts like “Fit to Screen” or “100% Zoom” to instantly jump to commonly used zoom levels. Map functions like “Hand Tool” or “Zoom Tool” to easily navigate and zoom in and out of your artwork.
5. Use the Navigator panel: The Navigator panel in Photoshop provides an overview of your artwork and allows you to navigate efficiently. Keep the Navigator panel visible on your workspace and use it to click and drag within the panel to navigate to different areas of your canvas quickly.
By utilizing the navigation and zooming capabilities of your Wacom tablet, you can navigate through your artwork seamlessly and focus on the details that matter the most. Experiment with different methods and settings to find what works best for your workflow. In the upcoming sections, we’ll explore techniques for drawing, painting, and retouching photos using your Wacom tablet in Photoshop.
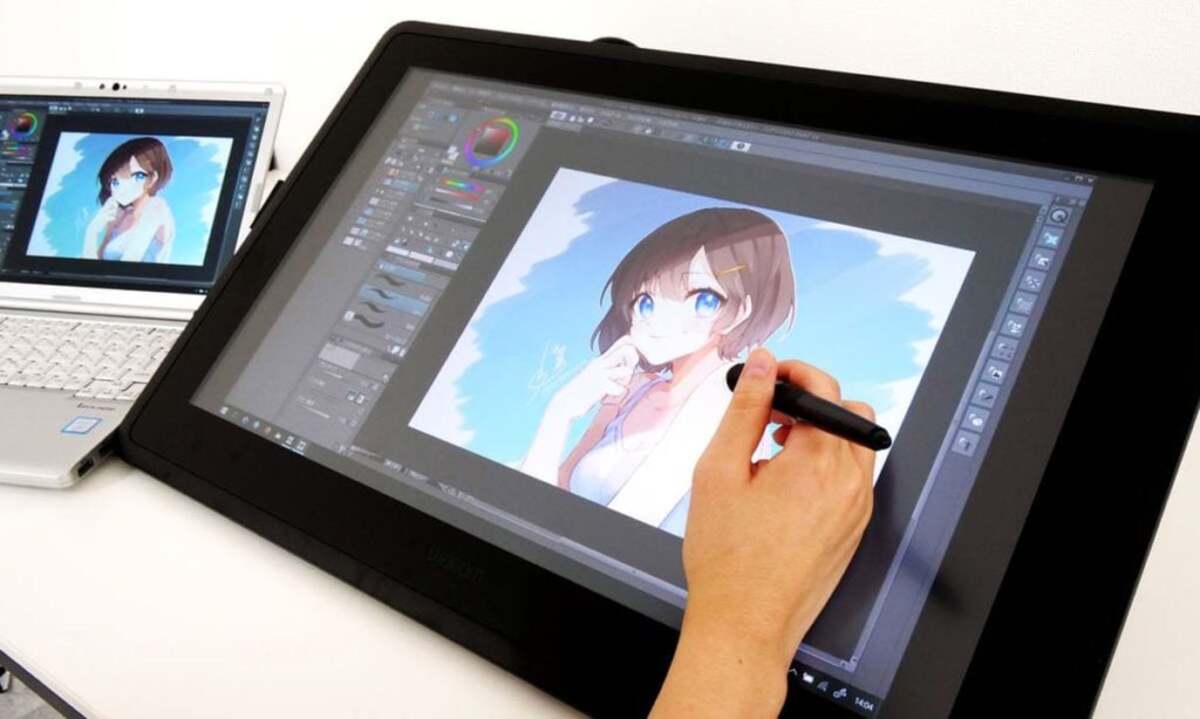
Drawing and painting in Photoshop
With your Wacom tablet and Photoshop, you have a powerful digital canvas at your fingertips. Whether you’re an illustrator, concept artist, or just enjoy creating digital artwork, your tablet provides an intuitive and precise way to draw and paint. Here are some tips for drawing and painting in Photoshop:
1. Select the right brush: Photoshop offers a wide variety of brush presets to choose from. Experiment with different brushes and explore their settings to find the ones that suit your style and desired effect. Adjust brush opacity, flow, and size to achieve the desired impact in your artwork.
2. Utilize pressure sensitivity: One of the key advantages of using a Wacom tablet is the pressure sensitivity of the pen. Take advantage of this feature to add depth and control to your brush strokes. Apply lighter pressure for subtle lines and heavier pressure for bolder strokes. Adjust brush settings and opacity levels to achieve the desired effect.
3. Try different blending modes: Photoshop offers various blending modes that can enhance your digital artwork by creating interesting effects. Experiment with blending modes such as “Multiply,” “Overlay,” or “Screen” to add depth, texture, and realism to your illustrations. Combine different blending modes for unique visual outcomes.
4. Use layers: Layers are a powerful tool in Photoshop that allows you to work on different elements of your artwork separately. Separate your painting into different layers to maintain flexibility during the creative process. This way, you can easily make adjustments, add details, or experiment with different effects without affecting the entire artwork.
5. Explore brush dynamics: Brush dynamics allow you to create dynamic and expressive brush strokes. Experiment with brush settings like opacity, size, angle, scatter, and more to achieve a wider range of effects. Customize brush dynamics based on your artistic vision and the specific details you want to emphasize in your artwork.
6. Take advantage of shortcuts: Photoshop offers various shortcuts that can speed up your drawing and painting process. Assign frequently used commands to ExpressKeys on your Wacom tablet to access them quickly. Learn and use shortcuts for functions like undo, brush size adjustment, or switching between tools to improve your workflow efficiency.
7. Practice and experiment: Like any artistic skill, drawing and painting in Photoshop requires practice and experimentation. Don’t be discouraged by initial results and keep exploring different techniques and styles. Take inspiration from other artists, engage in online tutorials, and keep honing your skills to improve your digital artwork over time.
Drawing and painting in Photoshop with your Wacom tablet opens up a world of creative possibilities. Embrace the flexibility and control that your tablet provides, and don’t be afraid to push boundaries and experiment with different techniques. In the next section, we’ll explore techniques for retouching photos using your Wacom tablet and Photoshop.
Retouching photos with your Wacom Tablet
Your Wacom tablet is not only a powerful tool for digital art but also an invaluable asset for retouching and enhancing your photographs in Photoshop. Whether you’re a professional photographer or an enthusiastic hobbyist, your tablet provides precise control and flexibility for photo editing. Here’s how you can effectively retouch photos using your Wacom tablet:
1. Clone stamp and healing brushes: The Clone Stamp and Healing Brushes are essential tools for retouching photos. With your tablet’s pen, you can accurately remove blemishes, imperfections, and unwanted objects from your images. Adjust the brush size and opacity to achieve seamless results. Utilize pressure sensitivity for precise brush control.
2. Dodge and burn: The Dodge and Burn tools allow you to selectively lighten or darken areas of your photos to enhance highlights and shadows. With your tablet, you can delicately apply these adjustments, ensuring smooth transitions and natural-looking results. Vary the brush size and opacity based on the specific areas you want to enhance.
3. Adjustment layers: Take advantage of adjustment layers to fine-tune the colors, tones, and contrasts of your photos. With your tablet’s pen, you can accurately paint in adjustments using layer masks. This allows for targeted enhancements without affecting the overall image. Adjustments like curves, levels, and hue/saturation can be precisely applied using pressure sensitivity.
4. Frequency separation: Frequency separation is a popular technique for retouching skin in portraits. It involves separating the texture and color information of the photo onto different layers. With your tablet, you can use the brush tool to retouch the texture layer, correcting blemishes and imperfections while preserving the natural skin tones.
5. Dodge and burn portrait retouching: For detailed portrait retouching, the Dodge and Burn technique can be used to enhance facial features and create dimension. With your tablet, you can selectively dodge and burn areas like eyes, lips, and cheekbones to add depth and emphasis. Use low opacity brushes and build up the effects gradually for a natural-looking result.
6. Non-destructive workflow: When retouching photos, it’s best to adopt a non-destructive workflow by using adjustment layers and layer masks. This allows you to make changes without permanently altering the original image. Your tablet’s pen allows for precise brushwork to create seamless layer masks, preserving the details and integrity of the photo.
7. Experiment with blending modes and filters: Photoshop offers numerous blending modes and filters that can enhance your photos creatively. Experiment with blending modes like “Soft Light” or “Overlay” to add subtle effects. Explore filters such as “Gaussian Blur” or “Smart Sharpen” to refine your images. With your tablet, you can precisely control the intensity and application of these effects.
Retouching photos with your Wacom tablet and Photoshop opens up endless possibilities for creative adjustments and enhancements. Practice different techniques, experiment with brushes and blending modes, and fine-tune your editing skills. With time and experience, you’ll develop your unique style and produce stunning, professionally retouched photographs.
Using advanced features and plugins
In addition to the core features of Photoshop, there are numerous advanced features and plugins that can further enhance your digital art and photo editing process when using your Wacom tablet. These tools offer additional capabilities and creative possibilities. Here are a few advanced features and plugins to explore:
1. Advanced brush controls: Photoshop offers advanced brush controls that can be accessed through the Brush Settings window. Experiment with settings such as shape dynamics, scattering, texture, and dual brushes to create unique and intricate brush effects. Utilize your tablet’s pressure sensitivity to bring these brushes to life with dynamic and expressive strokes.
2. Layer masks and blending modes: Layer masks and blending modes are fundamental tools for advanced editing and compositing in Photoshop. Use layer masks to control the visibility and transparency of specific parts of your image, allowing for seamless compositing and creative effects. Combine different blending modes to achieve interesting and surreal visual outcomes.
3. 3D modeling and texture painting: If you’re interested in 3D modeling and texture painting, Photoshop offers powerful tools for these tasks. Use the 3D workspace to create and manipulate 3D objects, apply textures, and add lighting effects. With your tablet, you can sculpt and paint directly on the 3D models, providing an intuitive and immersive experience.
4. Third-party plugins: Extend the capabilities of Photoshop by exploring third-party plugins. There are numerous plugins available that can enhance specific aspects of your digital art or photo editing workflow. From advanced retouching tools to special effects generators, plugins can bring new possibilities and efficiency to your work. Research and experiment with different plugins to find the ones that align with your artistic goals.
5. Actions and automation: Photoshop allows you to automate repetitive tasks using actions. Actions record a series of steps and can be played back on multiple images or applied to batch processing. This can significantly speed up your workflow and streamline your editing process. Explore the actions panel and create your own customized actions or download pre-made actions from online communities to optimize your efficiency.
Remember to save your work: When working with advanced features and plugins, it’s essential to save your work regularly. Photoshop provides multiple file formats for saving, including PSD for maintaining all layers and editing capabilities, and JPEG or PNG for final outputs. Develop a habit of saving multiple versions of your work to preserve different stages of your creative process.
By exploring these advanced features and plugins, you can add depth, variety, and efficiency to your digital art and photo editing workflow. Continuously experiment and learn, as these tools and techniques will expand your creative possibilities and help you develop your unique style. In the next section, we’ll address common troubleshooting issues that you may encounter when using your Wacom tablet with Photoshop.
Troubleshooting common issues
While using your Wacom tablet with Photoshop, you may encounter some common issues that can interrupt your workflow. Here are a few troubleshooting tips to help you overcome these challenges:
1. Connection issues: If your tablet is not being recognized by your computer, first, ensure that it is properly connected via the USB cable. Try connecting it to a different USB port or using a different USB cable to rule out any connection problems. If the issue persists, reinstall the tablet driver software and restart your computer.
2. Pen not responding: If your pen is not responding correctly, check the battery level if your pen requires one. Make sure the pen is within range of the tablet’s wireless signal. If the problem persists, try recalibrating the pen using the Wacom Tablet Properties software. If recalibration doesn’t work, you may need to replace the pen’s battery or contact Wacom support for further assistance.
3. Pressure sensitivity not working: If the pressure sensitivity of your pen is not working in Photoshop, first, double-check that the brush tool you are using is set to respond to pressure. Adjust the brush settings in Photoshop to enable pressure sensitivity for opacity, size, or other parameters as desired. If pressure sensitivity still doesn’t work, ensure that your tablet driver is up to date and compatible with your computer’s operating system.
4. ExpressKeys not functioning: If the ExpressKeys on your tablet are not working, check the tablet settings to ensure that the keys are properly configured. If a specific ExpressKey is not responding, try reassigning a different function to that key. Be sure to save the settings before attempting to use the ExpressKeys again. If the issue persists, try reinstalling the tablet driver or contact Wacom support for assistance.
5. Cursor offset or alignment issue: If you notice that the cursor position on the screen does not match the position of your pen on the tablet, check the tablet mapping settings. You may need to recalibrate or adjust the mapping to align the pen and cursor accurately. Use the Wacom Tablet Properties software to adjust the mapping settings and ensure precise pen and cursor alignment.
6. Performance issues: If you experience lag or slow response when using your tablet, there are a few steps you can take to optimize performance. First, close any unnecessary applications or processes running in the background. Ensure that your computer meets the recommended system requirements for both the tablet and Photoshop. Adjust the brush settings in Photoshop to use smaller brush sizes or lower brush opacity if needed for smoother performance.
7. Driver and software issues: To ensure the best performance and compatibility, make sure you have the latest driver software installed for your tablet. Regularly check for driver updates on the Wacom website. If you experience issues after a software update, try reinstalling the driver or contacting Wacom support for assistance.
By following these troubleshooting tips, you can quickly resolve common issues that may arise when using your Wacom tablet with Photoshop. Remember to stay up to date with driver updates and familiarize yourself with the tablet settings and software for optimal performance. If persistent issues occur, don’t hesitate to seek support from Wacom or consult online communities for further assistance.
Conclusion
Using a Wacom tablet with Photoshop opens up a world of creative possibilities for artists, designers, and photographers. The seamless and intuitive interaction offered by a Wacom tablet allows for precise control and enhances the digital art and photo editing experience. Whether you’re drawing, painting, retouching photos, or exploring advanced features, the combination of your Wacom tablet and Photoshop provides a powerful toolset for unleashing your creativity.
Throughout this guide, we’ve covered various aspects of using a Wacom tablet with Photoshop. From setting up your tablet and configuring the settings to understanding pen modes and utilizing pressure sensitivity, we’ve walked you through the necessary steps and techniques to optimize your workflow. We’ve also explored advanced features and plugins that can take your digital art and photo editing to new heights.
Remember, practice and experimentation are key to mastering your Wacom tablet and Photoshop. As you become comfortable with the tools and techniques, don’t be afraid to push boundaries, explore different styles, and develop your unique artistic vision. Embrace the creative journey and continue to refine your skills.
Lastly, if you encounter any issues or challenges along the way, refer to the troubleshooting section for guidance. Wacom offers excellent customer support, and online communities can also provide helpful insights and solutions.
Now, armed with the knowledge and tools provided in this guide, it’s time to embark on your artistic journey. Unleash your creativity and make the most of your Wacom tablet with Photoshop. Let your imagination soar and bring your digital artwork and photo editing to life like never before.