Introduction
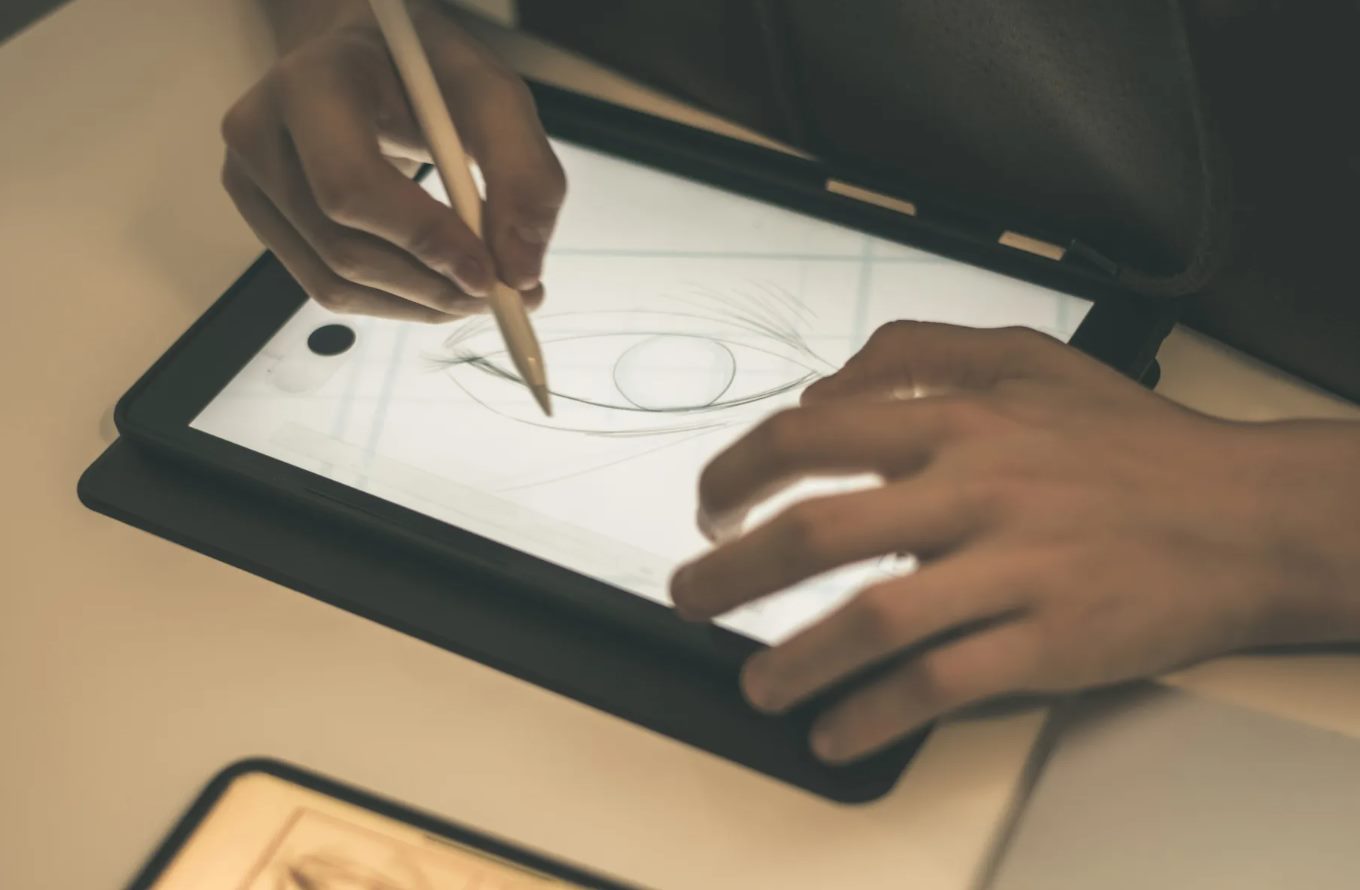
The rapid advancements in technology have transformed the way we interact with digital devices. One such innovation is the Android tablet, a versatile device that offers a wide range of functionalities. While it is primarily known for its portability and entertainment capabilities, did you know that you can also use an Android tablet as a Wacom?
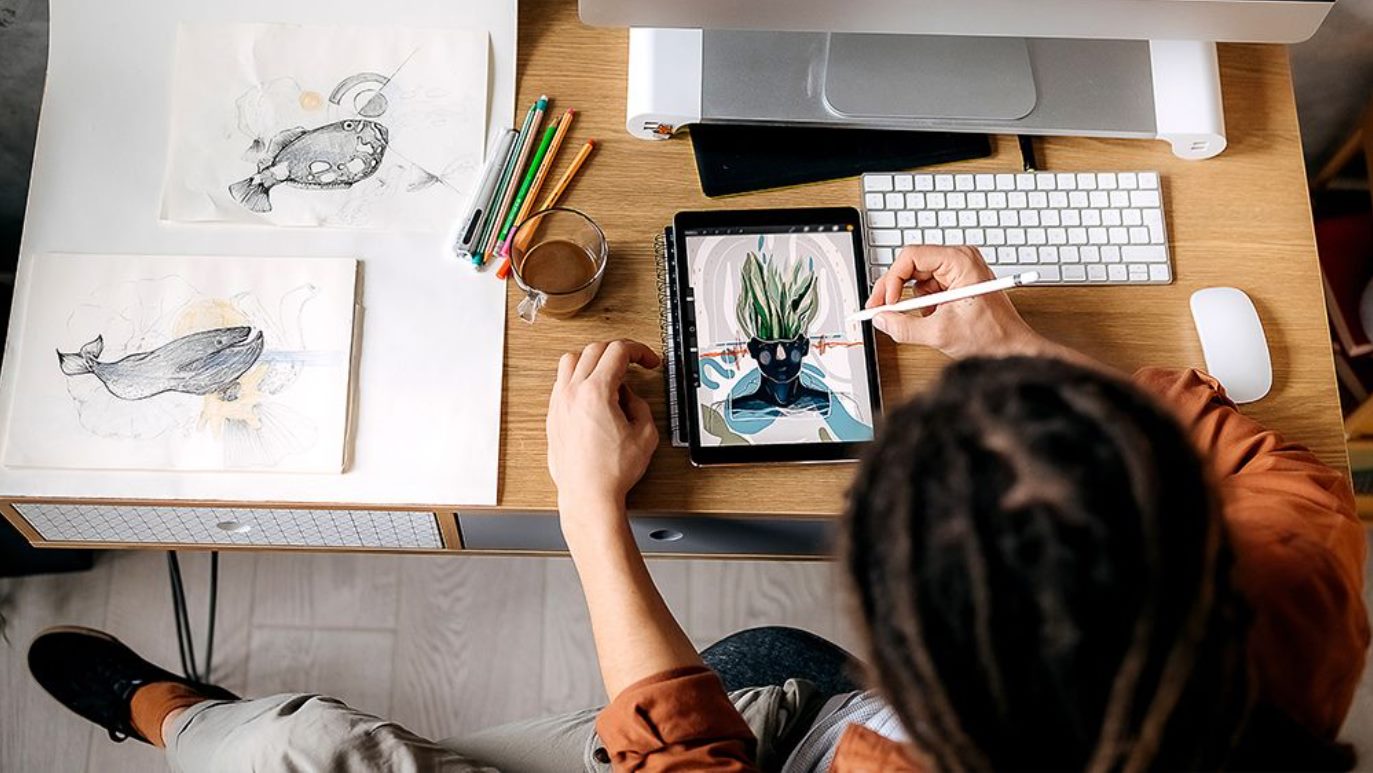
A Wacom tablet, a popular tool among digital artists and designers, is used to create digital illustrations, animations, and designs. It provides precision and control while drawing or sketching directly on the tablet surface. However, investing in a Wacom tablet can be expensive, especially for beginners or hobbyists. Thankfully, if you already own an Android tablet, you can utilize its touchscreen functionality and transform it into a cost-effective alternative to a Wacom tablet.
In this article, we will explore how you can use your Android tablet as a Wacom and harness its potential for digital artistry. We will discuss the benefits of utilizing an Android tablet, the requirements for setting it up, and provide a step-by-step guide to getting started. Whether you are an aspiring artist, a creative professional, or simply someone looking to explore their artistic side, this guide will help you unlock the artistic possibilities of your Android tablet. So, let’s dive in and discover the world of digital art with your Android tablet as a Wacom!
What is a Wacom Tablet?
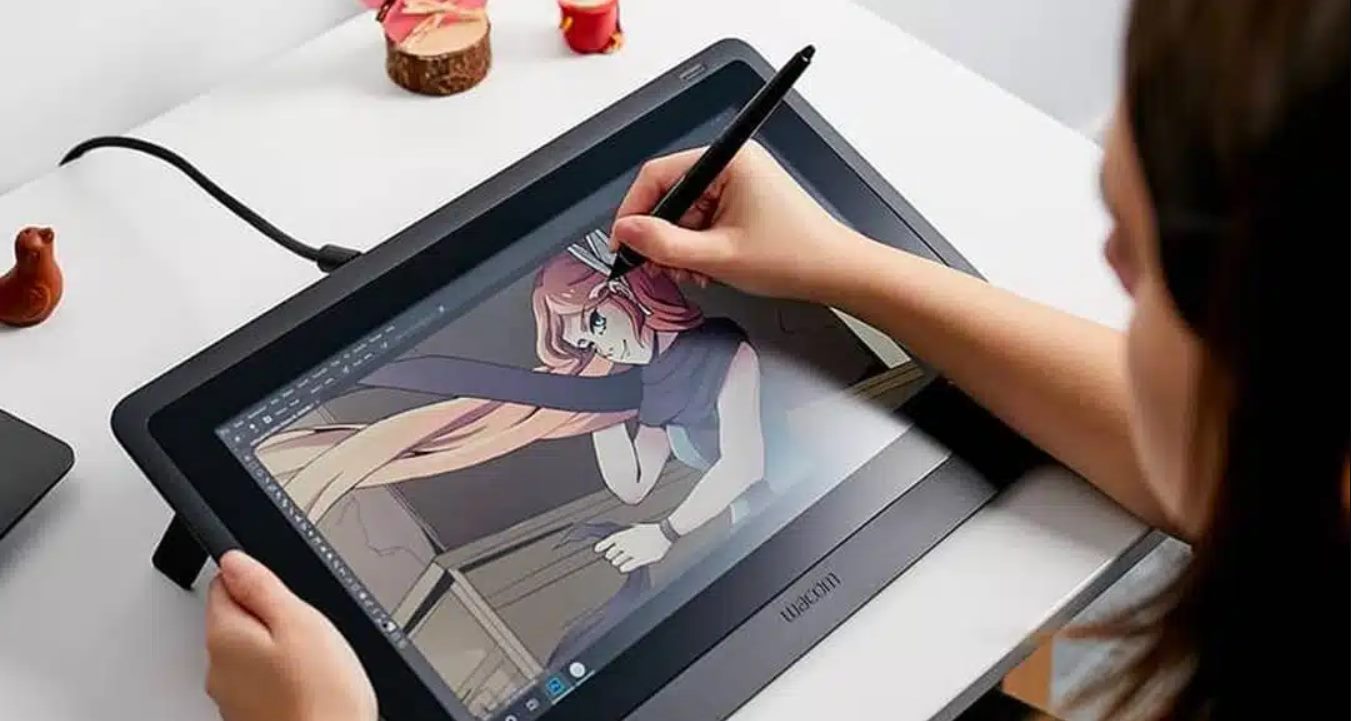
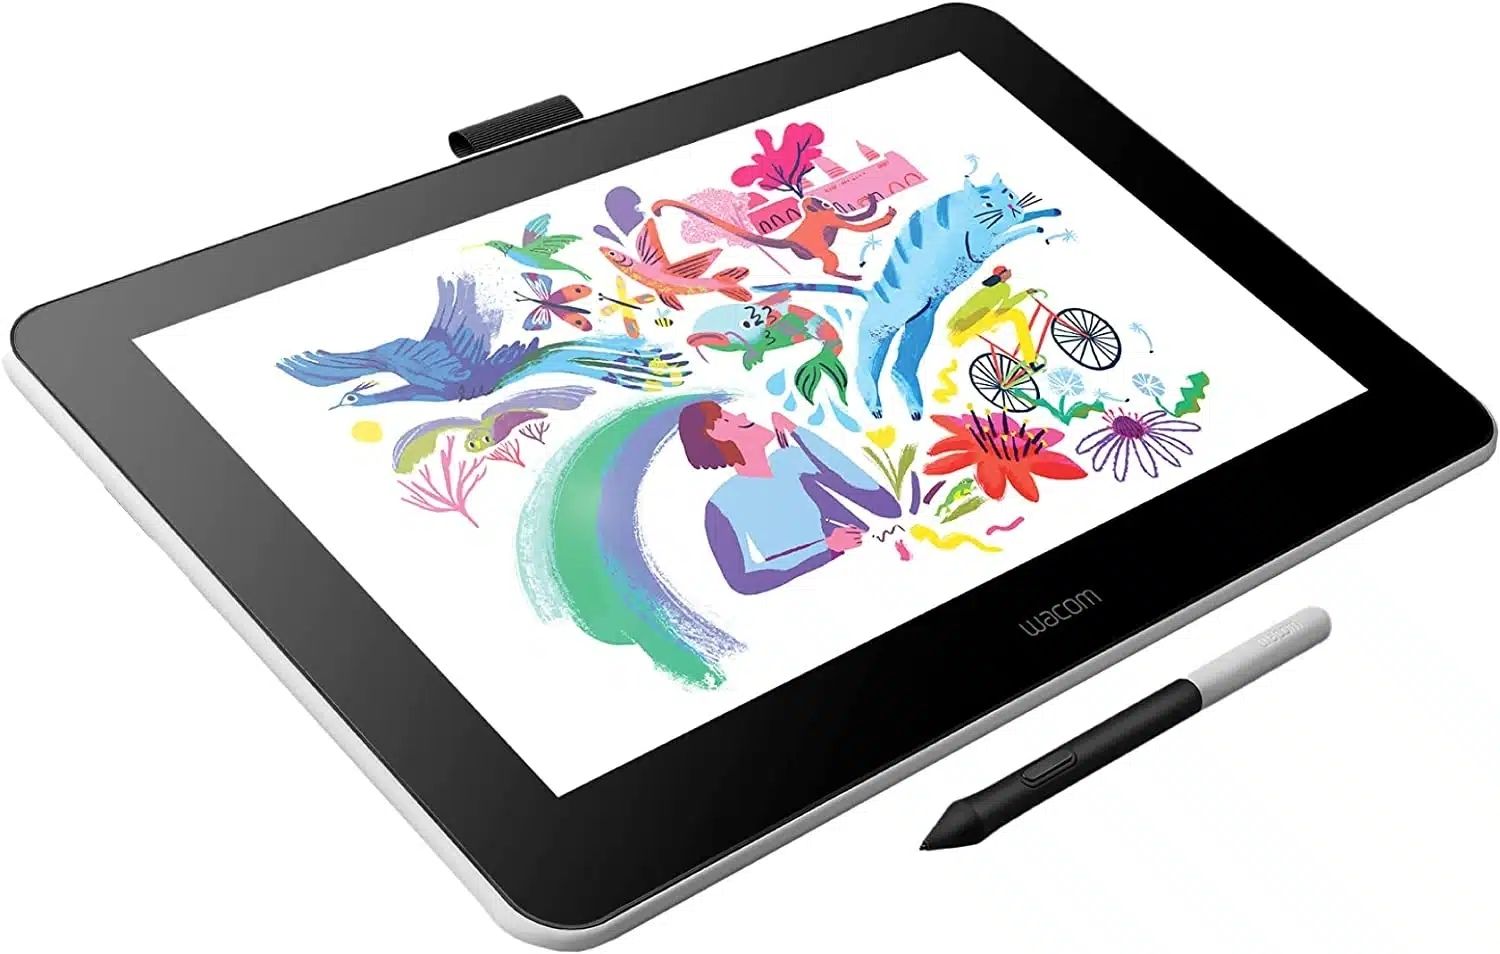
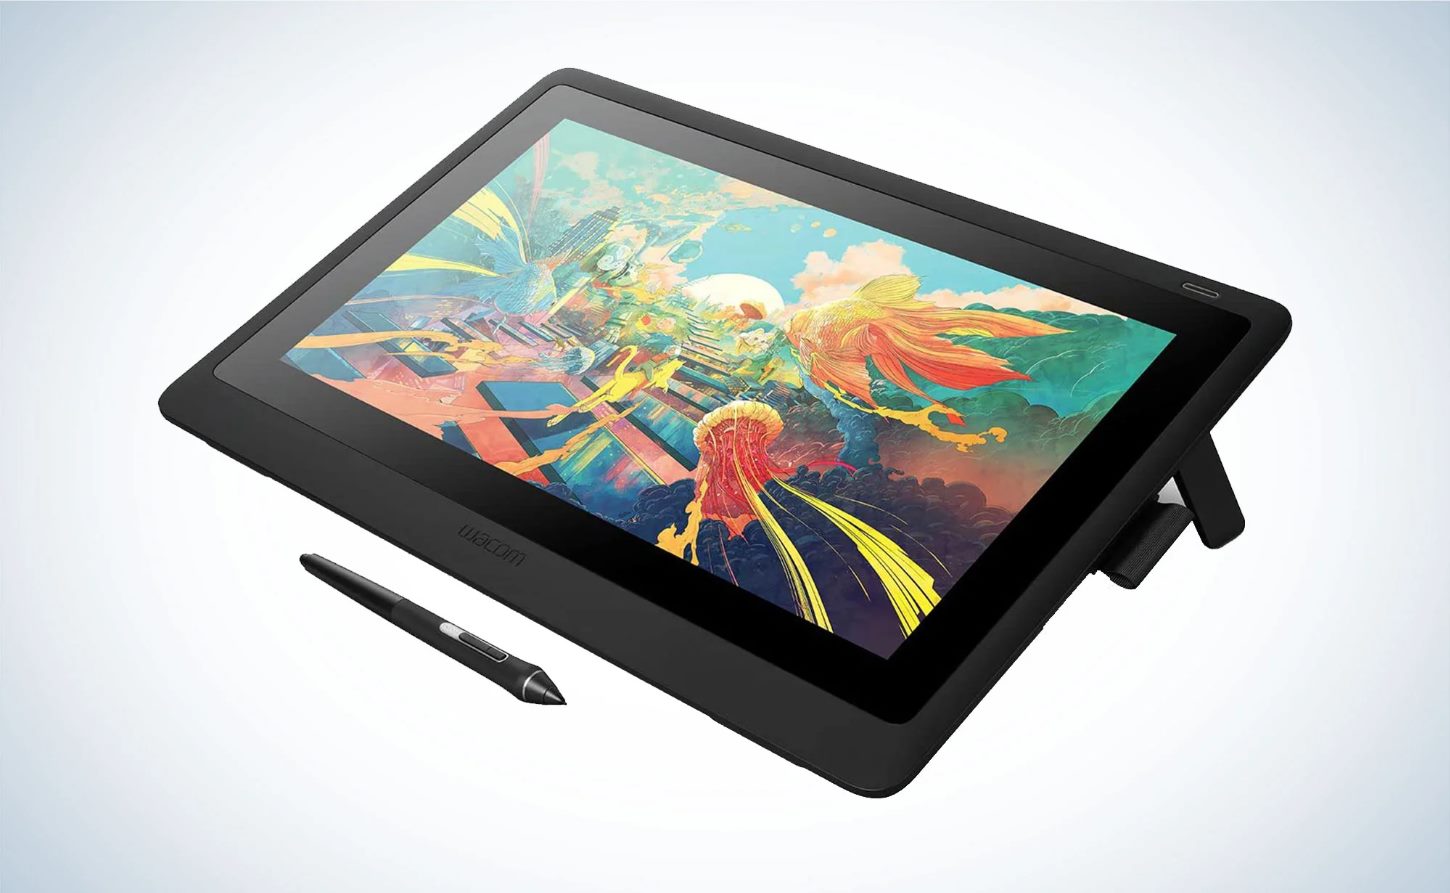
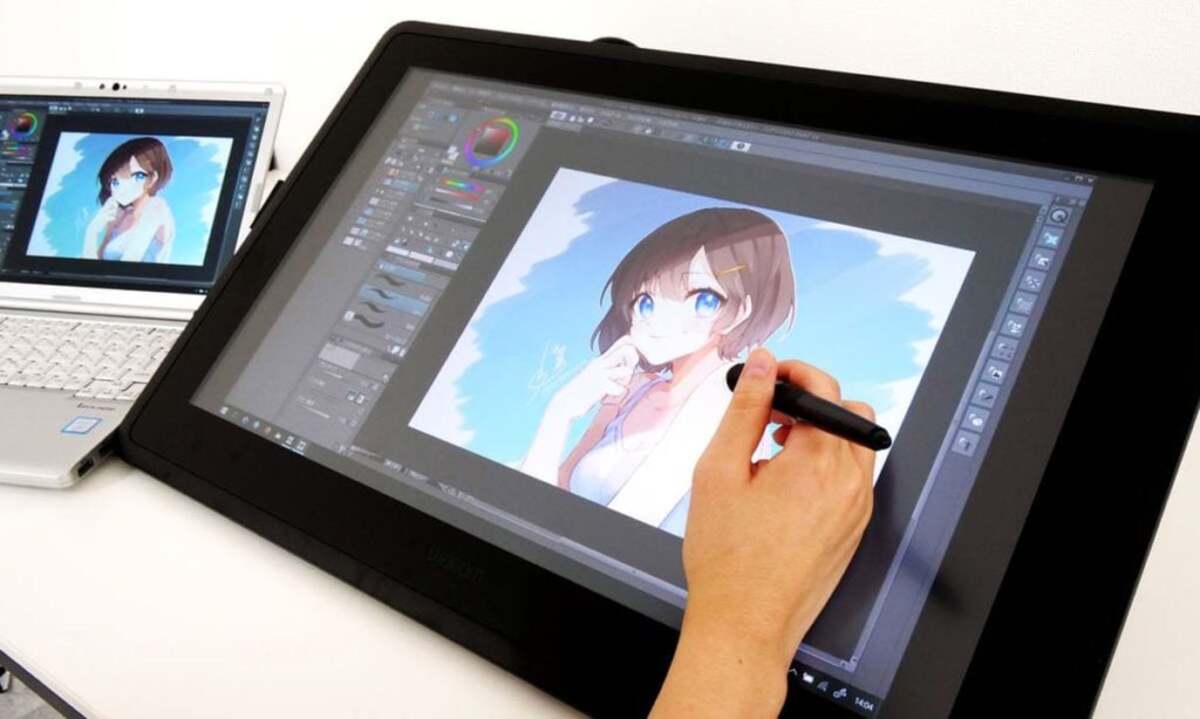
A Wacom tablet, also known as a graphics tablet or pen tablet, is a device that allows users to draw, sketch, and input digital illustrations directly into a computer. It consists of a flat drawing surface, typically with a pressure-sensitive pen, that allows for precise and natural control of the drawing process. The tablet is connected to a computer, either via USB or wirelessly, and works in conjunction with specialized software to translate the pen movements into digital input.
Wacom tablets are widely used by graphic designers, digital artists, photographers, and other creative professionals. They offer numerous advantages over traditional mouse and keyboard input, including improved precision, pressure sensitivity, and the ability to draw directly on the tablet surface. This makes Wacom tablets an essential tool for those working in fields that require precise and detailed digital artwork, such as creating illustrations, editing photos, or designing graphics.
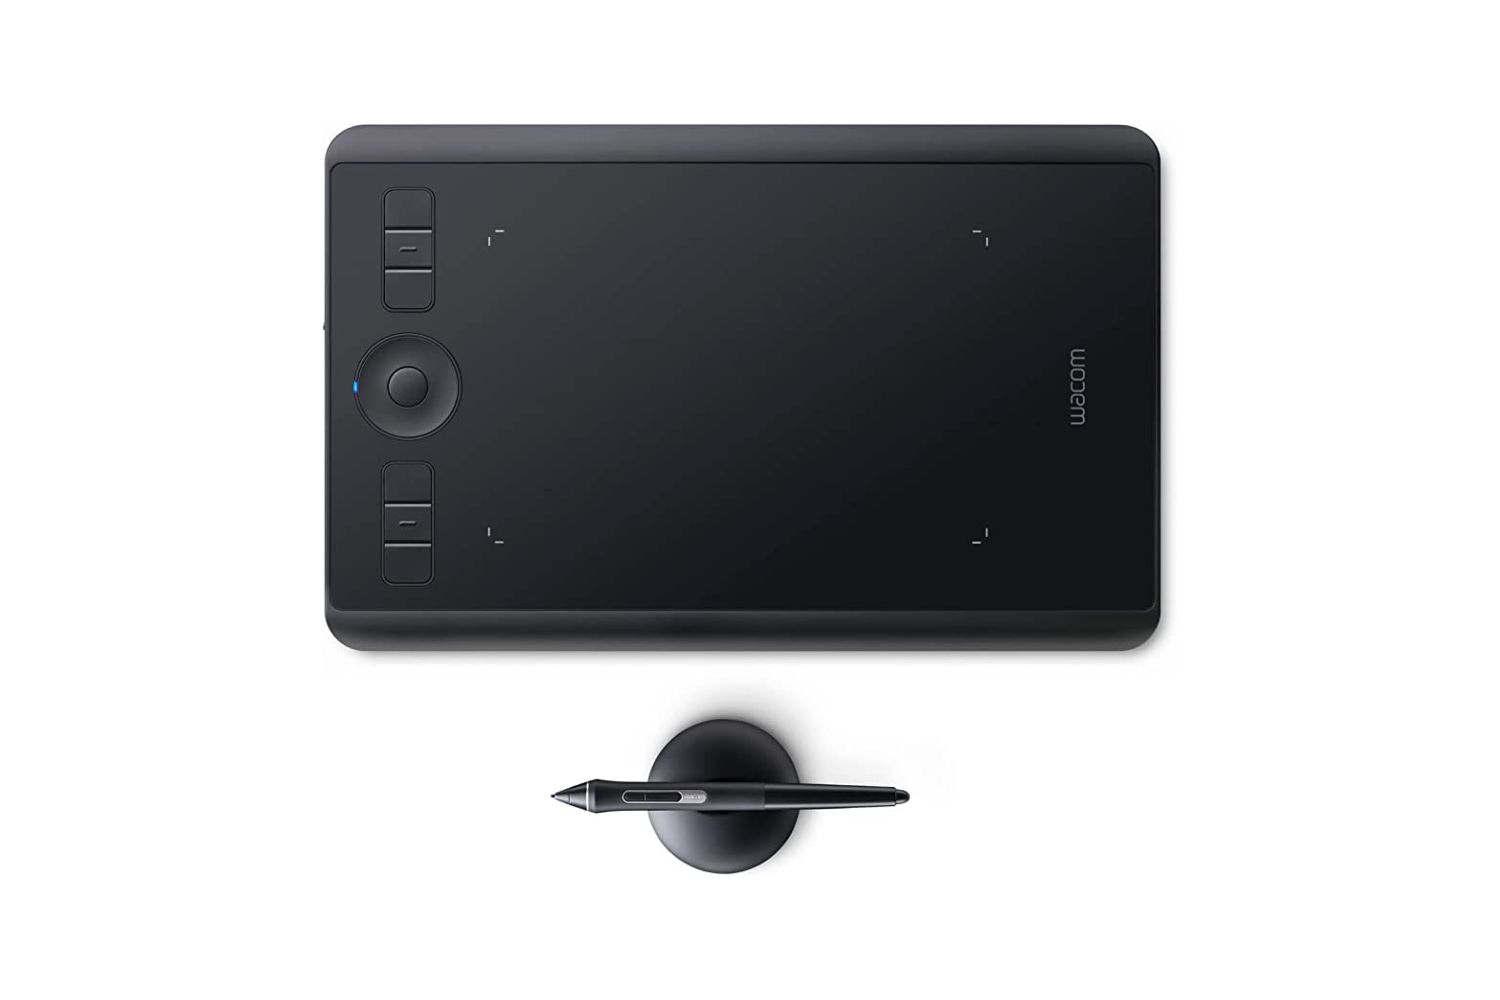
One of the key features of a Wacom tablet is its pressure sensitivity, which allows users to vary the thickness and intensity of their strokes based on how hard they press the pen on the tablet surface. This level of control makes it easier to create subtle gradients, realistic brush strokes, and intricate details that are difficult to achieve with a mouse or trackpad. Additionally, Wacom tablets often come with customizable buttons and touch rings, providing quick access to commonly used functions and shortcuts.
Wacom tablets are available in a range of sizes, from compact models suitable for on-the-go use to large professional-grade tablets for studio work. Some models even offer multi-touch capabilities, allowing users to pinch, zoom, and rotate the canvas using gestures, similar to touchscreen devices.
Overall, Wacom tablets have revolutionized the way artists and designers work digitally. With their precise input, pressure sensitivity, and extensive customization options, they provide a seamless and intuitive experience for creating digital art. However, if you don’t currently have access to a Wacom tablet, fear not! You can still unlock the power of digital art by using your Android tablet as a Wacom alternative, which we will explore in the next section.
Can an Android Tablet Be Used as a Wacom?
Yes, an Android tablet can be used as a Wacom alternative, providing similar functionalities and capabilities. While it may not offer the same level of precision as dedicated Wacom tablets, it can still serve as a cost-effective solution for digital artists, designers, and hobbyists. By utilizing specialized apps and software, you can turn your Android tablet into a drawing tablet and enjoy the flexibility and convenience it offers.
There are several advantages to using an Android tablet as a Wacom alternative. Firstly, it eliminates the need for an additional hardware purchase, saving you money and space on your desk. Since most people already own an Android tablet for everyday use, turning it into a drawing tablet allows you to make the most out of your existing device.
Furthermore, Android tablets come in a variety of sizes, offering a range of drawing surface options to suit different preferences. Whether you prefer a compact tablet for on-the-go creativity or a larger screen for precise artwork, there is an Android tablet to meet your needs. This flexibility allows you to choose the tablet size that works best for your artistic projects, compared to the fixed size options of traditional Wacom tablets.
It’s worth noting that while using an Android tablet as a Wacom alternative can be convenient and cost-effective, it does have limitations. The precision and pressure sensitivity of dedicated Wacom tablets may not be fully replicated on an Android device. The level of responsiveness, accuracy, and stroke variation may vary depending on the tablet model and the apps or software used.
However, with advancements in technology and the development of specialized drawing apps and software, the gap between Android tablets and dedicated graphics tablets is closing. Many drawing apps now offer various brush types, pressure sensitivity, and other features that simulate the Wacom experience. By optimizing the settings and exploring different apps, you can achieve impressive results with your Android tablet as a Wacom alternative.
In the next sections, we will guide you through the process of setting up your Android tablet as a Wacom and explore the requirements, apps, and settings needed to unleash your creativity. So don’t fret if you don’t have a dedicated Wacom tablet – your Android tablet can offer a fulfilling digital art experience! Let’s get started on turning your device into a powerful drawing tool.
Benefits of Using an Android Tablet as a Wacom
Using an Android tablet as a Wacom alternative offers several benefits that make it a compelling option for digital artists, designers, and hobbyists. Here are some advantages you can enjoy by harnessing the power of your Android tablet for digital art:
- Cost-effectiveness: One of the most significant advantages of using an Android tablet as a Wacom alternative is cost savings. Instead of investing in a dedicated Wacom tablet, which can be expensive, you can utilize the hardware you already own. This affordability makes digital art accessible to a wider audience, especially for beginners or those on a tight budget.
- Portability: Android tablets are known for their portability, making them convenient for digital art on the go. Whether you’re traveling, attending a creative workshop, or simply working from different locations, you can carry your Android tablet with ease. The lightweight design and compact size allow you to create art anytime, anywhere.
- Familiarity and versatility: If you’re already familiar with using an Android tablet for everyday tasks, the transition to using it as a Wacom alternative will be seamless. You can leverage your existing knowledge of navigating the Android operating system and quickly adapt to drawing apps and software. Additionally, Android tablets offer a wide range of versatile applications for digital art, allowing you to explore different styles, techniques, and tools.
- Touchscreen and multi-touch capabilities: Android tablets boast a responsive touchscreen, allowing you to interact directly with the digital canvas. Drawing, zooming, and rotating can be done intuitively with your fingertips. Some tablets even support multi-touch gestures, enabling you to perform functions such as resizing or rotating brushes with ease.
- Wide range of drawing apps: The Google Play Store hosts numerous drawing apps specifically designed for Android tablets. These apps offer various features, such as customizable brushes, layer support, and advanced editing tools. With a vast selection of drawing apps at your disposal, you can find the perfect app to suit your artistic needs and preferences.
- Integration with other creative tools: Android tablets can seamlessly integrate with other creative tools and software. You can connect your tablet to your computer and use it as an additional input device alongside your mouse or graphics tablet. This integration allows for a flexible workflow and allows you to maximize your creativity.
Overall, using an Android tablet as a Wacom alternative provides cost-effectiveness, portability, versatility, and a familiar interface to create digital artwork. While it may not offer the same level of precision as dedicated Wacom tablets, the advantages it brings make it a viable choice for artists of all levels. Now that you’re aware of the benefits, let’s move on to the requirements for using your Android tablet as a Wacom and the setup process.
Requirements for Using an Android Tablet as a Wacom
Before you can start using your Android tablet as a Wacom, there are a few requirements that you need to fulfill. Ensuring that you meet these requirements will ensure a smooth and seamless experience when using your tablet for digital art. Here are the essential requirements:
- Compatible Android tablet: You will need an Android tablet with a touch screen for drawing and sketching. The tablet should have sufficient processing power and RAM to handle the drawing apps and software smoothly. It is recommended to choose a tablet with a larger screen size for optimal drawing space.
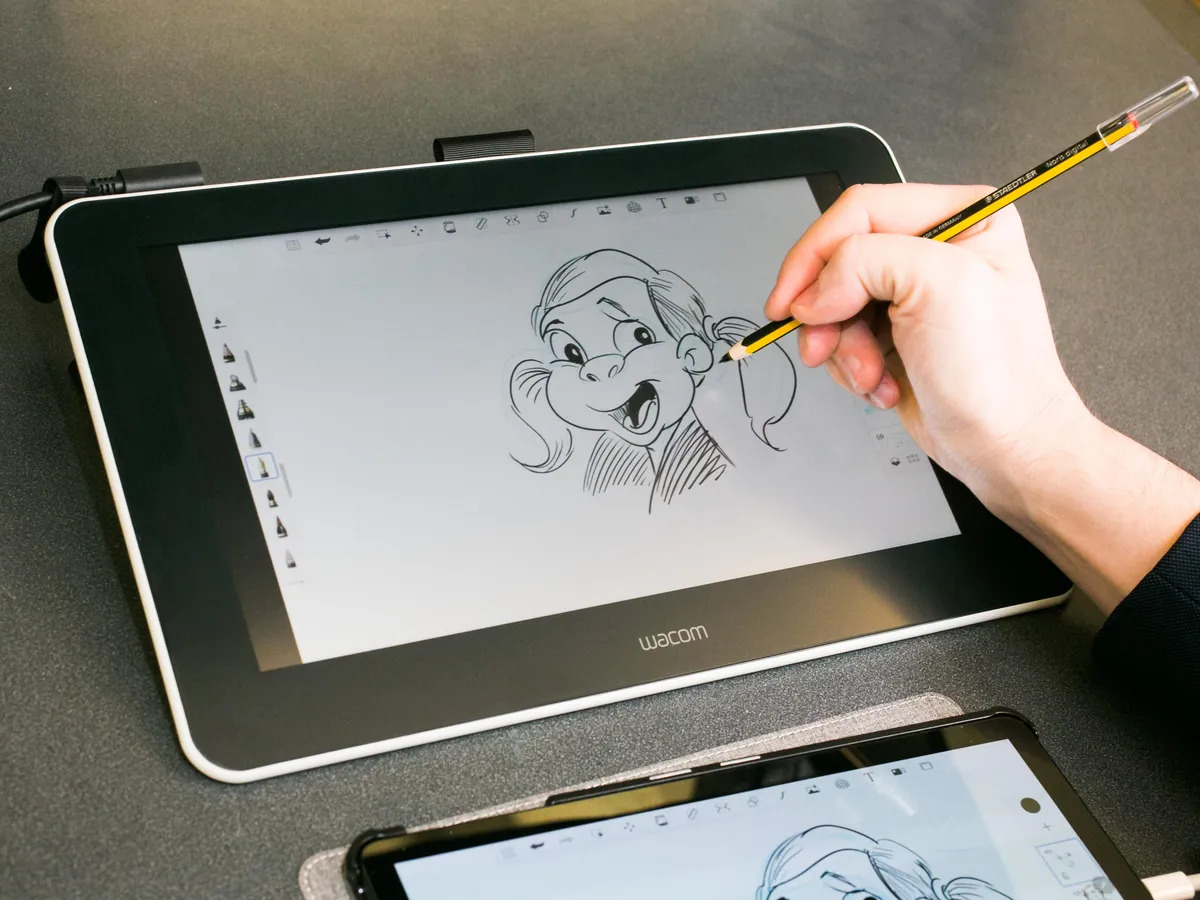
- Stylus or active pen: To emulate the pen-like experience of a Wacom tablet, you will need a stylus or an active pen that is compatible with your Android tablet. The stylus should provide accurate and precise input, ideally with pressure sensitivity for varied stroke thickness.
- Drawing apps and software: There are several drawing apps and software available for Android tablets that can turn your device into a drawing tablet. Look for apps that offer a range of drawing tools, layer support, customization options, and pressure sensitivity. Some popular drawing apps for Android include Adobe Photoshop Sketch, Autodesk SketchBook, and Procreate Pocket.
- Connection options: To connect your Android tablet to your computer, you will need a USB cable or wireless connectivity options such as Wi-Fi or Bluetooth. Ensure that your tablet’s connection options are compatible with your computer and that you have the necessary cables or adapters if required.
- Computer compatibility: Depending on your workflow and preferences, you may want to connect your Android tablet to your computer for an extended drawing area or to work with specific software. Ensure that your computer is compatible with your tablet and has the necessary drivers and software installed for smooth connectivity.
It’s worth noting that the exact requirements may vary depending on the specific drawing app you choose to use on your Android tablet. Some apps may have additional requirements or compatibility restrictions, so it’s essential to check the app’s documentation or website for specific details.
By fulfilling these requirements, you can transform your Android tablet into a powerful drawing tool and start exploring your creativity digitally. In the next sections, we will guide you through the process of setting up your Android tablet as a Wacom and configuring the necessary settings to optimize your drawing experience. So, let’s move on to the step-by-step guide and get ready to unleash your artistic potential with your Android tablet as a Wacom alternative!
Step-by-Step Guide to Setting Up Your Android Tablet as a Wacom
Setting up your Android tablet as a Wacom alternative is a straightforward process. By following these step-by-step instructions, you’ll be ready to unleash your creativity in no time:
- Check tablet compatibility: Ensure that your Android tablet supports the necessary features for drawing and sketching. Look for a tablet with a responsive and accurate touch screen, preferably with multi-touch capabilities. Additionally, make sure your tablet supports a stylus or active pen for precise input.
- Choose a drawing app: Explore the various drawing apps available for Android tablets and choose one that suits your artistic needs. Consider factors such as brush variety, layer support, pressure sensitivity, and customization options. Install the chosen app from the Google Play Store onto your Android tablet.
- Connect your tablet to a computer (optional): If you want to extend your drawing area or work with software on your computer, connect your Android tablet to your computer using a USB cable or wireless connectivity options. Ensure that your tablet’s connection options and computer software are compatible.
- Configure your drawing app: Open the drawing app on your Android tablet and familiarize yourself with its interface. Explore the app’s settings to customize brushes, set up pressure sensitivity, and adjust other preferences according to your artistic style and preference.
- Experiment with different tools and brushes: Start by experimenting with different brushes, tools, and options within the drawing app. Create simple strokes, test pressure sensitivity, and explore the various features available. Take your time to understand how different brushes behave and find the ones that suit your artistic vision.
- Practice and refine your skills: Start sketching, drawing, and creating digital art on your Android tablet. Use the app’s features to add layers, adjust opacity, and experiment with different blending modes. Practice regularly to familiarize yourself with the tablet’s input and refine your digital art skills. Don’t be afraid to explore different techniques and push your creative boundaries.
- Explore advanced settings: As you become more comfortable with your Android tablet as a Wacom alternative, explore advanced settings and features offered by your drawing app. This may include customizing shortcuts, creating custom brushes, or exploring advanced layer and blending options. These features can further enhance your digital art experience.
By following these steps, you will be able to set up your Android tablet as a Wacom alternative and start creating digital art. Remember, practice and experimentation are key to improving your skills and finding your unique artistic style. Enjoy the process of exploring your creativity and unlocking the artistic possibilities of your Android tablet as a Wacom alternative!
Setting Up the Connection between the Android Tablet and PC
If you want to extend your drawing area or work with specific software on your computer, setting up the connection between your Android tablet and PC is essential. This allows you to use your tablet as an additional input device alongside your mouse or graphics tablet. Here’s a step-by-step guide to help you set up the connection:
- Check compatibility: Ensure that your Android tablet supports the necessary connectivity options for connecting to a PC. Common connection options include USB, Wi-Fi, or Bluetooth. Review your tablet’s user manual or manufacturer’s website to determine the available connectivity options.
- USB connection: If your Android tablet supports USB connectivity, connect it to your PC using a USB cable. Make sure both devices are powered on and unlocked. Your tablet may prompt you to select a connection type (e.g., file transfer, charging only). Choose the appropriate option for connecting as an input device or drawing tablet.
- Wireless connection: If your Android tablet supports wireless connectivity, you can connect it to your PC using Wi-Fi or Bluetooth. On both your tablet and PC, enable Wi-Fi or Bluetooth and ensure they are visible and ready to pair. Follow the on-screen instructions on your tablet and PC to establish the wireless connection.
- Install necessary drivers: Depending on your tablet and PC, you may need to install specific drivers to ensure proper communication between the devices. Check the manufacturer’s website for any available driver updates and download and install them accordingly.
- Configure input settings: Once the connection is established, access the settings on your PC to configure the input settings for your Android tablet. Go to the “Control Panel” or “Settings” on your PC, then navigate to the “Devices” or “Bluetooth and Other Devices” section. Locate your tablet in the list of devices and ensure it is recognized as an input device. Adjust settings for sensitivity or other preferences as needed.
- Test the connection: To ensure that the connection between your Android tablet and PC is working correctly, open a drawing or sketching software on your PC. Use your tablet stylus to draw or sketch on the tablet’s surface, and verify that the input is registering on the computer screen. Adjust any additional settings or preferences to optimize your drawing experience.
By following these steps, you can set up the connection between your Android tablet and PC, allowing you to utilize your tablet as an additional input device. Whether you prefer a wired USB connection or a wireless option, ensure that both devices are compatible and configured correctly. Experiment with different apps and software on your PC to take advantage of the extended drawing area and enhance your digital art workflow.
Remember to consult the user manual or support resources provided by the tablet manufacturer for specific instructions tailored to your device. With the connection established, you’re now ready to unleash your creativity using your Android tablet as a versatile drawing tool alongside your PC!
Installing the Required Apps on Your Android Tablet
To transform your Android tablet into a powerful drawing tool, you’ll need to install the necessary apps that offer specialized drawing and sketching functionalities. These apps will allow you to unleash your creativity and make the most out of your tablet’s touchscreen capabilities. Here’s a step-by-step guide to help you install the required apps on your Android tablet:
- Browse the Google Play Store: Open the Google Play Store on your Android tablet. It is your go-to marketplace for downloading and installing apps.
- Search for drawing apps: Use the search bar within the Google Play Store and enter keywords such as “drawing app,” “sketching app,” or specific app names to find a variety of drawing apps.
- Read app descriptions and reviews: Before installing an app, read its description to understand its features, tools, and compatibility. Pay attention to user reviews and ratings to gauge the app’s quality and usability.
- Choose a drawing app: Select a drawing app that suits your needs and artistic preferences. Consider factors such as brush variety, layer support, pressure sensitivity, and other advanced features. Popular drawing apps for Android include Adobe Photoshop Sketch, Autodesk SketchBook, Procreate Pocket, and Concepts.
- Tap on “Install”: Once you’ve chosen a drawing app, tap on the “Install” button to start the installation process. The app will be downloaded and installed on your Android tablet.
- Read app permissions: During the installation, the app may request certain permissions. Carefully review these permissions to ensure they align with your privacy and security preferences. Grant the necessary permissions to proceed with the app installation.
- Open the installed app: Once the installation is complete, tap on the “Open” button or find the app on your home screen or app drawer. Launch the app to familiarize yourself with its user interface and settings.
- Explore app settings: Within the drawing app, explore its settings and customization options. Adjust preferences such as brush settings, canvas dimensions, pressure sensitivity, and any other features that enhance your digital art experience.
By following these steps, you can install the required drawing app on your Android tablet and begin your creative journey. Remember to explore different drawing apps as per your artistic needs and experiment with their unique features. Each app may offer different tools, brushes, and capabilities, so take your time to find the app that suits your artistic style.
Additionally, keep your apps up-to-date by regularly checking for updates in the Google Play Store. App updates often bring new features, bug fixes, and improved performance, ensuring a better drawing experience on your Android tablet.
With the required apps installed, you’re now ready to dive into the world of digital art and harness your Android tablet’s potential as a drawing tool. Let the creativity flow and enjoy creating stunning digital illustrations, sketches, and designs!
Configuring the Settings for Wacom-like Functionality
To optimize your Android tablet’s functionality as a Wacom alternative, it’s important to configure the settings to enable a Wacom-like experience. By adjusting these settings, you can enhance the precision, pressure sensitivity, and overall performance of your tablet for digital art. Follow these steps to configure the settings for Wacom-like functionality:
- Open the drawing app: Launch the drawing app on your Android tablet that you have installed. This will be the app you use for your digital art creation.
- Access the app settings: Look for a settings icon or menu within the app interface. It is usually represented by a gear or three dots icon. Tap on this icon to access the app’s settings.
- Adjust brush and pressure sensitivity: Within the app settings, explore the options related to brush customization and pressure sensitivity. Adjust the brush settings according to your preference, such as size, hardness, opacity, and flow. Additionally, enable or adjust the pressure sensitivity settings to ensure that your strokes vary in thickness based on the pressure applied with the stylus.
- Explore additional settings: Depending on the drawing app you are using, there may be additional settings related to layers, colors, blending modes, or canvas dimensions. Take the time to familiarize yourself with these settings and adjust them as needed to align with your artistic vision.
- Enable palm rejection: Palm rejection is a crucial feature that allows you to rest your hand on the tablet surface while drawing without unwanted touches registering as input. Look for a palm rejection or touch gesture setting within the app or your tablet’s system settings. Enable this feature to ensure a smoother drawing experience.
- Configure stylus buttons (if applicable): If your stylus or active pen has buttons or an eraser on it, check if the drawing app allows you to customize the functions of these buttons. You may be able to assign specific actions, such as undo, redo, or brush size adjustment, to these buttons for quicker access while drawing.
- Test and fine-tune: Once you have adjusted the settings, test your stylus and tablet to ensure that the changes have been implemented correctly. Try different brush strokes, apply varying pressure, and test the shortcut buttons (if applicable) to ensure they function as desired.
- Adjust settings as needed: As you continue to use your Android tablet for digital art, don’t hesitate to revisit the settings and make further adjustments. Everyone’s preferences and artistic styles are different, so customize the settings to suit your specific needs and desired outcomes.
By following these steps to configure the settings, you can optimize your Android tablet’s functionality for a Wacom-like experience. The ability to adjust brush settings, pressure sensitivity, and palm rejection can significantly enhance your accuracy and control while creating digital art. Take the time to explore and experiment with different settings to find the configuration that best suits your workflow and artistic style.
Remember to consult the app’s documentation or support resources if you encounter any difficulties or have specific questions about the settings. Each drawing app may have its own unique settings and features, so understanding and utilizing them will help you realize the full potential of your Android tablet as a Wacom alternative.
Now that you have configured the settings for Wacom-like functionality, it’s time to put your Android tablet to the test and see how it performs as a digital drawing tool. Enjoy the creative freedom and possibilities that your tablet offers, and let your imagination run wild!
Testing and Fine-tuning Your Android Tablet as a Wacom
Once you have set up your Android tablet as a Wacom alternative and configured the necessary settings, it’s time to test and fine-tune its performance. Testing and fine-tuning your tablet will help ensure optimal functionality and responsiveness while using it as a digital drawing tool. Follow these steps to effectively test and fine-tune your Android tablet as a Wacom:
- Create test strokes and lines: Launch your chosen drawing app on your Android tablet and use your stylus to create different strokes and lines. Experiment with different levels of pressure to test the tablet’s sensitivity and how it registers your input.
- Observe line quality and responsiveness: Pay close attention to the quality of the lines you create. Are they smooth and accurate, or do they appear jagged or wobbly? Check the responsiveness of the tablet to ensure there is no noticeable lag between your stylus movement and its corresponding line on the screen.
- Adjust pressure sensitivity: If you find that the pressure sensitivity is not behaving as desired, revisit the app’s settings related to pressure sensitivity. Fine-tune these settings to achieve the desired variation in line thickness based on the pressure applied.
- Test palm rejection: Rest your hand on the tablet’s surface while drawing to test the effectiveness of the palm rejection feature. Ensure that your hand movements do not interfere with your strokes and that only the stylus input is registered.
- Check for any stylus-related issues: Pay attention to any issues you may encounter with your stylus, such as connectivity problems or inconsistent input. Try repositioning the tablet or adjusting your grip on the stylus to see if it resolves any performance issues.
- Experiment with different brushes and tools: Explore the various brushes and tools available within your drawing app. Test their performance and responsiveness to see how well they work with your Android tablet. Pay attention to any brushes or tools that show better performance or suit your drawing style more effectively.
- Fine-tune app settings: If you notice any areas of improvement or specific preferences while testing, go back to the app settings and make further adjustments. This could involve tweaking brush parameters, adjusting touch gestures, or customizing other features to enhance your drawing experience.
- Practice and refine: Spend time practicing and refining your digital art skills using your Android tablet. Continuously explore different techniques, experiment with different brushes and tools, and familiarize yourself with the tablet’s capabilities. The more you practice, the more comfortable you will become with your tablet’s functionalities.
Through testing and fine-tuning, you can ensure that your Android tablet performs optimally as a Wacom alternative. Keep in mind that each app and tablet combination may have its own unique quirks and settings. Take the time to experiment and find the configuration that works best for you, allowing you to fully unlock your creativity and produce high-quality digital art.
Remember that testing and fine-tuning is an ongoing process. As you become more comfortable with your Android tablet as a drawing tool, continue to explore new apps, brushes, and techniques. Regularly update your tablet, drawing app, and stylus software to ensure you have access to the latest features and improvements.
Enjoy the journey of testing, fine-tuning, and refining your Android tablet as a Wacom alternative. Embrace the versatility and freedom that this setup offers, and let your imagination soar as you create stunning digital illustrations, sketches, and designs!
Tips and Tricks for Optimizing Your Android Tablet as a Wacom
Optimizing your Android tablet as a Wacom alternative involves more than just the initial setup. To enhance your drawing experience and make the most out of your tablet, here are some valuable tips and tricks to consider:
- Experiment with different drawing apps: Don’t limit yourself to a single drawing app. Explore and try out different drawing apps available for Android tablets. Each app offers unique features, brushes, and tools that can expand your creative possibilities.
- Customize your workspace: Many drawing apps allow you to customize your workspace, such as rearranging toolbars, setting up custom shortcuts, or configuring preferred gestures. Tailor your workspace to suit your workflow and make drawing more efficient and intuitive.
- Utilize layers effectively: Take advantage of layers within your drawing app. Layers allow you to work on different elements separately, making it easier to modify, adjust, and experiment with your artwork. It also enables you to add depth and complexity to your designs without affecting the underlying layers.
- Back up your artwork: Always back up your digital artwork to prevent accidental loss or damage. Save your work regularly and consider using cloud storage or external storage devices to create backups. This way, you can protect your creations and have peace of mind.
- Experiment with brush settings: Spend time exploring the brush settings within your drawing app. Experiment with parameters like size, opacity, texture, and flow to achieve different effects and styles. Adjusting brush settings can help you create unique and personalized artwork.
- Practice hand-eye coordination: Developing good hand-eye coordination is vital for digital drawing. Spend time practicing and refining your skills by focusing on precision and accuracy. Regular practice will help you gain better control and dexterity when using your Android tablet as a Wacom.
- Take breaks: Drawing for extended periods can strain your eyes, hands, and mind. Remember to take breaks regularly to rest and recharge. Practice good ergonomics by maintaining a comfortable posture and stretching your muscles to reduce fatigue and avoid discomfort.
- Follow tutorials and join communities: Take advantage of online tutorials, courses, and communities focused on digital art. Learning from others and sharing your work with fellow artists can inspire and motivate you, as well as provide valuable insights and feedback for improvement.
- Experiment with different stylus tips: Some stylus pens offer interchangeable tips with varying levels of hardness or texture. Try different tips to find the one that feels most comfortable and natural for your drawing style. The right tip can enhance the precision and control of your strokes.
- Explore keyboard shortcuts: If you’re using your Android tablet in conjunction with a computer, familiarize yourself with keyboard shortcuts within your drawing app. Keyboard shortcuts can save time and streamline your workflow, allowing you to focus more on your creative process.
These tips and tricks will help optimize your Android tablet as a Wacom alternative and enhance your digital art experience. Remember that every artist’s journey is unique, so don’t be afraid to experiment and find what works best for you. Embrace the flexibility and versatility of your Android tablet, and enjoy the incredible world of digital art at your fingertips!
Conclusion
In conclusion, turning your Android tablet into a Wacom alternative opens up a realm of creative possibilities. It allows you to enjoy the power of digital art without the need for an expensive dedicated Wacom tablet. By following the step-by-step guide, you can set up your tablet, install the necessary apps, configure the settings, and fine-tune its performance for a seamless and enjoyable drawing experience.
Using an Android tablet as a Wacom alternative offers numerous benefits, including affordability, portability, and versatility. It allows you to leverage the familiarity of the Android operating system, while still maintaining access to a wide variety of drawing apps and tools. With practice and experimentation, you can harness the potential of your Android tablet and produce stunning digital artwork.
Remember to explore different drawing apps and customize settings to suit your artistic style and preferences. Take advantage of features like pressure sensitivity, palm rejection, and layer support to enhance your creativity and achieve precise and professional-looking results.
Additionally, practicing good drawing habits, regularly backing up your artwork, and seeking inspiration from tutorials and communities can further elevate your digital art journey. Continuously refine your skills, experiment with various brushes and tools, and embrace the constant growth and improvement that comes with being a digital artist.
So, let your imagination run wild, and unlock the artistic potential of your Android tablet as a Wacom alternative. Embrace the fusion of technology and creativity and venture into the captivating world of digital art. Whether you’re a beginner or an experienced artist, your Android tablet has the power to be your faithful companion on your artistic journey. Happy drawing!