Introduction
Welcome to the world of digital art and design! If you own a Wacom tablet, you already have a powerful tool at your fingertips. However, to maximize its potential, you need to customize its settings according to your preferences and workflow. In this article, we will guide you through the process of opening the Wacom tablet settings on your computer.
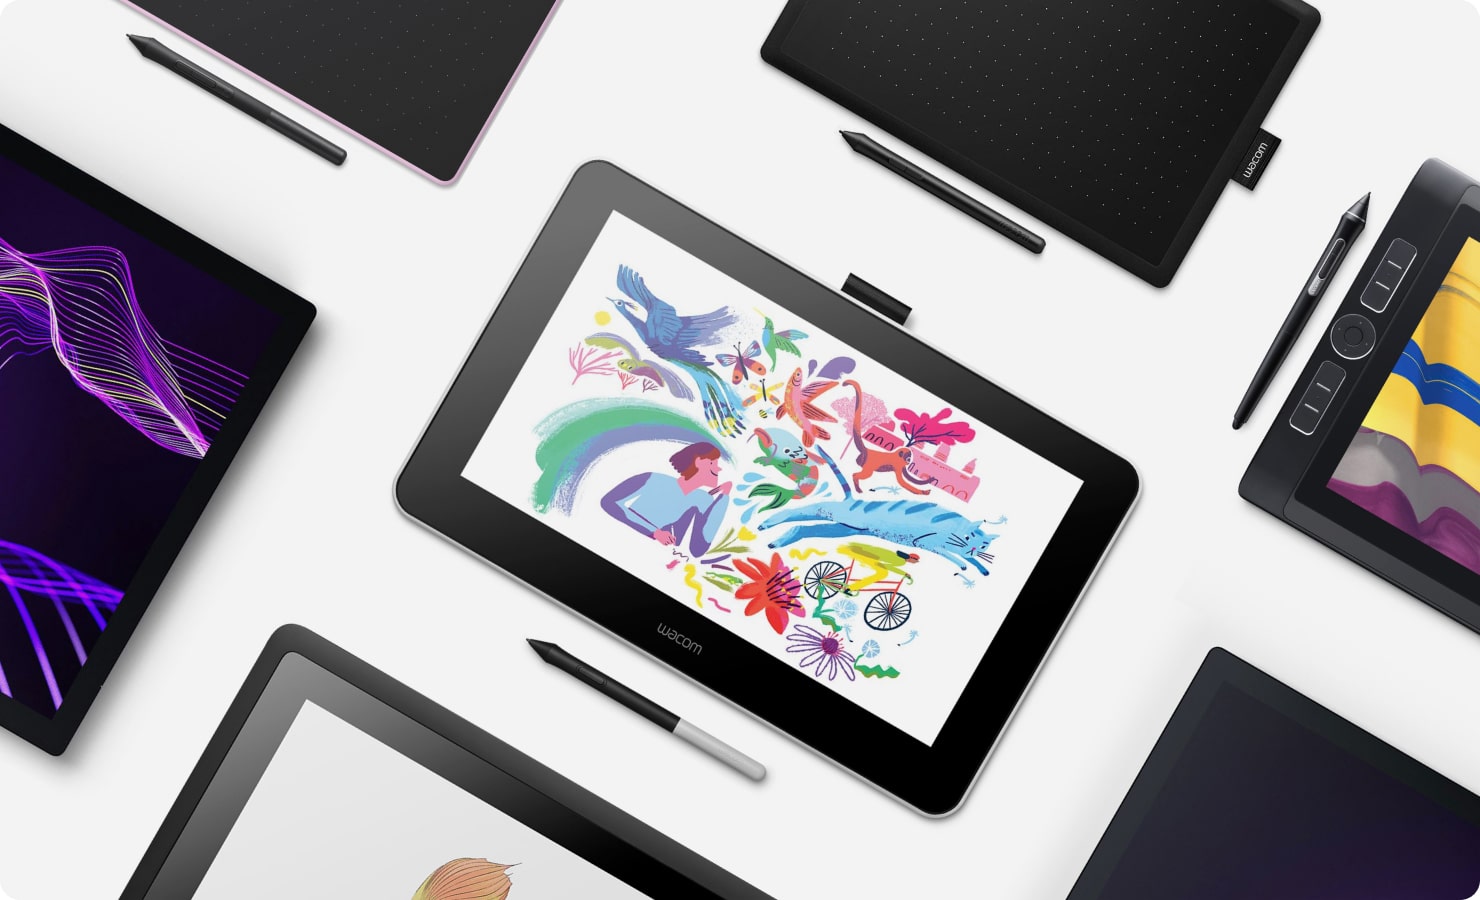
Wacom tablets offer a wide range of features and customization options that can greatly enhance your digital art experience. By accessing the tablet settings, you can adjust parameters such as pen sensitivity, express keys, touch gestures, and more. These personalized settings can help you work more efficiently, improve your accuracy, and unleash your creativity.
Whether you are a beginner or an experienced artist, understanding how to navigate the Wacom tablet settings is essential. Don’t worry if you are new to this – we will provide you with a step-by-step guide to make it easy for you to open the tablet settings and start customizing them according to your needs.
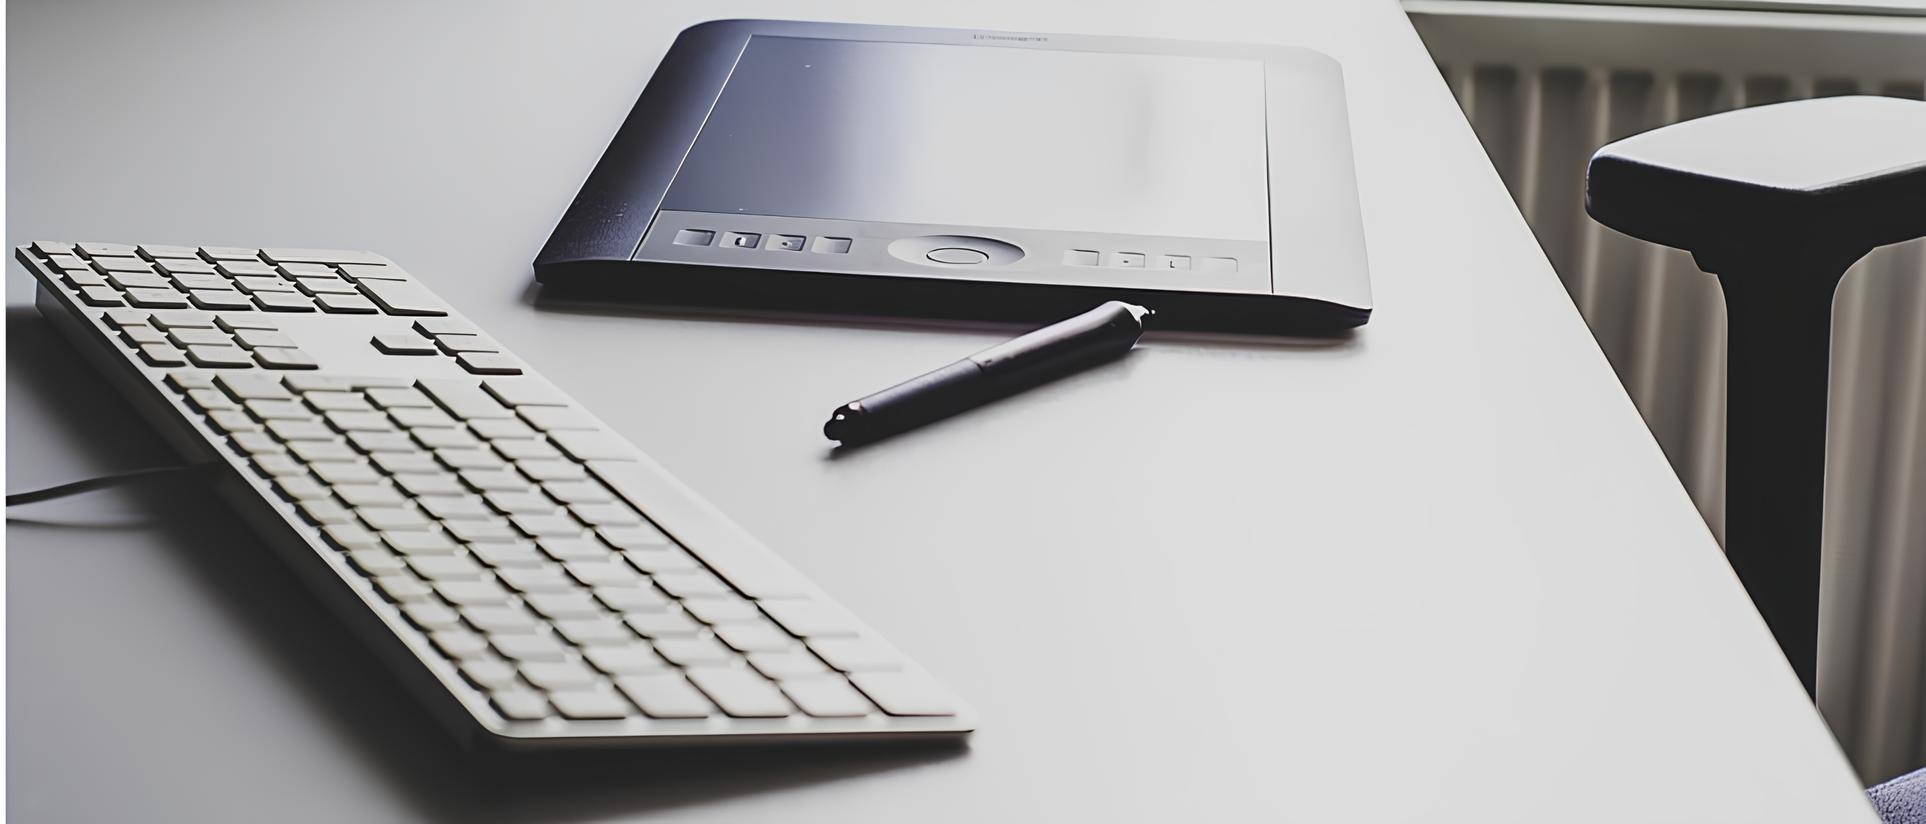
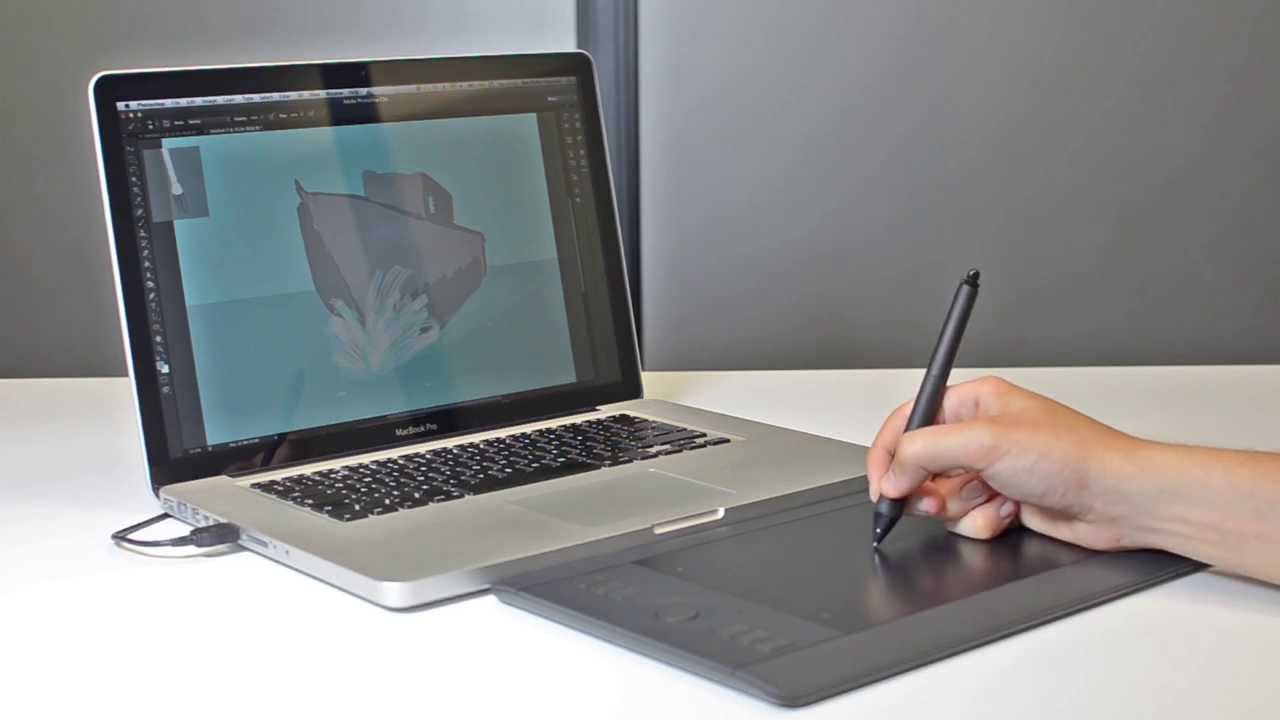
Before we dive into the steps, make sure you have your Wacom tablet properly connected to your computer. This typically involves connecting it via a USB cable or using a wireless connection, depending on the model you have. Once your tablet is connected, you’re ready to unleash its full potential by adjusting its settings.
In the following sections, we will take you through the process of opening the Wacom tablet settings and customizing them to fit your artistry. So, without further ado, let’s get started on this exciting journey of personalizing your Wacom tablet!
Step 1: Connect your Wacom tablet to your computer
The first step in accessing the Wacom tablet settings is to ensure that your tablet is properly connected to your computer. Here are the steps to follow:
- Locate the USB cable that comes with your Wacom tablet. If your tablet supports wireless connectivity, make sure it is properly connected to your computer.
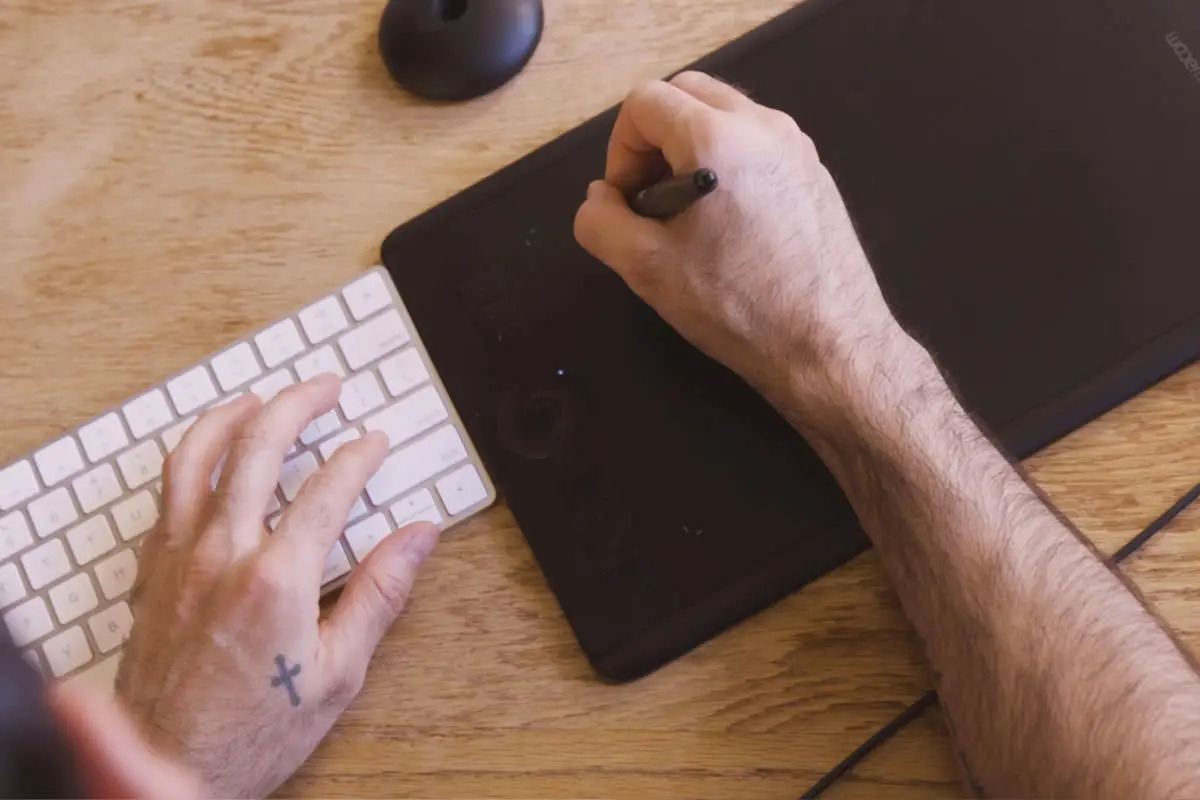
- Connect one end of the USB cable to your Wacom tablet and the other end to an available USB port on your computer. If you are using a wireless connection, ensure that both your tablet and computer are connected to the same Wi-Fi network.
- Give your computer a moment to recognize the connected tablet. You may hear a sound or see a notification indicating that the device has been successfully connected.
- If you encounter any issues with the connection, make sure that the USB cable is securely plugged in. You may also try using a different USB port or restarting your computer.
- Once your Wacom tablet is connected, you are ready to open the tablet settings and start customizing it according to your preferences.
It’s important to have a stable and reliable connection between your tablet and computer to ensure that the settings are applied accurately. With your tablet successfully connected, you can now proceed to the next step of opening the Wacom tablet settings.
Step 2: Open the Wacom Tablet Properties
After connecting your Wacom tablet to your computer, the next step is to open the Wacom Tablet Properties. This is where you can access all the customization options for your tablet. Follow these steps to open the Wacom Tablet Properties:
- Ensure that your Wacom tablet is connected to your computer and turned on.
- On Windows: Look for the Wacom Desktop Center icon in the system tray located at the bottom-right corner of the screen. It usually appears as a small Wacom tablet icon. Right-click on the icon and select “Open” to launch the Wacom Desktop Center. From there, click on “Tablet Properties.”
- On Mac: Navigate to the “Applications” folder and locate the Wacom Tablet folder. Open the folder and look for “Wacom Desktop Center.” Launch the Wacom Desktop Center, and click on “Tablet Properties.”
- If you can’t find the Wacom Desktop Center or Tablet Properties, you may need to install the latest drivers for your Wacom tablet. Visit the official Wacom website and download the drivers specific to your tablet model and operating system.
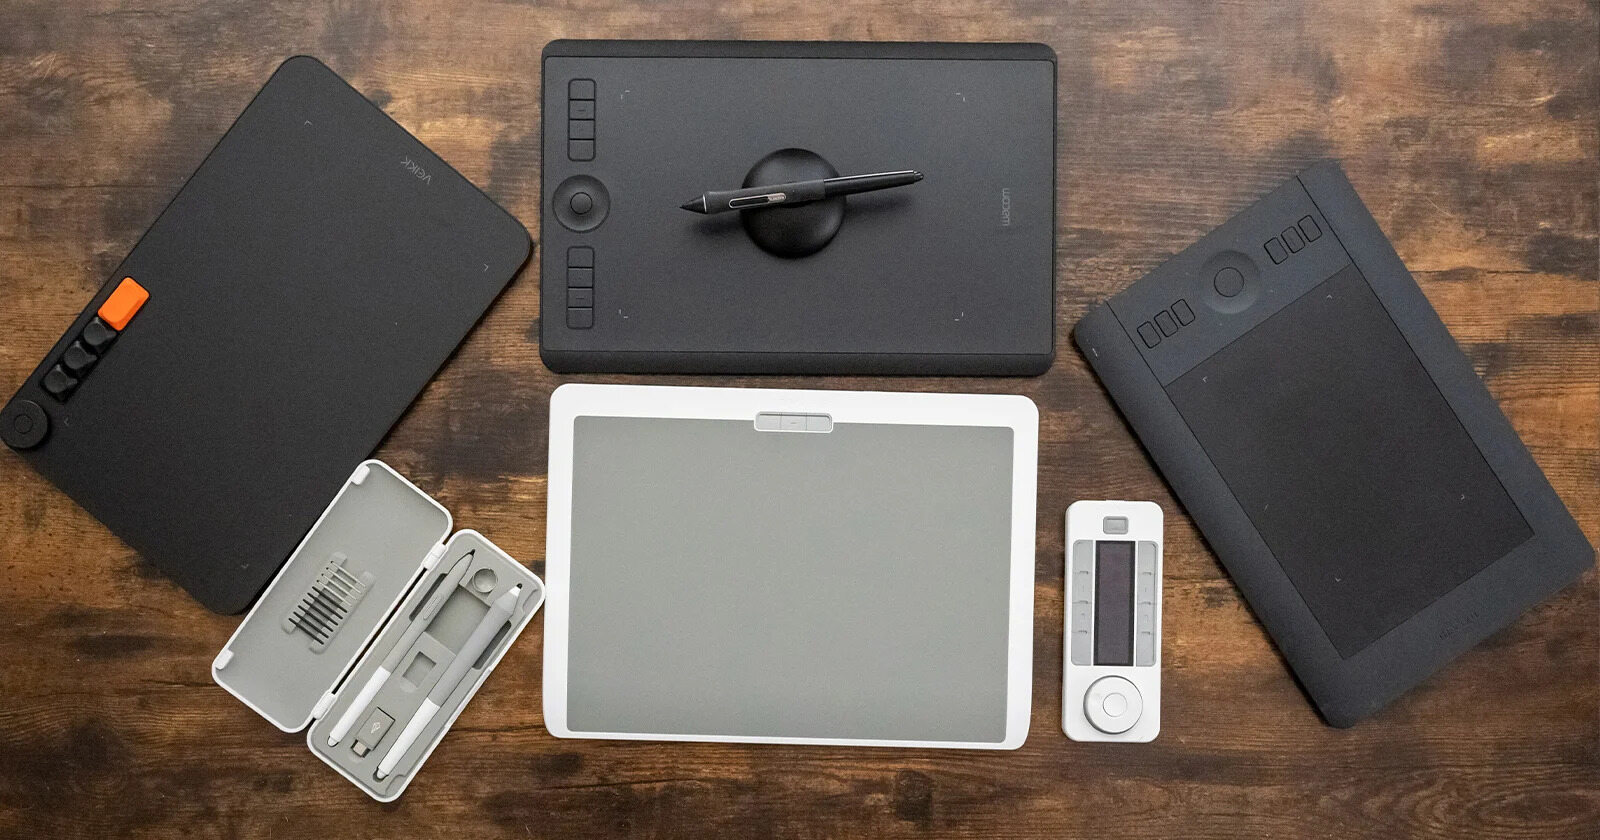
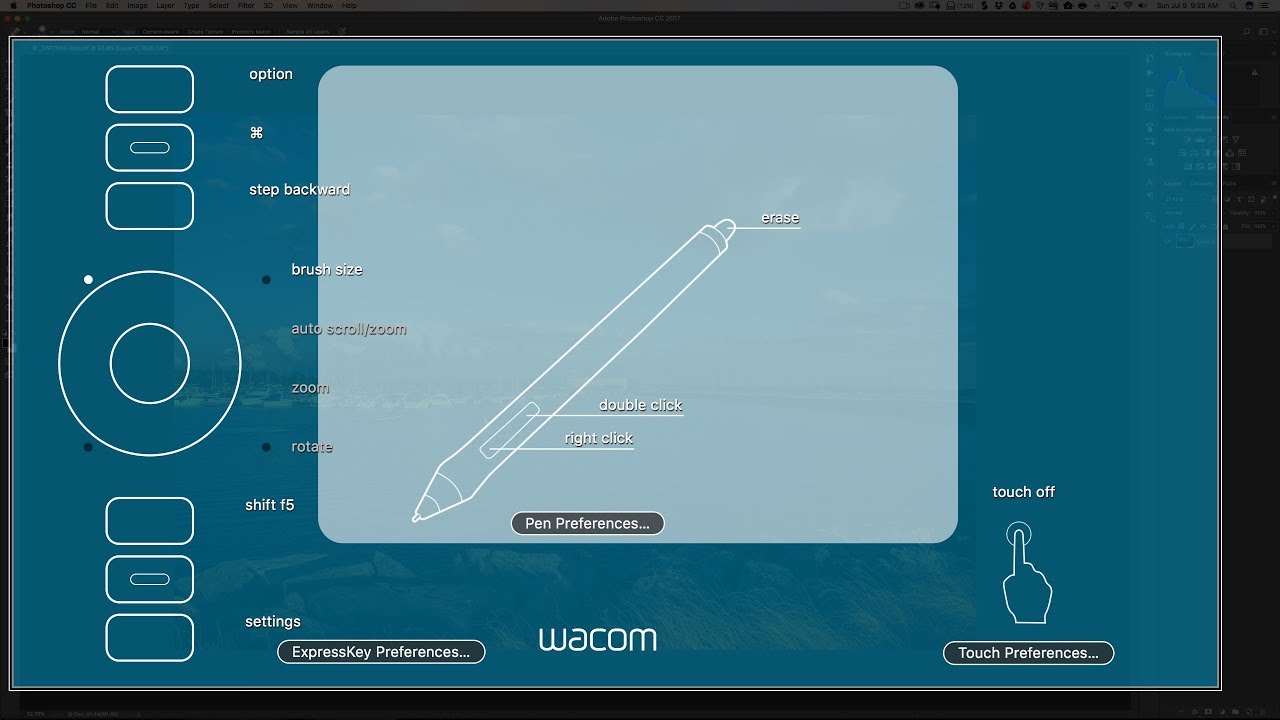
- Once you have successfully opened the Wacom Tablet Properties, you will have access to a wide range of customization options. These options may vary depending on your tablet model, but usually include settings for pen sensitivity, express keys, touch gestures, and more.
Opening the Wacom Tablet Properties allows you to unlock the full potential of your tablet. From here, you can explore and adjust the various settings to tailor them to your specific needs and artistic style. Let’s move on to the next step and start customizing your tablet settings!
Step 3: Customize your tablet settings
Now that you have successfully opened the Wacom Tablet Properties, it’s time to dive into the customization options and tailor your tablet settings to suit your preferences and workflow. Follow these steps to customize your tablet settings:
- Explore the tabs and options: The Wacom Tablet Properties interface is typically organized into different tabs or sections, each dedicated to a specific aspect of your tablet’s functionality. Take some time to explore the available tabs and options to familiarize yourself with what each one offers.
- Customize pen settings: The pen is one of the primary tools used in digital art, so it’s crucial to adjust its settings according to your needs. Look for options related to pen pressure, tilt sensitivity, and button assignments. These settings allow you to fine-tune the pen’s behavior and responsiveness.
- Configure express keys: Many Wacom tablets come equipped with programmable express keys, which can be a real time-saver. You can assign specific functions or shortcuts to these keys to streamline your workflow. Experiment with different configurations and find the setup that works best for you.
- Experiment with touch gestures: If your Wacom tablet supports touch input, you can customize touch gestures to zoom, rotate, or pan your canvas, among other actions. Adjust the sensitivity and behavior of touch gestures to make your digital art experience more intuitive and effortless.
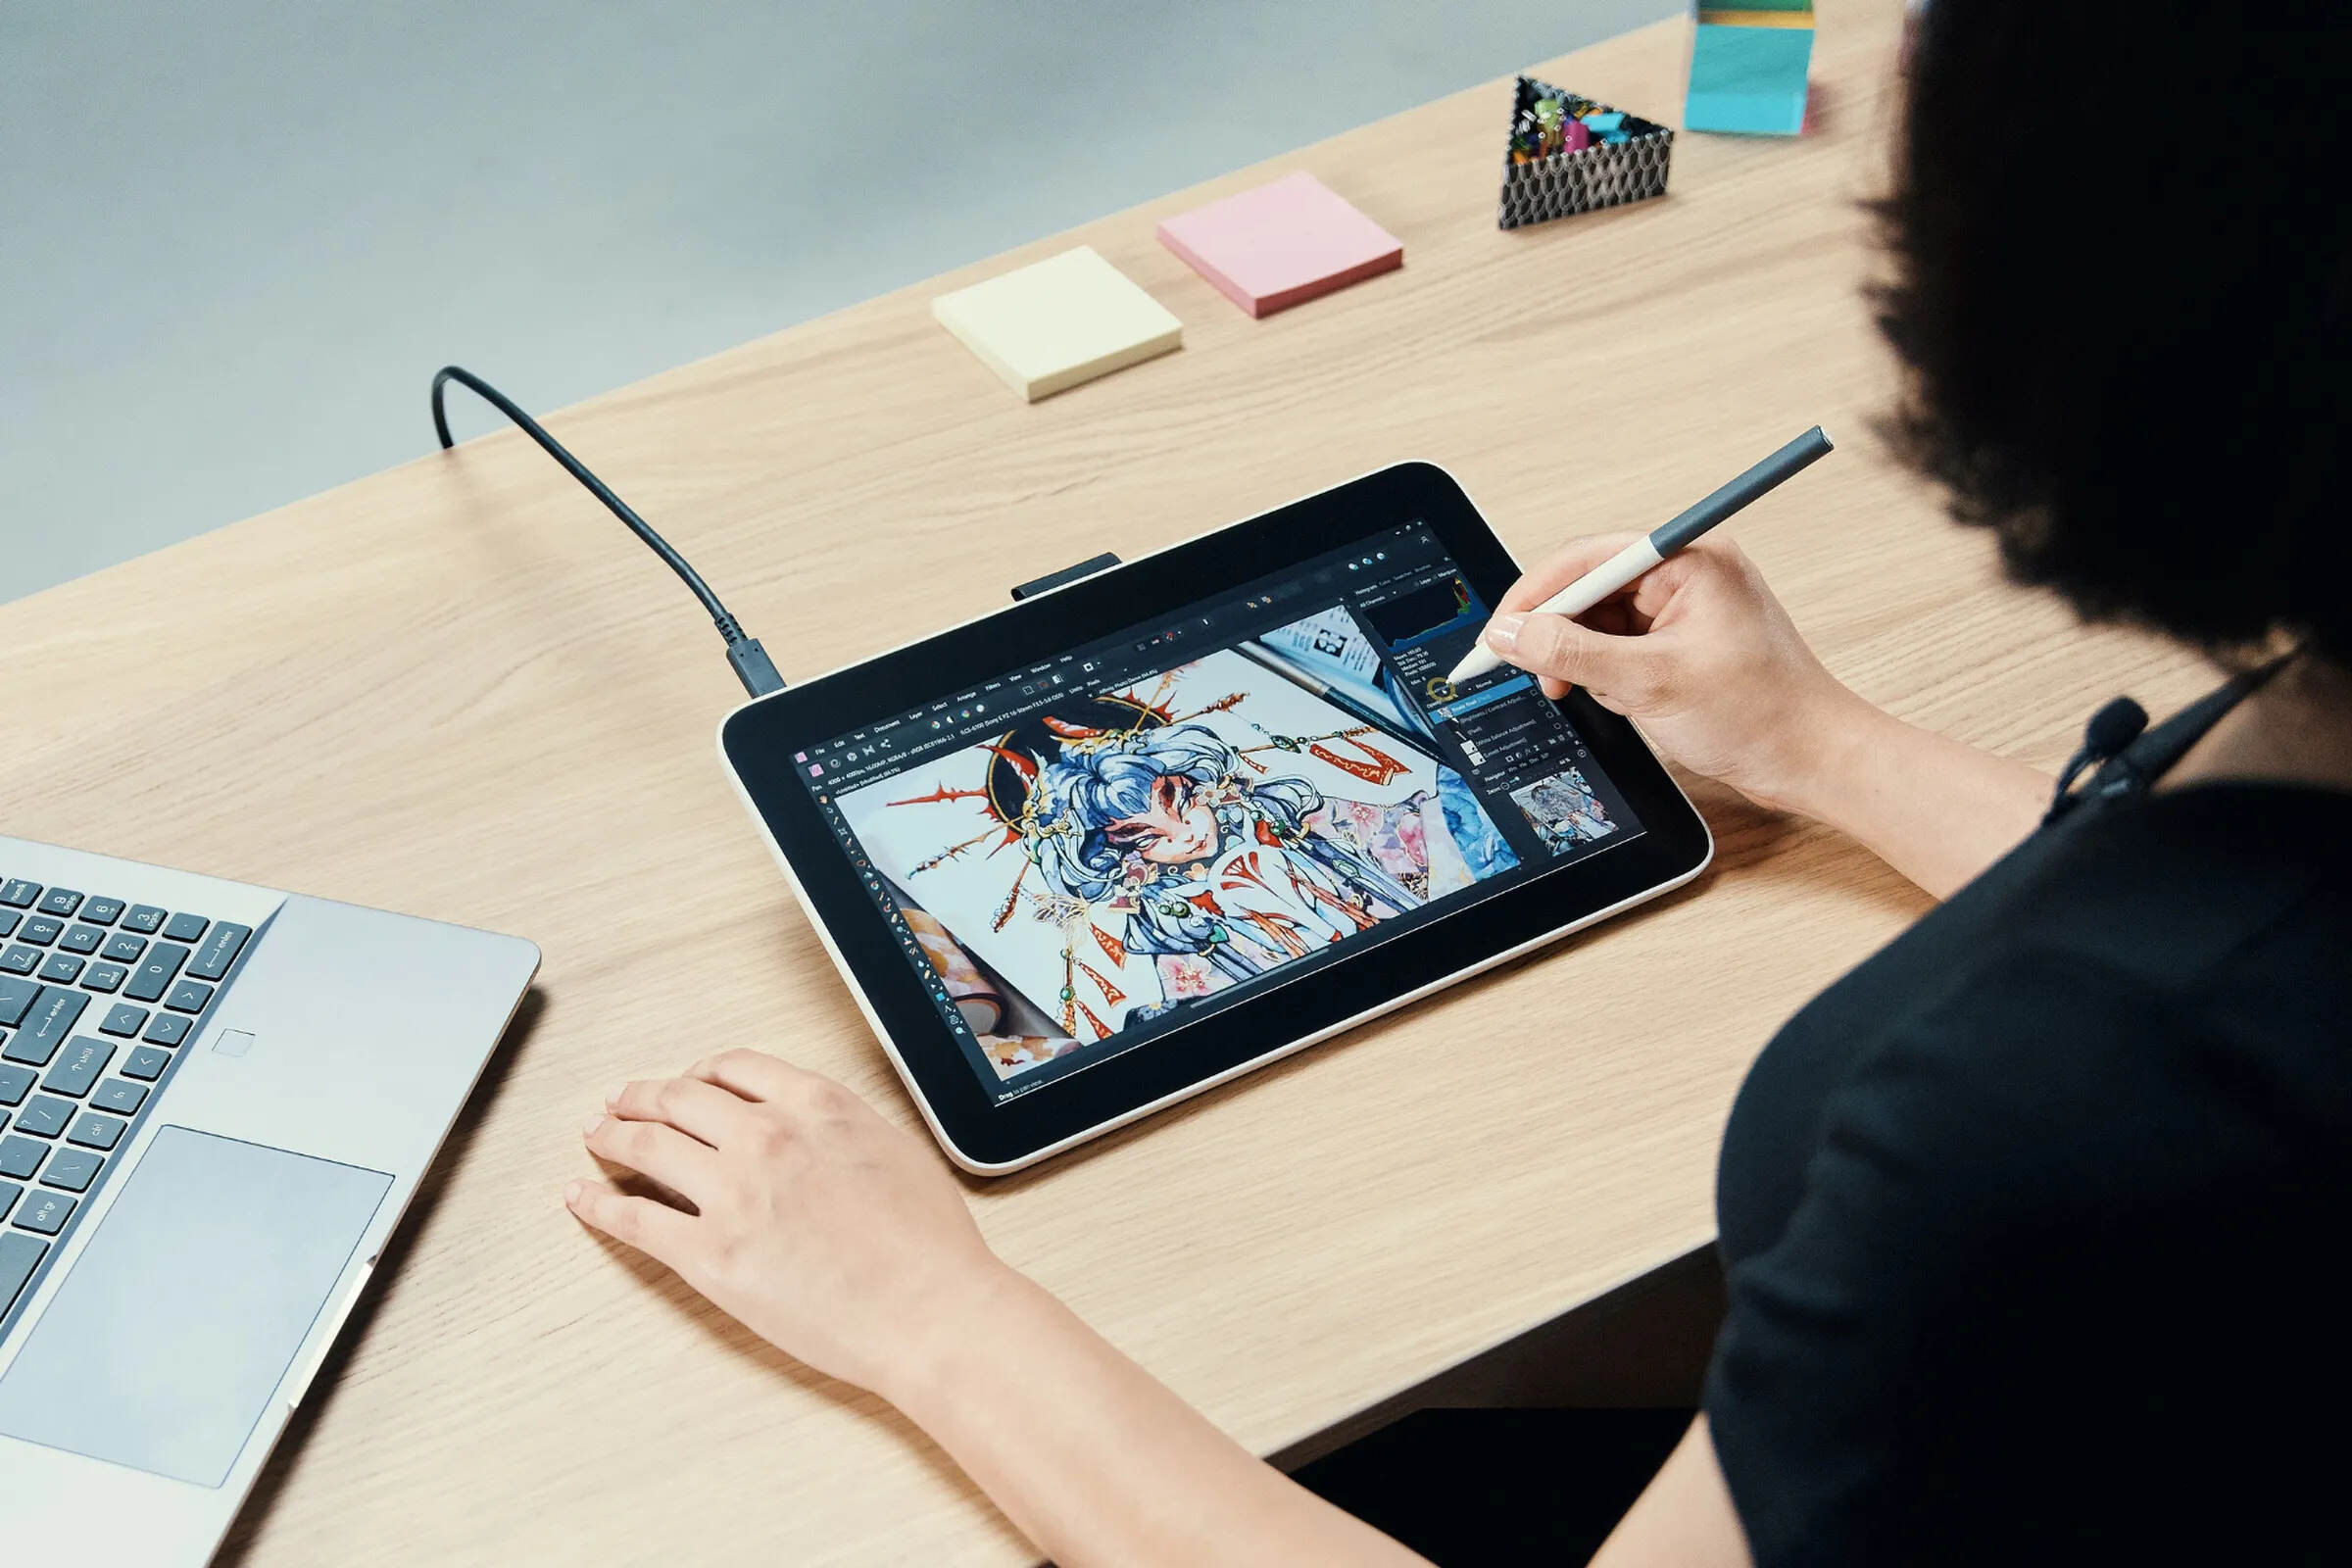
- Test and refine: As you make changes to the tablet settings, take some time to test them out. Create a new canvas or open your favorite digital art software and try drawing or navigating to see how the settings behave. Don’t be afraid to iterate and refine your settings until you find the perfect balance.
Remember, customizing your tablet settings is a personal journey. Experiment with different configurations, take note of what works best for your style and workflow, and make adjustments accordingly. The goal is to create a setup that enhances your digital art experience and helps you unleash your creativity.
Once you have customized your tablet settings to your satisfaction, it’s time to save and apply your changes. Let’s move on to the next step!
Step 4: Save and apply your changes
After customizing your tablet settings to your liking, it’s important to save and apply your changes so that they take effect. Here’s how you can save and apply your customized settings:
- Review your settings: Before saving, take a moment to review all the changes you have made. Make sure you are satisfied with the adjustments you’ve made to the pen settings, express keys, touch gestures, and any other customization options you’ve explored.
- Save your settings: Look for a “Save” or “Apply” button within the Wacom Tablet Properties interface. Click on this button to save your customized settings. The software will typically prompt you to confirm the changes before applying them.
- Test your settings: Once you have saved your settings, it’s always a good idea to test them to ensure that they are working as intended. Launch your preferred digital art software and use your Wacom tablet to test the pen pressure, express keys, touch gestures, and any other customized features you’ve set up.
- Make further adjustments if necessary: If you find that certain settings are not performing as expected or if you want to fine-tune your customization even more, you can always go back to the Wacom Tablet Properties and make further adjustments. The customization process is an ongoing journey, and you can modify your settings as your needs evolve.
By saving and applying your changes, you ensure that your customized tablet settings are stored and activated every time you use your Wacom tablet. This way, you can enjoy a personalized digital art experience tailored to your unique preferences and workflow.
Now that you have successfully saved and applied your changes, you can start using your Wacom tablet with the customized settings that you have created. Take some time to explore the new features and enhancements that your personalized settings offer. Remember to regularly revisit the Wacom Tablet Properties to adjust your settings as needed, ensuring that your tablet consistently meets your evolving artistic requirements.
Conclusion
Congratulations, you have successfully learned how to open the Wacom tablet settings and customize them to suit your needs. By following the steps outlined in this guide, you can unlock the full potential of your Wacom tablet and enhance your digital art experience.
Remember, the customization options available in the Wacom Tablet Properties allow you to fine-tune your tablet settings to your preferences and artistic style. Whether it’s adjusting the pen sensitivity, configuring express keys, or customizing touch gestures, these settings can make a significant difference in your workflow and productivity.
As you journey through your digital art endeavors, don’t be afraid to experiment and iterate with your tablet settings. Take the time to test different configurations and refine them according to your needs. Personalization is key, and finding the setup that works best for you will greatly enhance your creativity and efficiency.
Additionally, it’s important to keep your tablet drivers up to date. Regularly check the official Wacom website for driver updates specific to your tablet model and operating system. This ensures that you have access to the latest features and improvements, and that your tablet functions optimally.
Lastly, never hesitate to explore additional resources and tutorials to further enhance your understanding of your Wacom tablet’s capabilities. There is a vibrant and supportive digital art community out there, ready to share their knowledge and experiences with you.
Now that you have the knowledge to navigate the Wacom tablet settings, go ahead and unleash your creativity. Enjoy your personalized tablet experience and create stunning digital art like never before!