Introduction
In today’s digital age, photos are an integral part of our lives. Whether it’s capturing precious memories or sharing them on social media, we often find ourselves needing to resize images for various purposes. Google Photos, a widely used online photo storage and sharing service, offers a simple and convenient way to resize images without the need for complex software or technical expertise.
This article will guide you through the process of resizing an image using Google Photos. Whether you want to reduce the file size for quicker loading times or adjust the dimensions to fit a specific platform’s requirements, Google Photos provides all the tools you need to achieve the desired result effortlessly.
By following the step-by-step instructions outlined in this guide, you’ll be able to resize your images with ease and efficiency. We’ll cover everything from uploading the image to saving the resized version, ensuring you have a clear understanding of each step throughout the process.
Resizing an image can be helpful in various scenarios. If you’re planning to share a high-resolution photo on social media, you may want to reduce its dimensions to optimize it for faster uploading and better viewing experience. Alternatively, you might need to resize an image to fit specific dimensions required by a website or an online platform. Whatever your reason may be, Google Photos has got you covered.
So, let’s dive into the world of Google Photos and discover how to resize an image effortlessly, saving you time and effort in the process.
Accessing Google Photos
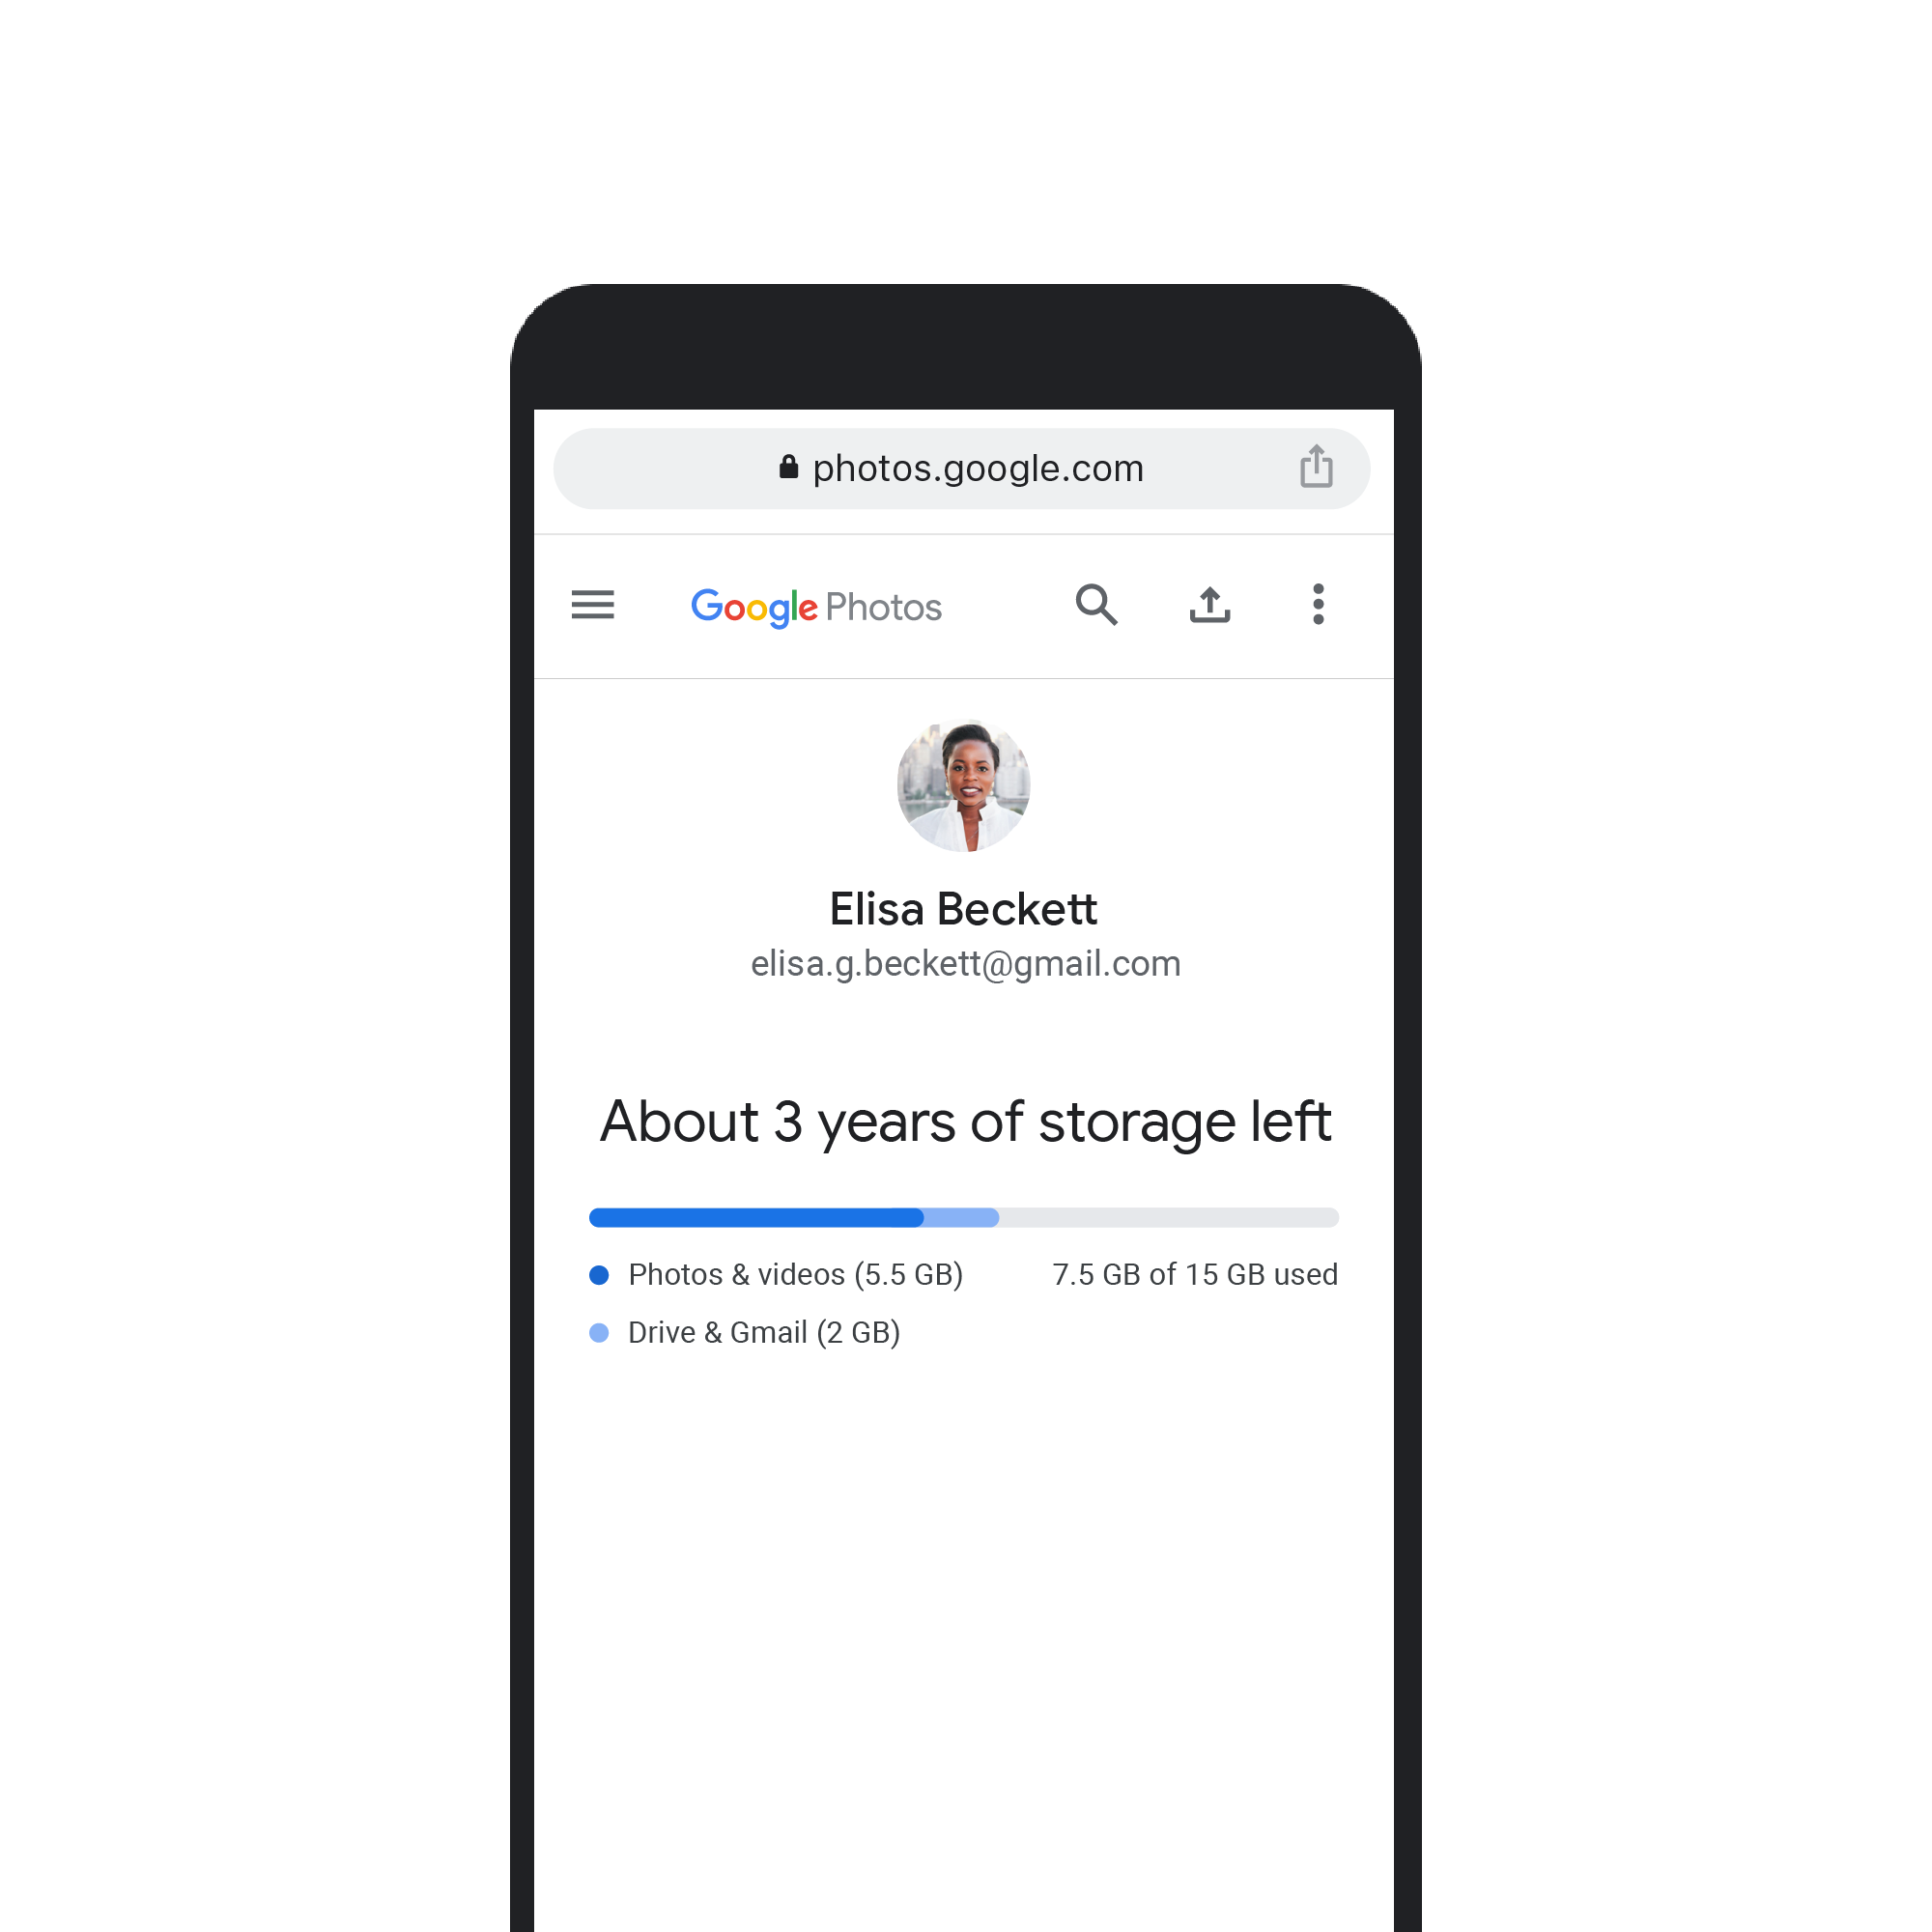
Before you can start resizing your images in Google Photos, you need to access the platform. Here’s how:
If you’re using a web browser on your computer:
- Open your preferred web browser.
- Type in “photos.google.com” in the address bar.
- Press Enter or Return on your keyboard.
- If prompted, sign in to your Google account.
- You will now be redirected to the Google Photos homepage.
If you’re using the Google Photos app on your smartphone or tablet:
- Open the Google Photos app. If you don’t have it installed, you can download it from the App Store (iOS) or Google Play Store (Android).
- If prompted, sign in to your Google account.
- You will now be taken to the Google Photos interface.
Once you have successfully accessed Google Photos, you’re ready to move on to the next step of resizing your image. Whether you prefer the convenience of using the web browser or the mobility of the app, Google Photos offers a seamless user experience across different platforms.
Now that you’re familiar with how to access Google Photos, let’s move on to the next section, where we’ll cover the process of uploading an image.
Uploading an Image
Once you have accessed Google Photos, the next step is to upload the image that you want to resize. Here’s how you can do it:
- If you’re using the web browser:
- Click on the “Upload” button, usually located at the top right corner of the Google Photos interface.
- Select the image file from your computer that you want to upload.
- Click “Open” to begin the upload process.
- Wait for the image to finish uploading. The time it takes will depend on the file size and your internet connection speed.
- Once the upload is complete, the image will appear in your Google Photos library.
- If you’re using the Google Photos app:
- Tap on the “Library” tab at the bottom of the screen.
- Tap on the “+” icon at the top of the screen.
- Select the image file from your phone or tablet.
- Tap “Done” to start the upload process.
- Wait for the image to finish uploading. Again, the duration will depend on the file size and your internet connection.
- Once the upload is complete, the image will be added to your Google Photos library.
It’s important to note that Google Photos provides free storage for high-quality images. However, if you choose to upload images in their original quality, it will consume your Google account’s storage quota. Therefore, it’s recommended to use the “High quality” option for most users, as it offers a balance between image quality and storage capacity.
Now that you have successfully uploaded your image to Google Photos, it’s time to move on to the next section, where we’ll explore how to view and select the image for resizing.
Viewing the Image
After uploading the image to Google Photos, you’ll need to view it in order to proceed with the resizing process. Here’s how you can view your image:
- If you’re using the web browser:
- Scroll through your Google Photos library to find the uploaded image.
- Click on the image to open it in a larger view.
- If you’re using the Google Photos app:
- Tap on the “Photos” tab at the bottom of the screen.
- Scroll through the photos until you locate the uploaded image.
- Tap on the image to open it in full-screen mode.
Once the image is opened, you can take a closer look at it to ensure that it’s the one you wish to resize. Google Photos provides a user-friendly interface that allows you to navigate through your photo library with ease.
While viewing the image, you can also perform other actions such as editing, organizing into albums, sharing, and downloading. However, for resizing the image, we will focus on the editing capabilities offered by Google Photos, which we’ll explore in the next section.
Now that you know how to view your uploaded image, let’s move on to the next step of selecting the image for resizing.
Selecting the Image
Once you have viewed your uploaded image in Google Photos, the next step is to select it for resizing. Here’s how you can select the image:
- If you’re using the web browser:
- Click on the image to open it in a larger view.
- In the top right corner of the screen, click on the three-dots icon (ellipsis).
- A dropdown menu will appear. Click on the “Edit” option.
- If you’re using the Google Photos app:
- Tap on the image to open it in full-screen mode.
- In the bottom menu bar, tap on the “Edit” icon. It looks like a pencil.
By following these steps, you will enter the editing mode for the selected image, where you can make changes such as cropping, rotating, and, of course, resizing.
Google Photos makes it simple to select the image you want to edit, allowing you to easily access the editing tools without any confusion. Now that you have selected the image, let’s move on to the next section, where we will explore the editing tools and specifically focus on resizing the image.
Opening the Editing Tools
After selecting the image in Google Photos, it’s time to open the editing tools to begin the process of resizing. Here’s how you can access the editing tools:
- If you’re using the web browser:
- In the editing mode, you’ll find a toolbar at the bottom of the screen.
- Click on the “Adjust” option from the toolbar.
- A sidebar will appear on the right side of the screen, displaying various editing options.
- If you’re using the Google Photos app:
- In the editing mode, you’ll find the tools at the bottom of the screen.
- Swipe left or right on the toolbar to access the editing options.
Once you have opened the editing tools, you will see a range of options that allow you to make adjustments to your image. These options may include cropping, rotating, applying filters, and more.
For resizing the image, we will specifically focus on the cropping tool, as it provides the functionality to adjust the dimensions of the image according to your requirements. Now that you have opened the editing tools, let’s move on to the next step, which involves resizing the image itself.
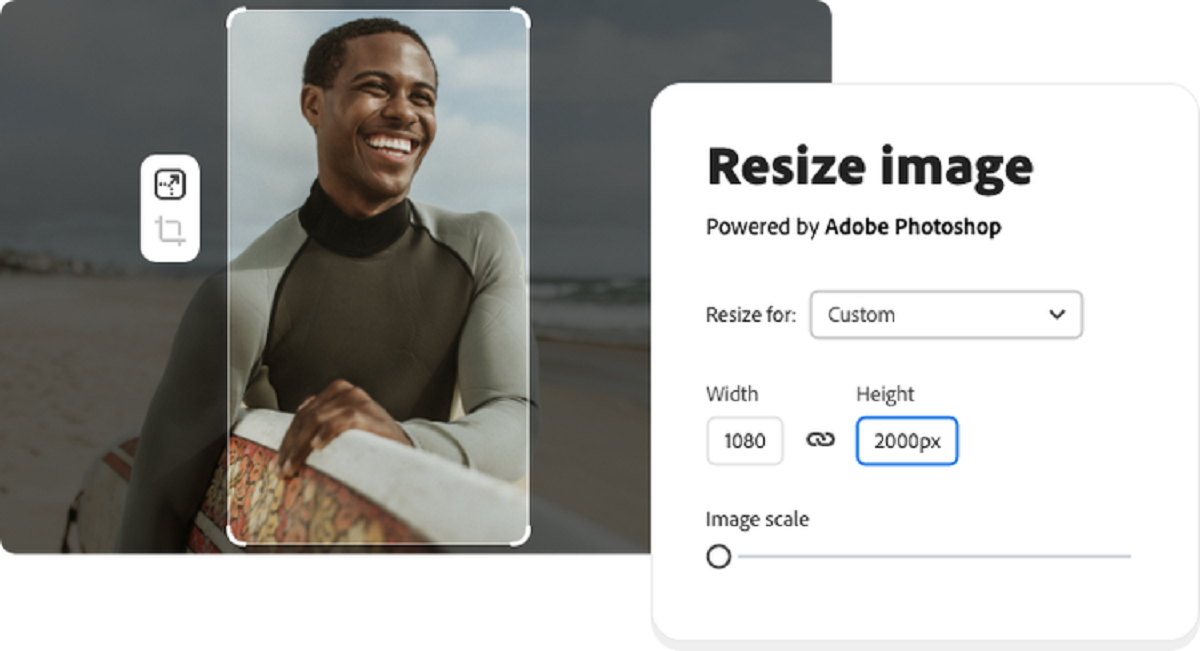
Resizing the Image
With the editing tools open in Google Photos, you’re now ready to begin the process of resizing your image. Follow these steps to resize the image:
- In the editing mode, locate and select the “Crop” option.
- A cropping overlay will appear on the image, allowing you to adjust the dimensions.
- Drag the corners or edges of the cropping overlay to resize it according to your desired dimensions.
- As you resize the cropping overlay, you will see a preview of the resized image within the overlay.
- Make sure the dimensions are suitable for your needs, keeping in mind the aspect ratio if necessary.
- Once you’re satisfied with the resized dimensions, click or tap on the “Apply” or “Done” button.
By following these steps, you’ll be able to resize your image to the desired dimensions within Google Photos. The cropping tool provides a simple and user-friendly interface that allows for precise resizing of the image.
It’s important to note that resizing an image may lead to a loss of image quality, especially if you significantly reduce the dimensions. Keep this in mind and consider making a backup of the original image if preserving its quality is a priority.
Now that you have successfully resized the image, let’s move on to the next section to learn how to save the resized version.
Saving the Resized Image
After resizing the image in Google Photos, you’ll need to save the resized version to retain the changes made. Here’s how you can save the resized image:
- If you’re using the web browser:
- After applying the resizing changes, click on the “Save” button located at the top right corner of the screen.
- Wait for Google Photos to process and save the resized image. This process may take a few moments.
- Once saved, Google Photos will automatically update your library to display the resized image.
- If you’re using the Google Photos app:
- After applying the resizing changes, tap on the “Done” button located at the top right corner of the screen.
- Wait for the app to save the resized image. The duration will depend on the device’s performance and the complexity of the resizing.
- Once saved, the resized image will be available in your Google Photos library.
It’s essential to remember that saving the resized image overwrite the original image within Google Photos. If preserving the original version is important to you, consider making a copy before applying any resizing changes.
Now that you have successfully saved the resized image, you can rest assured that the changes you made are applied and the new dimensions are now reflected in your Google Photos library.
In the final section, we will explore how you can compare the original and resized images to see the difference.
Comparing the Original and Resized Images
After resizing an image in Google Photos, it can be helpful to compare the original and resized versions to see the difference in dimensions and overall quality. Here’s how you can compare the two images:
- In your Google Photos library, locate the original image that you resized.
- Click or tap on the image to open it in a larger view.
- Take note of the dimensions and quality of the original image.
- Next, find and open the resized image that you saved in the previous section.
- Compare the dimensions and quality of the resized image with the original.
By comparing the original and resized images, you can determine if the resizing process has achieved your desired result. Pay close attention to any loss of image quality or changes in aspect ratio. If needed, you can repeat the resizing process to further fine-tune the dimensions or make any necessary adjustments.
Keep in mind that resizing an image can alter its appearance, and the extent of the resizing will depend on your specific requirements. It’s important to strike a balance between achieving the desired dimensions while maintaining the overall quality of the image.
Now that you’ve compared the original and resized images, you have a clear understanding of the changes made and can confidently move forward with sharing or downloading the resized image, which we will explore in the next section.
Sharing and Downloading the Resized Image
After resizing and saving your image in Google Photos, you have the option to share the resized version or download it to your device. Here’s how you can share or download the resized image:
- If you want to share the resized image:
- In your Google Photos library, locate and select the resized image.
- Click or tap on the share icon, which is typically represented by an arrow pointing out of a box.
- Choose your preferred sharing method, such as email, social media platforms, or messaging apps, to send the resized image to your intended recipient.
- Follow the prompts to complete the sharing process.
- If you want to download the resized image:
- In your Google Photos library, locate and select the resized image.
- Click or tap on the download icon, usually represented by a downward-facing arrow.
- Choose the location on your device where you want to save the resized image.
- Wait for the download to complete and the resized image will be saved to your chosen location.
Whether you choose to share or download the resized image, Google Photos offers a seamless experience that allows you to easily transfer the image to other platforms or store it directly on your device.
It’s important to note that when sharing or downloading the resized image, the changes you made during the resizing process will be applied to the shared or downloaded version. Make sure to double-check the resized image before sharing or downloading to ensure it meets your requirements.
Now that you have successfully shared or downloaded the resized image, you can use it according to your needs, whether it’s for sharing on social media, sending via email, or using it for web design or other projects.
Conclusion
Google Photos provides a convenient and user-friendly way to resize images without the need for complex software or technical expertise. By following the step-by-step instructions outlined in this guide, you can easily resize your images to fit specific dimensions, optimize for faster loading times, or meet the requirements of different platforms.
We started by accessing Google Photos through a web browser or the mobile app, then proceeded to upload the image that needed resizing. After viewing and selecting the image, we opened the editing tools to begin the resizing process. Using the cropping tool, we adjusted the dimensions to our desired size and saved the resized image.
Throughout the resizing process, it’s important to keep in mind that significant changes in dimensions may result in a loss of image quality. Therefore, it’s recommended to make backups of the original image if preserving its quality is a concern.
Once the image is resized, you have the option to compare it with the original to ensure the desired changes have been achieved. You can then easily share the resized image on various platforms or download it to your device for further use.
Google Photos simplifies the process of resizing images and offers a range of other features to enhance your photo viewing and sharing experience. Take advantage of this powerful tool to effortlessly resize your images and make them suitable for different purposes.
Remember, resizing an image is just one of the many functions that Google Photos provides. Explore the platform further to discover even more possibilities for organizing, editing, and sharing your photo collection.