Introduction
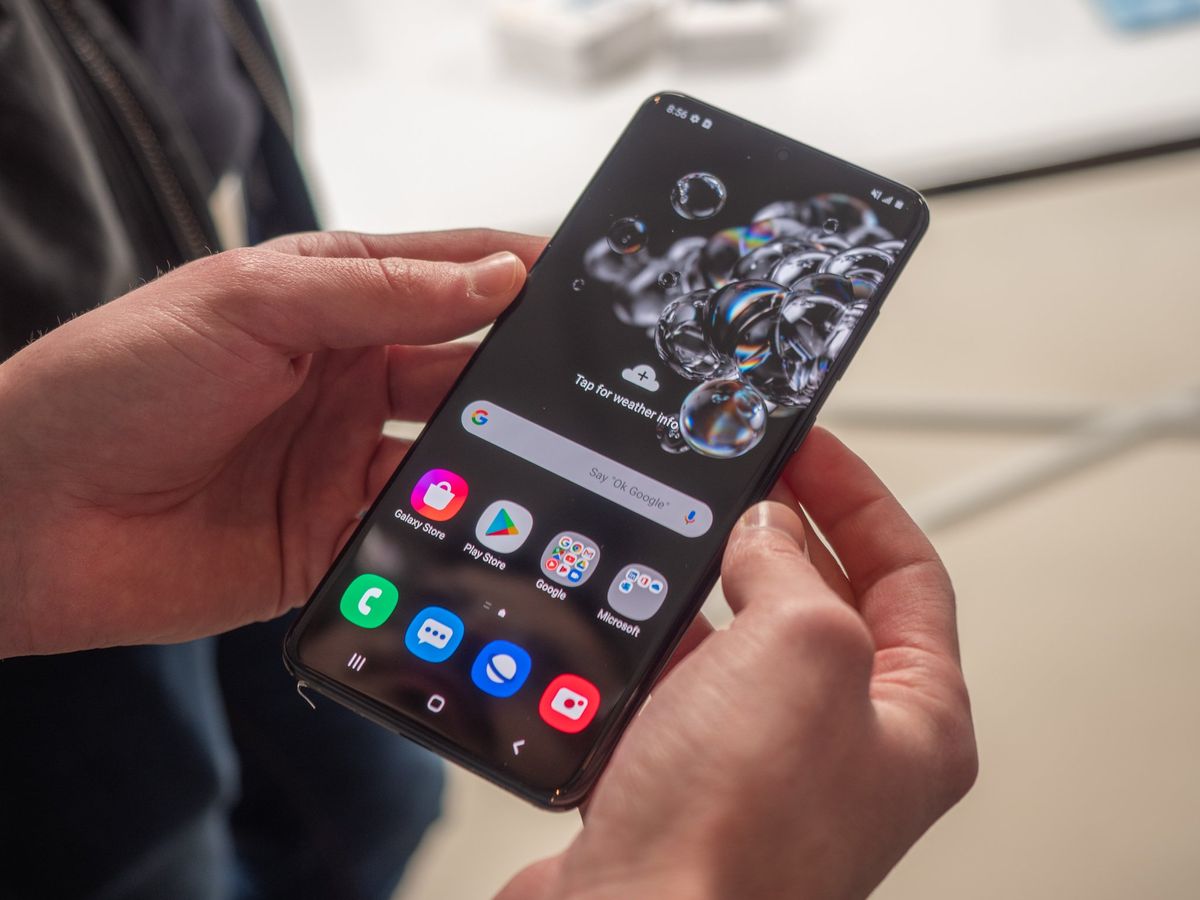
Welcome to our guide on how to empty trash on Samsung Galaxy devices. If you own a Samsung Galaxy smartphone or tablet, you may have noticed that files you delete are not permanently deleted right away. Instead, they are moved to a temporary storage area known as the trash or recycle bin. This feature helps prevent accidental deletions and gives you the opportunity to recover any files you may have deleted by mistake.
Emptying the trash on your Samsung Galaxy device is essential to free up valuable storage space and maintain optimal device performance. Whether you want to clear out unnecessary photos, videos, documents, or other types of files, we have got you covered.
In this comprehensive guide, we will walk you through various methods for emptying the trash on your Samsung Galaxy device. Whether you prefer using the Gallery app, the Samsung My Files app, Google Photos, or the Samsung Cloud app, we have step-by-step instructions to help you easily and effectively remove unwanted files from your device.
Additionally, we will provide you with essential tips on managing your trash to free up storage space efficiently. We understand that storage is a precious commodity on any device, so we will share helpful strategies to optimize your storage and keep your Samsung Galaxy running smoothly.
So, if you are ready to regain valuable space on your Samsung Galaxy device and keep it clutter-free, let’s dive into the different methods of emptying the trash on your Samsung Galaxy!
The Importance of Emptying Trash on Samsung Galaxy
Emptying the trash on your Samsung Galaxy device is more than just a routine housekeeping task. It plays a crucial role in maintaining sufficient storage space and ensuring optimal performance. Here are a few reasons why emptying the trash on your Samsung Galaxy is important:
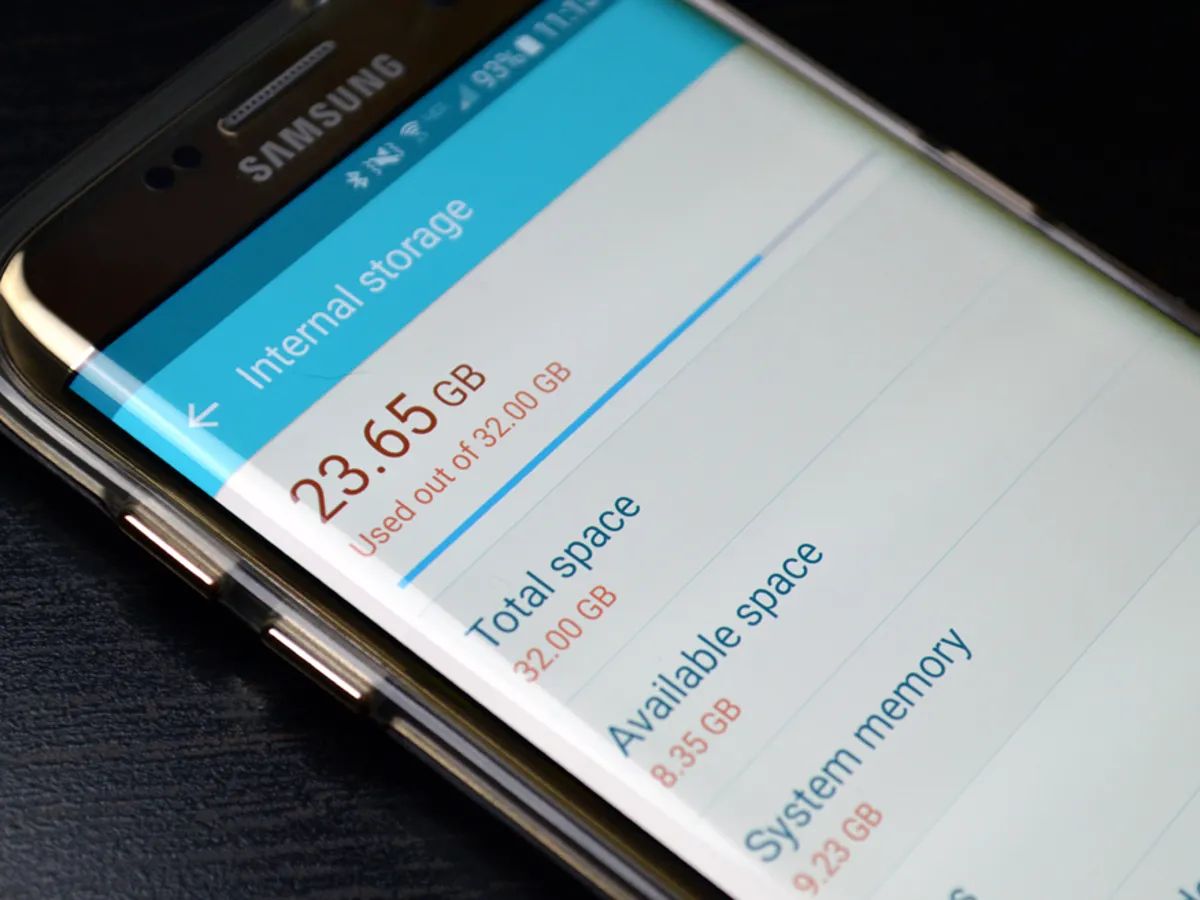
Freeing up storage space: As you use your Samsung Galaxy device, files such as photos, videos, and documents accumulate over time. Many of these files end up in the trash when you delete them, but they still take up storage space until you empty the trash. By regularly emptying the trash, you can reclaim valuable storage space for new files and apps, preventing your device from running out of space.
Improving device performance: An overloaded trash can impact your Samsung Galaxy’s performance. When your device’s storage space is near its capacity, it can slow down operations, affect app performance, and reduce overall responsiveness. By emptying the trash, you optimize your device’s performance and ensure smoother multitasking and app usage.
Protecting your privacy: The trash on your Samsung Galaxy device may contain sensitive or personal information, such as deleted photos, videos, or confidential documents. Emptying the trash promptly helps protect your privacy, ensuring that these files are not accessible to others who may gain unauthorized access to your device.
Preventing accidental file restoration: The trash serves as a safety net, allowing you to restore deleted files if you realize you need them. However, when you keep unnecessary files in the trash for too long, you run the risk of accidentally restoring them. By emptying the trash regularly, you reduce the likelihood of inadvertently restoring deleted files and cluttering your device.
Ensuring efficient file management: Regularly emptying the trash promotes good file management practices. It encourages you to review and organize your files, deciding which ones to keep, delete, or move to a different location. With a clean trash bin, you can better keep track of your files and maintain a well-organized device.
Enhancing system stability: By keeping your trash empty, you reduce the chances of encountering software glitches or crashes. An overloaded trash can strain your device’s resources, potentially leading to system instability or even freezing. Regularly emptying the trash helps maintain system stability and ensures a seamless user experience.
Now that you understand the importance of emptying the trash on your Samsung Galaxy, let’s explore the different methods you can use to accomplish this task.
Step-by-Step Guide on How to Empty Trash on Samsung Galaxy
Emptying the trash on your Samsung Galaxy device is a simple process. Follow these step-by-step instructions to effectively clear out the trash and free up storage space:
Method 1: Using the Gallery App
- Open the Gallery app on your Samsung Galaxy device.
- Tap the three-dot menu icon in the top-right corner of the screen.
- Select “Settings” from the menu.
- Scroll down and tap on “Recycle Bin.”
- In the Recycle Bin, you’ll find all the files that are eligible for deletion. Tap “Empty” or “Delete All” to permanently delete the files.
- Confirm the action by tapping “OK” when prompted.
Method 2: Using the Samsung My Files App
- Launch the Samsung My Files app on your device.
- Tap the three-dot menu icon in the top-right corner.
- Select “Trash” from the menu.
- In the Trash section, you’ll see all the deleted files. Tap “Empty” or “Delete All” to remove them permanently.
- Confirm the action by tapping “OK” when prompted.
Method 3: Using the Google Photos App
- Open the Google Photos app on your Samsung Galaxy device.
- Tap the three-line menu icon in the top-left corner of the screen.
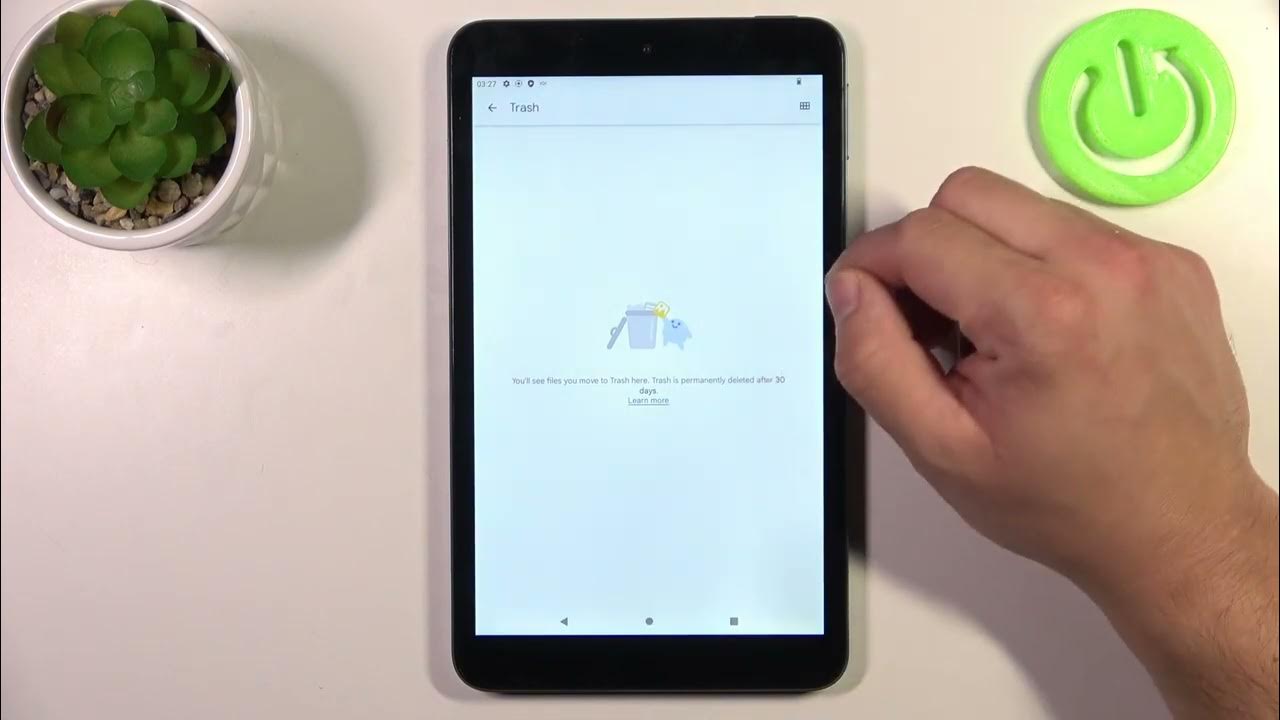
- Select “Trash” from the menu.
- In the Trash section, you’ll find all the deleted photos and videos. Tap “Empty Trash” or “Delete All” to delete them permanently.
- Confirm the action by tapping “OK” when prompted.
Method 4: Using the Samsung Cloud App
- Open the Samsung Cloud app on your device.
- Tap on the “Trash” tab at the bottom of the screen.
- In the Trash section, you’ll see all the files that can be deleted. Tap “Empty” or “Delete All” to permanently remove them.
- Confirm the action by tapping “OK” when prompted.
Remember to review the files in the trash carefully before deleting them permanently, as it is not possible to recover them once they are removed. Once you have followed these steps, your trash will be empty, and your Samsung Galaxy device will have more available storage space.
Now that you know the various methods to empty the trash on your Samsung Galaxy, let’s explore some useful tips on managing your trash and freeing up even more storage space.
Method 1: Using the Gallery App
The Gallery app on your Samsung Galaxy device provides a convenient way to manage and delete files, including photos and videos, from the trash. Follow these steps to empty the trash using the Gallery app:
- Open the Gallery app on your Samsung Galaxy device. You can usually find it in the app drawer or on your home screen.
- Tap the three-dot menu icon in the top-right corner of the screen. This will open a drop-down menu with various options.
- Select “Settings” from the menu. This will take you to the app’s settings page.
- Scroll down and tap on “Recycle Bin.” This option allows you to access the items in the trash.
- In the Recycle Bin, you’ll find all the files that are eligible for deletion. You can browse through the items and select specific files to delete or tap “Select All” to choose all of them.
- Once you have selected the files you want to remove, tap “Empty” or “Delete All” to permanently delete them from the trash. The exact wording may vary depending on your device’s version.
- A prompt will appear asking you to confirm the action. Tap “OK” to proceed with the deletion.
By following these steps, you can easily empty the trash using the Gallery app on your Samsung Galaxy device. It is worth noting that the deleted files will be permanently removed and cannot be recovered, so make sure to review the items in the trash before proceeding with the deletion.
Keep in mind that if you have backed up your files to an external storage device or cloud service, such as Google Photos or Samsung Cloud, they may still be retrievable from there even after emptying the trash in the Gallery app. So, ensure you have the necessary backups in place before removing any files permanently.
Now that you know how to empty the trash using the Gallery app, you can easily manage and delete unwanted files from your Samsung Galaxy device. If you prefer using a different method, such as the Samsung My Files app, Google Photos, or the Samsung Cloud app, continue reading to explore those options.
Method 2: Using the Samsung My Files App
The Samsung My Files app is a versatile file management tool that allows you to navigate through your device’s storage and delete unwanted files, including those in the trash. Follow these steps to empty the trash using the Samsung My Files app:
- Launch the Samsung My Files app on your Samsung Galaxy device. You can usually find it in the app drawer or on your home screen.
- Tap the three-dot menu icon in the top-right corner of the screen. A menu will appear with various options.
- Select “Trash” from the menu. This will redirect you to the trash section of the app.
- In the Trash section, you’ll see a list of all the deleted files that are still in the trash. You can scroll through the list to review the items before permanently deleting them.
- To delete specific files, tap and hold on one of the items you want to remove. This will activate the selection mode, allowing you to select multiple files at once.
- After selecting the files you wish to delete, tap the trash can icon or the “Delete” button. The exact label may vary depending on your device’s version.
- A prompt will appear asking if you want to permanently delete the selected files. Tap “OK” to confirm the deletion.
Following these steps will allow you to effectively empty the trash using the Samsung My Files app. It is important to note that the files you delete from the trash will be permanently removed and cannot be recovered. Therefore, ensure you double-check the files before proceeding with the deletion.
The Samsung My Files app offers a comprehensive file management experience, allowing you to organize, delete, and move files with ease. It also provides additional features, such as file encryption and storage analysis, to help you optimize your device’s storage space. Explore the app further to take full advantage of its capabilities.
If you prefer using a different method to empty the trash on your Samsung Galaxy device, such as the Gallery app, Google Photos, or the Samsung Cloud app, continue reading to learn the steps for those methods.
Method 3: Using the Google Photos App
The Google Photos app offers a convenient way to manage and delete photos and videos, including those in the trash, on your Samsung Galaxy device. Here’s how you can empty the trash using the Google Photos app:
- Open the Google Photos app on your Samsung Galaxy device. You can find it in the app drawer or on your home screen.
- Tap the three-line menu icon in the top-left corner of the screen. This will open the app’s side menu.
- Select “Trash” from the menu. You will be redirected to the trash folder, where all your deleted photos and videos are temporarily stored.
- In the Trash section, you’ll see a list of deleted items. Scroll through the list to review the files before deleting them permanently.
- To delete specific files, tap and hold on one of the items you want to remove. This will activate the selection mode, allowing you to select multiple files at once.
- After selecting the files you wish to delete, tap the trash can icon or the “Empty Trash” button. The exact wording may vary depending on your device’s version.
- A prompt will appear asking if you want to permanently delete the selected files. Tap “OK” to confirm the deletion.
By following these steps, you can easily empty the trash using the Google Photos app on your Samsung Galaxy device. It is important to note that once you delete the files from the trash, they will be permanently removed and cannot be recovered. Therefore, ensure you carefully review the items before proceeding with the deletion.
Additionally, if you have backed up your photos and videos to the Google Photos cloud storage, it’s worth noting that deleting them from the trash will not affect your backups. The deleted files will still be available in your cloud storage until you remove them from there as well.
The Google Photos app provides a variety of features to help you manage your media files efficiently. Explore the app further to take advantage of its photo organization, editing, and sharing capabilities.
If you prefer using a different method to empty the trash on your Samsung Galaxy device, such as the Gallery app, the Samsung My Files app, or the Samsung Cloud app, continue reading to learn the steps for each method.
Method 4: Using the Samsung Cloud App
The Samsung Cloud app offers a convenient way to access and manage your backed-up files, including those in the trash, on your Samsung Galaxy device. Here’s how you can empty the trash using the Samsung Cloud app:
- Open the Samsung Cloud app on your Samsung Galaxy device. You can find it in the app drawer or on your home screen.
- Tap on the “Trash” tab at the bottom of the screen. This will take you to the trash section of the app.
- In the Trash section, you’ll see a list of files that are available for deletion. They may include photos, videos, documents, and other file types.
- To delete specific files, tap and hold on one of the items you want to remove. This will activate the selection mode, allowing you to select multiple files at once.
- After selecting the files you wish to delete, tap the trash can icon or the “Empty” button. The exact wording may vary depending on your device’s version.
- A prompt will appear asking if you want to permanently delete the selected files. Tap “OK” to confirm the deletion.
By following these steps, you can easily empty the trash using the Samsung Cloud app on your Samsung Galaxy device. It is important to note that deleting files from the trash will permanently remove them and they cannot be recovered. Therefore, ensure that you review the items carefully before proceeding with the deletion.
The Samsung Cloud app provides seamless integration with your device’s backup and storage services. It allows you to easily manage and organize your files, ensuring that your data is secure and easily accessible whenever needed.
If you have enabled automatic backup for your Samsung Galaxy device, the Samsung Cloud app provides an additional layer of protection and ensures that your files are safely stored in the cloud. Deleting files from the trash will not affect your previous backups unless you explicitly remove them from your cloud storage as well.
Explore the Samsung Cloud app further to take advantage of its various features, such as syncing settings, restoring backups, and managing your cloud storage space.
If you prefer using a different method to empty the trash on your Samsung Galaxy device, such as the Gallery app, Google Photos, or the Samsung My Files app, you can refer to the earlier sections to learn the steps for each method.
Tips on Managing Trash to Free Up Storage Space
Managing the trash on your Samsung Galaxy device is not just about emptying it; it’s also about efficiently utilizing your device’s storage space. Here are some helpful tips to effectively manage the trash and free up storage on your Samsung Galaxy:
- Regularly empty the trash: Make it a habit to empty the trash on your device regularly. This ensures that deleted files do not linger in the trash, taking up valuable storage space. Set a schedule or reminder to perform this task periodically.
- Review files before deleting: Before permanently deleting files from the trash, take a moment to review them. Some items may still hold value, especially if you accidentally deleted something important. Double-checking can prevent the loss of valuable files.
- Backup important files: To prevent permanent loss of files in the trash, consider backing up important photos, videos, documents, and other files to an external storage device or cloud storage service. This way, even if you delete them from the trash, you’ll have a backup copy elsewhere.
- Use cloud storage services: Utilize cloud storage services like Google Drive, Dropbox, or Samsung Cloud to store your files. By keeping files in the cloud, you can access them anytime, anywhere, without using up precious storage space on your device.
- Review and delete unnecessary files: Take the opportunity to review and delete unnecessary files from your device regularly. This includes old photos, videos, documents, or unused apps that are taking up space. Keeping only what you need helps maximize your device’s storage capacity.
- Utilize storage optimization tools: Many Samsung Galaxy devices offer built-in storage optimization tools. These tools analyze your storage usage, identify large or duplicate files, and suggest actions to free up space. Take advantage of these features to keep your device running efficiently.
- Clear app caches: Some apps accumulate temporary data known as caches, which can take up significant space over time. Use the Storage section in your device settings or individual app settings to clear app caches, freeing up storage space.
- Manage offline files: If you use apps that allow offline file access, such as music streaming services, review and delete downloaded files you no longer need. This can quickly free up a substantial amount of storage space on your device.
- Consider external storage options: If your Samsung Galaxy device supports expandable storage via microSD cards, consider investing in a high-capacity card. This allows you to offload files, such as photos and videos, to the external storage, freeing up internal storage space.
- Regularly update your device: Device updates often include performance enhancements, bug fixes, and storage optimizations. Keeping your Samsung Galaxy device updated ensures that you have the latest improvements and can maximize your device’s storage and performance capabilities.
By following these tips, you can effectively manage the trash on your Samsung Galaxy device and free up valuable storage space. Remember that efficient storage management not only improves device performance but also allows you to keep your favorite files and apps easily accessible.
Now that you have a better understanding of managing the trash and optimizing storage on your Samsung Galaxy, you can utilize these tips to make the most out of your device’s storage capacity.
Conclusion
Managing the trash on your Samsung Galaxy device is a crucial part of maintaining optimal performance and freeing up valuable storage space. With the methods and tips provided in this guide, you can effectively empty the trash and keep your device clutter-free.
Whether you choose to use the Gallery app, the Samsung My Files app, Google Photos, or the Samsung Cloud app, each method offers a straightforward way to permanently delete unwanted files from the trash. Remember to review the files before deleting them to avoid accidentally removing important ones.
In addition to emptying the trash, implementing tips such as regularly reviewing and deleting unnecessary files, backing up important data, utilizing cloud storage services, and optimizing storage can help you make the most out of your device’s storage capacity.
By efficiently managing the trash and storage on your Samsung Galaxy device, you can enjoy smoother performance, increased available storage space, and a well-organized experience.
So, take the time to empty the trash, review your files, and implement the tips shared in this guide. You’ll be amazed at how much storage space you can free up and how much smoother your Samsung Galaxy device will operate.
Now go ahead and put these methods and tips into practice to keep your Samsung Galaxy device running at its best!