Introduction
Welcome to the world of Google Photos, a cloud-based platform that allows you to store and organize your digital memories. With Google Photos, you can easily access your photos and videos from any device with an internet connection. But what if you want to download your photos from Google Photos and save them on your computer or mobile device? In this guide, we will walk you through the simple steps to download photos from Google Photos.
Whether you want to create a backup of your precious memories or need to access your photos offline, downloading them from Google Photos is a straightforward process. With just a few clicks, you can have your favorite photos saved to your device, ready to be shared, printed, or used in any way you desire.
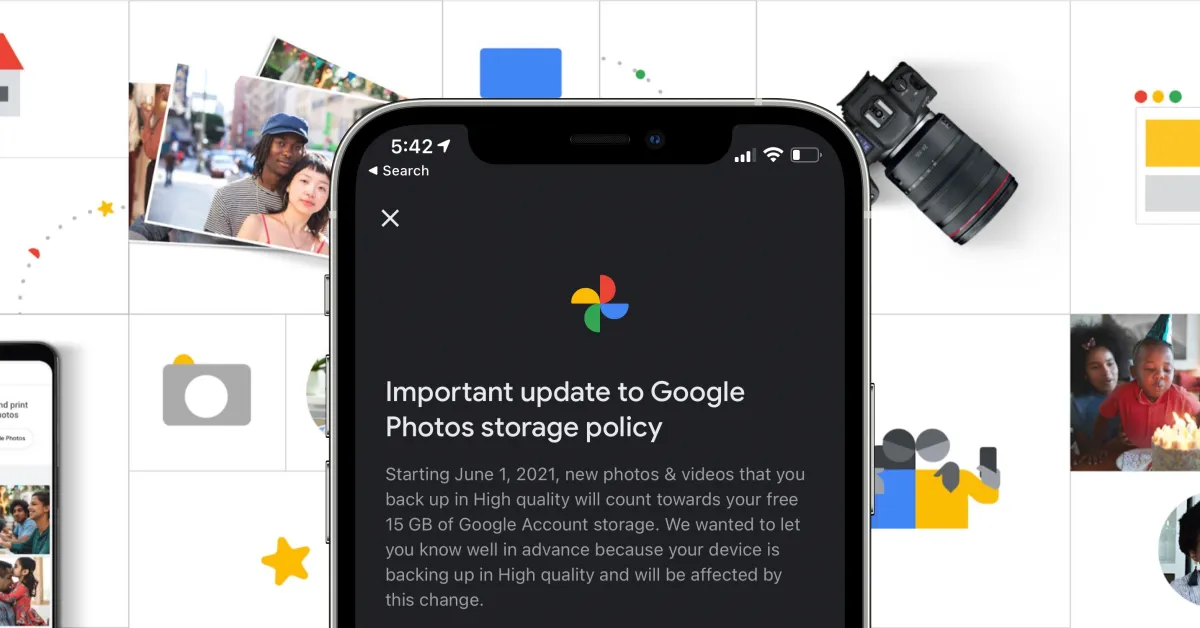
Before we get started, it’s important to note that Google Photos offers two types of storage options: High Quality and Original Quality. High Quality allows you to store unlimited photos and videos for free, with some minor compression applied to reduce file size. On the other hand, Original Quality preserves the original resolution of your photos and videos, but it counts towards your Google account storage limit. Keep this in mind when choosing the format and quality of your downloaded photos.
So, whether you’re looking to download a single photo or an entire album, let’s dive into the step-by-step process of downloading photos from Google Photos. Get ready to bring your memories to life beyond the cloud!
Step 1: Sign in to Google Photos
Before you can start downloading photos from Google Photos, you need to sign in to your Google Photos account. To do this:
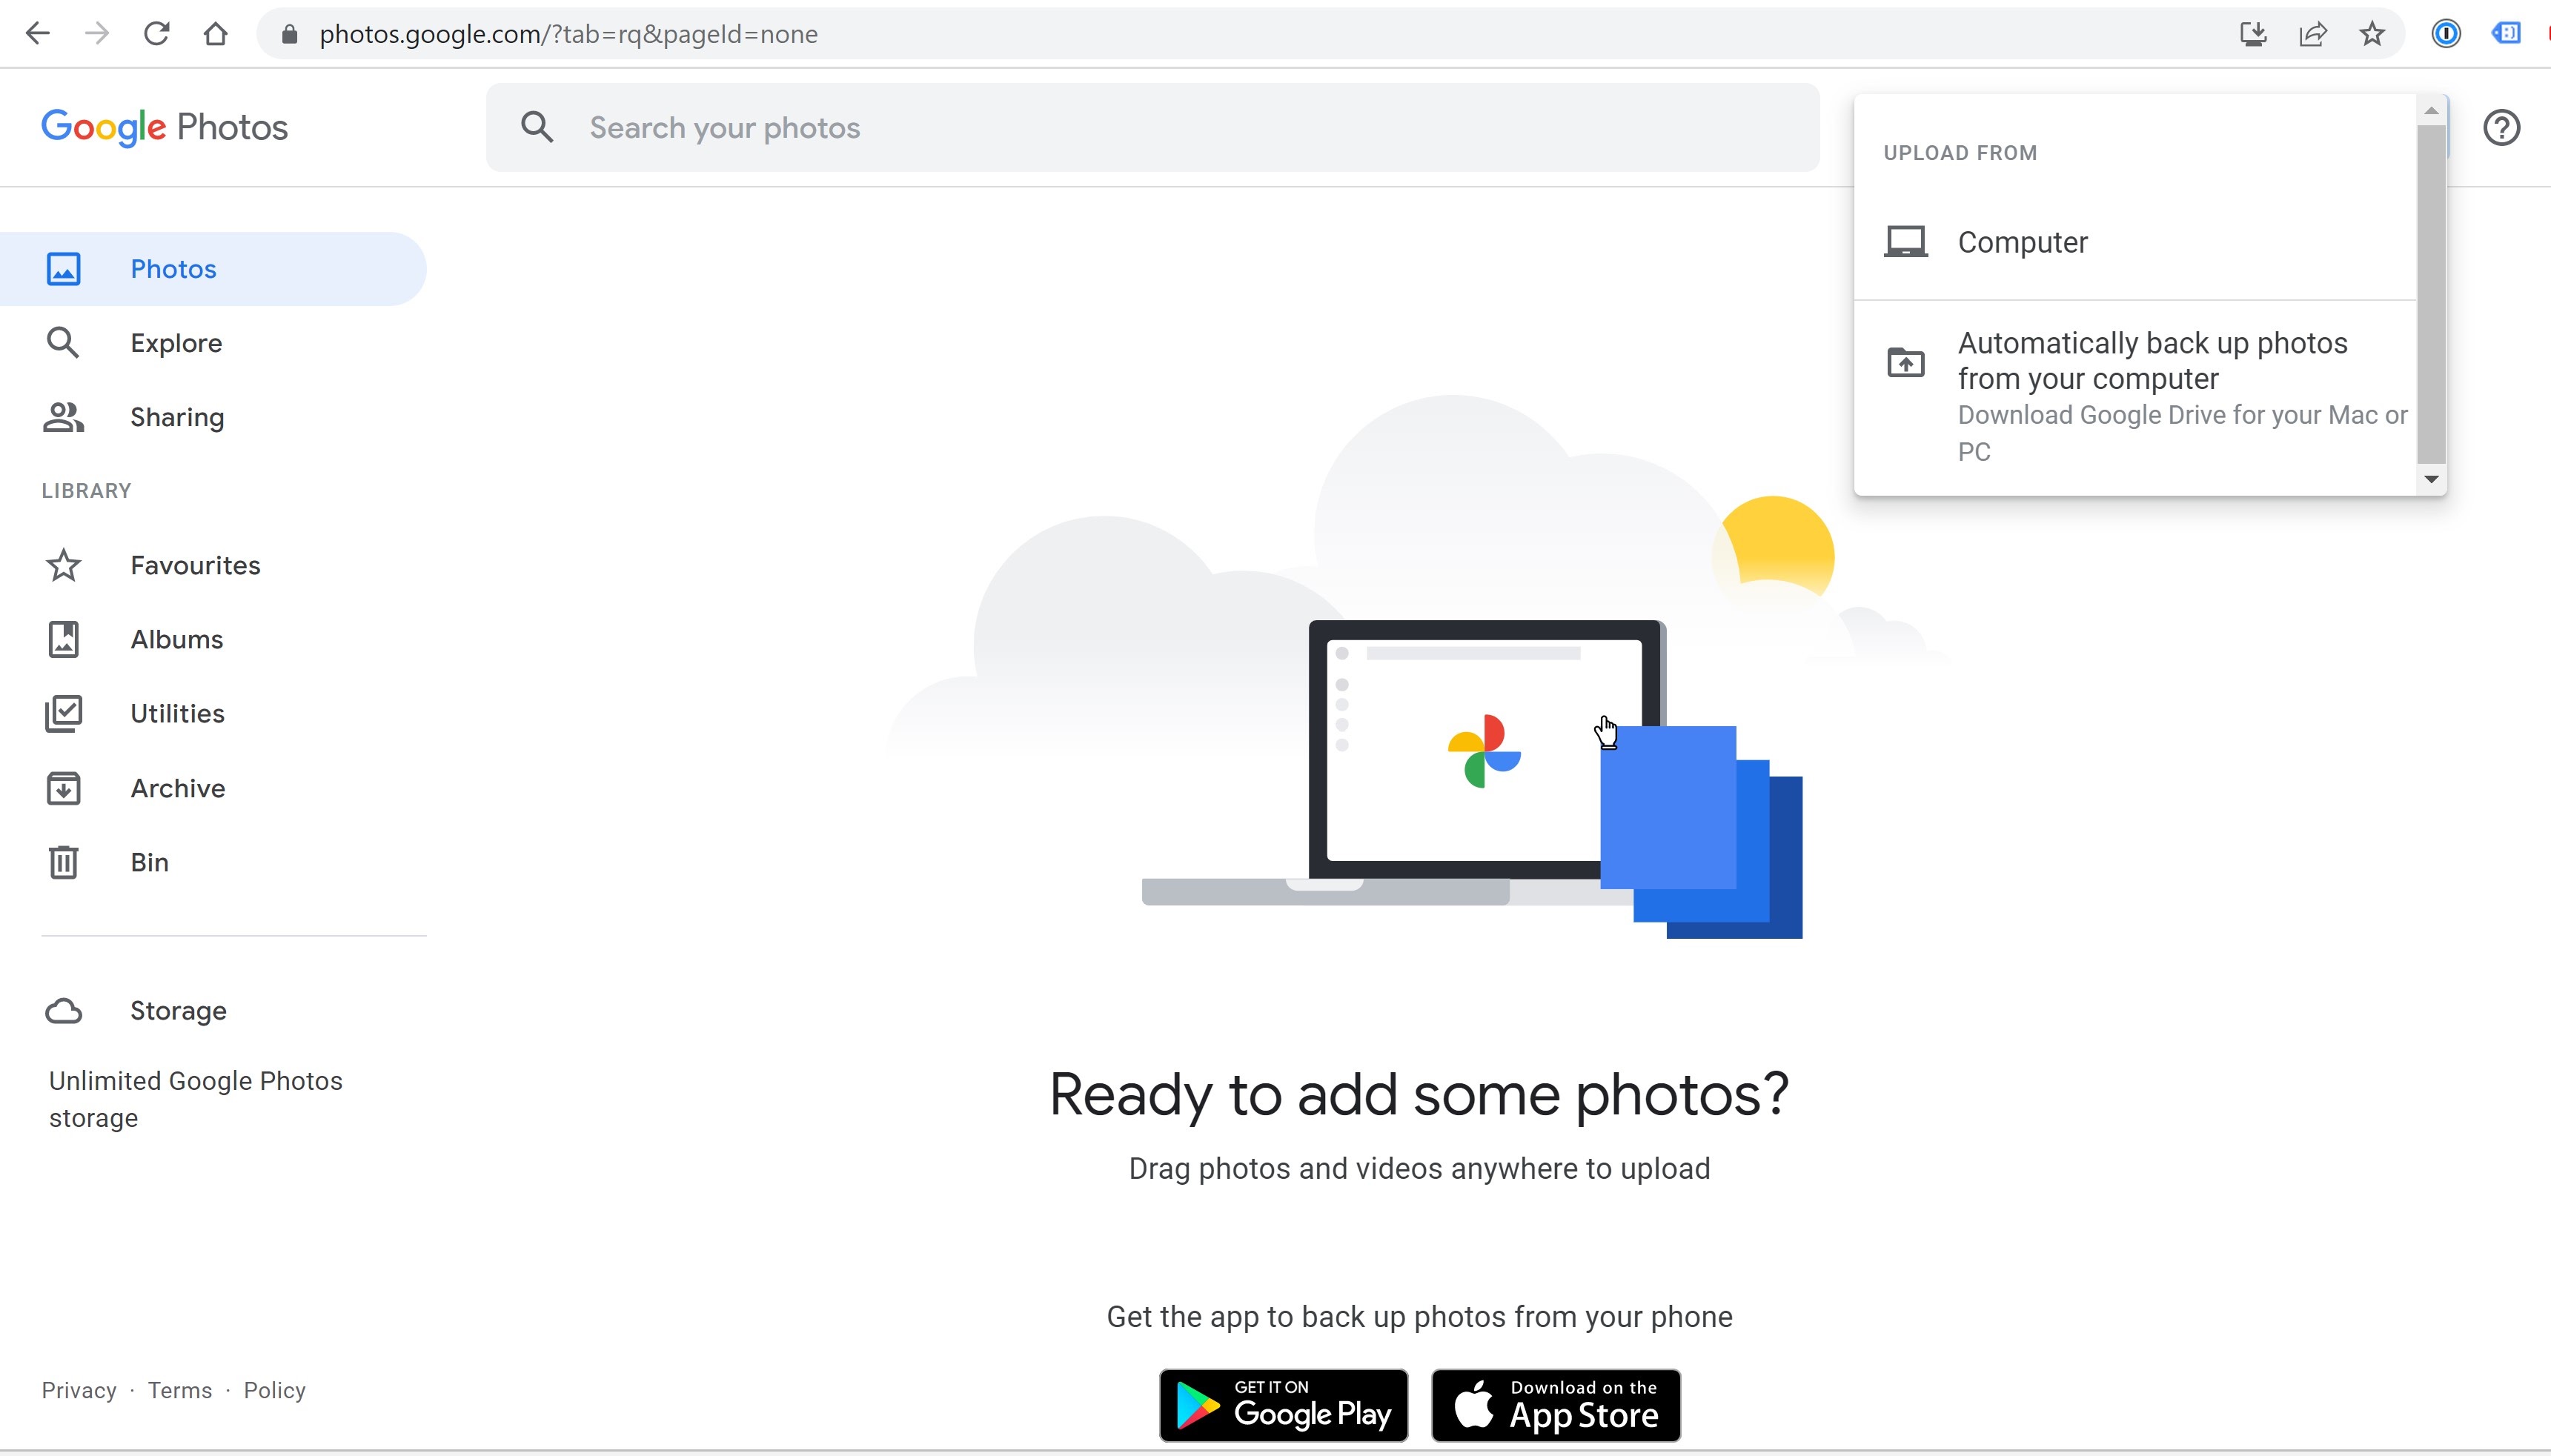
- Open your preferred web browser and go to the Google Photos website.
- If you’re not already signed in to your Google account, click on the “Sign in” button in the top right corner of the page.
- Enter your Google account email address and password, then click “Next”.
- If you have enabled two-factor authentication for your Google account, you may be prompted to enter a verification code.
- Once you have successfully signed in, you will be redirected to the Google Photos main page.
Signing in to your Google Photos account ensures that you have access to all your stored photos and albums. It also enables you to download your photos and perform various other actions within the Google Photos platform. If you don’t have a Google account, you can create one by clicking on the “Create account” option during the sign-in process.
Now that you’re signed in, it’s time to move on to the next step and find the photo you want to download from Google Photos. Let’s uncover the magic of your digital memories!
Step 2: Find the photo you want to download
Once you’re signed in to your Google Photos account, it’s time to locate the specific photo that you want to download. Google Photos offers multiple ways to find your photos, whether you’re looking for a single image or an entire album. Follow these steps to find the photo you wish to download:
- In the Google Photos main page, you will see your library of photos displayed in a grid format.
- Scroll through the page or use the search bar at the top to locate the specific photo you want. If you remember any details about the photo, such as a person, place, or event, you can enter that information in the search bar to narrow down the results.
- If you’re looking for photos within a specific date range, click on the “Filter” button at the top right corner and select the desired date range.
- Google Photos also offers automatic organization features such as “People & Pets” and “Places.” You can click on these categories to view photos grouped based on the people or locations in them.
- If you have organized your photos into albums, you can click on the “Albums” tab on the left-hand side to browse through your albums and select the desired one.
- Once you have located the photo you want to download, click on it to open it in full view.
By following these steps, you can easily find the specific photo you’re looking for within your Google Photos library. Whether it’s a recent snapshot, a cherished memory from years ago, or a photo from a special event, Google Photos offers efficient search and organization tools to help you locate your desired images.
Once you have found the photo you wish to download, it’s time to move on to the next step: selecting the photo for download. Stay tuned!
Step 3: Select the photo
After finding the photo you want to download in Google Photos, it’s time to select it so that you can proceed with the download. Follow these simple steps to select the desired photo:
- In the full view of the photo, you will see various options and buttons at the top and bottom of the screen.
- To select the photo, look for the “Select” button, usually represented by a checkbox icon. It is typically located in the top-right corner of the screen or below the photo.
- Click on the “Select” button to mark the photo for download. You should see a checkmark or indication that the photo is selected.
- If you need to select multiple photos, you can repeat the process for each photo you want to download.
- Additionally, if you want to download an entire album, you can click on the album and then click on the “Select” button that appears at the top right of the album view. This will select all the photos within the album for download.
By following these steps, you can easily select the specific photo or photos you want to download from Google Photos. Whether you’re downloading a single photo or multiple ones, Google Photos offers a user-friendly interface that allows you to select and manage your desired media effortlessly.
Once you have selected the photo(s) for download, it’s time to move on to the next step: downloading the photo(s) to your device. Get ready to bring your digital memories to life beyond the confines of Google Photos!
Step 4: Download the photo
Now that you have selected the photo you want to download from Google Photos, it’s time to proceed with the actual download process. Follow these straightforward steps to download your selected photo:
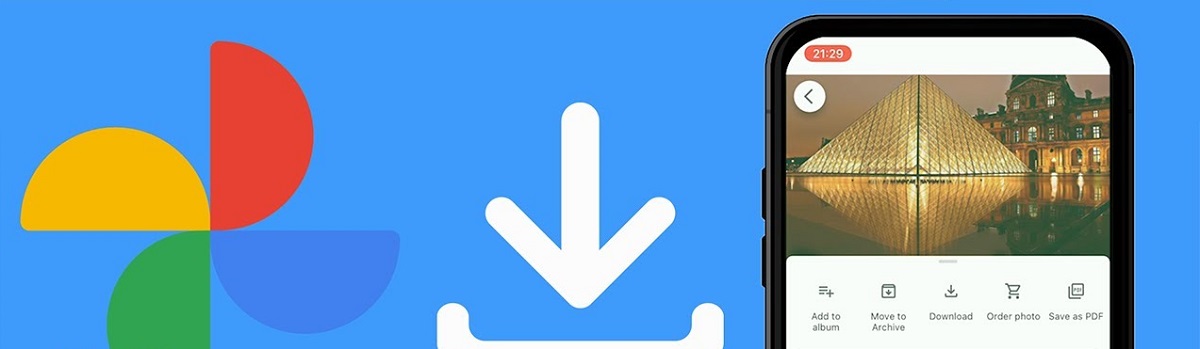
- With the photo selected, look for the download button. It is usually represented by an icon that resembles a downward-pointing arrow or the word “Download.”
- Click on the download button to initiate the download process. Depending on your web browser settings, you may be prompted to choose a download location on your device or the download may begin automatically.
- Wait for the download to complete. The time it takes to download the photo(s) will depend on various factors such as the file size, your internet connection speed, and any compression applied to the photo.
That’s it! You have successfully downloaded the photo from Google Photos to your device. The photo will now be saved in your designated download location, ready for you to access and use as desired.
If you selected multiple photos for download, the process is the same for each selected photo. You may see a progress indicator or notification for each photo that is being downloaded.
It’s important to note that the downloaded photo will be in its original resolution and format if you selected the “Original Quality” storage option in Google Photos. If you chose the “High Quality” storage option, the downloaded photo may have some compression applied to reduce its file size.
Now that you have successfully downloaded the photo, it’s time to explore the next step: choosing the format and quality of the downloaded photo. Stay with us, as we uncover the final steps to complete the process!
Step 5: Choose the format and quality of the downloaded photo
Before finalizing the download process, it’s essential to consider the format and quality of the photo you want to save on your device. Google Photos offers flexibility in choosing the format and quality, ensuring you have the most suitable version for your needs. Follow these steps to choose the format and quality of the downloaded photo:
- After clicking the download button, you may be presented with options related to the format and quality of the downloaded photo.
- Typically, Google Photos allows you to select between the original format and a compressed format, depending on your storage preference.
- If you had chosen the “Original Quality” storage option, the downloaded photo will retain its original format and resolution.
- If you had chosen the “High Quality” storage option, the downloaded photo may be available in a compressed format to reduce file size.
- Consider your intended use of the photo when selecting the format and quality. If you need the highest resolution possible, select the “Original Quality” option. If file size is a concern and you don’t require the highest resolution, select the compressed option.
By carefully choosing the format and quality of the downloaded photo, you can ensure that it aligns with your specific requirements. Keep in mind that if you plan to edit or print the photo, a higher-quality option may be preferable to maintain image details and clarity.
Once you have made your selection, you can proceed with the download process. Depending on your browser settings, the photo will be saved to your designated download location with the chosen format and quality.
Now that you have chosen the format and quality, it’s time to move on to the final step: saving the downloaded photo to your device. Let’s bring your digital memories to life beyond the realm of Google Photos!
Step 6: Save the downloaded photo to your device
After choosing the format and quality of the downloaded photo from Google Photos, it’s time to save it to your device. This step ensures that you have easy access to the photo whenever you need it, without relying on an internet connection. Follow these steps to save the downloaded photo to your device:
- Once the download process is complete, locate the downloaded photo in your designated download location on your device.
- If you have chosen the option to save the photo in its original format and quality, it will be saved as is. If you have selected a compressed format, the photo may be saved in a ZIP file that you will need to extract.
- To extract a ZIP file, right-click on the file and select “Extract” or a similar option from the context menu. Choose a location on your device to extract the photo.
- If necessary, rename the photo to something descriptive that will help you easily identify it in the future.
- You can now access the downloaded photo on your device through the file explorer or photo gallery app, depending on your device’s operating system.
Once you have saved the downloaded photo to your device, you have the freedom to use it in various ways. You can share it with friends and family, upload it to social media, or use it for personal projects. It’s now a part of your local storage, independent of your Google Photos account.
Remember to regularly back up your downloaded photos to multiple locations, such as an external hard drive or cloud storage, to ensure the safety and longevity of your digital memories.
Congratulations! You have successfully completed the process of downloading and saving a photo from Google Photos to your device. Enjoy your newfound freedom and the ability to access your beloved memories anytime, anywhere.
Conclusion
Downloading photos from Google Photos is a simple yet powerful way to take control of your digital memories. With just a few steps, you can have your favorite photos saved to your device, ready to be accessed and used offline. Let’s recap the process:
- Sign in to your Google Photos account to access your photos and albums.
- Find the specific photo you want to download using search, filters, or album browsing.
- Select the photo by clicking on the “Select” button in the full view.
- Download the photo by clicking the download button and wait for the download to complete.
- Choose the format and quality of the downloaded photo based on your storage preference.
- Save the downloaded photo to your device, ensuring easy access whenever you need it.
By following these steps, you can preserve your precious memories and have them readily available at your fingertips. Whether you’re creating a backup, organizing your photos, or simply wanting to enjoy your images offline, downloading photos from Google Photos empowers you to take control and enhance your personal photo collection.
Remember to make the most of the storage options available, whether it’s the unlimited High Quality storage or the Original Quality that counts towards your Google account storage limit. Consider the trade-off between quality and file size when selecting the format and quality for your downloaded photos.
Now that you’re equipped with the knowledge to download photos from Google Photos, go ahead and start creating your digital photo library. Explore the endless possibilities of sharing, printing, and creating unforgettable moments with your digital memories. The power is in your hands!