Introduction
Welcome to this step-by-step guide on how to download all your Google Photos to your computer. If you have been using Google Photos to store and organize your precious memories, you might want to have a local copy of your photos for various reasons, such as backup or easier access.
Google Photos offers a convenient way to store and organize your pictures and videos, but downloading them in bulk can be a bit daunting, especially if you have a large collection. However, with the right method, you can quickly and easily download all your photos to your computer.
In the following steps, we will walk you through the process of downloading your Google Photos to your computer. This guide is suitable for both Windows and Mac users, so no matter what operating system you are using, you can follow along.
Please note that the method described here will download your photos in their original quality, so make sure you have enough storage space on your computer to accommodate your entire collection. Additionally, keep in mind that the download time may vary depending on the size of your Google Photos library and your internet connection speed.
Now that you’re ready, let’s dive into the step-by-step instructions on how to download all your Google Photos to your computer.
Step 1: Sign in to your Google Account
The first step to download all your Google Photos to your computer is to sign in to your Google Account. To do this, open a web browser on your computer and go to photos.google.com.
If you are not already signed in, you will be prompted to enter your Google Account credentials. Type in your email address or phone number and click on the “Next” button. Then, enter your password and click on the “Sign in” button.
If you have enabled two-factor authentication for your Google Account, you may need to enter a verification code sent to your registered phone number or email address to complete the sign-in process.
Once you are signed in, you will be redirected to the Google Photos homepage, where you can access and manage your entire photo library.
It is important to ensure that you are signed in to the correct Google Account associated with the Google Photos library you want to download. If you have multiple Google Accounts, make sure you are using the account that contains the photos you wish to download.
Now that you are signed in to your Google Account, let’s move on to the next step: accessing Google Photos and selecting the photos you want to download.
Step 2: Go to Google Photos
After signing in to your Google Account, the next step is to navigate to Google Photos. To do this, click on the nine-dots grid icon located in the top-right corner of the Google homepage or any other Google service. From the dropdown menu, click on “Photos” or “Google Photos” to open the Google Photos application.
Alternatively, you can directly visit photos.google.com in your web browser to access Google Photos.
Once you are on the Google Photos website, you will be greeted by a visually appealing interface, displaying all your stored photos and videos in a grid-like layout. You can scroll through your library to explore all your photos or use the search bar at the top to find specific images.
Take a moment to familiarize yourself with the Google Photos interface, as you will be using it to select the photos you want to download in the next step.
Now that you have arrived at the Google Photos homepage, it’s time to move on to the next step: selecting the photos you want to download.
Step 3: Select the photos you want to download
Now that you are in Google Photos, it’s time to select the photos you want to download to your computer. There are a few different methods you can use to select multiple photos at once.
The first method is to manually select individual photos. Simply hover your cursor over a photo and click on the small square that appears on the top left corner. This will add the photo to your selection. Repeat this process for all the photos you want to download.
If you have a large number of photos to download, manually selecting each one can be time-consuming. Thankfully, there are two additional methods you can use to select multiple photos more efficiently.
The second method is to select photos based on date. On the left side of the Google Photos interface, you will find a menu with different categories, including “Photos”, “For You”, “Albums”, and more. Click on “Photos”.
Scroll down and on the right-hand side, you will see a timeline of dates. Click on a specific date or drag your cursor across multiple dates to select all the photos taken within that time frame.
The third method involves using the “shift” key. Start by selecting the first photo, then hold down the “shift” key on your keyboard and click on another photo further down the list. This will select all the photos between the two selected images. You can continue holding the “shift” key and selecting additional photos to expand your selection.
Feel free to mix and match these methods to select the specific photos you want to download. You can manually select some photos, use the date selection method for others, and utilize the “shift” key to select a range of photos.
Once you have selected all the photos you want to download, proceed to the next step: downloading the selected photos to your computer.
Step 4: Download the selected photos
After selecting the photos you want to download in Google Photos, it’s time to initiate the download process. Thankfully, Google Photos provides a straightforward way to download your selected photos to your computer.
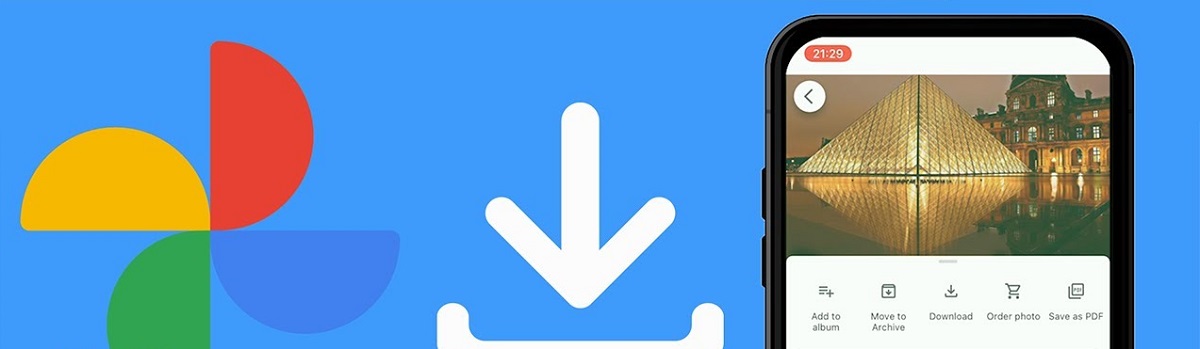
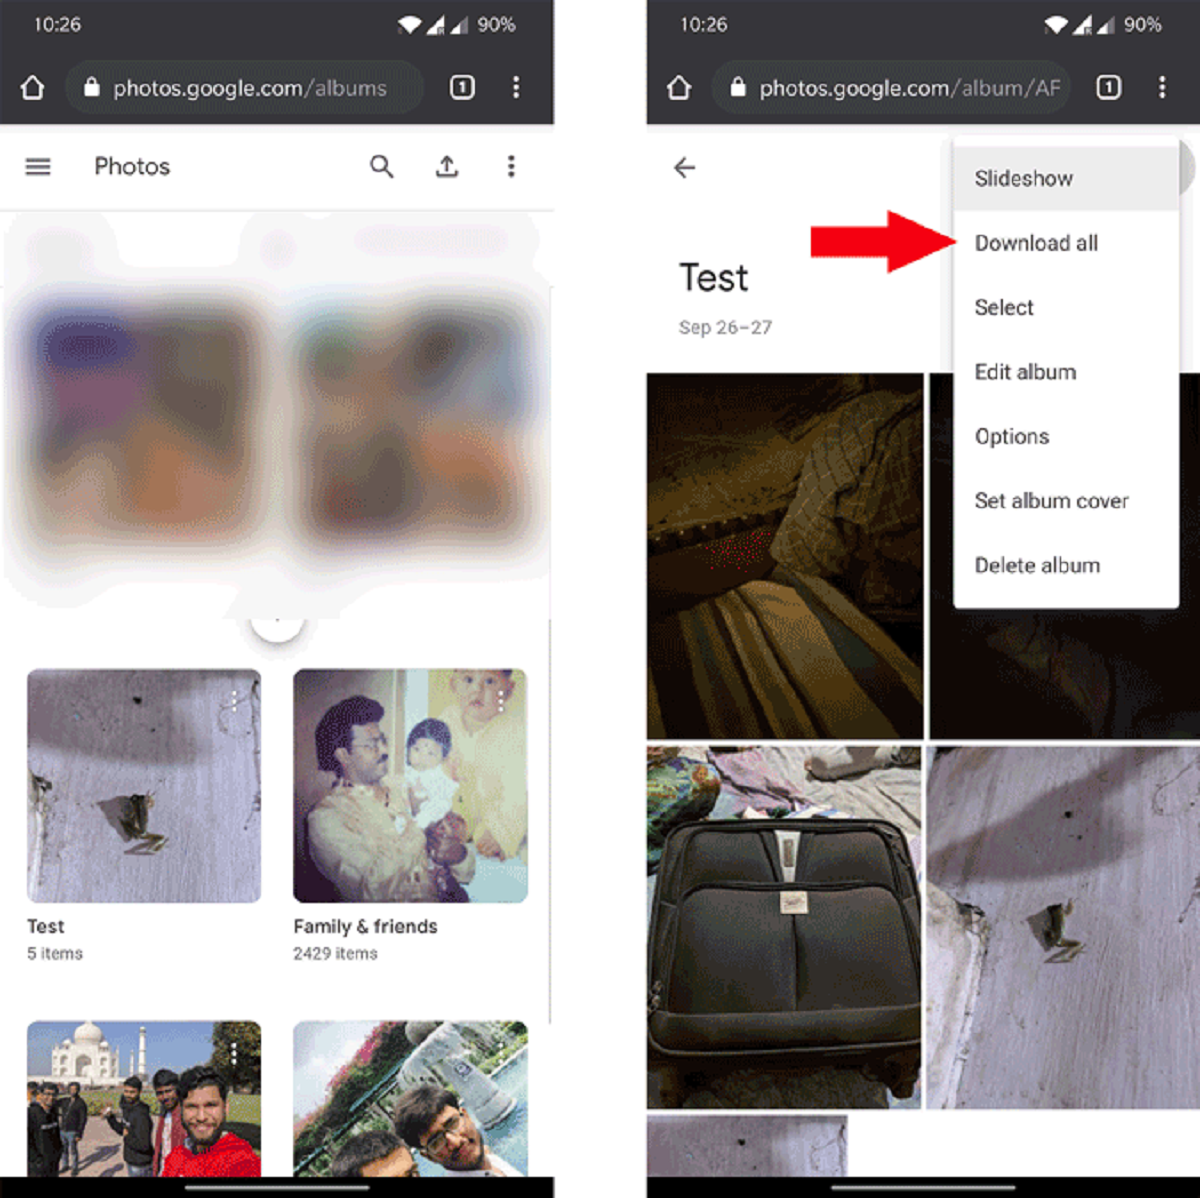
To download the selected photos, click on the three-dot menu icon located at the top-right corner of the Google Photos interface. From the dropdown menu, select the “Download” option. Alternatively, you can use the keyboard shortcut by pressing the “Shift + D” keys on your keyboard.
A prompt will appear asking you to confirm the download. Click on the “Download” button to proceed.
Google Photos will then start preparing the selected photos for download. Depending on the number and size of the photos, this process may take a few seconds or longer. Once the preparation is complete, the download will automatically begin.
The photos will be downloaded in a zip file format, which is a compressed file containing all the selected images. The name of the zip file will usually include the date and time of the download.
It’s important to note that the download speed will vary depending on your internet connection and the size of the selected photos. If you have a slow internet connection or many large-sized photos, the download process may take a while. Be patient and let the download complete without interrupting the process.
Now that you have successfully initiated the download, it’s time to proceed to the next step: choosing the destination folder on your computer to save the downloaded photos.
Step 5: Choose the destination folder on your computer
After downloading the selected photos from Google Photos, it’s time to choose the destination folder on your computer where you want to save the downloaded images.
By default, the downloaded photos will be saved in your computer’s designated “Downloads” folder. However, if you prefer to organize your files differently or want to save the photos to a specific location, you can choose a different folder.
When the download is complete, locate the downloaded zip file on your computer. Typically, it will be saved in the “Downloads” folder or the folder you set as the default download location in your web browser.
Right-click on the downloaded zip file and select the “Extract” or “Extract All” option from the context menu. This will prompt you to choose the destination folder where you want to save the extracted photos.
You can choose an existing folder on your computer or create a new folder specifically for the downloaded Google Photos. To create a new folder, right-click on an empty area within the desired location and select the “New Folder” option. Give the folder an appropriate name, such as “Google Photos Download” or any other name of your preference.
Once you have selected or created the destination folder, click on the “Extract” or “Extract All” button to begin extracting the photos from the zip file and saving them in the chosen location. The extraction process may take a few moments, depending on the size of the zip file and the speed of your computer.
After the extraction is complete, you will find the individual photos in the destination folder. You can now access, view, and manage the downloaded photos as you would with any other files on your computer.
Now that you have chosen the destination folder for your downloaded photos, it’s time to move on to the next step: waiting for the download to complete.
Step 6: Wait for the download to complete
After initiating the download of your selected photos from Google Photos and choosing the destination folder, it’s time to exercise some patience and wait for the download to complete.
The time it takes for the download to finish will depend on several factors, including the size of the selected photos and the speed of your internet connection.
During the download process, it’s essential to avoid interrupting or canceling the download to ensure that all your selected photos are successfully downloaded. Closing the browser or shutting down your computer prematurely may result in an incomplete download.
If you have a slow internet connection or a vast number of photos to download, it’s common for the process to take some time. You can monitor the progress of the download by observing the file size in the download manager or by checking the progress bar, if available.
While waiting for the download to complete, you can utilize this time to take a break, grab a cup of coffee, or engage in other activities. Ensure that your computer remains connected to the internet throughout the download process to avoid any interruptions.
Once the download is complete, you will receive a notification indicating that the process has finished. At this point, you can proceed to the next step to verify and check the downloaded photos.
Remember, the download times may vary, so exercising patience and allowing sufficient time for the download to complete will ensure that all your selected photos are safely transferred to your computer.
Now that you have successfully waited for the download to finish, it’s time to proceed to the final step: checking the downloaded photos.
Step 7: Check the downloaded photos
After the download process is complete, it’s important to check the downloaded photos to ensure that they have been successfully saved and are accessible on your computer.
Open the destination folder where you chose to save the downloaded photos. Inside the folder, you should find the extracted individual photos that were previously contained within the downloaded zip file.
Take a moment to browse through the downloaded photos and verify that they match the ones you selected in Google Photos. Check for any missing or corrupted files, as occasionally errors can occur during the download or extraction process.
Try opening a few of the downloaded photos to ensure they can be viewed without any issues. Double-click on a photo to open it using your computer’s default image viewer or a preferred photo viewing application.
If you are able to view and access all the downloaded photos without any problems, congratulations! You have successfully downloaded your selected Google Photos to your computer.
At this point, you can choose to keep the downloaded photos in the designated folder or move them to a different location on your computer, depending on your preferences and organization methods.
It’s recommended to create a backup of the downloaded photos to ensure their safety. You can copy the files to an external hard drive, upload them to a cloud storage service, or burn them onto a DVD for an additional layer of protection.
Now that you have checked and verified the downloaded photos, you have completed all the necessary steps to successfully download your Google Photos to your computer.
Feel free to explore and enjoy your cherished memories as you now have convenient offline access to your entire Google Photos library.
Congratulations on completing this guide, and I hope you found it helpful in the process of downloading your Google Photos!
Conclusion
Downloading all your Google Photos to your computer can provide you with peace of mind, easy access, and convenient backup options. By following the step-by-step guide outlined above, you have learned the process of downloading your Google Photos efficiently.
We started by signing in to your Google Account and navigating to Google Photos. Then, we explored different methods to select the photos you want to download, including manual selection, date-based selection, and using the “shift” key.
After selecting the photos, we initiated the download process and chose the destination folder on your computer to save the downloaded images. We emphasized the importance of patience while waiting for the download to complete, as interruptions may result in an incomplete download.
Finally, we checked the downloaded photos to ensure that they were successfully saved and accessible on your computer. We also discussed the importance of creating backups for your downloaded photos to preserve them for the long term.
Now that you have downloaded your Google Photos, you can enjoy easy offline access to your cherished memories and have peace of mind knowing that you have a local backup of your photo library.
Remember, regularly backing up your photos is crucial to protect them from any unforeseen events that could lead to data loss. Consider creating backups on external storage devices or cloud storage services to ensure the safety of your precious moments.
Thank you for following this guide, and we hope it has been helpful in assisting you with downloading all your Google Photos to your computer. Enjoy reliving your memories offline and continue capturing new ones!