Introduction
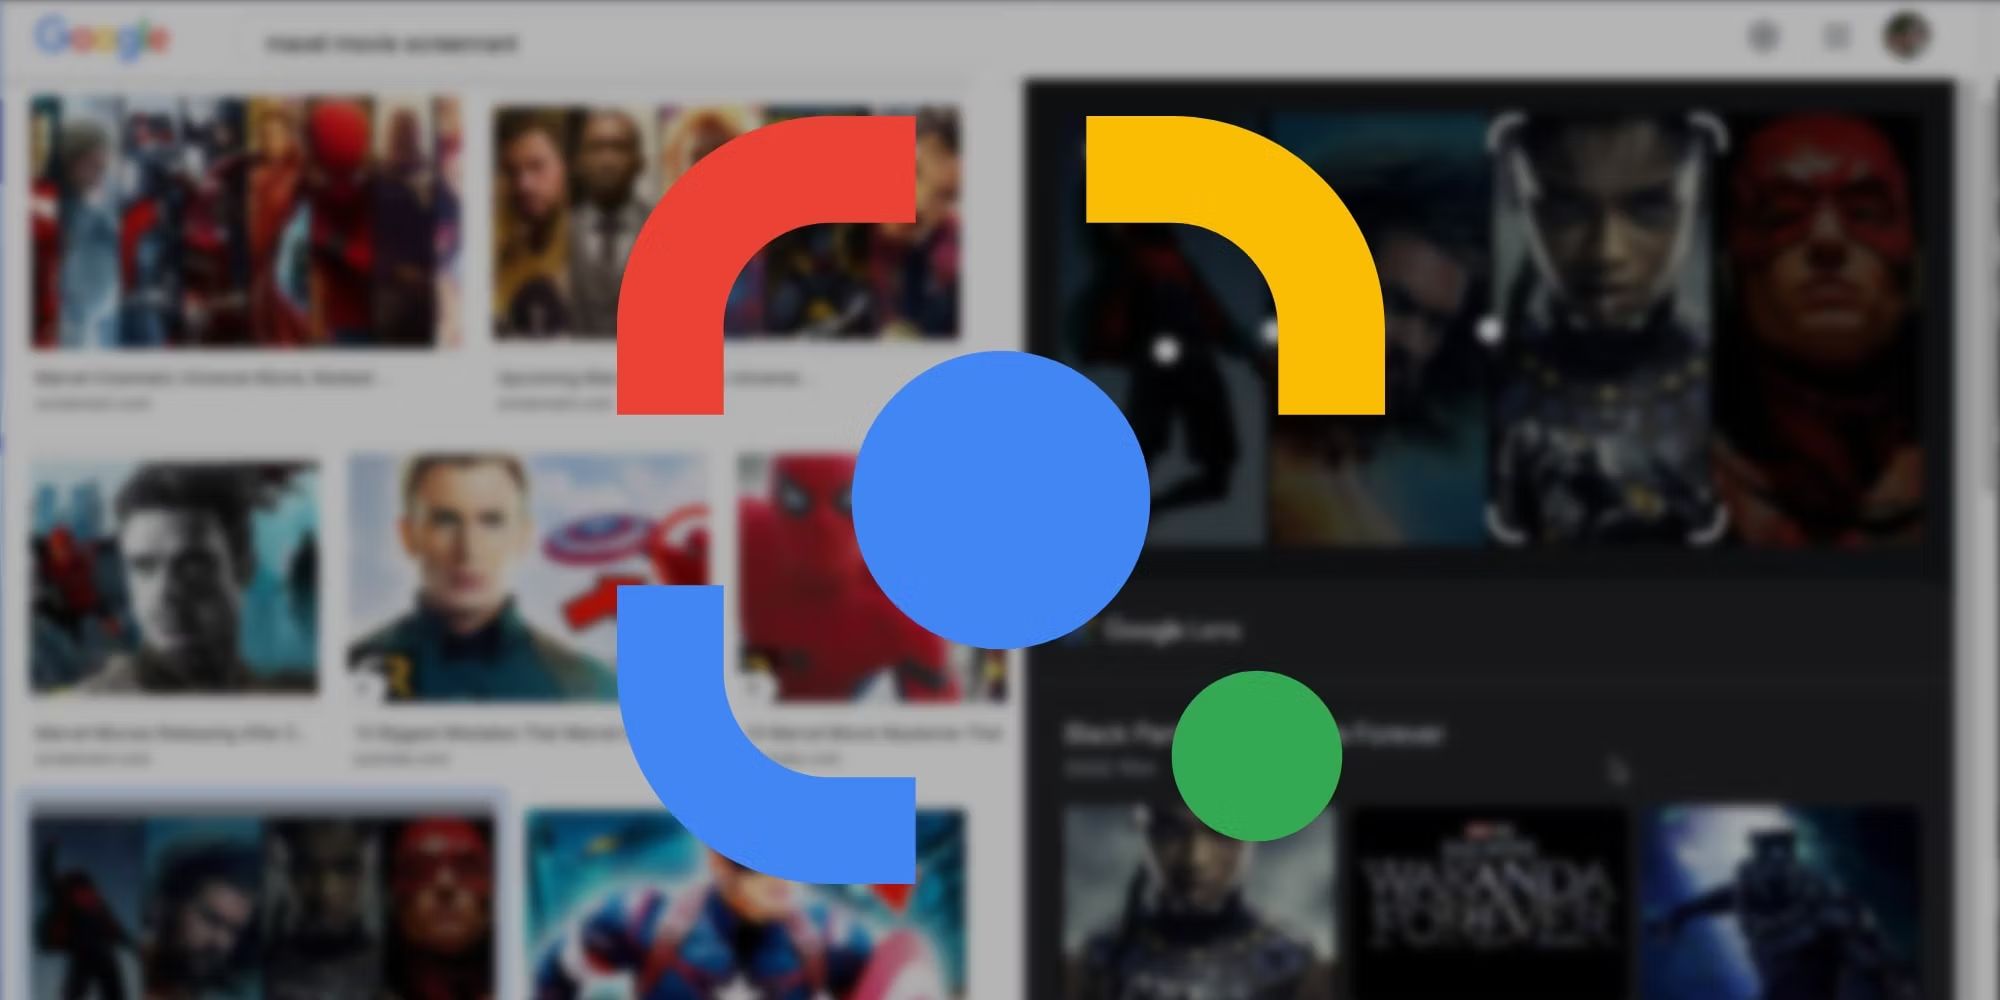
Welcome to the world of visual search! In this digital age, search engines are constantly evolving, and one such innovation is Google Lens. Google Lens is an advanced image recognition technology that allows users to search for information about objects simply by capturing an image of them. This powerful tool can identify various objects, landmarks, animals, plants, and even text from images.
While Google Lens can be accessed through the Google app, wouldn’t it be convenient to have it right in your Google Search Bar? Imagine the ability to easily search for information, identify objects, or even translate text directly from your device homescreen. Adding Google Lens to your Google Search Bar can save you time and effort by providing quick access to this remarkable visual search feature.
In this article, we will guide you through the step-by-step process of adding Google Lens to your Google Search Bar. With this feature at your fingertips, you’ll be able to explore, discover, and search the visual world like never before.
Overview of Google Lens
Google Lens is a powerful visual search tool developed by Google. It utilizes artificial intelligence and machine learning algorithms to analyze images and provide relevant information based on what it recognizes. With Google Lens, you can turn your smartphone camera into a powerful search engine.
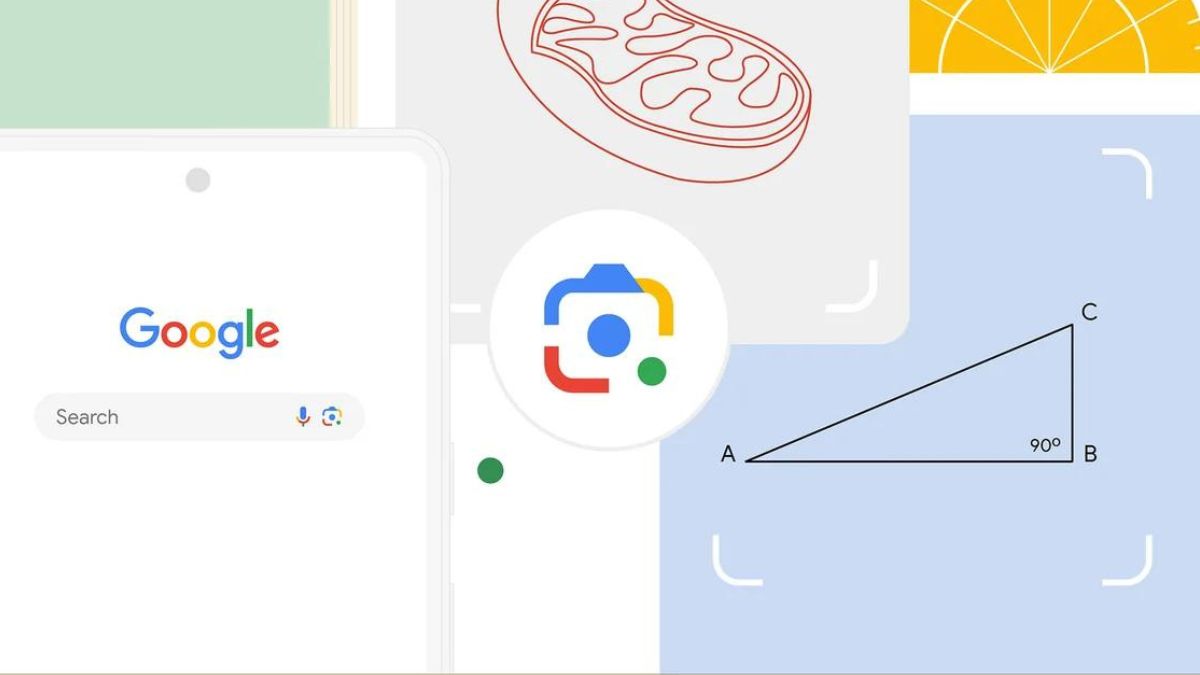
One of the key features of Google Lens is its ability to recognize objects in images. If you come across something you’re curious about, simply take a photo or scan it with your camera, and Google Lens will provide you with information about that object. Whether it’s a landmark, a piece of artwork, or a product, Google Lens can identify it and give you details such as its name, description, and even links to related websites.
Not only can Google Lens identify objects, but it can also extract text from images. This feature comes in handy when you want to quickly save information from a document or capture text from a book. Google Lens can recognize the text and convert it into editable content, allowing you to copy, paste, or translate it.
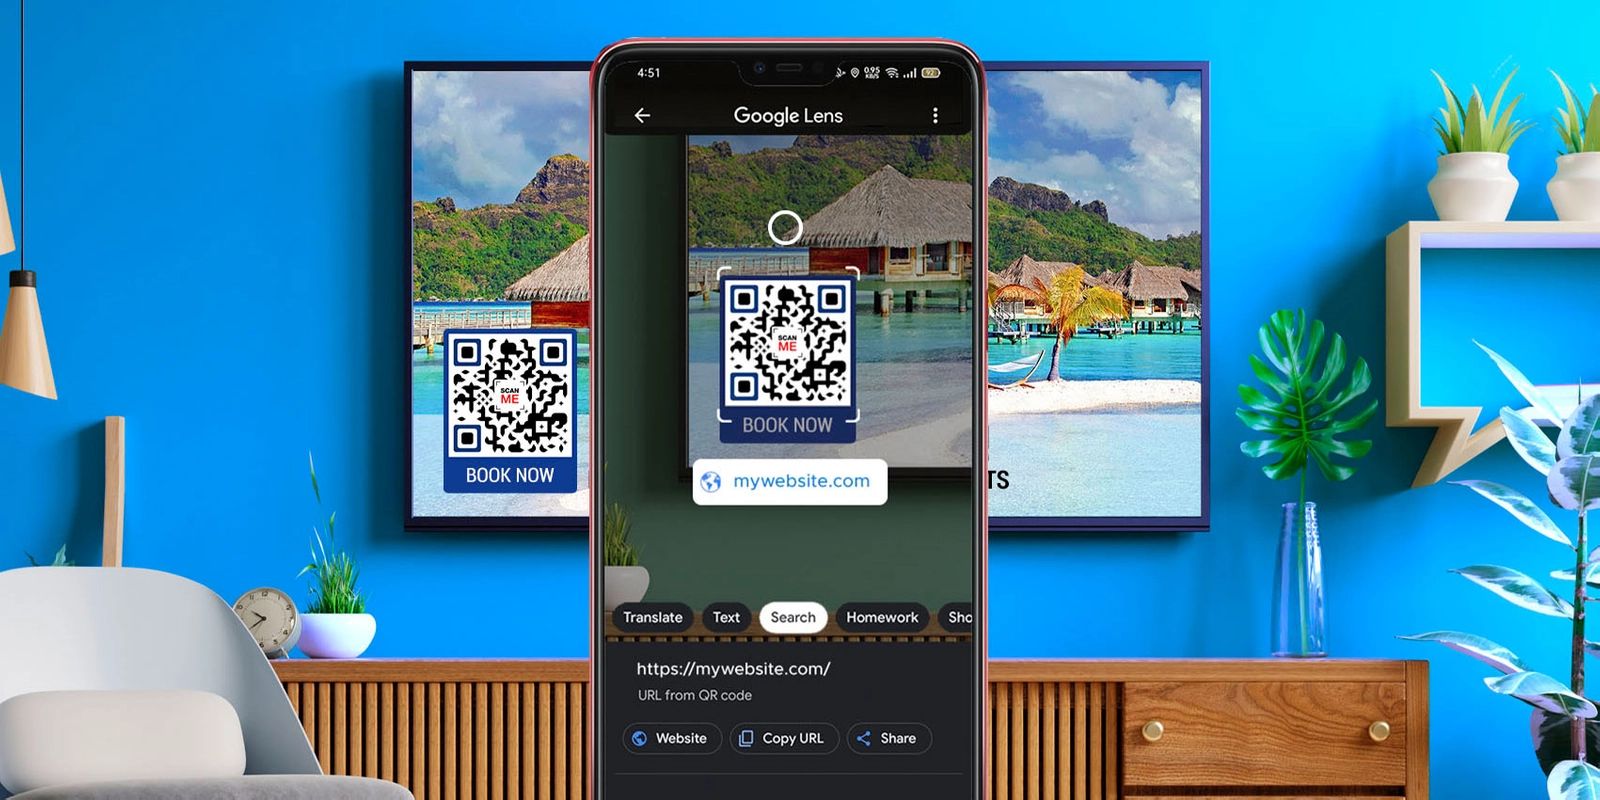
In addition to object recognition and text extraction, Google Lens offers other useful functionalities. It can recognize and provide information about plants and animals, making it a handy tool for nature enthusiasts. It can also scan barcodes and QR codes, providing you with product details, pricing information, and even online shopping options.
Google Lens is constantly evolving and becoming more intelligent. It integrates with various Google products and services, such as Google Photos, Google Maps, and Google Assistant, allowing for seamless integration and enhancing your overall user experience.
In the following sections, we will guide you through the process of adding Google Lens to your Google Search Bar, enabling quick and easy access to this powerful visual search tool.
Step 1: Ensure you have the latest version of the Google App
Before you can add Google Lens to your Google Search Bar, it’s crucial to have the latest version of the Google App installed on your device. Google Lens is a feature integrated into the Google App, so updating the app ensures you have access to all the latest features and improvements.
To check if you have the latest version of the Google App, follow these simple steps:
- Open the Google Play Store (Android) or the App Store (iOS) on your device.
- Search for “Google” in the search bar.
- If an update is available, you will see an “Update” button. Tap on it to update the Google App to the latest version.
- If no update is available, you already have the latest version.
Updating the Google App is important because it ensures that you have access to the latest features, bug fixes, and security enhancements. It also ensures compatibility with the latest version of the Google Lens feature.
Once you have confirmed that you have the latest version of the Google App, you’re ready to move on to the next step: accessing the Google App settings to enable the Google Lens feature.
Step 2: Access the Google App settings
Now that you have ensured that you have the latest version of the Google App, it’s time to access the app’s settings to enable the Google Lens feature. Follow these steps to access the Google App settings:
- Open the Google App on your device by tapping on its icon.
- In the top-right corner of the screen, you will see a more options button (usually represented by three horizontal lines or dots). Tap on this button to open the app menu.
- From the app menu, locate and select the “Settings” option. This will open the Google App settings.
Alternatively, on some Android devices, you can access the Google App settings by long-pressing the app icon on your home screen and selecting the “Settings” option from the pop-up menu.
Once you have successfully accessed the Google App settings, you are one step closer to adding Google Lens to your Google Search Bar.
Step 3: Enable the Google Lens feature
Now that you have accessed the Google App settings, it’s time to enable the Google Lens feature. Enabling this feature will allow you to use Google Lens directly from the Google Search Bar on your device’s home screen. Follow these steps to enable the Google Lens feature:
- In the Google App settings, scroll down and look for the “Google Lens” option. This option may be located under the “Search” or “Assistant” section.
- Tap on the “Google Lens” option to open its settings.
- In the Google Lens settings, you will see a toggle switch or checkbox next to the “Google Lens” option. Slide the toggle switch to the “On” position or check the checkbox to enable the Google Lens feature.
Enabling the Google Lens feature will activate this powerful visual search tool within the Google App. Once enabled, you’ll have the ability to search and explore the world around you using your device’s camera.
It’s important to note that enabling the Google Lens feature may require additional permissions, such as access to your device’s camera or storage. Follow the on-screen prompts and grant the necessary permissions to ensure a smooth user experience.
Now that you have successfully enabled the Google Lens feature, it’s time to move on to the next step: adding the Google Search Bar to your home screen.
Step 4: Add the Google Search Bar to your home screen
Adding the Google Search Bar to your home screen will provide you with quick access to the Google App and its features, including Google Lens. The Search Bar allows you to perform searches directly from your home screen without the need to open the app separately. Follow these steps to add the Google Search Bar to your home screen:
- Long-press on an empty space on your home screen. This will open the customization menu.
- From the customization menu, select the “Widgets” option. You may need to swipe left or right to locate the “Widgets” section.
- In the Widgets section, scroll through the available widgets until you find the Google Search Bar widget.
- Once you’ve found the Google Search Bar widget, long-press on it and drag it to the desired location on your home screen.
- Release your finger to place the Google Search Bar widget on your home screen.
The Google Search Bar widget will now be added to your home screen, providing you with easy access to perform searches using the Google App.
Depending on your device and launcher, you may be able to resize or customize the appearance of the Google Search Bar widget. Explore the customization options to personalize the widget according to your preferences.
Now, with the Google Search Bar added to your home screen, you’re ready to proceed to the next and final step: adding Google Lens to the Search Bar itself.
Step 5: Add Google Lens to the Google Search Bar
Now that you have the Google Search Bar on your home screen, it’s time to add Google Lens to it. This will allow you to access the powerful visual search feature directly from the Search Bar without having to open the Google App separately. Follow these steps to add Google Lens to the Google Search Bar:
- Tap on the Google Search Bar widget on your home screen to activate it.
- In the Search Bar, you will see a small “G” logo at the right side or in the search box itself. Tap on this “G” logo to open the Google Lens interface.
- Once the Google Lens interface is open, you can use your device’s camera to capture an image or simply import an existing image from your gallery.
- Google Lens will analyze the image and provide information and relevant search results based on what it recognizes.
- You can tap on various elements within the image to explore more information, such as identifying objects, landmarks, plants, or animals, extracting text, or even translating languages.
By adding Google Lens to the Google Search Bar, you now have quick and easy access to this innovative visual search tool right from your home screen. This can save you time and effort, allowing you to explore and search the visual world without the need to open multiple apps or perform complex searches.
Keep in mind that the functionality and features of Google Lens may vary based on your device and the version of the Google App. Make sure to keep your Google App updated to ensure you have access to the latest features and improvements.
Congratulations! You have successfully added Google Lens to your Google Search Bar. Now you can enjoy the power of visual search right at your fingertips.
Conclusion
Google Lens is a remarkable tool that allows you to search and explore the visual world around you. By adding Google Lens to your Google Search Bar, you can easily access this powerful visual search feature with just a tap, enhancing your search experience and saving you time and effort.
In this article, we have guided you through the step-by-step process of adding Google Lens to your Google Search Bar. We started by ensuring you have the latest version of the Google App and then walked you through accessing the app’s settings to enable the Google Lens feature. We then discussed how to add the Google Search Bar to your home screen, followed by adding Google Lens to the Search Bar itself.
Now, with Google Lens integrated into your Google Search Bar, you have the capability to identify objects, landmarks, animals, plants, and even extract text from images with just a few taps. This powerful visual search tool opens up a whole new world of possibilities, making it easier to gather information and explore your surroundings.
Remember to keep your Google App updated to ensure you have access to the latest features and improvements. Additionally, familiarize yourself with the various functionalities of Google Lens to make the most out of this innovative tool.
With Google Lens in your Google Search Bar, you now have the power of visual search at your fingertips. Embrace this technology and let it enhance your search experience in a whole new way.