Introduction
Google Lens is a powerful visual search tool developed by Google, designed to allow users to search for information by simply using their smartphone camera. With Google Lens, you can effortlessly scan and search for objects, text, and landmarks, and obtain relevant information in seconds.
In today’s digital world, where visual content plays a crucial role, Google Lens has become an essential tool for users to explore and learn more about the world around them. Whether you want to identify plants, translate foreign languages, or get details about a famous painting, Google Lens is there to assist you.
But did you know that Google Lens keeps a history of all your scans? This history can be quite useful, as it allows you to revisit your past searches, access previously scanned information, and manage your search activity. In this article, we will guide you on how to access and view your Google Lens history, enabling you to make the most out of this incredible visual search feature.
What is Google Lens?
Google Lens is an advanced image recognition technology developed by Google, which uses artificial intelligence and machine learning algorithms to analyze and understand the content within images or videos. It allows users to use their smartphone camera to visually search for information, providing instant results and relevant details.
Using the power of computer vision, Google Lens can identify objects, text, landmarks, and even animals. This technology goes beyond simple image recognition, as it can extract useful information from the visual inputs and provide actionable insights.
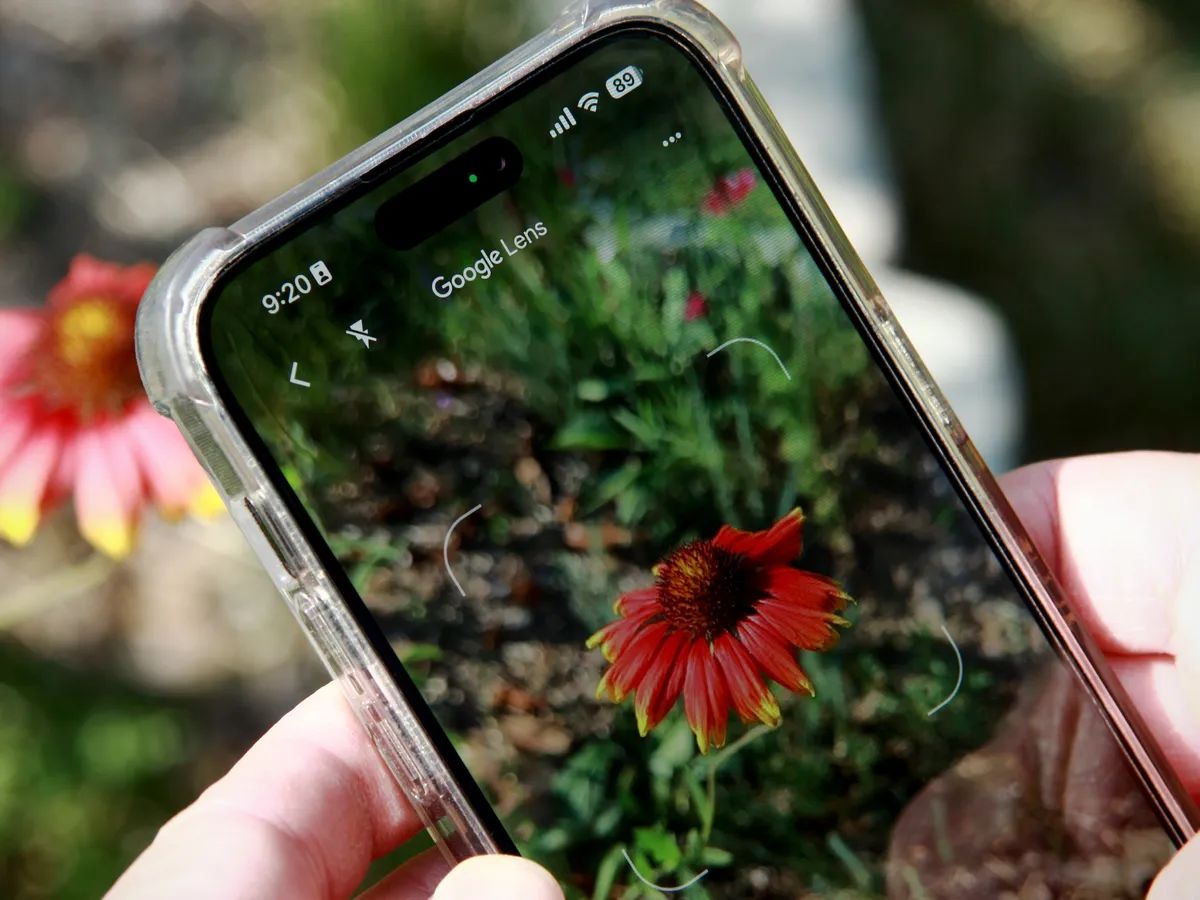
With Google Lens, you can snap a photo of a flower and find out its name and species, capture the text from a document and have it translated in real-time, or even point your camera at a famous landmark and get historical facts and tourist information.
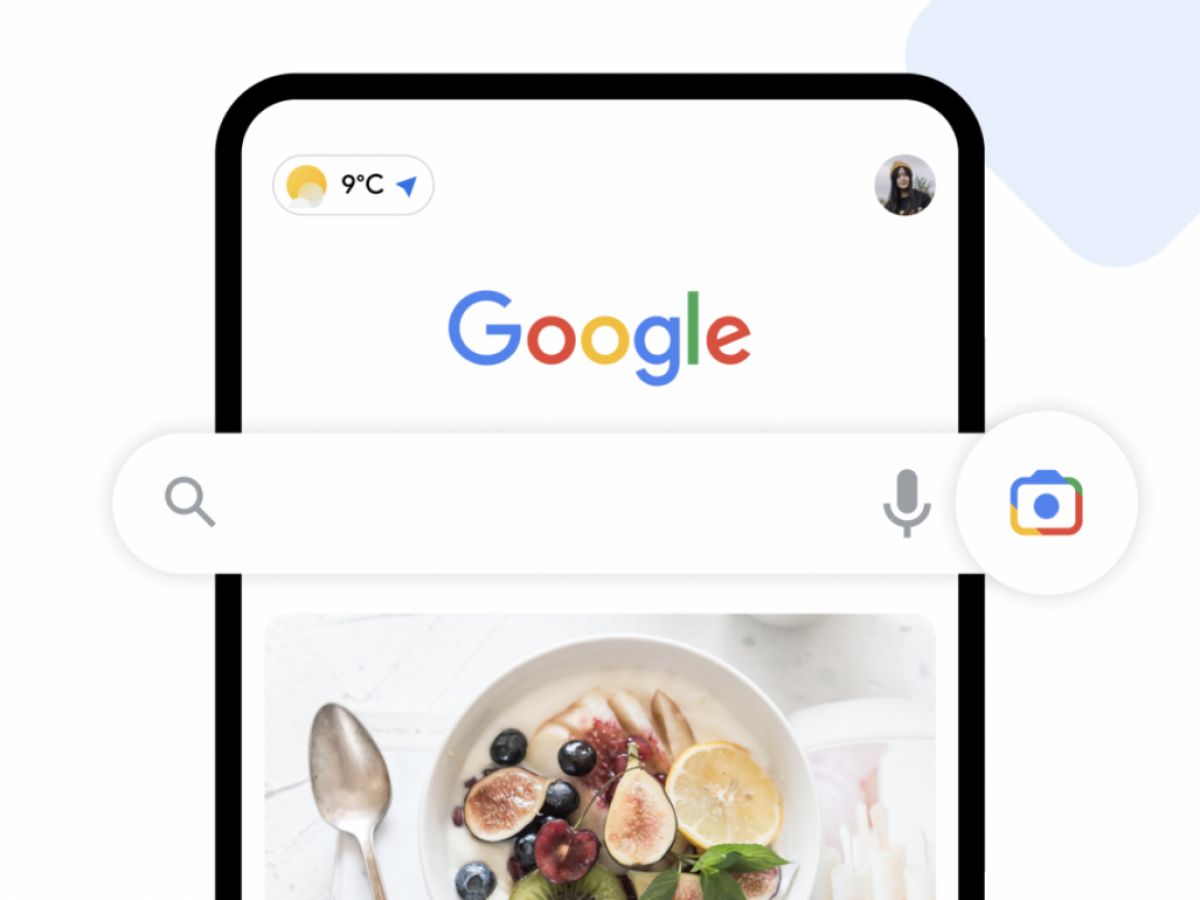
Google Lens is integrated into various devices, including smartphones and tablets, and can be accessed through the Google Lens app or through Google Assistant. The app is available for both Android and iOS platforms, making it accessible to a wide range of users.
Google Lens not only enhances the search experience but also enables users to interact with the digital world in a more intuitive and efficient manner. By leveraging the power of visual data, it opens up a whole new dimension of exploration and discovery.
Why should you view your Google Lens history?
Your Google Lens history can be a valuable resource for various reasons. Here are a few compelling reasons to regularly check and review your Google Lens history:
- Access past scans: By viewing your Google Lens history, you can easily access previously scanned images and information. This can be helpful if you want to revisit a particular scan or retrieve important details that you may have forgotten.
- Keep track of your searches: Your Google Lens history provides a record of your visual searches, allowing you to keep track of all the objects, text, landmarks, and other items you have scanned. This can be useful for personal reference or for professional purposes.
- Review scanned information: By reviewing your Google Lens history, you can double-check the accuracy of the information obtained from your scans. This can help prevent any misunderstandings or errors that may have occurred during the scanning process, ensuring that you have reliable information at your fingertips.
- Organize your scanned content: With the help of your Google Lens history, you can organize your scanned content and create a visual library of objects, landmarks, and other items that you found interesting or useful. This can serve as a personalized database for future reference and inspiration.
- Discover trends and patterns: By analyzing your Google Lens history, you may start to notice patterns or trends in your visual searches. This can provide valuable insights into your interests, preferences, and areas of curiosity, allowing you to explore and learn more about specific subjects.
Overall, viewing your Google Lens history is like having a digital archive of your visual searches. It helps you make the most of this powerful tool by providing easy access to past scans, enabling you to organize and review scanned information, and offering valuable insights into your visual exploration journey.
How to access your Google Lens history
Accessing your Google Lens history is a straightforward process. Here’s a step-by-step guide on how to access your Google Lens history:
- Launch the Google Lens app on your smartphone or tablet. If you don’t have the app installed, you can download it from the Google Play Store (for Android) or the App Store (for iOS).
- Tap on the “History” icon, usually located at the bottom of the screen. This will open up your Google Lens history.
- You will now see a list of your recent scans, displayed in chronological order. Each scan will usually be accompanied by a thumbnail image and a brief description.
- To view more information about a specific scan, simply tap on it. This will open up a detailed view, providing additional details and options related to that particular scan.
- If you want to search for something specific within your history, you can use the search bar at the top of the screen. Simply enter keywords related to the scan you’re looking for, and Google Lens will filter the results accordingly.
That’s it! You can now access your Google Lens history and explore your previous scans at your convenience.
It’s worth noting that accessing your Google Lens history requires you to be signed in to your Google account. This ensures that your history is synchronized across devices and can be accessed from multiple platforms.
Additionally, if you have Google Assistant integrated into your device, you can also access your Google Lens history by activating Google Assistant and issuing voice commands such as “Hey Google, show my Lens history.”
Now that you know how to access your Google Lens history, let’s explore how you can view your recent scans and find past scans more efficiently.
Viewing your recent scans
Once you have accessed your Google Lens history, you can easily view your recent scans. Here’s how you can do it:
- In your Google Lens history, you will see a list of your recent scans displayed in chronological order, with the most recent scan appearing at the top.
- Each scan will be accompanied by a thumbnail image, providing a visual representation of the scanned item.
- To view more details about a specific scan, simply tap on it. This will open a detailed view of the scan, allowing you to see additional information and options.
- Depending on the type of scan, you may see various options, such as searching the web for more details, saving the scan for future reference, or sharing it with others.
- To navigate between different scans, you can swipe left or right on the screen. This allows you to browse through your recent scans and explore the details of each one.
By viewing your recent scans, you can quickly access the most recent information you searched for using Google Lens. This is particularly useful if you need to refer back to recently scanned objects, text, or landmarks.
It’s worth noting that the number of recent scans displayed in your Google Lens history may vary based on your device’s storage capacity and the settings you have configured. If you find that the number of recent scans is limited, you can manage your Google Lens history settings to control how your scans are stored and accessed.
Now that you know how to view your recent scans, let’s explore how you can find past scans from further back in your Google Lens history.
Finding past scans
If you want to find scans from further back in your Google Lens history, there are several ways to do so:
- Scroll through your Google Lens history: If you have a relatively small number of scans in your history, you can simply scroll down the list to find past scans. The further down you scroll, the older the scans will be.
- Use the search bar: If you have a specific scan in mind and want to find it quickly, you can use the search bar at the top of the screen. Enter keywords related to the scan, such as object names, landmarks, or text snippets, and Google Lens will filter the results accordingly. This can help you find specific scans amidst a large collection of history entries.
- Sort your history: In some cases, you may want to organize your Google Lens history based on certain criteria. For example, you could sort the scans by date, allowing you to easily locate scans from a specific time period. To sort your history, look for options such as “Sort by date” or “Sort by relevance” within the Google Lens app settings.
- Use filters: To further refine your search within your Google Lens history, you can utilize filters. These filters allow you to narrow down your scans based on various attributes, such as image type (e.g., objects, text), location, or saved scans. By applying filters, you can quickly find the scans that meet specific criteria.
By employing these methods, you can efficiently find past scans from your Google Lens history, even if they are not among your most recent scans. This ensures that you can easily access previously scanned information whenever you need it.
Now that you know how to find past scans in your Google Lens history, let’s explore how you can manage your Google Lens history settings to customize your experience.
Managing your Google Lens history settings
If you want to customize your Google Lens history experience or maintain control over your scanned content, you can manage your Google Lens history settings. Here are some settings you can adjust:
- Clearing your history: If you want to delete your entire Google Lens history, you can do so by accessing the settings within the Google Lens app. Look for an option that allows you to clear your history, and confirm your choice when prompted. This will remove all scanned items from your history.
- Adjusting storage preferences: In the Google Lens settings, you may have the option to adjust your storage preferences. This includes selecting whether your scans are stored on your device locally or in the cloud. Choose the option that suits your preferences and available storage capacity.
- Controlling activity sharing: Google Lens may have settings that allow you to control the sharing of your activity with other Google services. For example, you may be able to disable the sharing of your Google Lens activity with your Google account for personalized recommendations.
- Managing saved scans: If you have saved scans in your Google Lens history, you may have options to organize or delete them. Explore the settings to find options for managing saved scans and keeping your history tidy.
- Reviewing privacy options: It is important to review the privacy options available for your Google Lens history. Check if there are settings related to data collection, personalized ads, or information usage to ensure you are comfortable with the privacy aspects of using Google Lens.
By managing your Google Lens history settings, you can tailor your experience according to your preferences and maintain control over your scanned content. This allows you to use Google Lens in a way that aligns with your privacy concerns and storage needs.
Remember, the specific options and settings available may vary depending on your device, operating system, and the version of the Google Lens app you have installed. Take some time to explore the settings within the app to familiarize yourself with the options and make adjustments as desired.
Now that you know how to manage your Google Lens history settings, you can customize your experience and make the most out of this powerful visual search tool.
Conclusion
Google Lens offers a convenient and innovative way to search for information using your smartphone camera. By accessing your Google Lens history, you can revisit past scans, access previously searched information, and manage your search activity.
By understanding how to access your Google Lens history, view your recent scans, find past scans, and manage your history settings, you can optimize your experience and make the most out of this powerful visual search tool. Whether you want to retrieve important details, organize your scanned content, or simply explore your visual search journey, the Google Lens history feature can be a valuable resource.
Remember to regularly check and review your Google Lens history to stay organized, ensure the accuracy of scanned information, and discover trends in your visual searches. By leveraging the capabilities of Google Lens and harnessing the power of visual data, you can enhance your exploration, learning, and interaction with the world around you.
So, dive into your Google Lens history and unlock the potential of this remarkable visual search feature. Happy scanning!