Introduction
Welcome to this comprehensive guide on how to connect your tablet to your PC! Whether you want to transfer files, sync data, or access your tablet’s files from your computer, connecting these two devices is a useful and convenient task. By following the steps outlined in this article, you’ll be able to establish a seamless connection between your tablet and PC, enabling you to effortlessly manage and transfer files.
In today’s digital age, tablets have become an essential device for many people. They offer a portable and versatile platform for browsing the internet, watching videos, playing games, and staying connected with friends and family. However, there are times when you may need to access your tablet’s files from your computer or transfer files from one device to another. This is where connecting your tablet to your PC becomes invaluable.
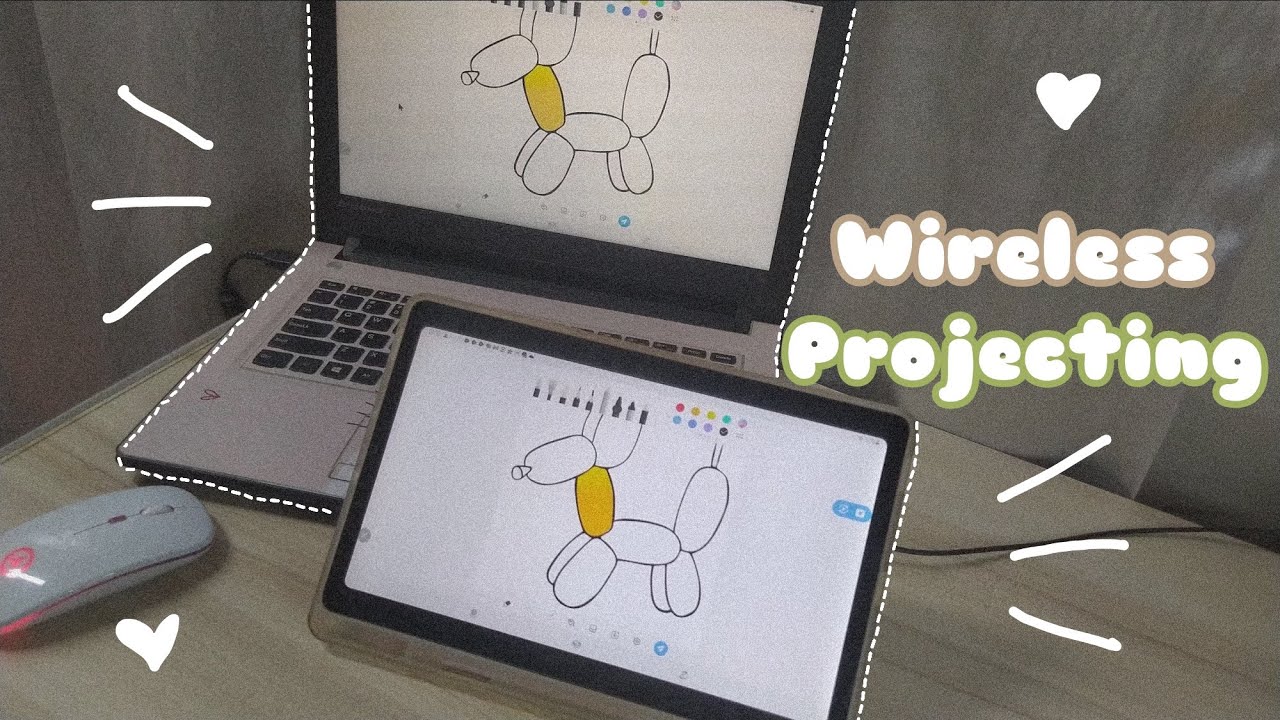
Connecting your tablet to your PC also opens up a world of possibilities. You can easily backup important files, transfer large media files, and even update system software. Additionally, it allows you to use your tablet as a secondary display or input device for your PC, providing a more flexible and efficient work or entertainment setup.
Before we dive into the step-by-step process, it’s important to note that the exact steps may vary slightly depending on the operating system and tablet model you have. However, the general principles and instructions provided in this guide should apply to most tablet and PC configurations.
So, whether you own an Android tablet, an iPad, or a Windows tablet, let’s get started on connecting your tablet to your PC and unlocking the full potential of these devices working together!
Step 1: Prepare your tablet and PC
Before you connect your tablet to your PC, it’s important to ensure that both devices are prepared for the connection. Here are a few things you need to do:
- Check the compatibility: Firstly, make sure that your tablet and PC are compatible with each other. Check the system requirements and compatibility specifications of both devices to ensure they can be connected.
- Update software: Ensure that your tablet and PC are running on the latest software versions. This is important as outdated software can sometimes cause compatibility issues when establishing a connection.
- Charge your devices: It’s always a good idea to have your tablet and PC fully charged or plugged into a power source before connecting them. This will prevent any interruptions or issues that may arise due to low battery levels.
- Install necessary apps: Depending on the type of tablet you have, you may need to install specific apps or software on your PC to establish a connection. For example, if you have an Android tablet, you may need to install the Android File Transfer app on your PC.
- Gather necessary cables: Check if you have the required cables to connect your tablet to your PC. Most commonly, you will need a USB cable to establish the connection. Ensure that the cable is in good condition and securely connectable to both devices.
By taking these preparatory steps, you can ensure a smooth and hassle-free connection between your tablet and PC. Once you have completed these steps, you are ready to move on to the next step of connecting your tablet to your PC.
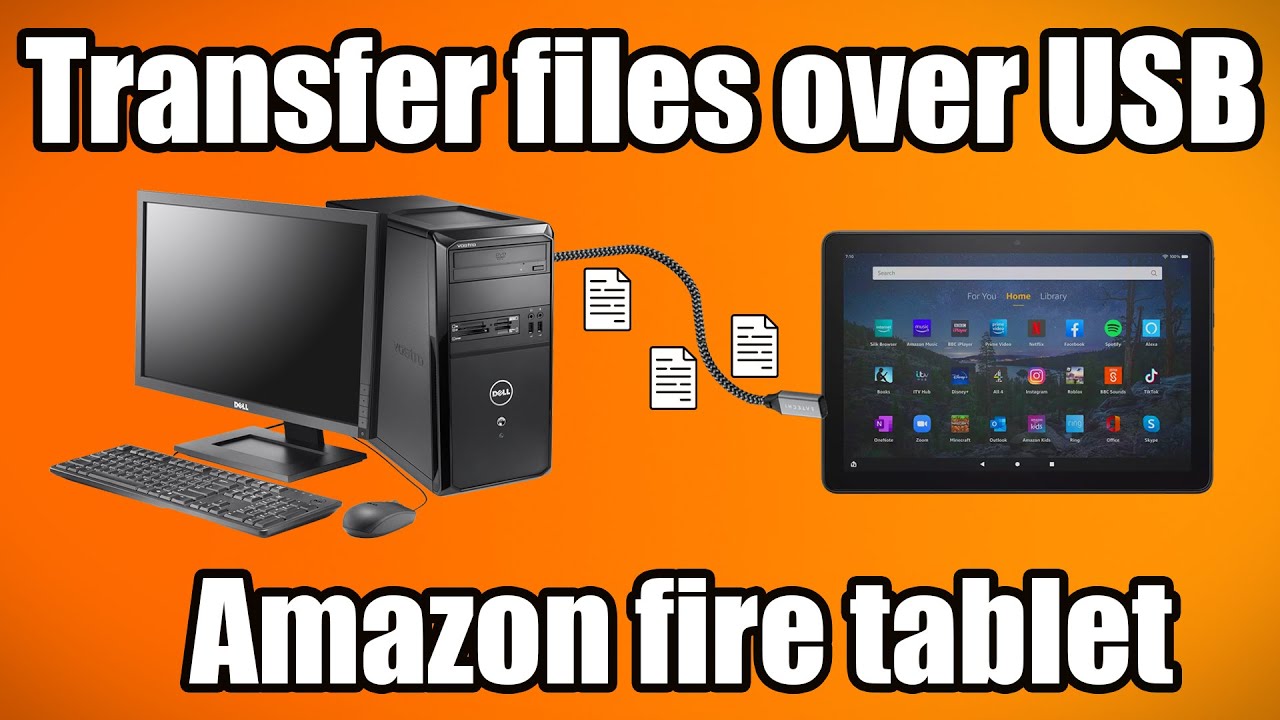
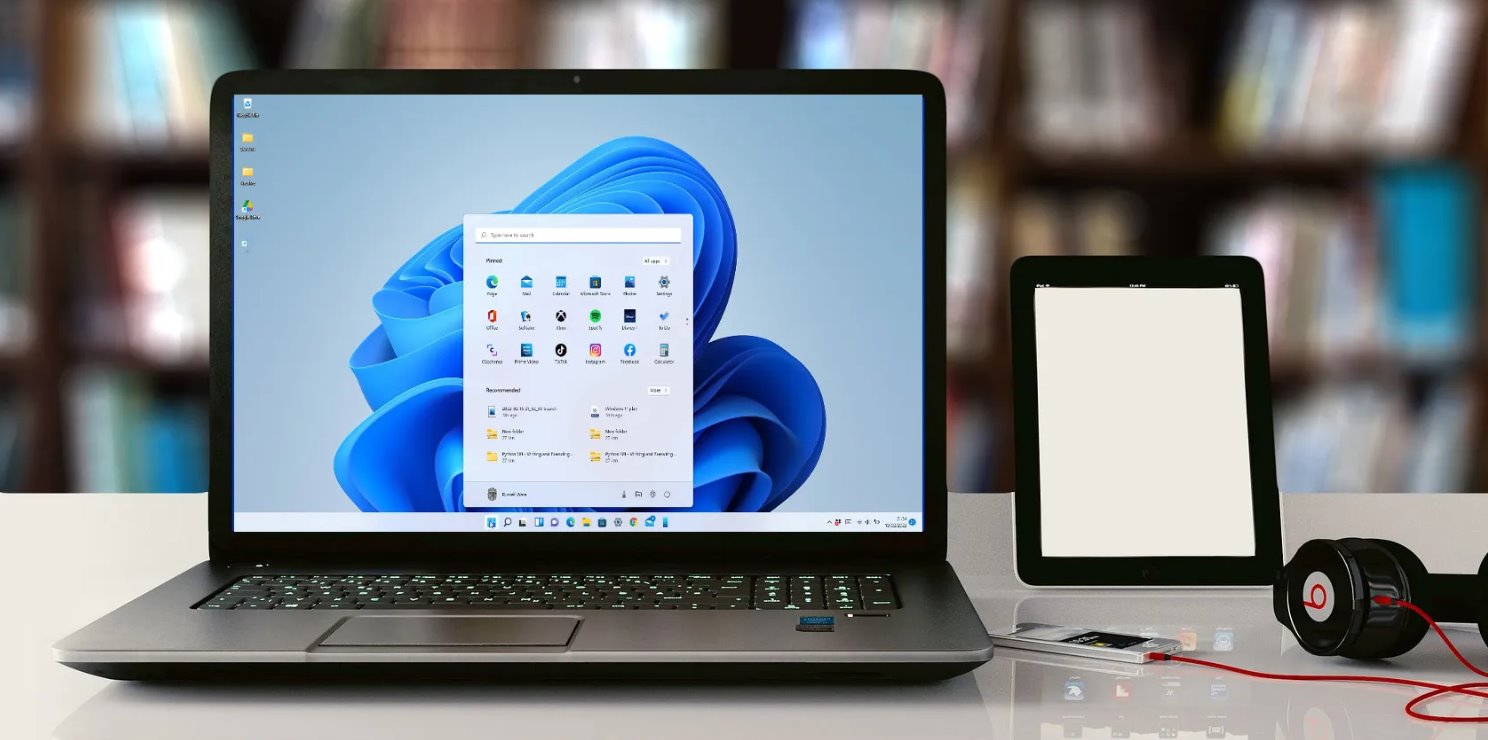
Step 2: Connect your tablet to your PC using a USB cable
Now that you have prepared your tablet and PC, it’s time to establish a physical connection between the two devices using a USB cable. Follow these steps to connect your tablet to your PC:
- Locate the USB port: On your tablet, find the USB port. It is typically located on the sides or the bottom of the device. On your PC, locate an available USB port where you can connect the USB cable.
- Connect the USB cable: Take one end of the USB cable and connect it to the USB port of your tablet. Ensure that the connection is secure and snug. Then, take the other end of the USB cable and connect it to the USB port on your PC.
- Wait for the devices to establish a connection: Once connected, your tablet and PC will recognize each other and establish a connection. This may take a few seconds. You may see a notification on your tablet screen indicating that it is connected to a computer.
- Check the connection status: To ensure that the connection is successful, you can check the status on both your tablet and PC. On your tablet, you can go to the notification panel or the settings menu to see if the connection is detected. On your PC, you can check the device manager or the file explorer to see if your tablet is listed as a connected device.
Once the connection is established, you are now ready to proceed to the next step, which involves enabling USB debugging on your tablet. This will enable your PC to communicate with your tablet effectively and allow you to access its files and perform other tasks.
Step 3: Enable USB debugging on your tablet
After connecting your tablet to your PC using a USB cable, the next step is to enable USB debugging on your tablet. USB debugging allows your PC to communicate with your tablet and access its files and features. Here’s how you can enable USB debugging:
- Access developer options: On your tablet, go to the Settings menu. Scroll down and look for the “About phone” or “About tablet” option. Tap on it, and then locate the “Build number” or “Build version” option.
- Enable developer mode: Tap on the “Build number” or “Build version” option seven times quickly. After a few taps, you will see a message that says, “You are now a developer!” This will enable the developer options on your tablet.
- Go back to settings: Once you have enabled developer mode, go back to the main settings menu. You will now see a new option called “Developer options.”
- Enable USB debugging: Tap on “Developer options,” and then locate the “USB debugging” option. Depending on your tablet, you may need to scroll down or look under the “Debugging” section. Toggle the switch next to “USB debugging” to enable it.
- Confirm the prompt: After enabling USB debugging, a prompt will appear on your tablet asking for your confirmation. Simply tap “OK” to allow USB debugging.
Once you have successfully enabled USB debugging on your tablet, your PC will now have the necessary access and permissions to interact with your tablet’s files and functionalities. This will enable you to perform various tasks, such as transferring files, debugging apps, and even installing custom ROMs on your tablet.
Now that USB debugging is enabled, you’re ready to move on to the next step, which involves installing the necessary drivers on your PC to ensure smooth communication between your tablet and computer.
Step 4: Install necessary drivers on your PC
After enabling USB debugging on your tablet, the next step is to install the necessary drivers on your PC. These drivers will allow your PC to recognize and communicate with your tablet effectively. Here’s how you can install the necessary drivers:
- Check for automatic driver installation: In many cases, when you connect your tablet to your PC for the first time, your PC will automatically search and install the required drivers. This process may take a few moments. Keep an eye on any notifications or prompts that may appear on your PC’s screen.
- Update drivers through Windows Update: If the automatic driver installation does not occur, you can manually update the drivers through Windows Update. On your PC, go to the Settings menu and navigate to the “Update & Security” section. Select “Windows Update” and click on the “Check for updates” button. Windows will search for the latest drivers and install them if available.
- Download drivers from the manufacturer’s website: If automatic installation and Windows Update do not provide the necessary drivers, you can visit the manufacturer’s website of your tablet and search for the specific drivers for your tablet model. Download and install the drivers provided by the manufacturer following their instructions.
- Ensure successful driver installation: After installing the drivers, check the device manager on your PC to ensure that your tablet is recognized and listed without any errors. You can access the device manager by searching for “Device Manager” in the Windows search bar or by right-clicking on the “My Computer” or “This PC” icon and selecting “Manage.”
Installing the necessary drivers is crucial for establishing a seamless connection between your tablet and PC. It ensures that both devices can communicate effectively and allows for smooth file transfers, device management, and other interactions.
With the necessary drivers installed, you’re now ready to proceed to the next step, which involves accessing your tablet’s files on your PC.
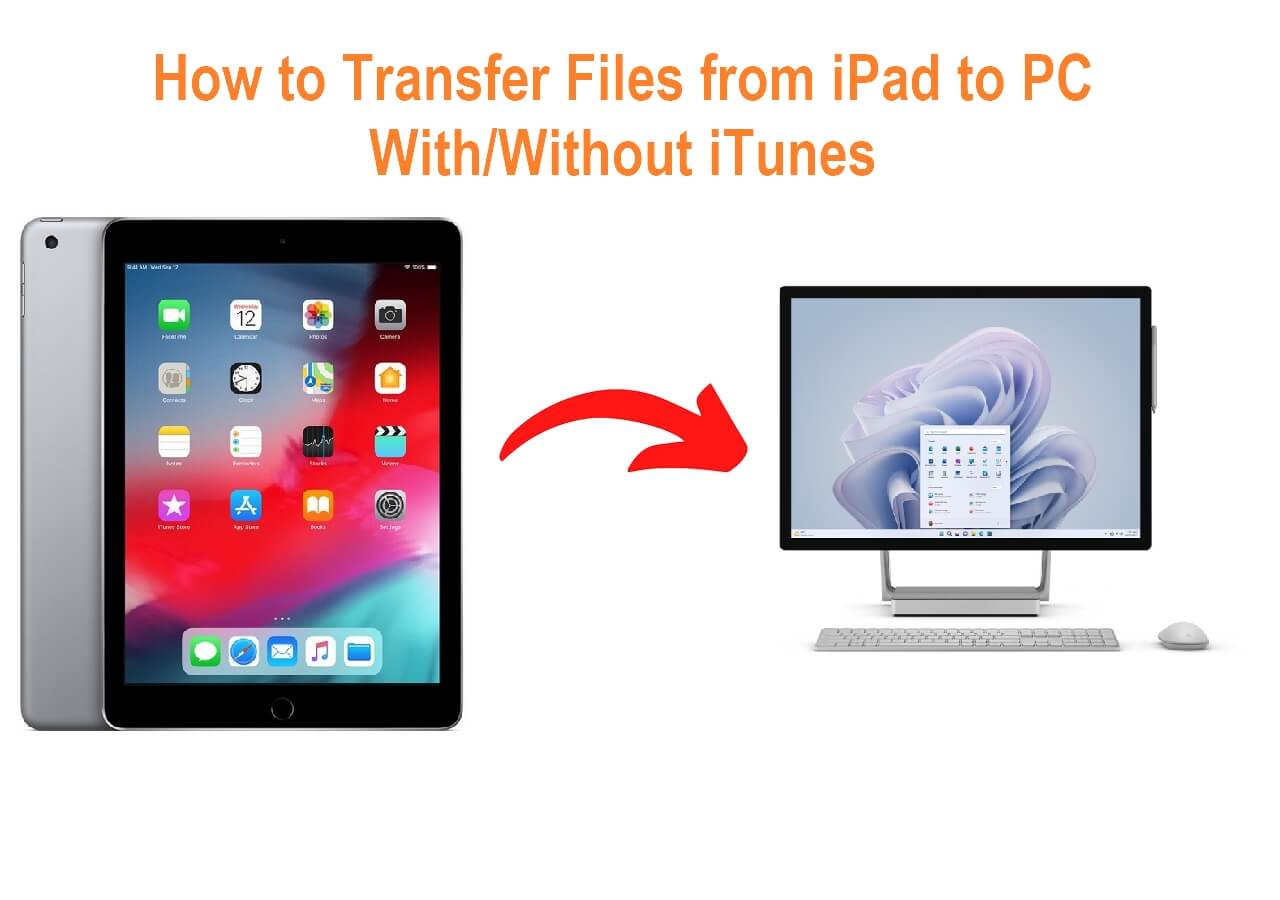
Step 5: Access your tablet’s files on your PC
Now that you have successfully connected your tablet to your PC and installed the necessary drivers, it’s time to access your tablet’s files on your PC. By doing so, you can manage, transfer, and organize files between the two devices conveniently. Here’s how you can access your tablet’s files on your PC:
- Open the file explorer: On your PC, open the file explorer. You can do this by clicking on the File Explorer icon in the taskbar or by pressing the Windows key + E on your keyboard.
- Locate your tablet: In the file explorer, you should see a list of drives and devices connected to your PC. Look for your tablet’s name or icon. It may be listed under “This PC” or “Devices and drives” with a unique name or label identifying your tablet.
- Access your tablet’s files: Double-click on your tablet’s name or icon in the file explorer to open it. This will display the files and folders stored on your tablet.
- Transfer files: To transfer files between your tablet and PC, simply drag and drop the files or folders from one location to another. You can copy files from your tablet to your PC or vice versa by selecting the files, right-clicking, and choosing the appropriate option such as “Copy” or “Cut” and then pasting them in the desired location.
- Organize files: Use the file explorer on your PC to create new folders, rename files, delete files, or perform any other file management tasks. This allows you to keep your tablet’s files organized and easily accessible from your PC.
By accessing your tablet’s files on your PC, you gain better control over your data, allowing you to seamlessly manage, transfer, and organize files as needed. This can be particularly useful for backing up important files, transferring large media files, or managing documents and photos between devices.
With this step completed, you can now proceed to the next step, which involves transferring files between your tablet and PC.
Step 6: Transfer files between your tablet and PC
Now that you have access to your tablet’s files on your PC, you can easily transfer files between the two devices. Whether you want to move photos, videos, documents, or any other type of file, transferring them is a straightforward process. Here’s how you can transfer files between your tablet and PC:
- Select the files: In the file explorer on your PC, navigate to the location of the files you want to transfer. Select the files by clicking on them while holding down the Ctrl key on your keyboard. You can select multiple files at once by clicking on each file.
- Copy or cut the files: Right-click on the selected files and choose the appropriate option, either “Copy” or “Cut.” If you choose “Copy,” the files will remain in the original location, while “Cut” will remove the files from their original location.
- Paste the files on your tablet: Open the file explorer on your tablet, navigate to the destination folder, and right-click inside the folder. Choose the “Paste” option to transfer the files from your PC to your tablet.
- Paste the files on your PC: Alternatively, if you want to transfer files from your tablet to your PC, open the file explorer on your PC, navigate to the destination folder, right-click inside the folder, and choose the “Paste” option. This will transfer the files from your tablet to your PC.
- Monitor the file transfer: During the file transfer process, you can monitor the progress through the file explorer on your PC. It will show you the status of each file being transferred, ensuring that the process is completed successfully.
By following these steps, you can easily transfer files between your tablet and PC, allowing for seamless sharing and synchronization of data. Whether you want to backup files from your tablet to your PC, or transfer files from your PC to your tablet for on-the-go access, this step enables you to manage your files effectively.
Now that you know how to transfer files between your tablet and PC, you are ready to move on to the final step of disconnecting your tablet from your PC.
Step 7: Disconnect your tablet from your PC
After you have finished transferring files and performing tasks between your tablet and PC, it’s important to properly disconnect your tablet from your PC to avoid any potential data loss or device damage. Here’s how you can safely disconnect your tablet from your PC:
- Close any open files or applications: Before disconnecting your tablet, make sure that all files and applications that were accessed during the connection are closed. This will ensure that there are no ongoing processes that may be interrupted.
- Eject your tablet: In the file explorer on your PC, locate your tablet, right-click on its name or icon, and select the “Eject” or “Safely Remove Hardware” option. This will notify your PC that you want to disconnect your tablet safely.
- Wait for the notification: After selecting the “Eject” option, wait for a notification or prompt on your PC that says it is safe to remove the device. This may take a few seconds. Do not disconnect the USB cable until you see this notification.
- Disconnect the USB cable: Once you have received the notification, gently disconnect the USB cable from your tablet and then from your PC. Be careful not to apply excessive force or pull on the cable at an angle to avoid damaging the ports.
- Confirm the disconnection: On your tablet, check for any notification that indicates the USB connection has been disconnected. This ensures that your tablet is aware of the disconnection and prevents any ongoing processes from being interrupted.
By following these steps, you can safely disconnect your tablet from your PC without risking any data loss or device damage. Properly disconnecting ensures that your tablet and PC maintain their integrity and functionality for future connections and interactions.
Congratulations! You have successfully completed the process of connecting, accessing, and transferring files between your tablet and PC. With this knowledge, you can now easily establish a connection anytime you need to manage files, perform backups, or sync data between the two devices.
Conclusion
Connecting your tablet to your PC opens up a multitude of possibilities for file management, data transfer, and device synchronization. By following the step-by-step guide outlined in this article, you can easily establish a connection between your tablet and PC, enabling seamless communication and efficient file sharing.
We began by highlighting the importance of preparing your tablet and PC, ensuring compatibility, updating software, and gathering the necessary cables. Then, we moved on to connecting your tablet to your PC using a USB cable, followed by enabling USB debugging on your tablet to facilitate effective communication between the devices.
Installing the necessary drivers on your PC is a crucial step to ensure smooth interaction between your tablet and computer. Once this is complete, you can comfortably access your tablet’s files on your PC through the file explorer, facilitating effortless file management, organization, and transfers.
Transferring files between your tablet and PC is made simple by selecting, copying, or cutting the files on one device, and pasting them onto the other. This allows for seamless sharing and synchronization of data, making it convenient to backup important files, transfer large media files, and manage documents across devices.
Finally, we emphasized the importance of safely disconnecting your tablet from your PC to avoid any potential data loss or device damage. By following the proper steps and waiting for the notification to disconnect, you can ensure the integrity and functionality of both your tablet and PC for future connections.
By mastering the process of connecting your tablet to your PC and efficiently managing files between the two devices, you can unlock the full potential of these technologies working in harmony. Whether you’re a student, professional, or just a tech-savvy individual, this knowledge empowers you to seamlessly synchronize data, access files, and manage your digital life more efficiently.
Now that you have completed this guide, you can confidently connect your tablet to your PC and enjoy the benefits of a streamlined and connected digital experience!