Introduction
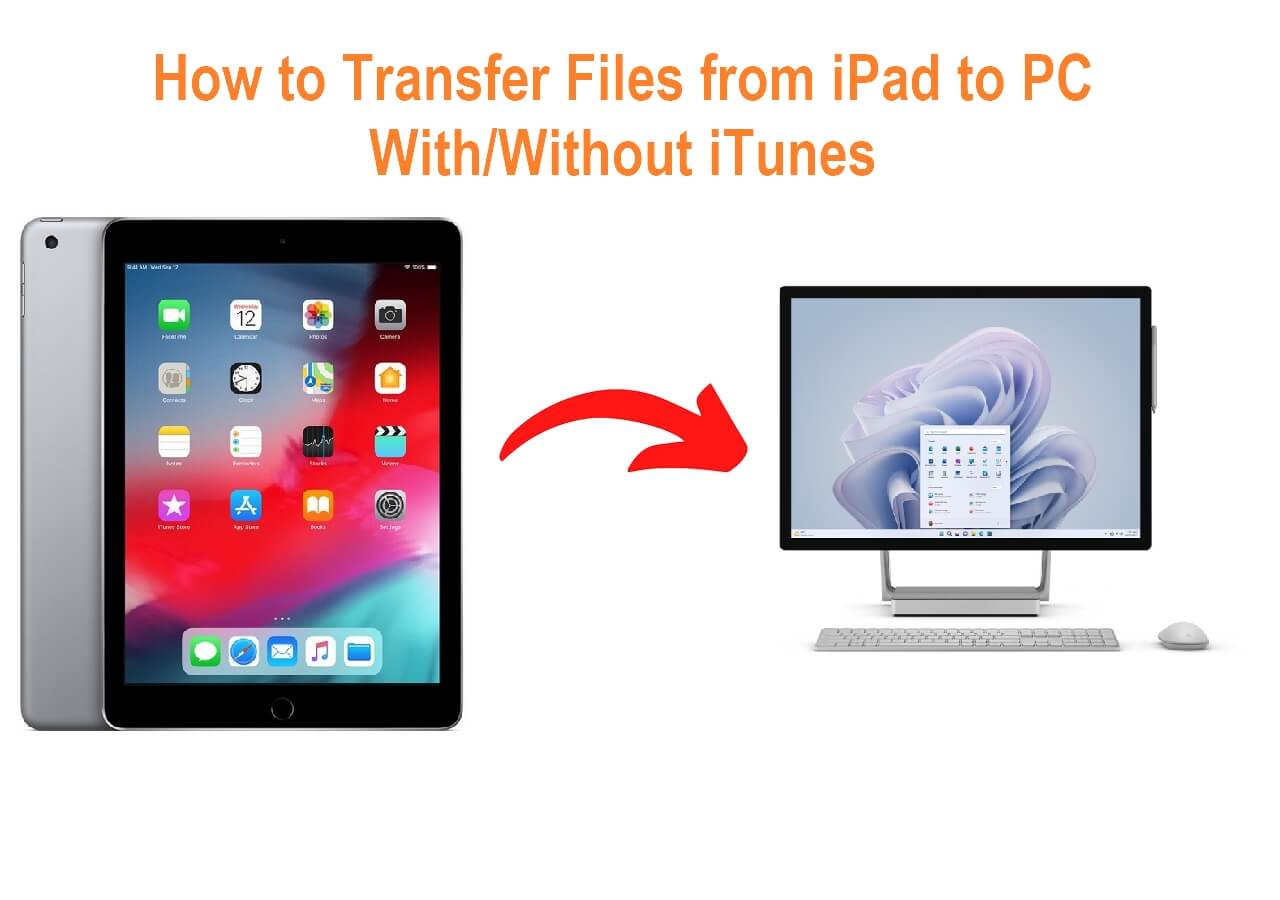
Welcome to our guide on how to transfer pictures from your tablet to your PC. Whether you want to free up space on your tablet or have a larger screen to view and edit your photos, transferring them to your PC is a quick and convenient solution. In this article, we will walk you through the step-by-step process of transferring your pictures, ensuring that you can access and enjoy them on your computer.
Transferring pictures from your tablet to your PC is essential for several reasons. First and foremost, it allows you to create backups of your precious memories, ensuring that they are safe if anything happens to your tablet. Second, transferring pictures to your PC gives you more storage space on your tablet, allowing you to continue capturing new moments without worrying about running out of memory. Additionally, viewing and editing pictures on a larger screen can provide a more enjoyable and immersive experience.
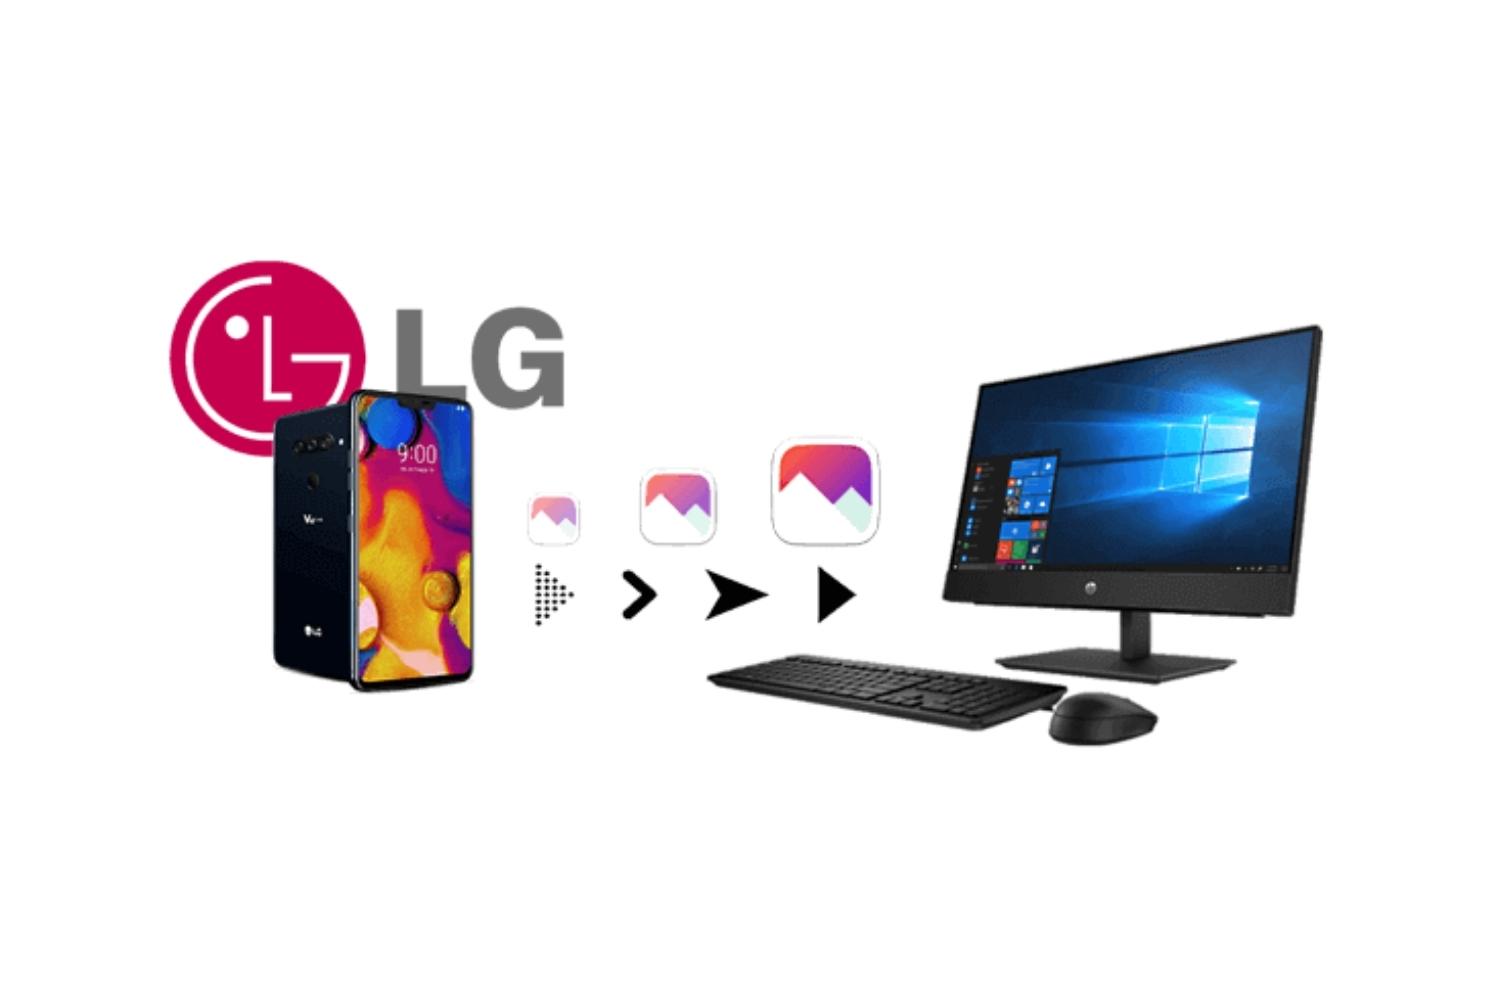
There are different methods you can use to transfer pictures from your tablet to your PC, depending on your preferences and the resources available to you. The most common methods include using a USB cable, utilizing cloud storage services, or sending the pictures via email or messaging apps. We will explore each of these options in detail and guide you through the process step by step.
Before we dive into the transfer methods, it is important to ensure that your tablet is properly connected to your PC and that you have selected the pictures you want to transfer. We will cover all these preliminary steps to ensure a smooth and successful transfer process. So, let’s get started!
Step 1: Connect the Tablet to the PC
The first step in transferring pictures from your tablet to your PC is to establish a connection between the two devices. By connecting your tablet to your PC, you can initiate the transfer process and access your tablet’s files from your computer.
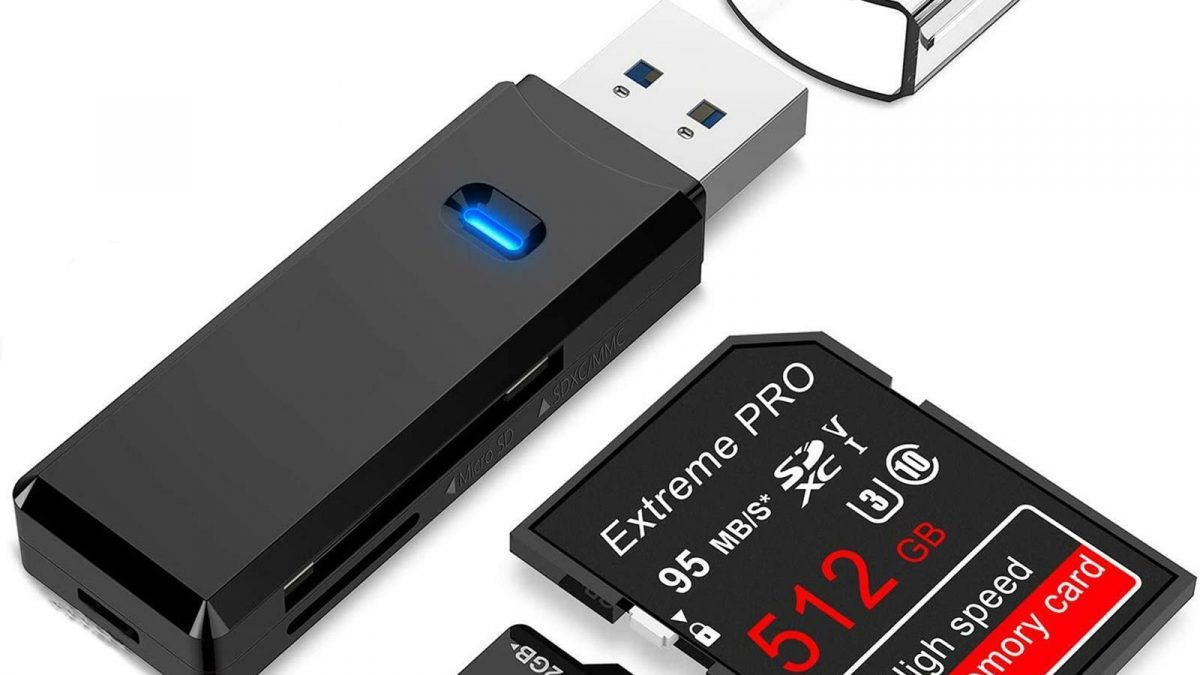
The most common method to connect your tablet to your PC is by using a USB cable. Make sure you have a compatible USB cable that can connect to both your tablet and your PC. Connect one end of the USB cable to your tablet’s charging port and the other end to an available USB port on your PC.
Once the USB cable is connected, your tablet should prompt you to select a USB connection mode. Choose the option that allows you to transfer files or media. This will enable your PC to recognize your tablet as a storage device.
After connecting your tablet to your PC, you should be able to see your tablet listed as a removable storage device or an external drive in the file explorer on your computer. Now you can proceed to the next step and select the pictures you want to transfer.
Alternatively, if your tablet and your PC are connected to the same Wi-Fi network, you can use wireless methods such as Wi-Fi direct or Wi-Fi file transfer apps to establish a connection. These methods allow you to transfer files between devices without the need for a physical cable. Simply follow the instructions provided by the specific app or feature you are using to connect your tablet to your PC wirelessly.
It’s essential to ensure that your tablet is connected securely to your PC throughout the transfer process. If you encounter any connectivity issues, try using a different USB cable, connecting to a different USB port on your PC, or restarting both your tablet and your PC.
With your tablet successfully connected to your PC, you are now ready to move on to the next step and select the pictures you wish to transfer.
Step 2: Select the Pictures You Want to Transfer
Now that you have successfully connected your tablet to your PC, it’s time to choose the pictures you want to transfer. This step ensures that you only move the desired photos to your computer, saving time and storage space.
Open the gallery or photos app on your tablet, where all your pictures are usually stored. Browse through your photo library and select the specific pictures you wish to transfer. You can select multiple pictures by tapping on them one by one or by using the select-all option if available.
If you have grouped your pictures into albums or folders, you can choose to transfer entire albums or specific folders rather than selecting individual photos. This can be especially convenient if you want to transfer a large set of photos related to a particular event or trip.
During the selection process, consider organizing your pictures based on themes, dates, or any other criteria that will help you navigate and find them easily on your PC. This can save you time when you want to access or share specific photos in the future.
If you come across any duplicate pictures, blurry images, or photos that you no longer need, take this opportunity to delete them from your tablet. This will not only declutter your photo library but also free up valuable storage space on your device.
Once you have made your selection, ensure that all the chosen pictures are highlighted or marked in some way to indicate that they are ready for transfer. Double-check to make sure you haven’t missed any pictures that you intended to transfer.
Now that you have successfully selected the pictures you want to transfer, you can proceed to the next step and choose the transfer method that best suits your needs and preferences.
Step 3: Choose the Transfer Method
After selecting the pictures you want to transfer, it’s time to decide how you will transfer them from your tablet to your PC. There are several transfer methods available, each with its own advantages and considerations. Choose the method that suits your preferences, available resources, and convenience.
Option 1: Transferring via USB Cable
The most common and straightforward method is transferring pictures from your tablet to your PC using a USB cable. This method offers a direct and reliable connection between the two devices. Simply connect your tablet to your PC using the USB cable, as discussed in Step 1.
Once your tablet is connected to your PC, you can access its files through the file explorer on your computer. Locate the folder where your pictures are stored on your tablet, and then select the relevant photos or folders you want to transfer. Next, copy or drag the selected pictures to a location on your PC, such as a specific folder or your desktop.
Option 2: Transferring via Cloud Storage Services
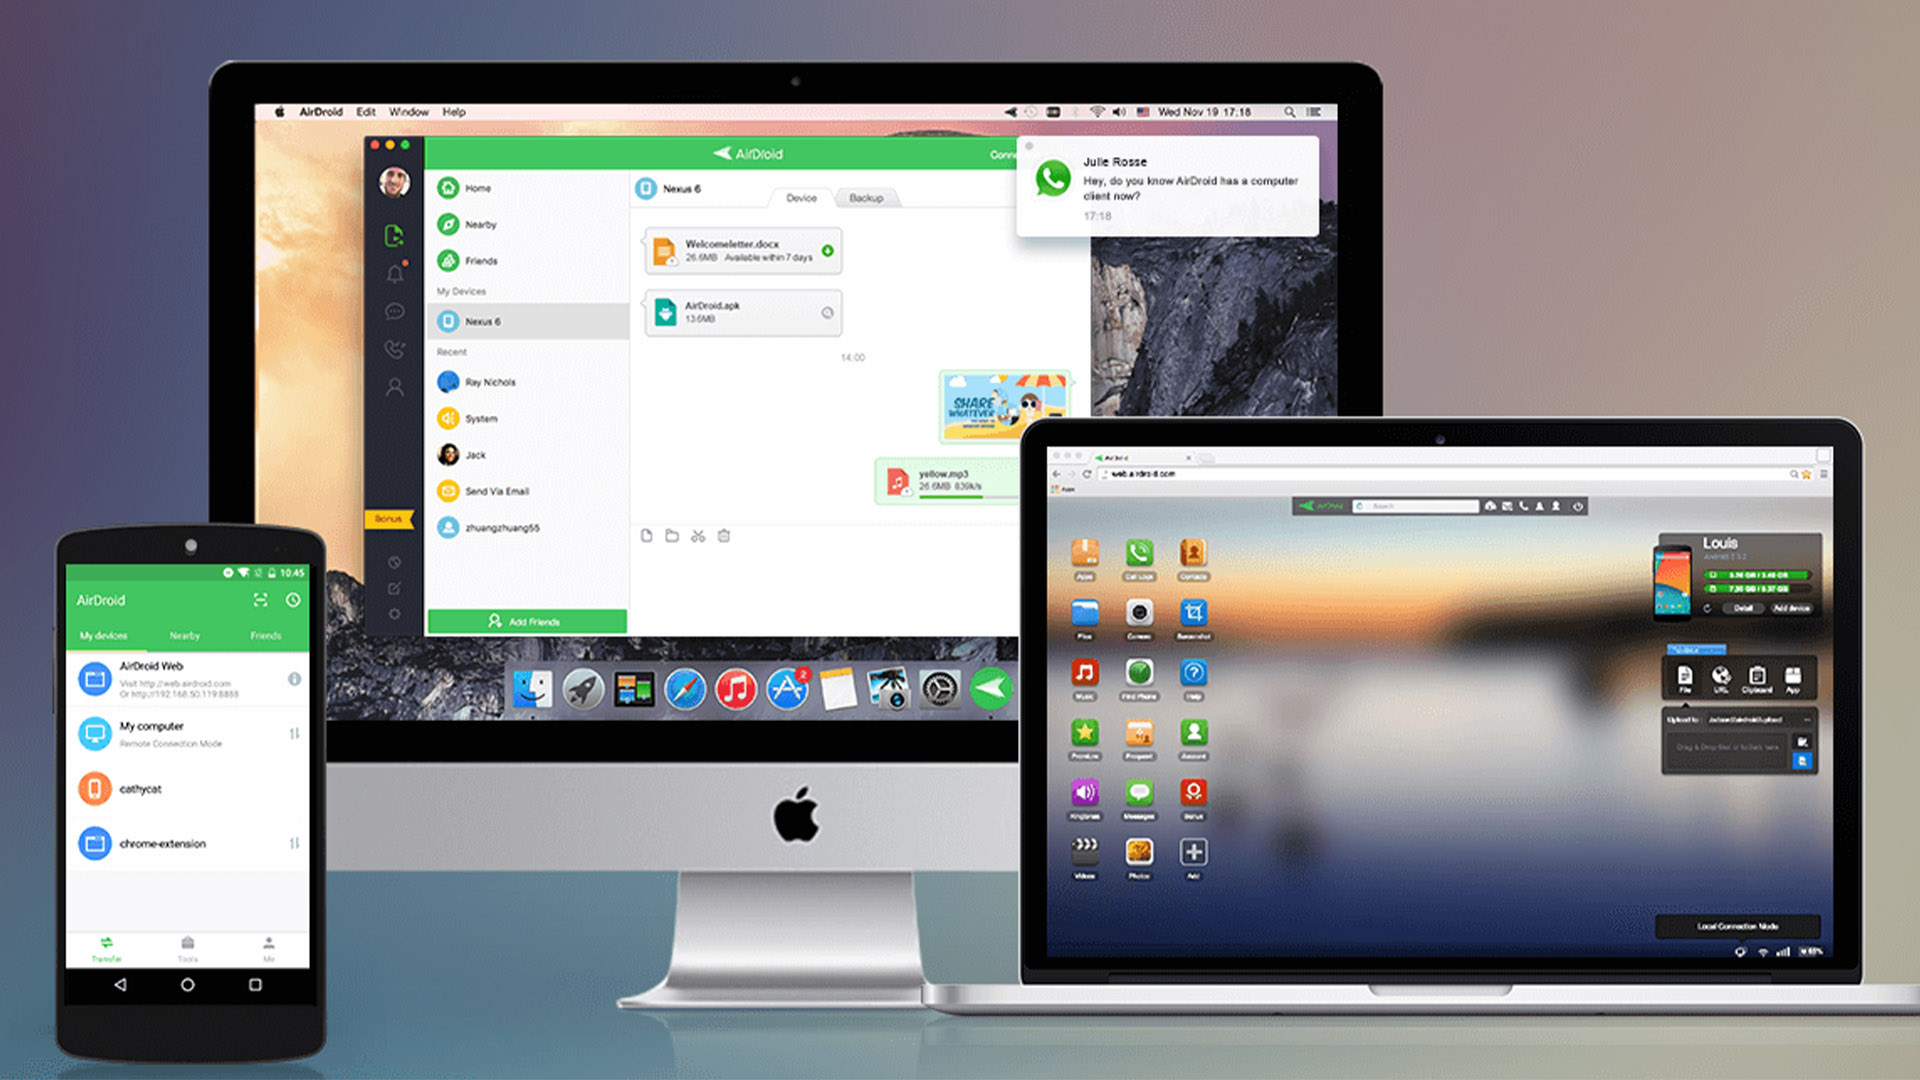
If you prefer a wireless and cloud-based approach, you can utilize cloud storage services to transfer your pictures. Cloud storage services like Google Drive, Dropbox, or Microsoft OneDrive offer convenient options for storing and accessing your files from different devices.
First, ensure that you have the cloud storage app installed on both your tablet and your PC. Upload the selected pictures from your tablet to the cloud storage app. Then, open the same app on your PC and sign in using the same account. The uploaded pictures should now be accessible on your PC, allowing you to download and save them to your desired location.
Option 3: Transferring via Email or Messaging Apps
If you only need to transfer a small number of pictures or want to send them to someone else, using email or messaging apps can be a convenient choice. Simply attach the selected pictures to an email or message and send them to your own email address or another recipient.
Once received, open the email or message on your PC and download the attached pictures to your computer. Make sure to save them in a location where you can easily locate and access them later.
Consider the size of the pictures and the limitations of the email or messaging app you are using. Some apps may have restrictions on the maximum file size or number of attachments. If your pictures exceed these limitations, consider using other transfer methods mentioned earlier.
Choose the transfer method that best suits your needs and preferences. Once you have decided on the method, follow the specific instructions for that method to complete the transfer process. Now that you have chosen the transfer method, you are ready to move on to the next step and initiate the transfer of your pictures.
Option 1: Transferring via USB Cable
Transferring pictures from your tablet to your PC using a USB cable is a convenient and reliable method. It allows for a direct connection between the two devices, ensuring a fast and secure transfer process. Follow the steps below to transfer your pictures via USB cable:
- Connect one end of the USB cable to the charging port of your tablet and the other end to an available USB port on your PC.
- Ensure that your tablet is turned on and unlocked.
- Your tablet may prompt you to select a USB connection mode. Choose the option that allows for file transfer or media transfer.
- On your PC, open the file explorer or file manager.
- You should see your tablet listed as a removable storage device or an external drive in the file explorer.
- Click on the tablet’s icon to access its files.
- Navigate to the folder or location where your pictures are stored on your tablet.
- Select the desired pictures you want to transfer by clicking on them individually or by using the select-all option.
- Right-click on the selected pictures and choose the “Copy” option, or simply drag and drop them to a location on your PC.
- Select the destination folder on your PC where you want to save the transferred pictures.
- Click on the “Paste” option to complete the transfer process.
During the transfer, make sure not to disconnect the USB cable or turn off your tablet or PC. Interrupting the transfer process may result in incomplete or corrupted files.
Once the transfer is complete, you can safely disconnect the USB cable from both devices. Your pictures should now be accessible on your PC, allowing you to view, edit, and organize them as desired.
Remember to remove any unnecessary or duplicate pictures from your tablet to save storage space and keep your photo library organized. Regularly transferring your pictures from your tablet to your PC is a good practice to ensure that your memories are backed up and easily accessible.
Now that you are familiar with transferring pictures via USB cable, you can proceed to the next step and organize and save the transferred pictures on your PC.
Option 2: Transferring via Cloud Storage Services
Transferring pictures from your tablet to your PC using cloud storage services is a convenient and flexible method. With cloud storage, you can securely store your pictures online and access them from various devices. Follow the steps below to transfer your pictures via cloud storage services:
- Ensure that you have a preferred cloud storage service installed on both your tablet and your PC. Popular options include Google Drive, Dropbox, Microsoft OneDrive, and iCloud.
- Open the cloud storage app on your tablet and sign in using your account credentials. If you don’t have an account, you may need to create one.
- Navigate to the folder or location where your pictures are stored on your tablet within the cloud storage app.
- Select the pictures you want to transfer by tapping on them individually or using the select-all option if available.
- Look for the upload or share icon within the cloud storage app and follow the prompts to upload or share the selected pictures.
- Make sure the pictures have finished uploading to the cloud storage before proceeding to the next step.
- Open the same cloud storage app on your PC and sign in using the same account credentials.
- Navigate to the location where the pictures were uploaded on your tablet within the cloud storage app on your PC.
- Select the desired pictures and choose the option to download or save them to your PC.
- Select the destination folder on your PC where you want to save the transferred pictures.
- Click on the download or save button to complete the transfer process.
Ensure that you have a stable and reliable internet connection throughout the transfer process to avoid any interruptions or delays.
Once the transfer is complete, you can access and manage the transferred pictures on your PC. Cloud storage services often provide additional features such as automatic syncing, file organization, and sharing options, making it easier to organize and share your pictures with others.
Remember to regularly check the storage space in your cloud storage account to ensure you have enough space for new pictures. Consider deleting any unnecessary or duplicate pictures from the cloud storage to free up space and keep your account organized.
Now that you are familiar with transferring pictures via cloud storage services, you can proceed to the next step and organize and save the transferred pictures on your PC.
Option 3: Transferring via Email or Messaging Apps
Transferring pictures from your tablet to your PC via email or messaging apps is a convenient and versatile method, especially when you need to send a few pictures or share them with others. Follow the steps below to transfer your pictures via email or messaging apps:
- Open the gallery or photos app on your tablet where your pictures are stored.
- Browse through your photo library and select the pictures you want to transfer by tapping on them individually.
- Look for the share icon within the app, which is usually represented by an arrow pointing out of a box or a three-dot menu.
- Choose the option to share the selected pictures via email or messaging apps.
- Depending on your device and available apps, you will be presented with a list of email apps or messaging apps installed on your tablet.
- Select the desired app or enter the recipient’s email address or messaging contact details.
- Add a subject and any necessary message or instructions if required.
- Click on the send button to initiate the transfer process.
The selected pictures will be attached to the email or message and sent to the designated recipient or yourself. Ensure that your tablet has an active internet connection during this process.
Open the email or message on your PC, either by accessing your email account via a web browser or using a desktop email client or messaging apps. Locate the email or message with the attached pictures and download or save the attached pictures to your PC.
If you are using a messaging app, you may need to long-press on the picture to access the options for saving or downloading it.
Choose a destination folder on your PC where you want to save the transferred pictures. Click on the download or save button to complete the transfer process.
Ensure that the file size limit for your email or messaging app allows the transfer of the selected pictures. If the file size is too large, consider using other transfer methods mentioned earlier or compressing the pictures to reduce their size.
Once the transfer is complete, you can access, view, and manage the transferred pictures on your PC. Remember to delete any unnecessary or duplicate pictures from your tablet or email/messaging app to save storage space and keep your files organized.
Now that you are familiar with transferring pictures via email or messaging apps, you can proceed to the next step and organize and save the transferred pictures on your PC.
Step 4: Transfer the Pictures
With the selection made and the transfer method chosen, it’s time to initiate the transfer of your pictures from your tablet to your PC. Depending on the method you have selected, follow the specific instructions below:
If using a USB cable:
- Ensure that your tablet is connected to your PC using the USB cable, as discussed in Step 1.
- On your PC, open the file explorer or file manager.
- Locate and open the folder where your tablet is recognized as a removable storage device or an external drive.
- Within the tablet’s folder, find the specific folder or location where your selected pictures are stored.
- Select the pictures you want to transfer by clicking on them individually or using the select-all option.
- Right-click on the selected pictures and choose the “Copy” option, or simply drag and drop them to a location on your PC.
- Select the destination folder on your PC where you want to save the transferred pictures.
- Click on the “Paste” option to begin the transfer process.
If using cloud storage services:
- Ensure that you have successfully uploaded the selected pictures to the cloud storage service from your tablet.
- Open the cloud storage app or service on your PC and sign in using the same account credentials.
- Navigate to the location where the pictures were uploaded within the cloud storage app on your PC.
- Select the desired pictures and choose the option to download or save them to your PC.
- Select the destination folder on your PC where you want to save the transferred pictures.
- Click on the download or save button to begin the transfer process.
If using email or messaging apps:
- Ensure that you have successfully sent the selected pictures to your email address or messaging contact from your tablet.
- Open the email or message on your PC, either by accessing your email account via a web browser or using a desktop email client or messaging app.
- Locate the email or message with the attached pictures and download or save the attached pictures to your PC.
- Select the destination folder on your PC where you want to save the transferred pictures.
- Click on the download or save button to begin the transfer process.
During the transfer process, ensure that your tablet remains connected, and your PC maintains a stable internet connection if applicable. Interrupting the transfer or disconnecting prematurely may lead to incomplete or corrupted files.
After the transfer is complete, you can access and manage your transferred pictures on your PC. Take some time to organize and rename the files if necessary to make them easier to locate and browse. And don’t forget to delete any unwanted or duplicate pictures from your tablet or the app you used for the transfer process to save storage space.
Congratulations! You have successfully transferred your pictures from your tablet to your PC. Now you can enjoy viewing, editing, and sharing your favorite moments on a bigger screen!
Step 5: Organize and Save the Pictures on Your PC
Now that you have successfully transferred your pictures from your tablet to your PC, it’s time to organize and save them in a way that suits your preferences. By properly organizing and naming your pictures, you can easily locate and browse through them whenever you want to relive those special moments. Follow the steps below to organize and save your pictures on your PC:
- Create a dedicated folder or directory on your PC to store your transferred pictures. You can choose a descriptive name, such as “Tablet Pictures” or “Family Vacation.”
- Within the main folder, consider creating subfolders to further categorize your pictures. For example, you could have separate folders for different events, trips, or special occasions.
- Open your main folder and move the transferred pictures into the appropriate subfolders based on their contents or dates. You can do this by selecting the pictures and dragging them into the desired subfolder.
- If desired, further organize the subfolders by creating additional subfolders within them. For instance, in a “Family Vacation” folder, you could have subfolders for each day or activity.
- Consider renaming your pictures to make them more identifiable. You can include the date, location, or a brief description in the file name. This will make it easier to search for specific pictures later on.
- Use image-editing software or applications to enhance or edit your pictures, if desired. This can include adjusting brightness, cropping, applying filters, or removing red-eye.
- Regularly back up your organized picture folders to an external storage device or cloud storage to ensure the safety of your cherished memories.
Organizing and saving your pictures in a structured manner will not only make it easier for you to find and enjoy them but also streamline any future sharing or printing needs. Take some time to go through your pictures, sort them into appropriate folders, and ensure that everything is well-organized.
Remember to remove any unnecessary or duplicate pictures to save storage space on your PC and keep your photo library clutter-free. By staying organized, you can ensure that your image collection remains manageable and accessible for years to come.
Congratulations! You have successfully organized and saved your transferred pictures on your PC. Now you can easily locate and relive those special moments whenever you want.
Conclusion
Transferring pictures from your tablet to your PC is a simple and essential process that allows you to backup, organize, and enjoy your precious memories on a larger screen. By following the step-by-step guide outlined in this article, you can successfully transfer your pictures and ensure their accessibility and longevity.
We explored three different transfer methods: using a USB cable, utilizing cloud storage services, and sending pictures via email or messaging apps. Each method offers its own advantages and considerations, allowing you to choose the option that best fits your needs and preferences.
Regardless of the method you choose, remember to carefully select the pictures you want to transfer, ensuring that you only transfer the ones that are meaningful to you. This will help save storage space and keep your photo library organized.
Once transferred, take the time to organize and save your pictures on your PC. Create dedicated folders, organize them with subfolders, and consider renaming the files to make them more identifiable. This will make it easier to find and browse through your pictures later on.
Regularly back up your organized picture folders to ensure the safety of your memories. Consider using external storage devices or cloud storage services to store your pictures and protect them from loss or damage.
By following these steps, you can confidently transfer, organize, and save your pictures from your tablet to your PC, allowing you to enjoy and share your cherished memories for years to come.