Introduction
Transferring pictures from your PC to your tablet allows you to conveniently access and enjoy your favorite memories on a portable device. Whether you want to share vacation snapshots with friends or simply view your personal photo collection on a larger screen, the process is relatively simple and requires only a few steps. In this article, we will guide you through the process of transferring pictures from your PC to your tablet.
With the advancements in technology, tablets have become a popular choice for people to store and view their digital photos. The larger screen size and portability make it an ideal device for showcasing pictures or sharing them with others. By transferring your photos to your tablet, you no longer have to rely on your PC to access and enjoy your precious moments captured in images.
Before we dive into the step-by-step process, it’s important to note that the exact method may vary depending on the operating system of your tablet. The instructions provided in this guide are based on the most commonly used platforms, including Android and iOS. However, the general concept of transferring pictures from a PC remains the same, regardless of the specific tablet model you own.
So, if you’re ready to transfer your pictures from your PC to your tablet and unlock the freedom of enjoying your memories on the go, let’s get started with the first step: connecting your tablet to your computer.
Step 1: Connect your tablet to your computer
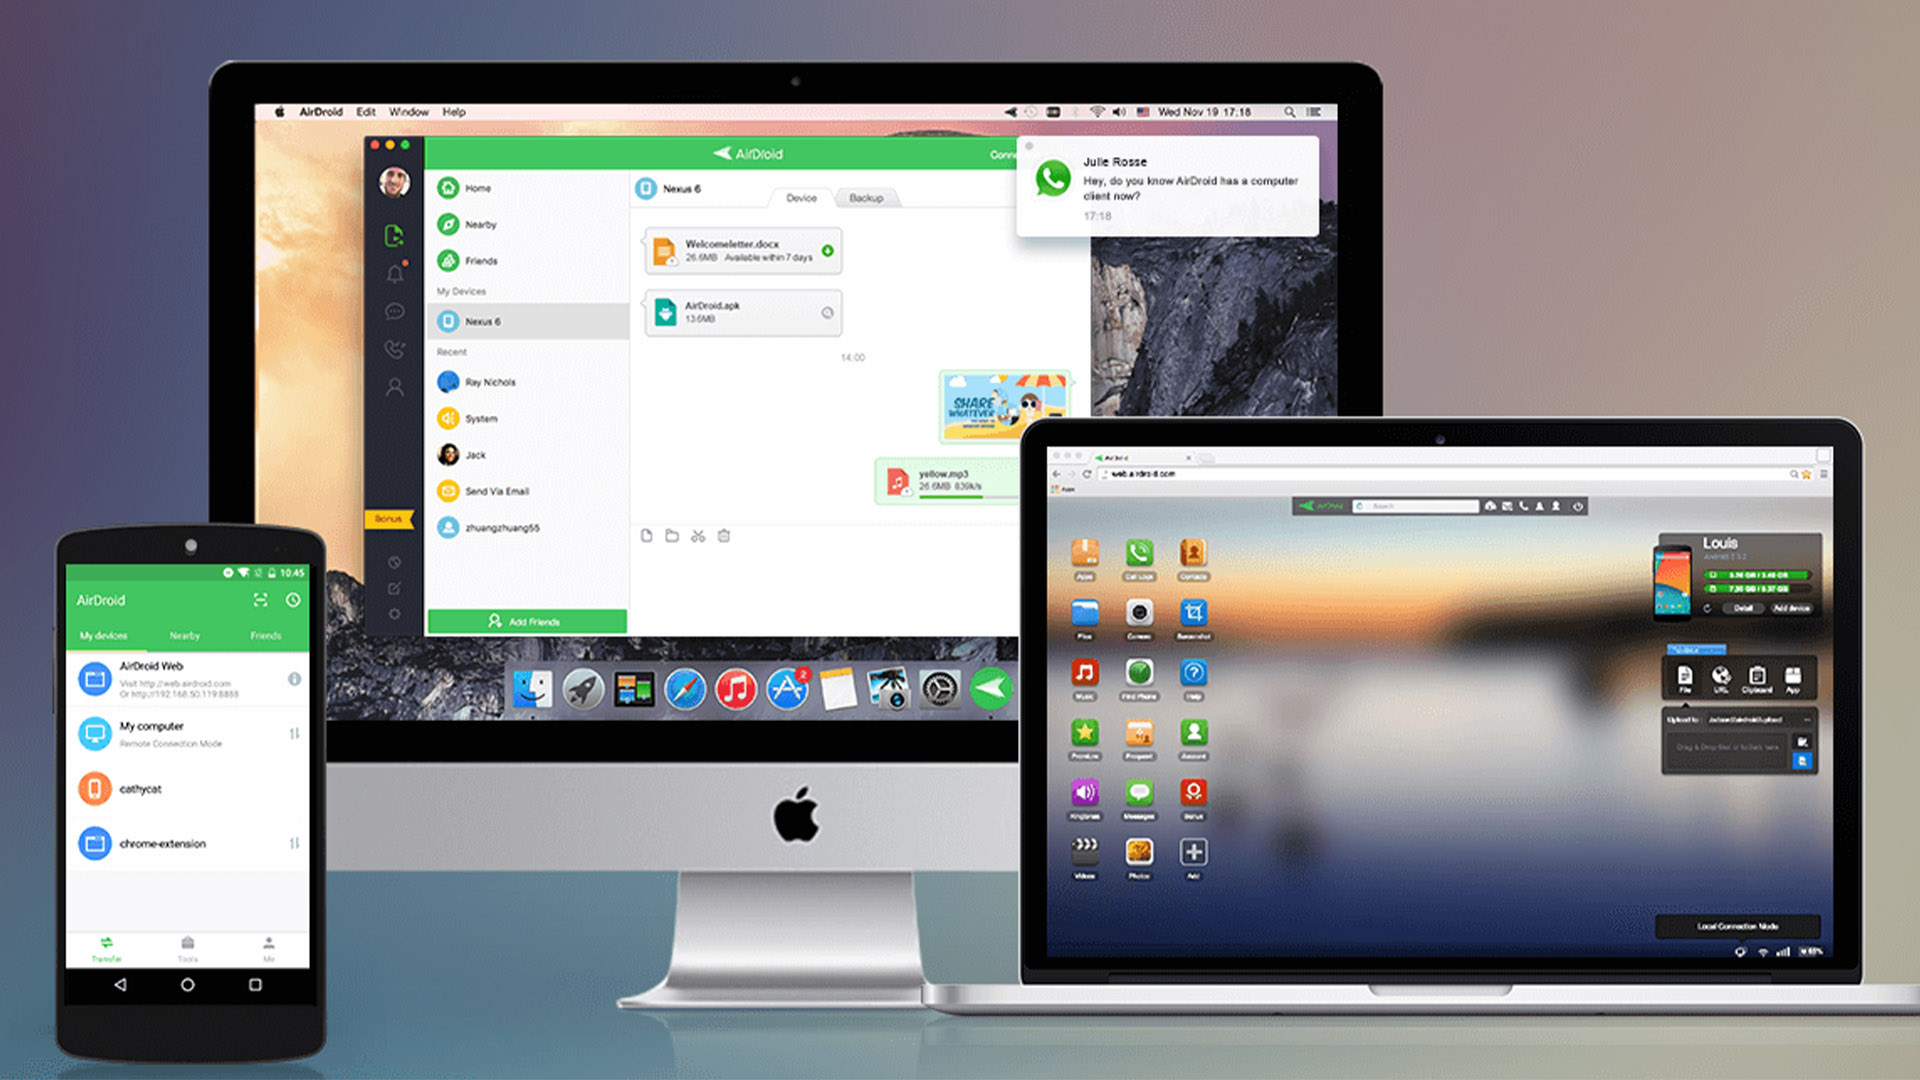
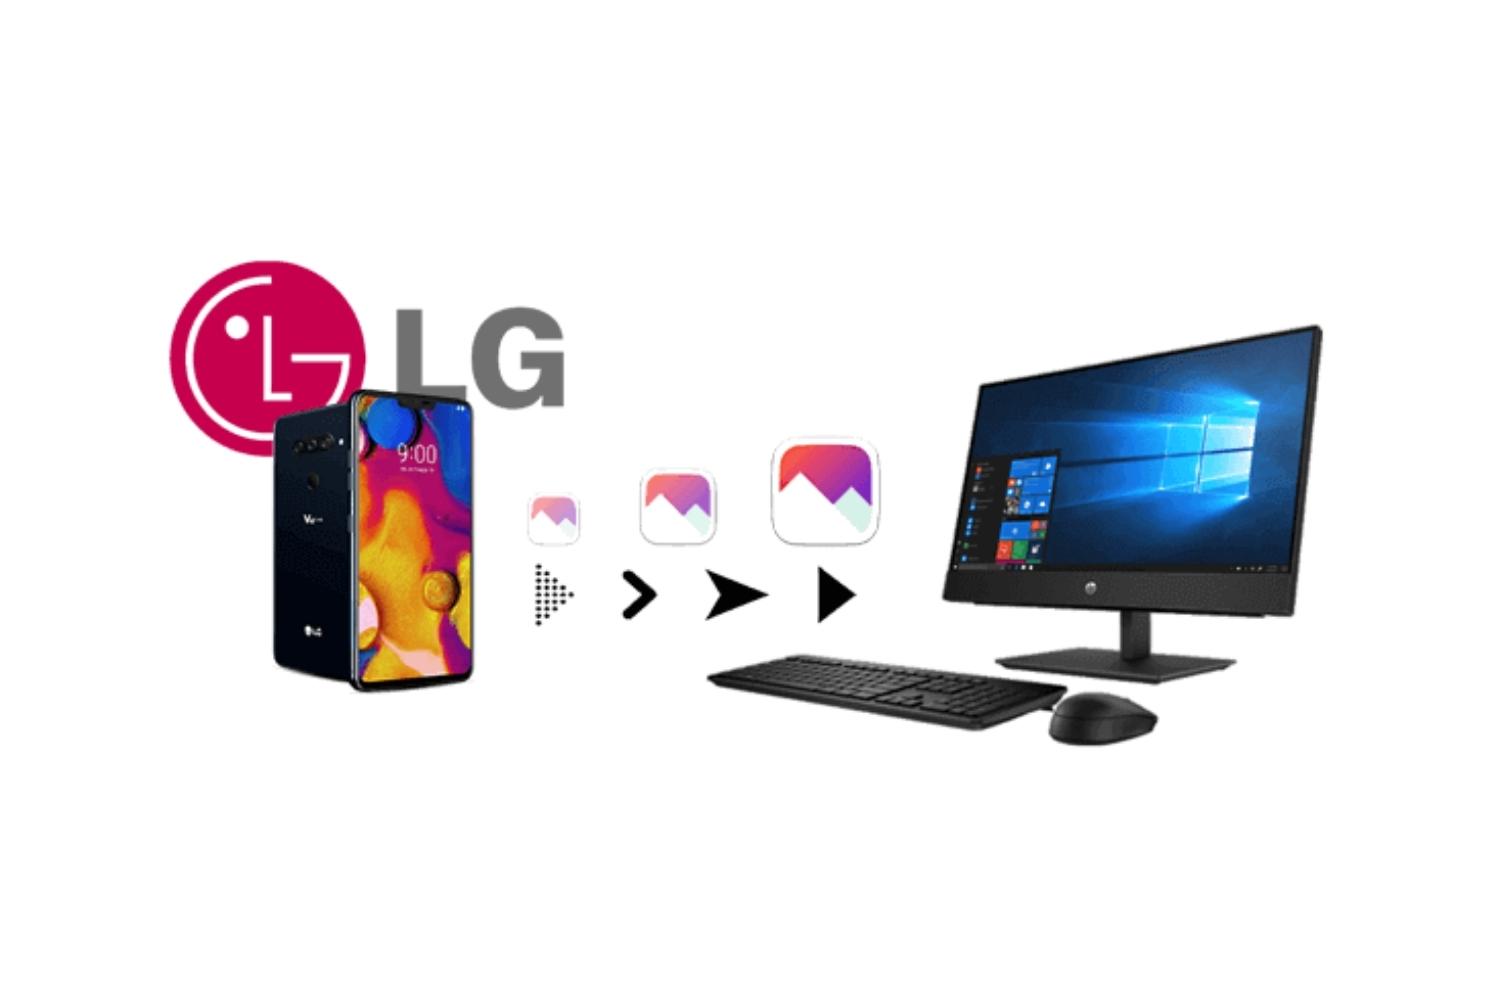
The first step in transferring pictures from your PC to your tablet is to establish a connection between the two devices. This can be done using a USB cable or via a wireless connection, depending on the capabilities of your tablet and your personal preference.
If your tablet supports USB connectivity, you can use a USB cable to establish a direct connection between your tablet and your PC. Locate the USB port on your tablet and insert one end of the USB cable into the port. Then, connect the other end of the USB cable to a USB port on your computer.
If your tablet supports wireless connectivity, you may be able to connect it to your PC using Bluetooth or Wi-Fi. Check your tablet’s user manual or settings menu for instructions on how to enable wireless connectivity and establish a connection with your computer.
Once the connection is established, your tablet should be recognized as a connected device by your PC. This will allow you to access the tablet’s storage and transfer files between the two devices.
It’s important to ensure that the connection is stable and secure throughout the picture transfer process. A weak or unstable connection may result in incomplete or corrupted file transfers. If you are using a USB cable, make sure it is securely plugged into both your tablet and your computer. If you are using a wireless connection, ensure that both devices are within range of each other and that there are no obstacles interfering with the signal.
Now that you have successfully connected your tablet to your computer, it’s time to move on to the next step: selecting the pictures you want to transfer.
Step 2: Select the pictures you want to transfer
After establishing a connection between your tablet and your computer, the next step is to select the pictures you want to transfer. This allows you to choose specific photos or entire albums to transfer, depending on your preference.
To begin selecting pictures, open the file explorer or file manager on your computer. Navigate to the location where your photos are stored. This could be in a specific folder or within a photo management software.
Once you have located your photos, you can either select individual pictures by clicking on them or use keyboard shortcuts to select multiple photos at once. For Windows users, hold down the Ctrl key while clicking on each desired photo. Mac users can hold down the Command key instead.
If you want to transfer an entire album, you can select all the pictures within the album by pressing Ctrl+A (Windows) or Command+A (Mac). This will automatically select all the files in the folder or album.
It’s important to be selective in your photo choices, as transferring a large number of files may take longer and occupy more storage space on your tablet. Consider choosing only the photos that are most important to you or those that you want to share or view on your tablet.
After selecting the pictures you want to transfer, you can proceed to the next step: copying the pictures to your tablet.
Step 3: Copy the pictures to your tablet
Once you have selected the pictures you want to transfer from your PC to your tablet, it’s time to copy them over. There are a few different methods you can use to accomplish this, depending on your specific tablet and operating system.
If you are using a Windows computer, you can simply right-click on the selected pictures and choose the “Copy” option from the context menu. Then, navigate to your tablet’s storage location by opening the file explorer or file manager on your computer. Find the designated folder where you want to store the pictures on your tablet, right-click inside the folder, and select “Paste” to copy the photos over.
If you are using a Mac computer, you can use the same process by selecting the pictures and choosing “Copy” from the context menu. Then, open the file explorer or file manager on your tablet and navigate to the desired destination folder. Right-click inside the folder and select “Paste” to copy the photos over.
Alternatively, you can also drag and drop the selected pictures from your PC’s file explorer or file manager directly into the corresponding folder on your tablet’s storage. This method allows for a more intuitive and visual way of transferring files.
Ensure that the copying process is completed before disconnecting your tablet from your computer. Depending on the size and number of pictures being transferred, it may take some time for the files to copy over. You can monitor the progress of the file transfer through a progress bar or indicator that is displayed on your computer.
Now that you have successfully copied the pictures to your tablet, it’s time to move on to the final step: verifying that the pictures have been transferred successfully.
Step 4: Verify that the pictures have been transferred successfully
After transferring the pictures from your PC to your tablet, it’s essential to verify that the transfer was successful. This ensures that you can access and view the pictures on your tablet without any issues.
To verify the transfer, first, disconnect your tablet from your computer, if it was connected via USB. Then, open the gallery or photo app on your tablet. Navigate to the folder or album where you copied the pictures.
Take a moment to browse through the pictures and ensure that all the transferred photos are visible. Double-check that the images are displaying correctly and that there are no errors or missing files.
If you encounter any issues, such as photos not appearing, incomplete transfers, or corrupted files, you may need to repeat the transfer process. Ensure that you have a stable connection between your tablet and your computer and follow the steps outlined in the previous sections.
Occasionally, certain image formats may not be supported by your tablet’s gallery or photo app. In such cases, you might have to install a third-party app from the app store to view those specific image formats.
It’s also a good idea to back up your transferred pictures to another storage device or cloud storage solution. This provides an additional layer of protection for your cherished memories in case of device loss, damage, or data corruption.
With the successful transfer and verification of your pictures, you can now enjoy your favorite memories on your tablet whenever and wherever you want. Whether it’s reliving special moments or sharing images with others, having your photo collection readily available on your tablet provides convenience and flexibility.
Congratulations! You have completed the process of transferring pictures from your PC to your tablet. Now go ahead and explore your photo gallery on your tablet to appreciate the moments captured in those pictures!
Conclusion
Transferring pictures from your PC to your tablet opens up a world of convenience and accessibility for enjoying and sharing your favorite memories. By following the step-by-step guide provided in this article, you can easily transfer your photos to your tablet and free yourself from the limitations of viewing them solely on your PC.
We started by connecting your tablet to your computer, either through a USB cable or wirelessly, ensuring a stable and secure connection for the transfer process. Next, we discussed how to select the specific pictures or albums you want to transfer from your PC to your tablet, allowing you to be selective and efficient in your choices.
With the pictures selected, we then covered the process of copying the images to your tablet. Using methods like right-clicking and copying or simply dragging and dropping, you can seamlessly transfer the pictures to your tablet’s storage. Remember to monitor the copying process to ensure its completion before disconnecting your tablet.
Finally, we emphasized the importance of verifying that the pictures have been successfully transferred. By navigating to your tablet’s gallery or photo app and confirming the presence of the transferred images, you can rest assured that your cherished memories are ready to be enjoyed on your tablet.
As a precautionary measure, consider backing up your transferred pictures to another storage device or cloud storage solution, safeguarding your photos against potential data loss or device damage.
Now that you have mastered the art of transferring pictures from your PC to your tablet, you can relish the freedom of accessing and sharing your photos anytime, anywhere. So, go ahead, transfer your pictures, and immerse yourself in the joy of reliving treasured moments captured in images on your tablet!