Introduction
With advancements in technology, our devices are becoming smaller and more portable, allowing us to complete tasks on the go. The Apple Watch is a prime example of this, offering a compact and convenient way to stay connected. While it may have a small screen, the Apple Watch proves to be more capable than meets the eye. One of its impressive features is the ability to use a keyboard directly on the device, allowing users to type out messages and notes quickly and efficiently.
In this article, we will explore how to use the keyboard on the Apple Watch. Whether you want to send a text message, jot down a quick note, or respond to an email, the keyboard function on your Apple Watch can come in handy. We will guide you through setting up the keyboard, using it effectively, and even provide some helpful tips and tricks along the way.
So, if you’re ready to master the art of typing on your Apple Watch, let’s dive in!
Setting up the Keyboard
Before you can start using the keyboard on your Apple Watch, you need to ensure that it is set up properly. Thankfully, the process is simple and straightforward. Here’s how you can get started:
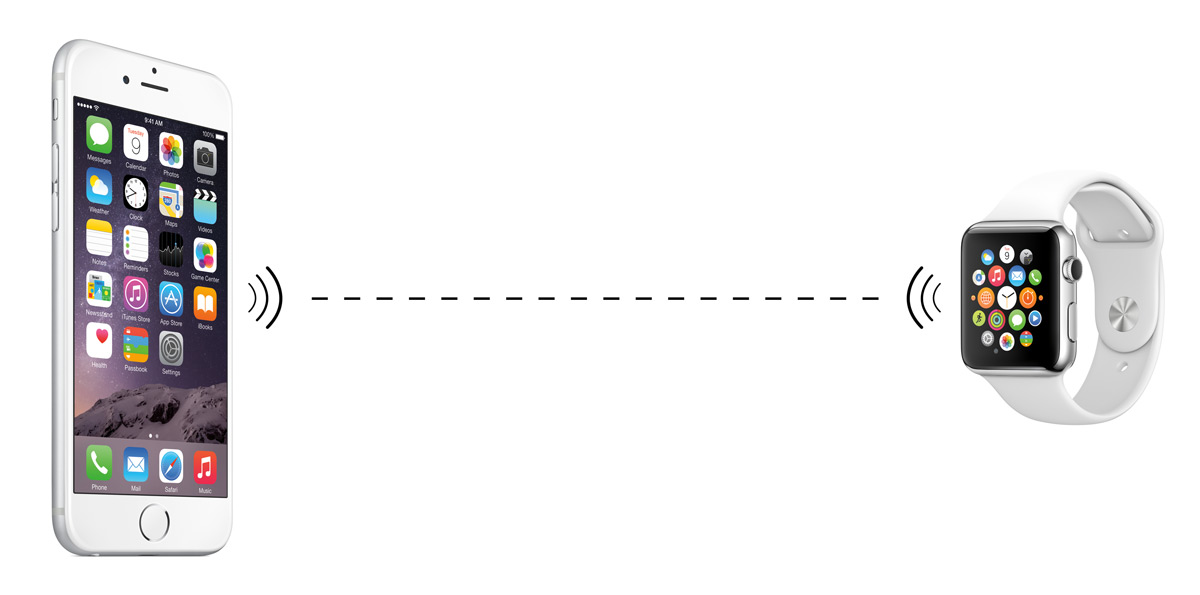
- First, make sure your Apple Watch is paired with your iPhone. The keyboard feature relies on the connection between the two devices.
- Next, open the Apple Watch app on your iPhone and navigate to “My Watch.”
- Scroll down and tap on “General.”
- Select “Keyboard” from the list of options.
- Here, you can toggle on the “Enable Dictation” option if you want to use voice input on your keyboard as well.
- Additionally, you can choose to enable Auto-Capitalization and Auto-Correction for a smoother typing experience.
- Once you’ve made your desired selections, the keyboard will be set up on your Apple Watch.
It’s important to note that the keyboard feature is only available on Apple Watch Series 3 and later models, running watchOS 7 or later. If you have an earlier model or older software version, you may not have access to the keyboard functionality.
With your keyboard all set up, you are now ready to start using it on your Apple Watch. Let’s move on to the next section to learn how to make the most out of this feature.
Using the Keyboard
Now that you have the keyboard set up on your Apple Watch, let’s explore how you can use it effectively. Here are the key steps to using the keyboard on your Apple Watch:
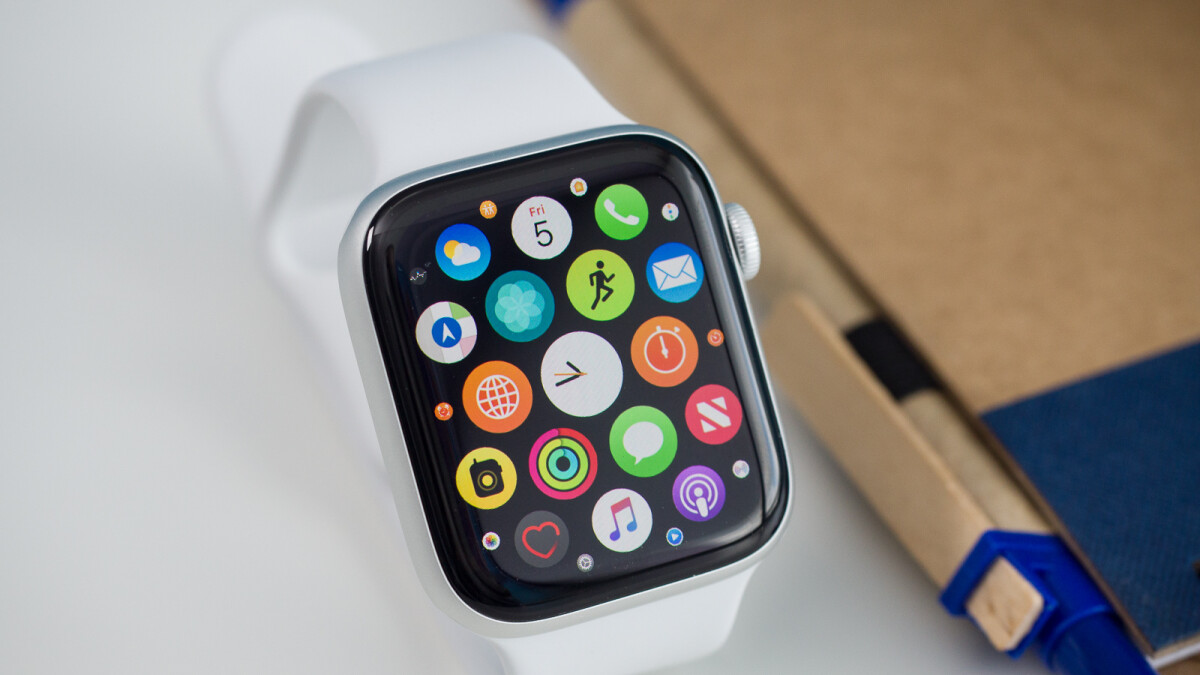
- When you need to access the keyboard, simply open an app that requires text input, such as Messages, Notes, or Mail.
- To bring up the keyboard, either tap on the text field or use the digital crown to scroll down to the input area.
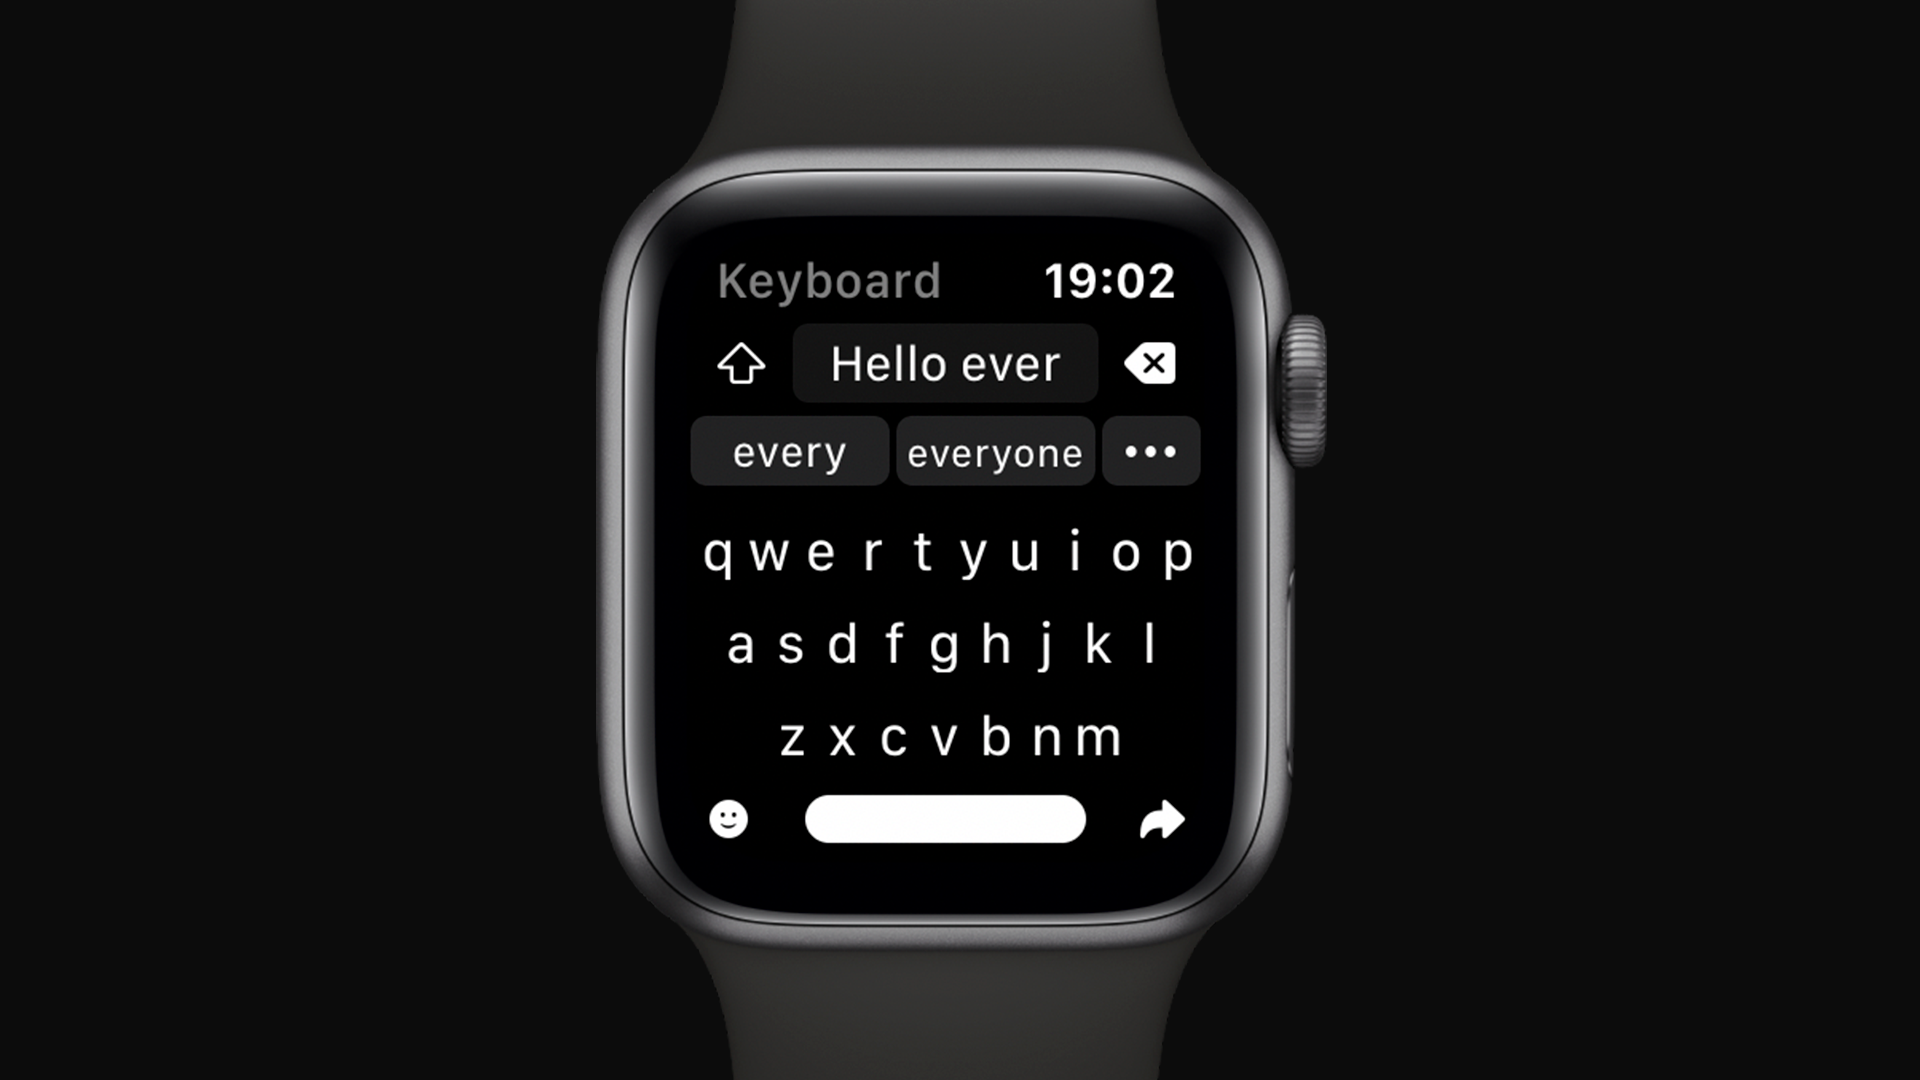
- You will see the keyboard appear on your Apple Watch screen. It may look small, but the keys are designed to be easy to tap.
- Use your finger to tap on each letter or character you want to input. The selected key will enlarge briefly to indicate your selection.
- As you type, the text will appear in the text field above the keyboard, giving you real-time feedback on what you’re typing.
- If you need to enter a number or special character, tap on the “#123” button to switch to the symbol keyboard. When you’re done, tap on the “ABC” button to return to the letter keyboard.
Keep in mind that the Apple Watch keyboard is designed for quick and concise messaging. It may not be suitable for composing long paragraphs or extensive emails. However, for short messages and quick notes, it is a convenient option to have on your wrist.
Now that you know the basics of using the keyboard on your Apple Watch, let’s move on to some tips for typing efficiently.
Typing on the Keyboard
When it comes to typing on the keyboard of your Apple Watch, efficiency is key. The small screen size calls for some techniques to make the most out of your typing experience. Here are some tips to help you type quickly and accurately:
- Use your fingertip or the tip of your fingernail to tap on the keys. This will provide better precision than using the pad of your finger.
- Take advantage of predictive text. The Apple Watch keyboard offers suggestions as you type, making it faster to select frequently used words. Simply tap on the suggested word above the keyboard to input it into your text.
- To capitalize a letter, tap on the shift key (the up arrow) before typing the letter. To enable caps lock, double-tap the shift key.
- If you need to input an uppercase letter in the middle of a word, tap and hold the shift key, then slide your finger to the desired letter. Release the key, and the letter will be capitalized.
- Utilize the “quick path” feature for inputting words. Instead of tapping on individual letters, you can slide your finger across the keyboard, touching each desired letter, without lifting your finger. The Apple Watch will interpret the movement and suggest the word you intended to type.
- Remember to proofread your message before sending. Due to the small screen, it’s easier to make typos on the Apple Watch keyboard. Take a moment to review your message and correct any errors before sending it.
By incorporating these tips into your typing routine, you’ll be able to breeze through messages and input text more efficiently on your Apple Watch keyboard.
Next, let’s explore how you can insert emojis to add some personality to your messages.
Inserting Emojis
Emojis are a fun and expressive way to enhance your messages and add a touch of personality to your conversations. Fortunately, you can easily insert emojis while using the keyboard on your Apple Watch. Here’s how:
- To access the emoji keyboard, tap on the emoji button located at the bottom-left corner of the keyboard. It looks like a smiley face.
- You will now see a selection of emojis to choose from. Use your finger to scroll through the available options.
- Tap on the emoji you want to insert into your message. It will appear in the text field above the keyboard.
- If you want to switch back to the letter keyboard, tap on the “ABC” button.
- Keep in mind that the emoji collection on the Apple Watch may be slightly limited compared to other devices. However, it still includes a wide range of popular emojis to suit your expressions.
- After inserting the emoji, you can continue typing your message or send it right away.
Emojis can help convey your emotions and make your messages more engaging, especially when words alone may not suffice. Experiment with different emojis to find the ones that best express your thoughts.
Now that you know how to insert emojis, let’s move on to the next section to learn how to edit and delete text while using the Apple Watch keyboard.
Deleting and Editing Text
While typing on your Apple Watch’s keyboard, you may occasionally make mistakes or need to edit your text. Thankfully, the keyboard offers a few helpful functions for deleting and editing text. Here’s what you need to know:
- To delete a character, tap on the delete key (the “X” icon) located at the bottom-right corner of the keyboard. Each tap will delete one character at a time.
- If you need to delete a larger portion of text, you can tap and hold on the delete key. This will enable a faster deletion mode, allowing you to remove multiple characters more quickly.
- If you want to edit specific parts of your text, you can tap and hold on the screen. This will activate the magnifying glass, which allows you to move the cursor to the desired location for precise editing.
- Once the cursor is in the correct position, you can start typing to add or replace text. The new text will appear at the location of the cursor, and the existing text will shift accordingly.
- If you need to select a specific portion of text, double-tap on a word to highlight it. From there, you can adjust the selection by dragging the start and end points as needed.
- Once you have selected the desired text, you can choose to cut, copy, or replace it by tapping on the respective options that appear above the keyboard.
These editing functions can be especially helpful when you need to make corrections or modifications to your text while typing on the Apple Watch. Take advantage of these features to ensure your messages are accurate and convey your intended meaning.
Now that we have covered editing and deleting text, let’s explore how you can utilize dictation as an alternative input method on your Apple Watch keyboard.
Using Dictation
Typing on a small screen can be a challenge, especially when you’re in a hurry. Luckily, your Apple Watch keyboard offers dictation as an alternative input method. By utilizing dictation, you can speak your messages instead of typing them. Here’s how to make the most of this handy feature:
- When you’re in an app that requires text input, such as Messages or Notes, bring up the Apple Watch keyboard as usual.
- Instead of tapping on the keys, tap on the microphone button located at the bottom-left corner of the keyboard. It resembles a small microphone icon.
- Start speaking clearly and audibly. Your Apple Watch will listen to your voice and transcribe your words into text.
- As you speak, you’ll notice that the transcribed text will appear on the screen in real-time, just above the keyboard.
- Once you’ve finished dictating, you can review and edit the transcribed text if necessary.
- When you’re satisfied with the dictation, tap on the “Done” button to insert the text into the text field.
Dictation on the Apple Watch can be incredibly convenient, especially in situations where tapping on the keyboard is not feasible or efficient. Whether you’re on the move, exercising, or simply prefer a hands-free approach, dictation allows you to compose messages effortlessly.
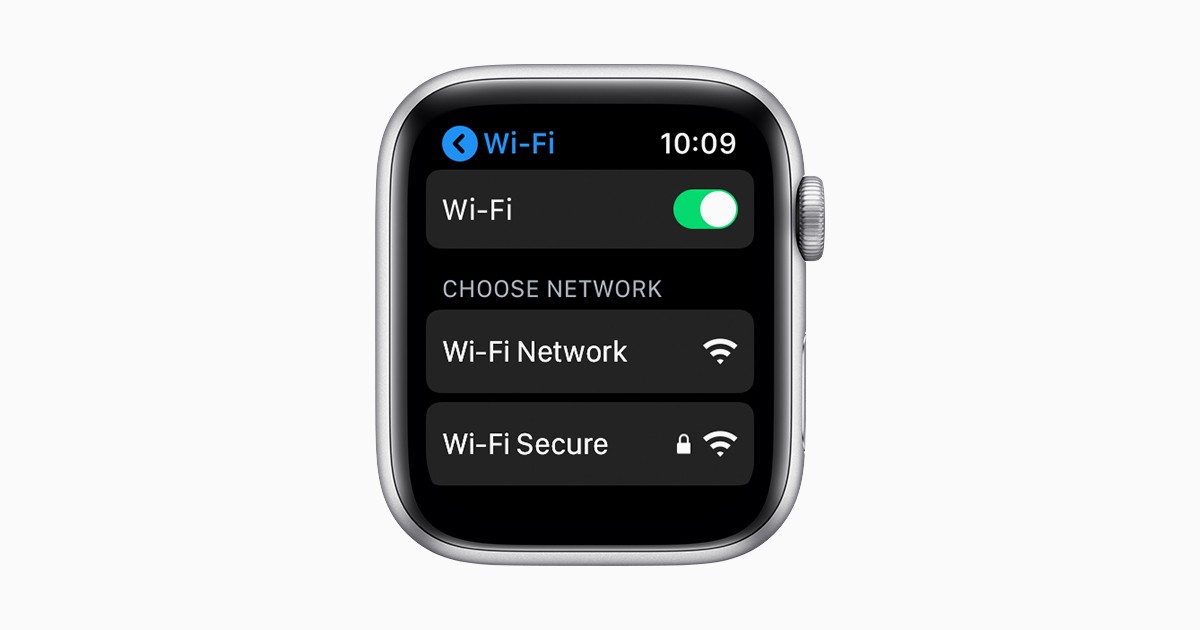
It’s worth noting that dictation requires an internet connection as the audio data is sent to Apple’s servers for processing. So, ensure your Apple Watch is connected to Wi-Fi or a cellular network for optimal dictation performance.
Now that you’re familiar with using dictation on the Apple Watch keyboard, let’s explore how to change the language settings on the keyboard.
Changing Keyboard Language
The Apple Watch keyboard supports multiple languages, allowing users to type in their preferred language. If you need to change the keyboard language on your Apple Watch, follow these steps:
- On your Apple Watch, open the app that requires text input, such as Messages or Notes.
- Tap on the text field to bring up the keyboard.
- At the bottom-right corner of the keyboard, you will see a globe icon. Tap on it to access the language options.
- A list of available languages will appear. Scroll through the list to find the desired language.
- Tap on the language you want to use, and the keyboard will automatically switch to that language.
- You can now start typing in the selected language.
Changing the keyboard language on your Apple Watch allows you to communicate in different languages without the need for a separate input method. Whether you’re multilingual or simply want to send messages to friends and family in their native language, this feature can be quite helpful.
It’s important to note that the availability of specific languages may depend on your Apple Watch model and the software version. Additionally, some languages may have different keyboard layouts, so be sure to familiarize yourself with the layout if needed.
Now that you know how to change the keyboard language, let’s explore some additional keyboard accessibility features on the Apple Watch.
Keyboard Accessibility Features
The Apple Watch is designed with accessibility in mind, ensuring that all users can enjoy its features, including the keyboard. Here are a few accessibility features that can enhance your experience with the Apple Watch keyboard:
- Larger Text: If you find the text on the keyboard too small to read comfortably, you can adjust the text size on your Apple Watch. Simply go to the “Display & Brightness” settings on your iPhone and select a larger text size. The changes will reflect on your Apple Watch, making the text more legible.
- VoiceOver: VoiceOver is a powerful screen reader feature that provides spoken feedback to help users navigate and use their Apple Watch. It can assist you in accessing and using the keyboard by reading out characters, words, and suggestions as you type.
- Zoom: If you have difficulty seeing the keyboard, you can enable the Zoom feature on your Apple Watch. This will magnify the entire screen, making it easier to view and interact with the keyboard.
- Smart Invert: For users with visual impairments, enabling the Smart Invert feature can provide a higher contrast display, making the keyboard and other elements stand out more prominently.
These accessibility features can greatly improve the usability and accessibility of the keyboard on your Apple Watch. Experiment with the options to find the settings that best suit your needs.
Now that you’re familiar with the keyboard accessibility features, let’s explore some common troubleshooting tips for any keyboard-related issues you may encounter.
Troubleshooting Keyboard Issues
While the Apple Watch keyboard is designed to work seamlessly, you may occasionally encounter some issues. Here are a few troubleshooting tips to help you resolve common keyboard-related problems:
- Check connectivity: Ensure that your Apple Watch is connected to your iPhone. The keyboard feature relies on the connection between the two devices. If the connection is weak or disconnected, try reconnecting or restarting both devices.
- Restart the Apple Watch: Sometimes, a simple restart can resolve minor software glitches. Restart your Apple Watch by pressing and holding the side button until the Power Off slider appears. Slide it to power off, then press and hold the side button again to turn it back on.
- Check for software updates: Make sure that both your Apple Watch and iPhone are running the latest software versions. Software updates often include bug fixes and improvements that can address keyboard-related issues.
- Reset keyboard settings: If you’re experiencing persistent keyboard issues, you can try resetting the keyboard settings on your Apple Watch. On your iPhone, go to the Watch app, select “General,” then “Keyboard,” and tap on the option to “Reset Keyboard Dictionary.”
- Contact Apple Support: If none of the above steps resolve your keyboard issues, it may be helpful to contact Apple Support for further assistance. They can provide personalized guidance and troubleshooting specific to your Apple Watch model and situation.
By following these troubleshooting tips, you can overcome most common keyboard issues and enjoy a smooth typing experience on your Apple Watch.
Now that we’ve covered troubleshooting, let’s summarize what we’ve learned and conclude.
Conclusion
The keyboard feature on the Apple Watch provides a convenient way to compose messages and input text directly on your wrist. Throughout this article, we’ve explored how to set up the keyboard, use it effectively, and take advantage of additional features like dictation and emojis. We’ve also discussed how to troubleshoot common keyboard issues that you may encounter.
By following the steps outlined in this guide, you can make the most out of the Apple Watch keyboard and ensure a seamless typing experience. Whether you’re sending quick messages, taking notes, or responding to emails, the keyboard on your Apple Watch offers a compact and efficient solution.
Remember to experiment with different typing techniques, such as utilizing predictive text and quick path, to enhance your speed and accuracy. And don’t forget to insert emojis to add personality to your messages.
If you ever run into any issues with the keyboard, try troubleshooting steps like checking connectivity, restarting your devices, or resetting the keyboard settings. If all else fails, reach out to Apple Support for further assistance.
Now, armed with the knowledge in this article, you can confidently use the keyboard on your Apple Watch to stay connected and productive while on the go.