Introduction
Are you an iPhone user who wants to access your Gmail account on your device? Look no further, as we have the perfect solution for you! The Gmail app for iPhone allows you to conveniently manage your emails, contacts, and calendar from the comfort of your iOS device. With its user-friendly interface and powerful features, the Gmail app ensures a seamless and efficient email experience.
Gone are the days when you had to go through the hassle of using the default Mail app on your iPhone to access your Gmail account. Now, with the dedicated Gmail app, you can enjoy all the functionalities of Gmail right at your fingertips. From composing and sending emails to organizing your inbox with labels and folders, the Gmail app provides a comprehensive and intuitive email solution.
In this article, we will guide you through the simple steps to download the Gmail app on your iPhone and set up your Gmail account. Whether you’re a new iPhone user or someone who’s just discovering the convenience of the Gmail app, this step-by-step tutorial will make the process a breeze.
Step 1: Open the App Store
The first step to downloading the Gmail app on your iPhone is to open the App Store. The App Store is where you can find and download various applications for your device, including the Gmail app.
To open the App Store, locate the “App Store” icon on your iPhone’s home screen. It typically features a blue icon with a white letter “A” inside a white circle. Tap on the icon to launch the App Store.
Once you’re in the App Store, you’ll be presented with the main storefront, which displays featured apps, recommended apps, and various app categories. You can browse through the different sections or use the search function to find the Gmail app.
Some helpful tips for navigating the App Store:
- Swipe up or down to scroll through the apps.
- Tap on the search bar at the top of the screen to enter specific keywords, such as “Gmail.”
- Tap on the “Search” button on the keyboard to initiate the search.
- Use the filters and sorting options to narrow down your search results.
Once you’ve successfully opened the App Store and are ready to proceed, it’s time to move on to the next step to search for the Gmail app.
Step 2: Search for “Gmail” in the App Store
Now that you’re in the App Store, it’s time to search for the Gmail app. The search function in the App Store makes it easy to find specific apps by entering relevant keywords.
To search for the Gmail app, locate the search bar at the top of the App Store screen. It is typically labeled “Search” or represented by a magnifying glass icon. Tap on the search bar to activate it and then enter “Gmail” using the virtual keyboard.
As you type, the App Store will start displaying search suggestions and relevant search results. These suggestions can help you quickly find the Gmail app without having to enter the full search term. Make sure to select the accurate suggestion for “Gmail” to get the desired results.
After entering “Gmail” in the search bar, tap on the “Search” button on the keyboard to initiate the search. The App Store will now display a list of apps related to your search term. Look for the official Gmail app, which is usually the first result.
It’s important to ensure that you’re selecting the legitimate Gmail app from Google Inc. There might be other apps with similar names, so double-check the developer information to make sure you’re downloading the official Gmail app.
Once you have identified the correct Gmail app, you’re ready to move on to the next step and proceed with downloading it to your iPhone.
Step 3: Select the Gmail app from the search results
After searching for “Gmail” in the App Store, you will be presented with a list of apps related to your search term. In this step, you need to select the Gmail app from the search results to proceed with downloading it to your iPhone.
Look for the official Gmail app, which is usually displayed at the top of the search results. The app icon features the red and white Gmail envelope logo, making it easily recognizable. Ensure that the app is developed by Google Inc., the official developer of Gmail.
Tap on the Gmail app from the search results to view its detailed information page. This page provides you with important details about the app, including its size, rating, and reviews from other users. You can scroll down to read more information and determine if the app meets your requirements.
It’s highly recommended to read the app’s reviews and check its rating to get an idea of its performance and user experience. You can also tap on the “Screenshots” tab to preview the app’s interface and features through a series of images.
If you’re satisfied with the app’s information and believe it meets your needs, it’s time to move on to the next step and download the Gmail app to your iPhone.
Step 4: Tap on “Get” or the download icon
Once you have selected the Gmail app from the search results, you will be directed to its detailed information page in the App Store. In this step, you need to tap on the “Get” button or the cloud-shaped download icon to initiate the download process.
The “Get” button is usually located on the right side of the app’s information page, beneath the app’s rating and screenshots. It is labeled with the word “Get” in blue text. Alternatively, you may see a cloud-shaped icon with a downward arrow indicating the download action.
Tap on the “Get” button or the cloud-shaped download icon, and the button will change to “Install” or display a circular progress indicator. This indicates that the Gmail app is being downloaded and installed on your iPhone.
Depending on your internet connection speed and the size of the app, the download process may take a few seconds or longer. It’s essential to ensure that you have a stable internet connection to avoid any interruptions during the download.
While the app is being downloaded, you may see a progress bar or a spinning indicator. You can monitor the progress and wait patiently until the download is complete.
Once the download is finished, the “Get” button or cloud-shaped download icon will be replaced by the “Open” button or the Gmail app icon on your iPhone’s home screen, indicating that the Gmail app is ready to be opened and used.
Now that the Gmail app is successfully downloaded, it’s time to proceed with the setup process in the next step.
Step 5: Wait for the download and installation process to complete
Once you have tapped on the “Get” button or the download icon for the Gmail app, the download and installation process will begin. In this step, you need to wait patiently for the process to complete before you can proceed with setting up the app.
The time it takes for the download and installation process to finish can vary depending on factors such as your internet connection speed and the size of the app. If you have a fast and stable internet connection, the process should complete relatively quickly.
While the download is in progress, you may see a progress bar, a spinning indicator, or both, indicating that the app is being downloaded and installed on your iPhone. It’s essential to refrain from interrupting this process to avoid any potential issues.
If you’re on a Wi-Fi network, it is recommended to stay within the range of your Wi-Fi connection until the download and installation are complete. This ensures a faster and more stable download process, especially for larger apps like Gmail.
During this time, you can keep an eye on the progress to estimate how long it will take for the download and installation to finish. Once the process is complete, the Gmail app icon will appear on your iPhone’s home screen, ready for you to use.
Patience is key in this step. While waiting for the download and installation to complete, you can use this time to gather any necessary information, such as your Gmail account credentials, as you will need them for the setup process in the following steps.
Once the download and installation process is finished, you’re ready to move on to the next step and set up your Gmail account in the app.
Step 6: Set up your Gmail account in the app
After the Gmail app has finished downloading and installing on your iPhone, it’s time to set up your Gmail account within the app. In this step, we will guide you through the process of configuring your account and getting it ready for use.
Start by locating the Gmail app icon on your iPhone’s home screen and tap on it to launch the app. The Gmail app will open, presenting you with the login screen.
If you already have a Gmail account, enter your email address in the provided field. If you don’t have a Gmail account yet, you can create one by tapping on the “Create account” button and following the on-screen instructions.
Once you’ve entered your email address, tap on the “Next” button to proceed. On the next screen, enter your Gmail account password and tap “Next” again.
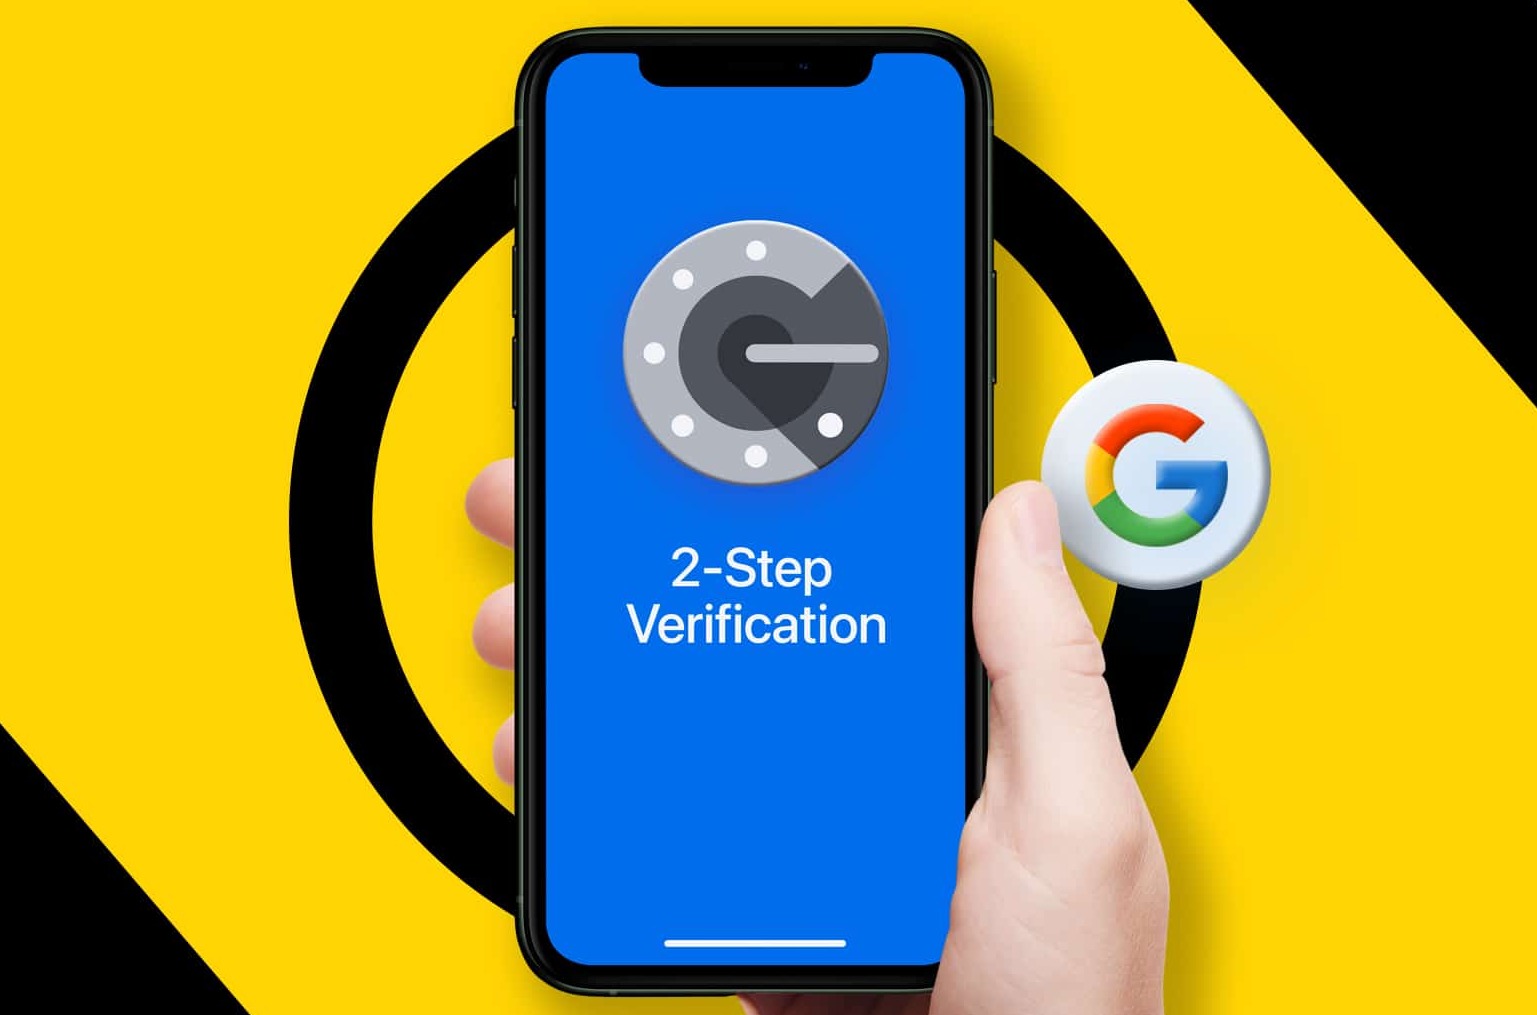
If you have two-factor authentication enabled for your Gmail account (highly recommended for enhanced security), you may be prompted to enter a verification code that you’ll receive via text message or from a trusted authentication app. Follow the instructions to complete the verification process.
After successfully entering your email address and password, the Gmail app will authenticate your account and load your inbox. Depending on the size of your mailbox and internet connection speed, it may take a few moments to load your emails and synchronize your account.
Once your account is set up, you can start exploring the various features of the Gmail app. You can swipe through your inbox, tap on emails to read them, and use the search bar at the top to find specific emails or contacts.
If you have multiple Gmail accounts, you can easily switch between them by tapping on your profile picture or initials in the top right corner of the app and selecting the desired account.
Congratulations! You have successfully set up your Gmail account in the app, and now you can start enjoying the convenience and functionality of accessing your emails on your iPhone.
Step 7: Customize your Gmail settings
Now that your Gmail account is set up in the app, it’s time to customize your Gmail settings according to your preferences and needs. In this step, we will walk you through some of the essential settings you can personalize to enhance your Gmail experience on your iPhone.
To access the Gmail settings, open the Gmail app and tap on your profile picture or initials in the top right corner of the screen. A menu will appear, and you need to scroll down and tap on the “Settings” option.
Within the settings, you will find various options to customize your Gmail experience. Let’s explore some important ones:
- Notifications: Adjust the notification settings to receive alerts for new emails, calendar events, and more. You can customize the notification sound, vibration, and choose whether to show previews of email content.
- Signature: Personalize your email signature to include your name, contact information, or any other message you’d like to include at the end of your emails.
- Inbox categories: Gmail offers a feature called “Inbox Categories” that automatically organizes your emails into different tabs, such as Primary, Promotions, Social, and Updates. You can enable or disable these categories based on your preferences.
- Swipe actions: Customize the swipe gestures within the app. You can choose specific actions for left and right swipes, which can be helpful for quickly archiving, deleting, marking as read, or performing other actions on emails.
- Vacation responder: If you’re away from your email for a while, set up an automatic vacation responder to let people know that you won’t be able to respond promptly.
These are just a few examples of the many customization options available in the Gmail app. Feel free to explore the settings and configure them to align with your preferences and workflow.
Keep in mind that any changes you make to your Gmail settings within the app will be synced with your Gmail account across all devices, ensuring consistency in your email management.
Take some time to familiarize yourself with the various settings and make adjustments as necessary to optimize your Gmail experience on your iPhone.
Step 8: Start using Gmail on your iPhone!
Congratulations! You have successfully downloaded, installed, and set up the Gmail app on your iPhone. Now, it’s time to start using Gmail and enjoy the benefits of managing your emails, contacts, and calendar right from your iOS device.
With the Gmail app, you can access all the familiar Gmail features and functionalities, such as composing and sending emails, organizing your inbox with labels and folders, searching for specific emails or contacts, and syncing your calendar events.
Here are a few tips to help you make the most of Gmail on your iPhone:
- Compose and send emails: Tap on the “Compose” button (usually located in the bottom right corner) to start composing a new email. Enter the recipient’s email address, subject, and the email content. You can also add attachments, format the text, and insert images or links.
- Manage your inbox: Swipe left or right on emails in your inbox to perform actions like archiving, deleting, or marking them as read. Use the search bar at the top of the app to find specific emails or contacts.
- Organize with labels and folders: Create labels or folders to categorize your emails and keep your inbox organized. You can add labels/folders to emails or create filters to automatically label incoming messages.
- Stay on top of notifications: Customize your notification preferences to receive alerts for new emails, calendar events, and more. You can control the notification sound, vibration, and whether to show message previews.
- Sync with the device’s calendar: Connect your Gmail account with your iPhone’s calendar app to effortlessly sync your events and appointments. Any changes made in the Gmail app will be reflected in the calendar app.
Remember to regularly check your Gmail app for new emails and updates, and manage your inbox to ensure a clutter-free and organized experience.
Now you’re all set to harness the power of Gmail on your iPhone. Whether you’re using Gmail for personal or professional purposes, the Gmail app offers a user-friendly interface and robust features to streamline your email management.
Enjoy the convenience and productivity that Gmail brings to your fingertips, right on your iPhone!