Introduction
Welcome to this step-by-step guide on how to send an email from your iPhone. With the advancements in technology, sending emails has become a quick and convenient way to communicate professionally and personally. Whether you need to send an important work-related message or simply want to stay in touch with friends and family, your iPhone makes it effortless to compose and send emails on the go.
Gone are the days when you had to wait until you were in front of a computer to send emails. Now, with just a few taps on your iPhone screen, you can send messages instantly, ensuring that you never miss an important conversation or opportunity.
In this guide, we will walk you through the process of setting up your email account on your iPhone, composing a new email, adding recipients, writing and formatting your message, attaching files, and finally, hitting that send button. Whether you are a seasoned iPhone user or a beginner, this guide will help you master the art of sending emails from your iPhone.
So, if you’re ready to discover how easy it is to send emails from your iPhone, let’s get started with the first step – setting up your email account.
Step 1: Setting up your email account
Before you can start sending emails from your iPhone, you need to set up your email account. Fortunately, the process is simple and only takes a few minutes. Here’s how:
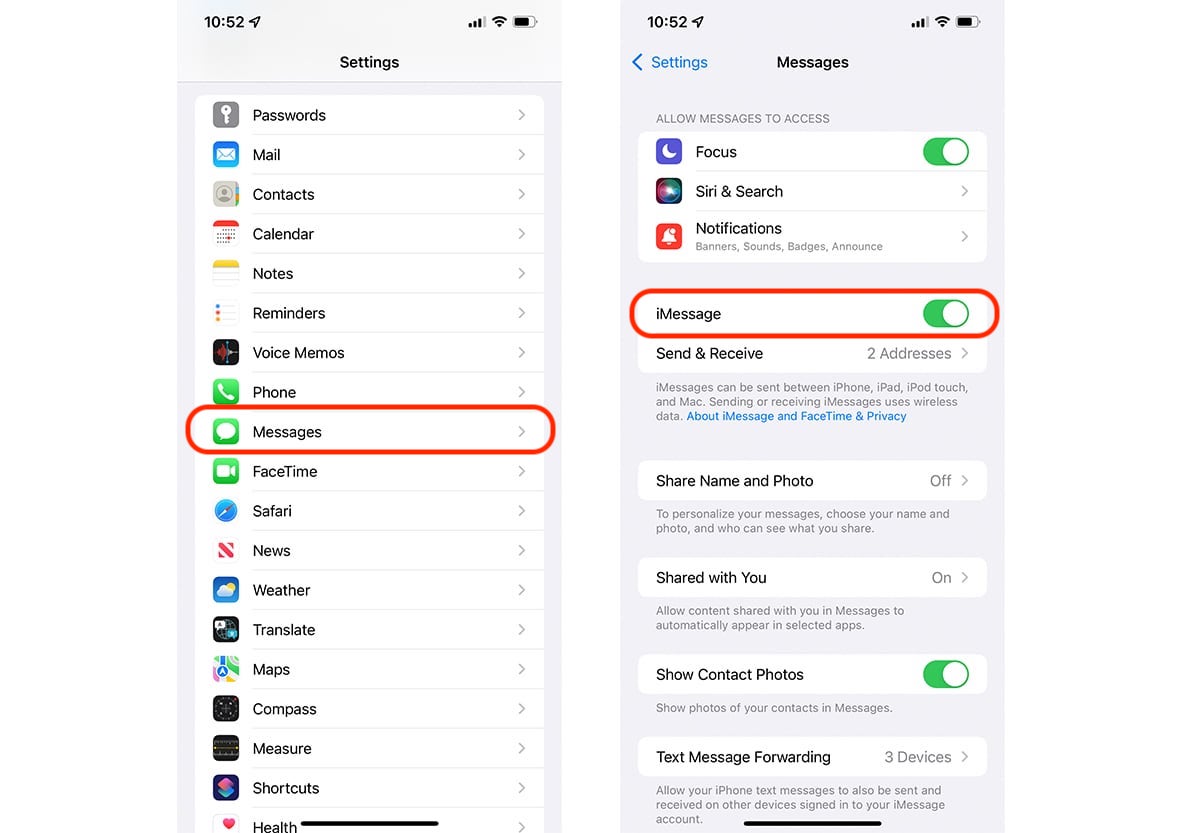
- Open the Settings app on your iPhone. It’s the gray icon with gears on your home screen.
- Scroll down and tap on “Mail” followed by “Accounts.”
- Tap on “Add Account,” and you will see a list of popular email services such as Gmail, Yahoo, and Outlook. Select the appropriate option or tap “Other” if your email provider is not listed.
- Enter your email address and password. If you are setting up a non-standard email provider, you may need to enter additional details like server information. Consult your email provider for the correct settings.
- Tap “Next” and wait for your iPhone to verify the account. Once verified, you can choose which services to sync with your iPhone, such as Mail, Contacts, and Calendars.
- Tap “Save” to add the account to your iPhone.
That’s it! You have successfully set up your email account on your iPhone. You can repeat the above steps to add multiple email accounts if needed.
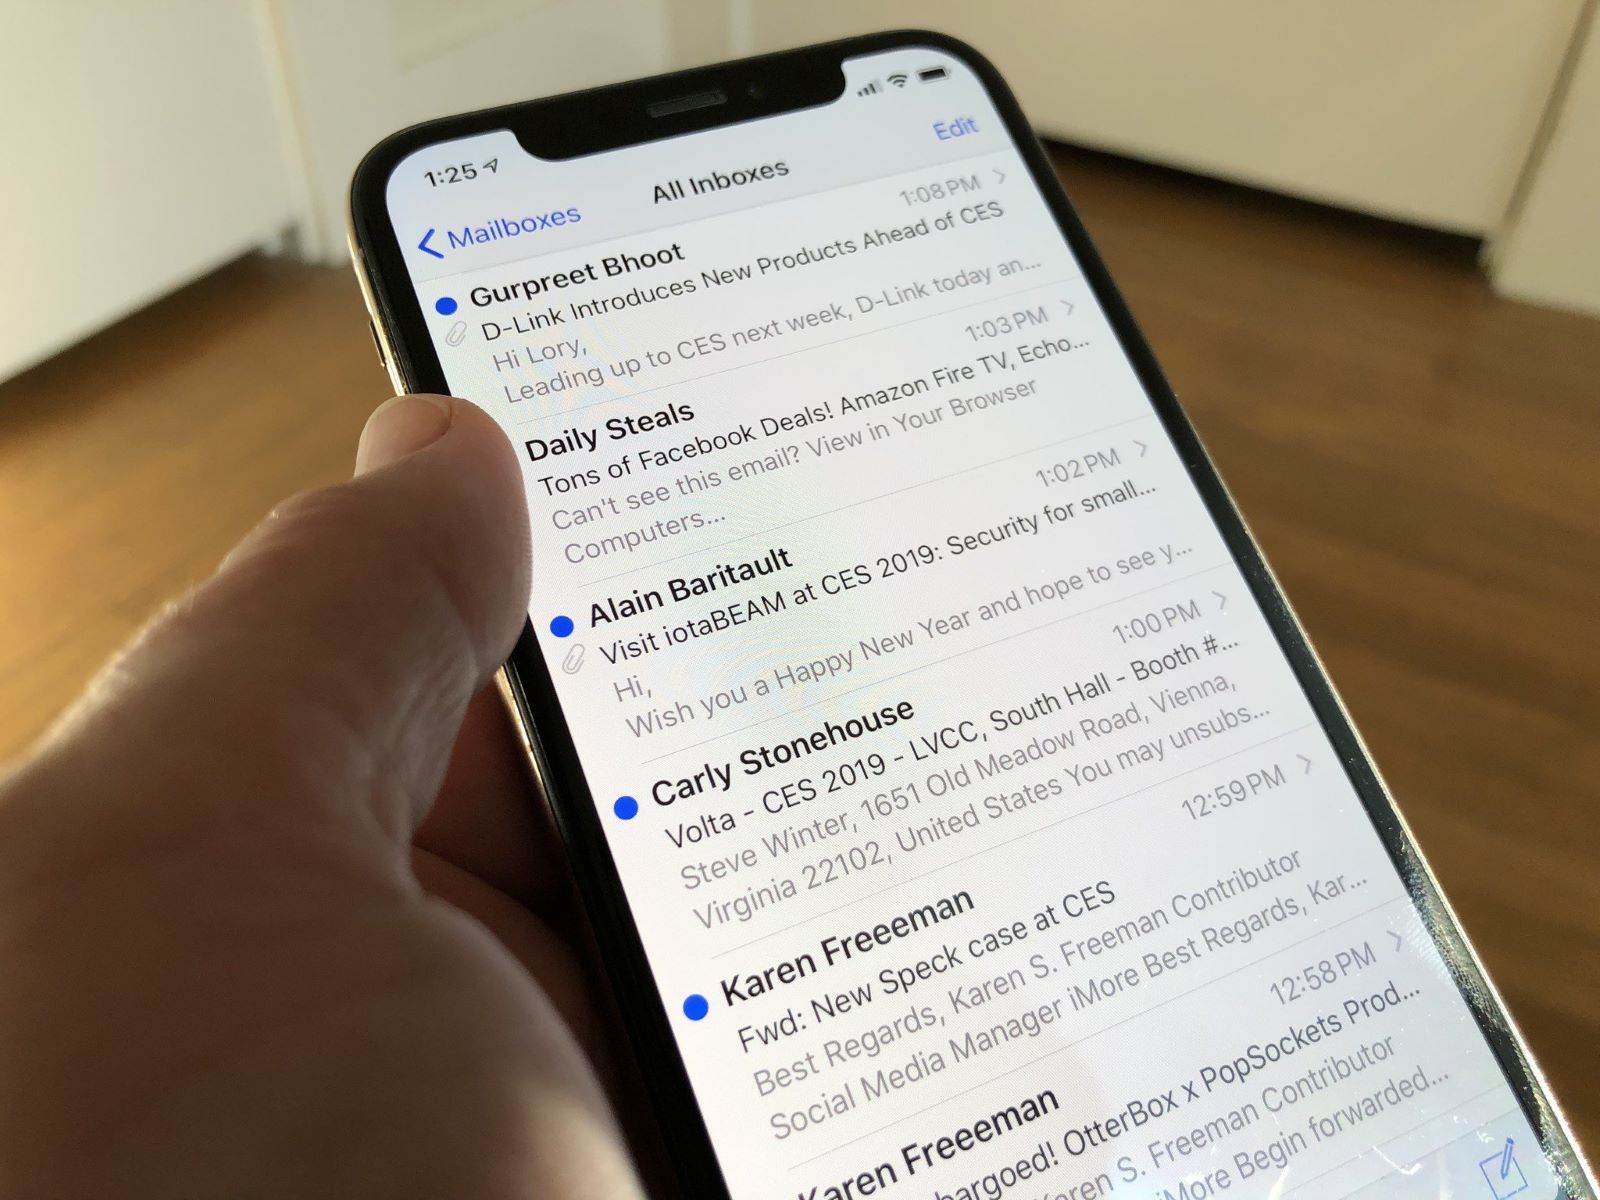
Having your email accounts set up on your iPhone allows you to conveniently access and manage all your emails in one place. You will receive notifications whenever you receive a new email, making it easier to stay on top of your inbox.
Now that your email account is ready, let’s move on to the next step – composing a new email.
Step 2: Composing a new email
Now that you have set up your email account on your iPhone, it’s time to compose a new email. Whether you want to send a quick message or write a detailed email, the iPhone’s built-in Mail app makes it easy. Here’s how:
- Open the Mail app on your iPhone. The icon looks like a white envelope against a blue background.
- Tap on the “Compose” button, usually located in the bottom-right corner of the screen. It looks like a square with a pencil inside.
- A blank email template will appear, ready for you to fill in the details. Start by entering the recipient’s email address in the “To” field.
- Next, tap on the “Subject” field and enter a concise and informative subject line that summarizes the email’s content.
- In the body of the email, tap anywhere to start typing your message. You can write a simple plain text email or take advantage of the formatting options available.
- If you want to format your text, highlight the desired text and the formatting toolbar will appear above the keyboard. From there, you can make changes to the font, style, alignment, and more.
- Additionally, you can use the predictive text feature to speed up your typing by tapping on the suggested words that appear above the keyboard.
Once you have composed your email, take a moment to review it for any errors or omissions. Double-check the spelling of the recipient’s email address and subject line to ensure accuracy. When you are satisfied with the content, you are ready to move on to the next step – adding recipients.
Step 3: Adding recipients
Now that you have composed your email on your iPhone, it’s time to add recipients. Depending on the type of email you are sending, you may need to include one or multiple recipients. Here’s how you can add recipients in the Mail app:
- Once you have written your email, look for the “To” field at the top of the screen. This is where you can add the primary recipient’s email address.
- Tap on the “To” field to bring up your iPhone’s contacts list. Here, you can select a contact by scrolling through the list or by using the search bar at the top of the screen.
- If you want to add multiple recipients, simply repeat the process by tapping on the “Cc/Bcc” field. This will give you the option to add recipients as “Carbon Copy” (Cc) or “Blind Carbon Copy” (Bcc).
- Adding recipients in the Cc field means that their email addresses will be visible to all other recipients. On the other hand, adding recipients in the Bcc field will hide their email addresses from other recipients.
- Be mindful of using the appropriate field based on the nature of your email. If you are sending a general email to a group, it’s often best to use the Cc field. However, if you’re sending a more private or confidential email, it’s best to use the Bcc field to protect everyone’s privacy.
- Once you have added all the recipients, review the recipients’ list to ensure accuracy. You can tap on each recipient to remove them if needed.
Adding recipients is an important step in the email process, as it determines who will receive your message. By using the proper fields and verifying the recipients, you can ensure that your email reaches the intended audience. Now that you have added recipients, it’s time to move on to the next step – writing and formatting your email.
Step 4: Writing and formatting your email
Once you have added recipients to your email on your iPhone, it’s time to focus on writing and formatting your message. The Mail app provides several options to help you customize the appearance of your email and effectively convey your thoughts. Follow these steps to write and format your email:
- In the email body, start typing your message. Keep it concise and clear, ensuring that your intentions and thoughts are accurately communicated.
- Use paragraphs to break up your content and make it easier for the recipient to read. Tap the return key on the keyboard to create a new paragraph.
- If you want to emphasize specific words or phrases, you can format them using bold, italics, or underline. To do this, simply highlight the desired text and tap on the “BIU” icon that appears above the keyboard. From there, you can choose the formatting option you prefer.
- If you wish to include a numbered or bulleted list in your email, tap on the “Aa” icon above the keyboard and then select the “Bullet” or “Numbered” list option.
- You can also enhance your email by inserting hyperlinks. Highlight the text you want to turn into a hyperlink, tap on the arrow in the formatting toolbar, and select “Add Link.” Enter the URL or choose a link from your contacts or bookmarks.
- Adding a personal touch to your email can go a long way. Consider using the iPhone’s built-in emoji keyboard to include expressive icons that convey emotions or add a touch of playfulness.
Remember, formatting should be used sparingly and purposefully. It is essential to maintain a professional tone and ensure that your email is easy to read and understand. Now that you have written and formatted your email, it’s time to move on to the next step – adding attachments.
Step 5: Adding attachments
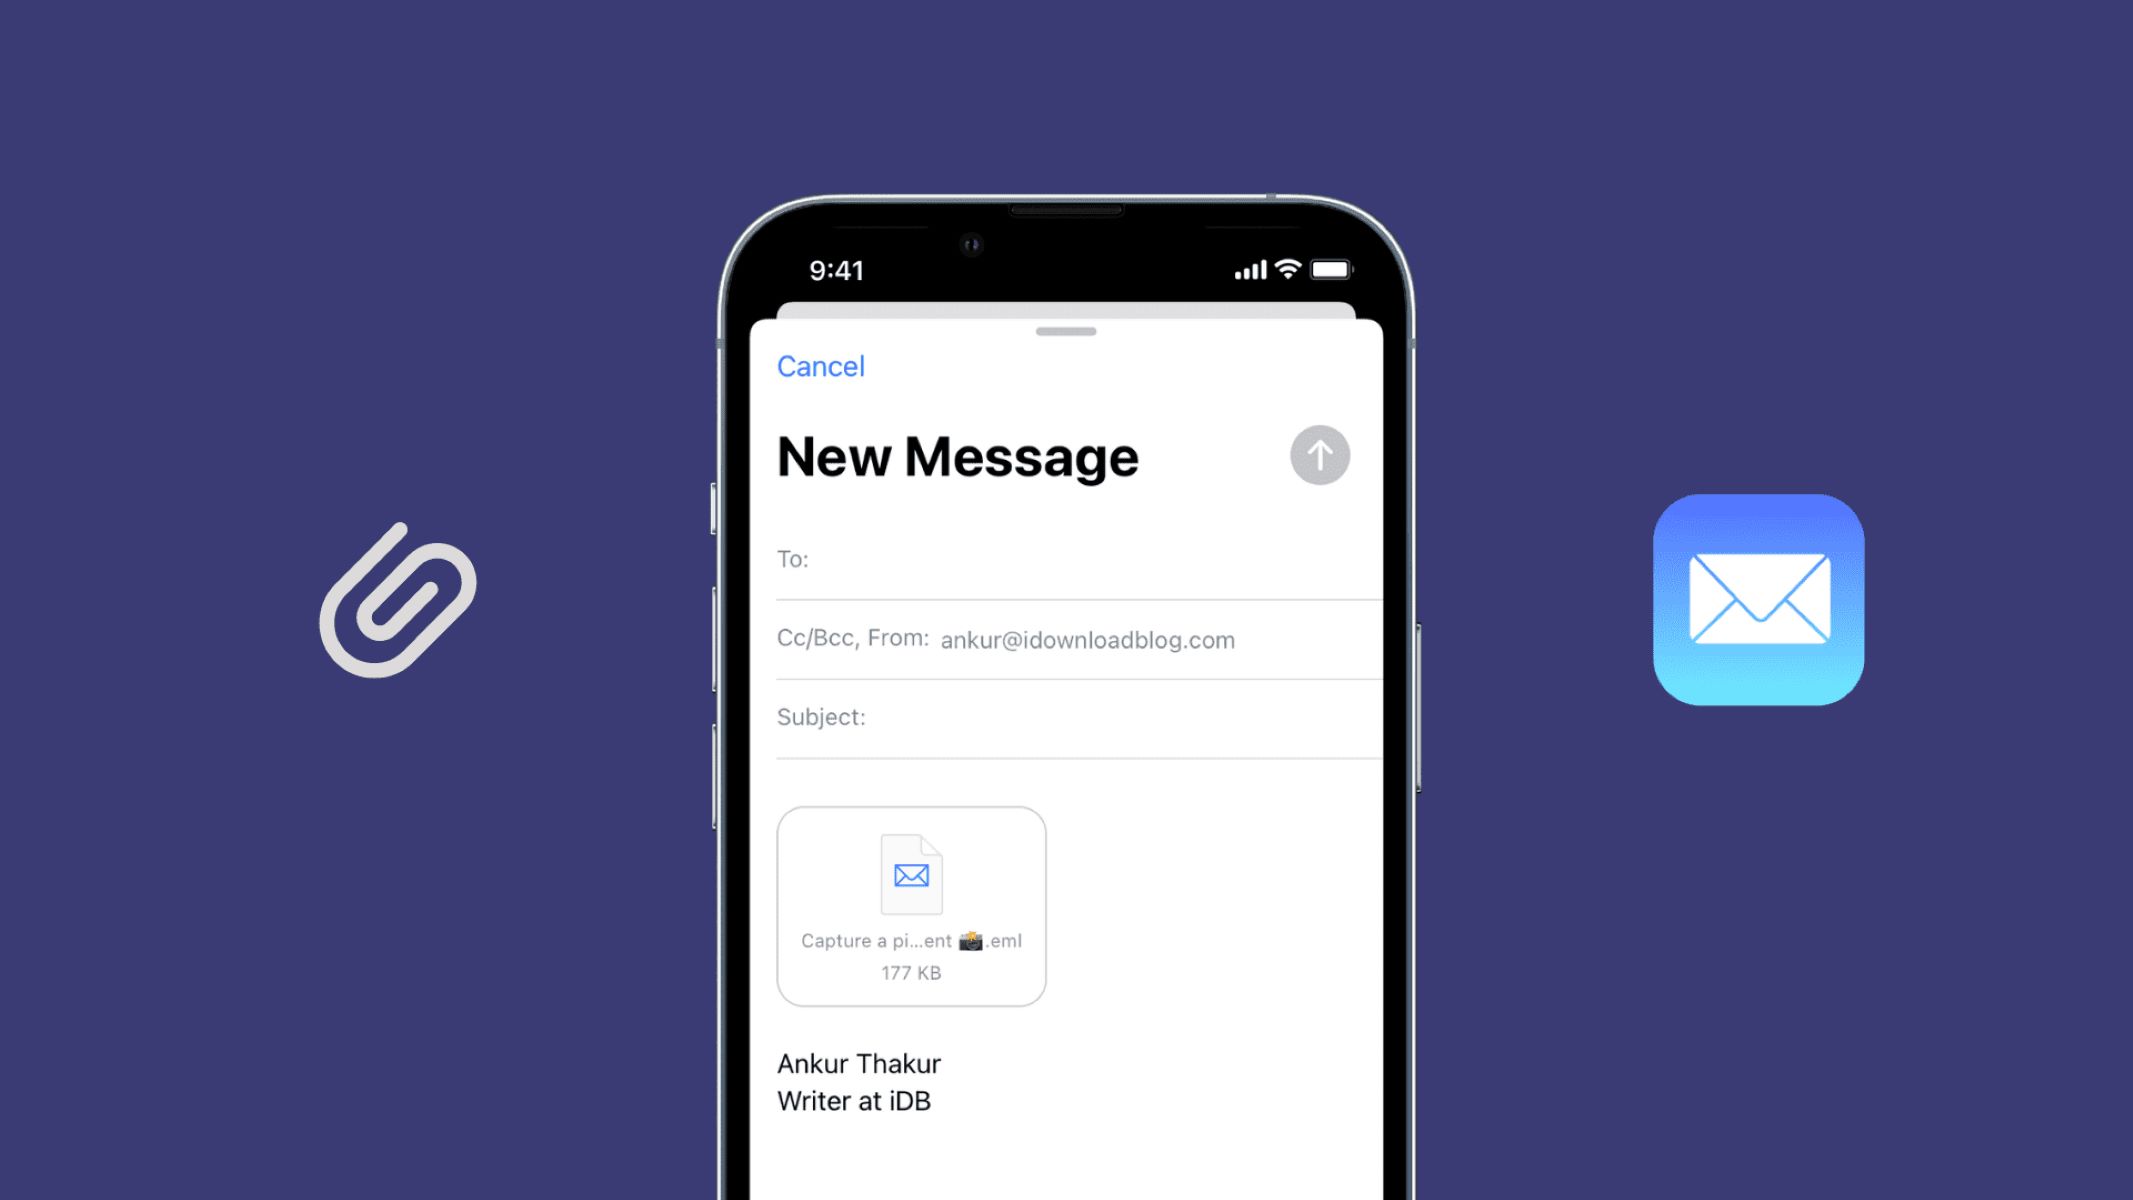
Adding attachments to your emails on your iPhone allows you to share files, documents, and images with your recipients. Whether it’s a presentation for work or a personal photo, the Mail app makes it easy to include attachments. Here’s how:
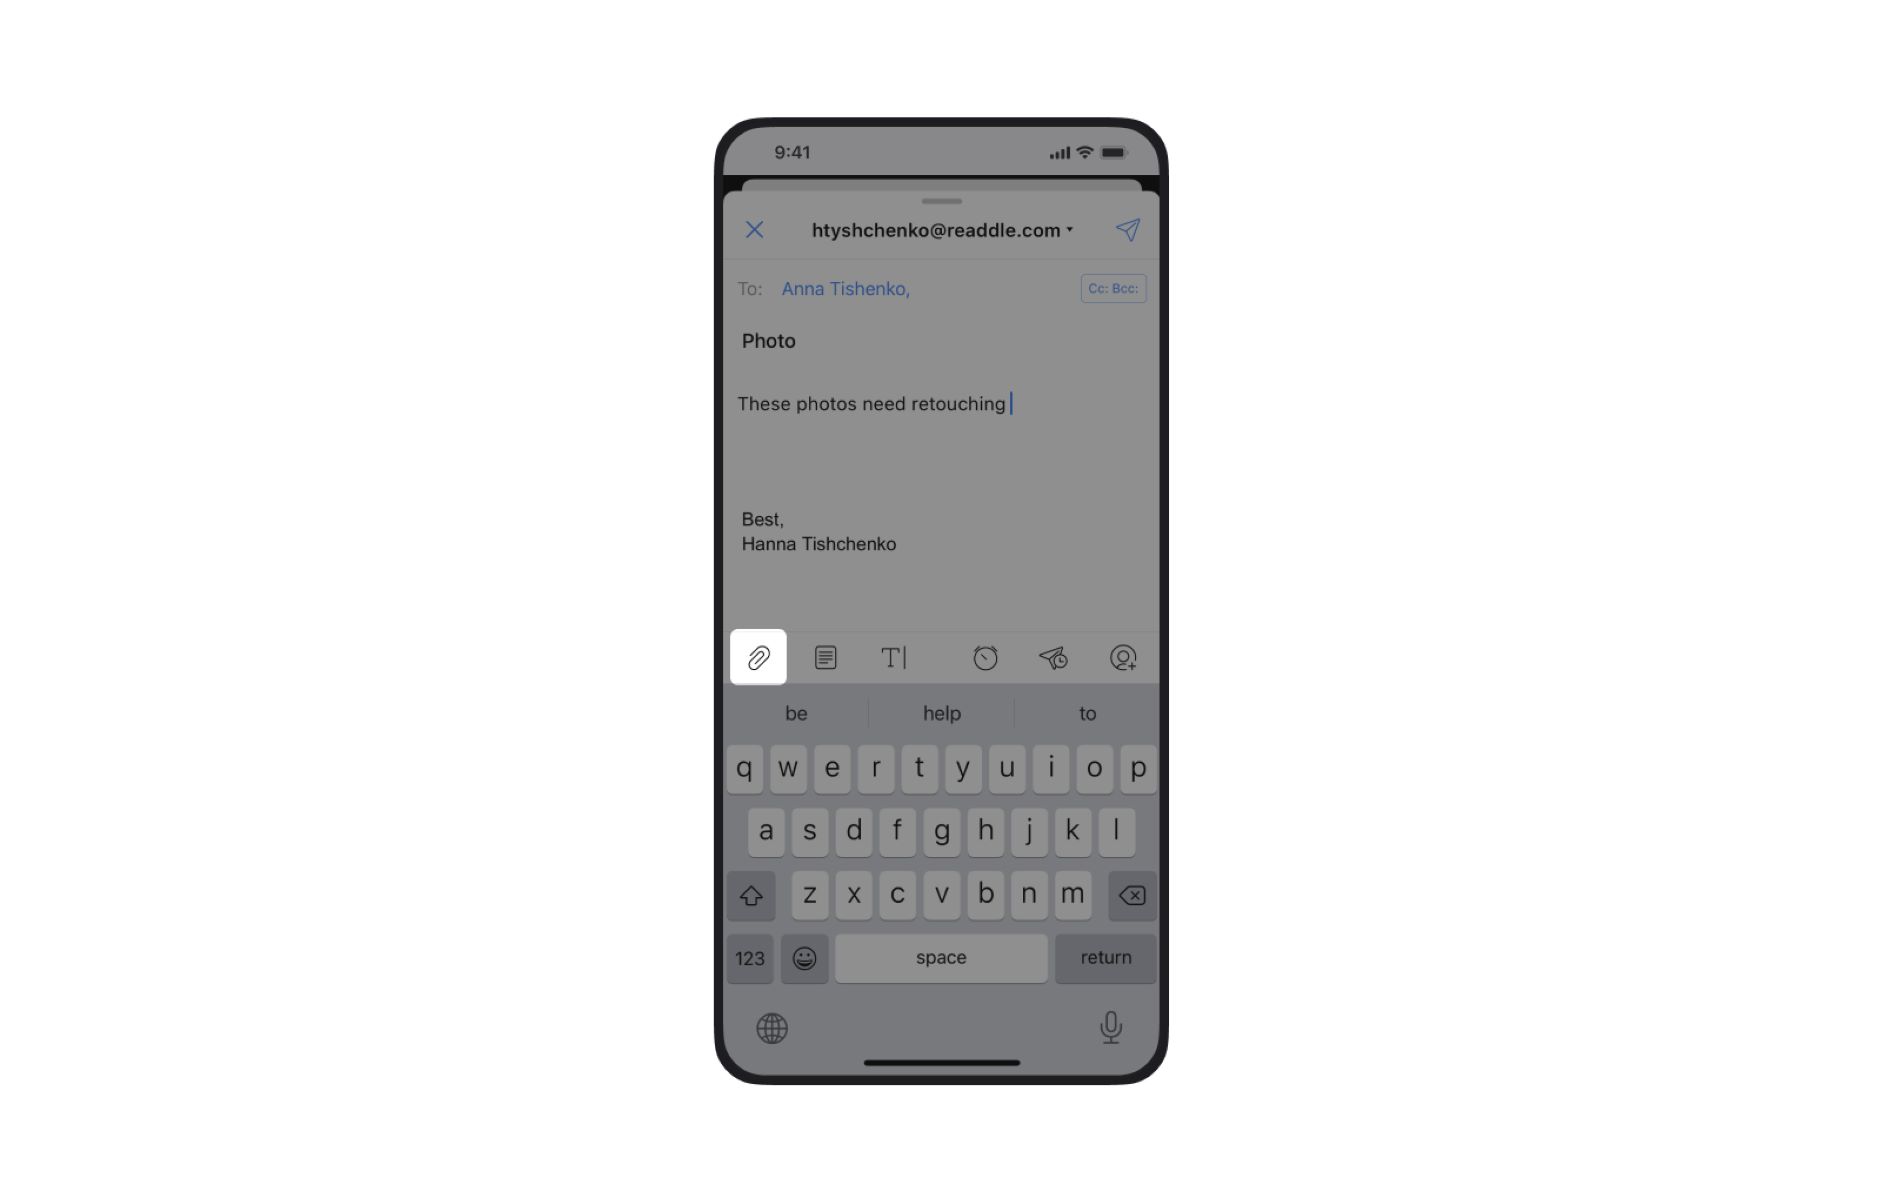
- While composing your email, tap on the body of the email to bring up the editing menu.
- From the options that appear, tap on the right-facing arrow. This will reveal the additional menu options, including “Insert Photo or Video,” “Take Photo or Video,” “Add Attachment,” and more.
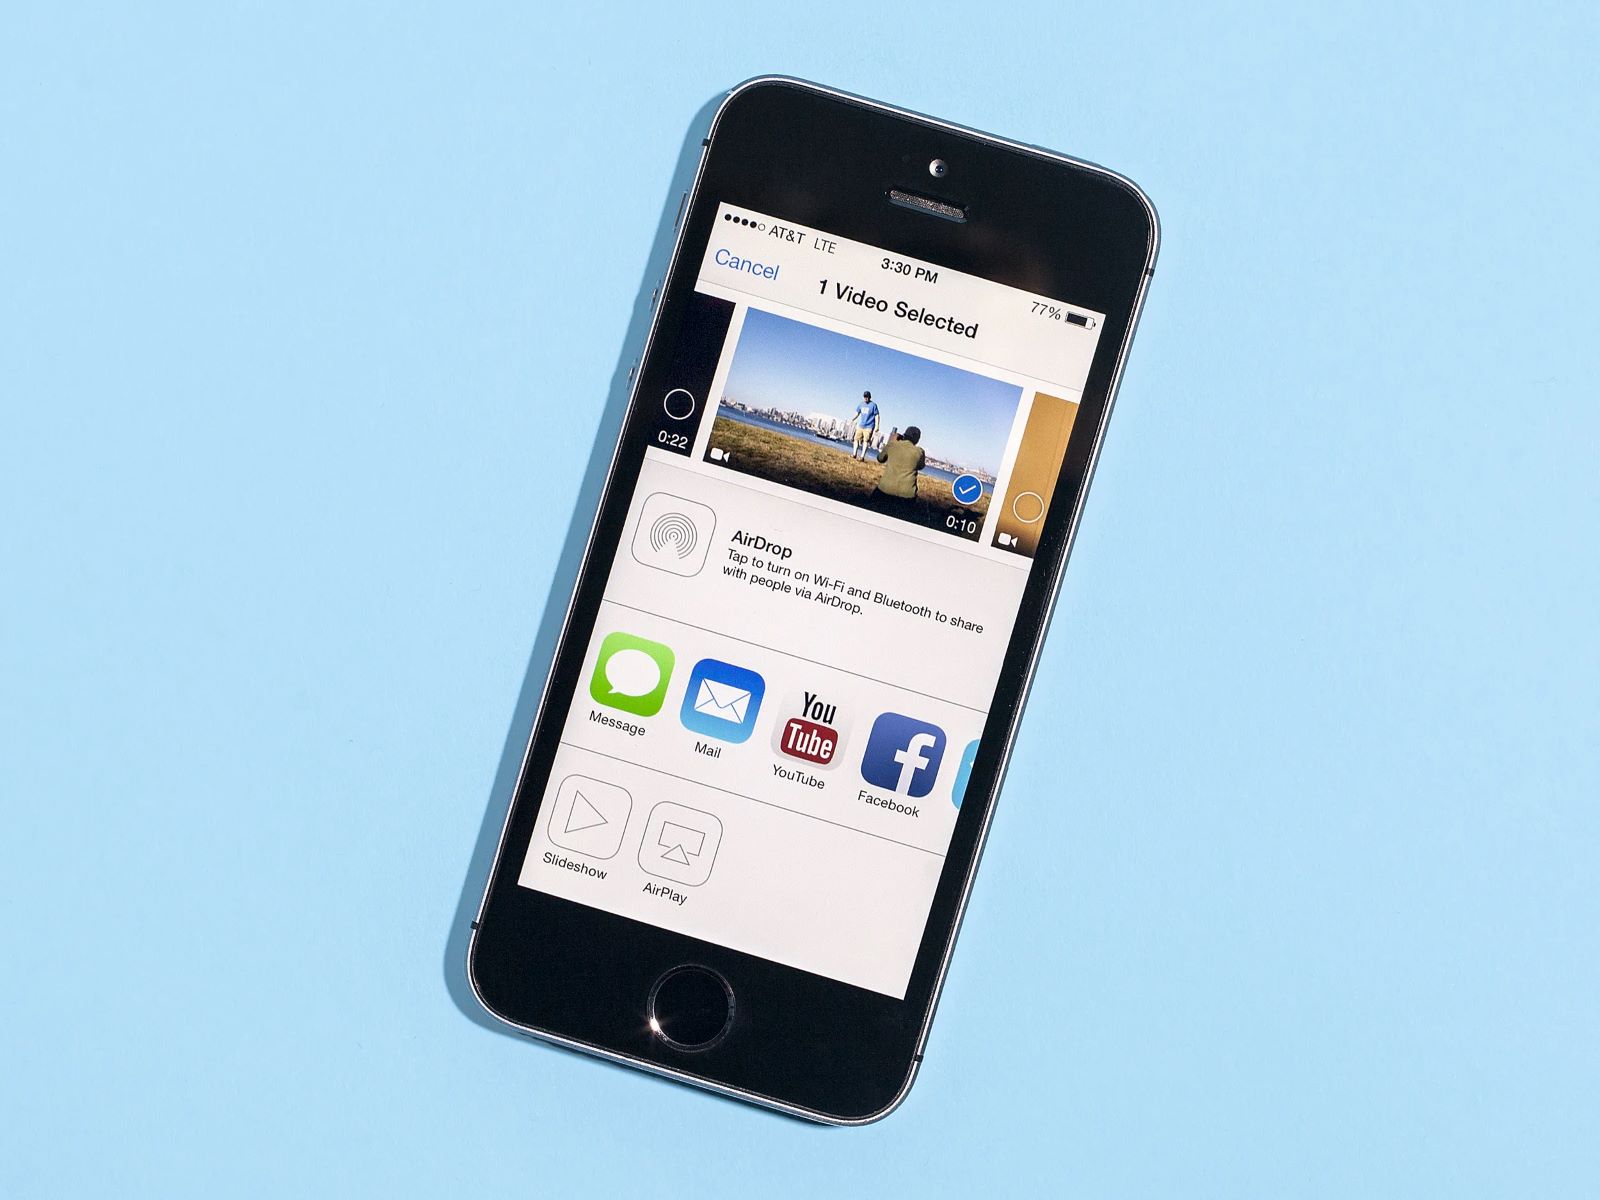
- If you want to attach a photo or video from your iPhone’s gallery, tap on “Insert Photo or Video.” Browse through your albums and select the desired item. You can attach multiple photos or videos by selecting them one by one.
- If you want to take a new photo or video to attach to your email, tap on “Take Photo or Video.” Your iPhone’s camera will open, allowing you to capture the desired image or video. Once taken, it will be automatically added as an attachment to your email.
- If you want to attach other types of files, tap on “Add Attachment.” This will open the Files app on your iPhone, where you can browse your device’s storage or connected cloud storage services to select the files you want to attach.
- Once you have selected the desired attachments, they will be added to your email. You can view the attachments by scrolling through the email. Tapping on an attachment will allow you to preview it or interact with it, depending on the file type.
It is worth noting that some email providers may impose a limit on the size of attachments you can send. If your attachment exceeds the limit, you may need to explore alternative methods, such as using cloud storage services or compressing the file. Now that you have successfully added attachments to your email, it’s time for the final step – sending your email.
Step 6: Sending your email
Now that you have composed your email, added recipients, written and formatted the content, and attached any necessary files, it’s time to send your email from your iPhone. Follow these steps to complete the process:
- Once you have reviewed your email and ensured that everything is in order, it’s time to send it. Look for the arrow icon at the top-right corner of the screen, usually in the form of a paper plane. Tap on this icon to initiate the send process.
- Your iPhone will take a moment to send the email, especially if it includes large attachments or if you have a slow internet connection. Be patient and wait for the progress indicator to complete.
- Once the email has been successfully sent, you will see a confirmation message or a green notification banner at the top of the screen. You can now close the email and return to your inbox or continue with any other tasks on your iPhone.
It’s important to note that once you hit the send button, your email is out of your control. Take a moment to double-check the recipient list, subject line, and content to ensure accuracy and avoid any potential mistakes. Proofreading your email before sending can help you maintain a professional image and avoid misunderstandings.
If you ever need to check the status of a sent email, you can go to the “Sent” folder in the Mail app. There, you will find a record of all the emails you have sent from your iPhone.
Congratulations! You have successfully sent your email from your iPhone. Whether it’s a critical work-related message or a personal note, you can now stay connected and communicate effortlessly right from the palm of your hand.
Conclusion
Sending emails from your iPhone has never been easier thanks to the user-friendly Mail app. With the ability to set up email accounts, compose and format messages, add recipients, attach files, and send emails in just a few simple steps, you can stay connected and communicate efficiently while on the go.
By following the step-by-step guide outlined in this article, you have learned how to navigate the intricacies of sending emails from your iPhone. Setting up your email account, composing new emails, adding recipients, writing and formatting content, attaching files, and finally sending your email have become second nature to you.
Remember to utilize the formatting options available to make your emails visually appealing, but always maintain a professional tone and ensure your message is clear and concise. Adding attachments can enrich your communication by sharing relevant files and media with your recipients.
As you continue to use your iPhone’s Mail app to send emails, you may discover additional features and functionalities that can further enhance your email experience. Explore and experiment with these features to make the most out of your email communication.
By mastering the art of sending emails from your iPhone, you are equipped to stay connected, communicate effectively, and seize every opportunity that comes your way. Whether it’s for work or personal purposes, the power to send emails is now at your fingertips.
So, go ahead, confidently tackle your email correspondence, and make the most of your iPhone’s capabilities. Stay connected, stay on top of your inbox, and continue to streamline your communication through the convenience of your iPhone.