Introduction
Sending emails has become an integral part of communication in today’s digital world. Whether it’s for business or personal reasons, we rely heavily on email to connect and stay in touch with others. However, we’ve all experienced that sinking feeling when we hit the send button and realize we’ve made a mistake or sent the email to the wrong person.
Fortunately, if you’re an iPhone user, there is a solution to this problem. With the help of the “Undo Send” feature, you can unsend emails on your iPhone and prevent any potential embarrassment or confusion. In this article, we will guide you through the process of enabling and using the “Undo Send” feature on your iPhone, allowing you to have more control and peace of mind over your email communication.
Whether you accidentally click “send” too soon, forget to attach an important document, or simply change your mind after sending an email, the ability to unsend an email can save you from potential headaches and misunderstandings. Let’s dive into the steps to enable and effectively use this feature on your iPhone, ensuring that you can take control of your email communication.
Enable Undo Send
The first step to being able to unsend emails on your iPhone is to enable the “Undo Send” feature. By default, this feature is not activated, so you’ll need to follow these simple steps to turn it on:
- Open the “Settings” app on your iPhone.
- Scroll down and tap on “Mail”.
- Under the “Compose” section, tap on “Undo Send”.
- Toggle the switch next to “Undo Send” to enable it.
Enabling this feature will give you a specified amount of time (usually a few seconds) to undo the sending of an email after you hit the send button. Keep in mind that the Undo Send feature only works for emails sent through the built-in Mail app on your iPhone and does not apply to third-party email apps.
Once you’ve enabled the “Undo Send” feature, you’re ready to start unsending those emails that you regret sending or realize contain mistakes. The next section will guide you on how to identify and unsend an email on your iPhone.
Identifying the Sent Email
Before you can unsend an email on your iPhone, you need to be able to identify the sent email quickly. This is especially important if you have sent multiple emails and need to locate the one you want to unsend. Here are a few steps to help you identify the sent email:
- Open the Mail app on your iPhone.
- Navigate to the “Sent” folder, usually located in the bottom right corner of the app.
- Scroll through the list of sent emails to find the specific one you want to unsend.
If you have a long list of sent emails, you may need to use the search bar at the top of the screen to narrow down your search. Enter relevant keywords or the recipient’s name to quickly locate the email you want to unsend.
Once you have identified the email you wish to unsend, you can proceed to the next section to learn how to effectively undo the sent email on your iPhone.
Unsend an Email
Now that you have located the email you want to unsend, it’s time to take action and retract it. Follow these steps to unsend an email on your iPhone:
- Open the email you want to unsend by tapping on it.
- Once the email is open, you will see various options at the bottom of the screen. Tap on the reply arrow icon, which should be located to the left of the trash bin icon.
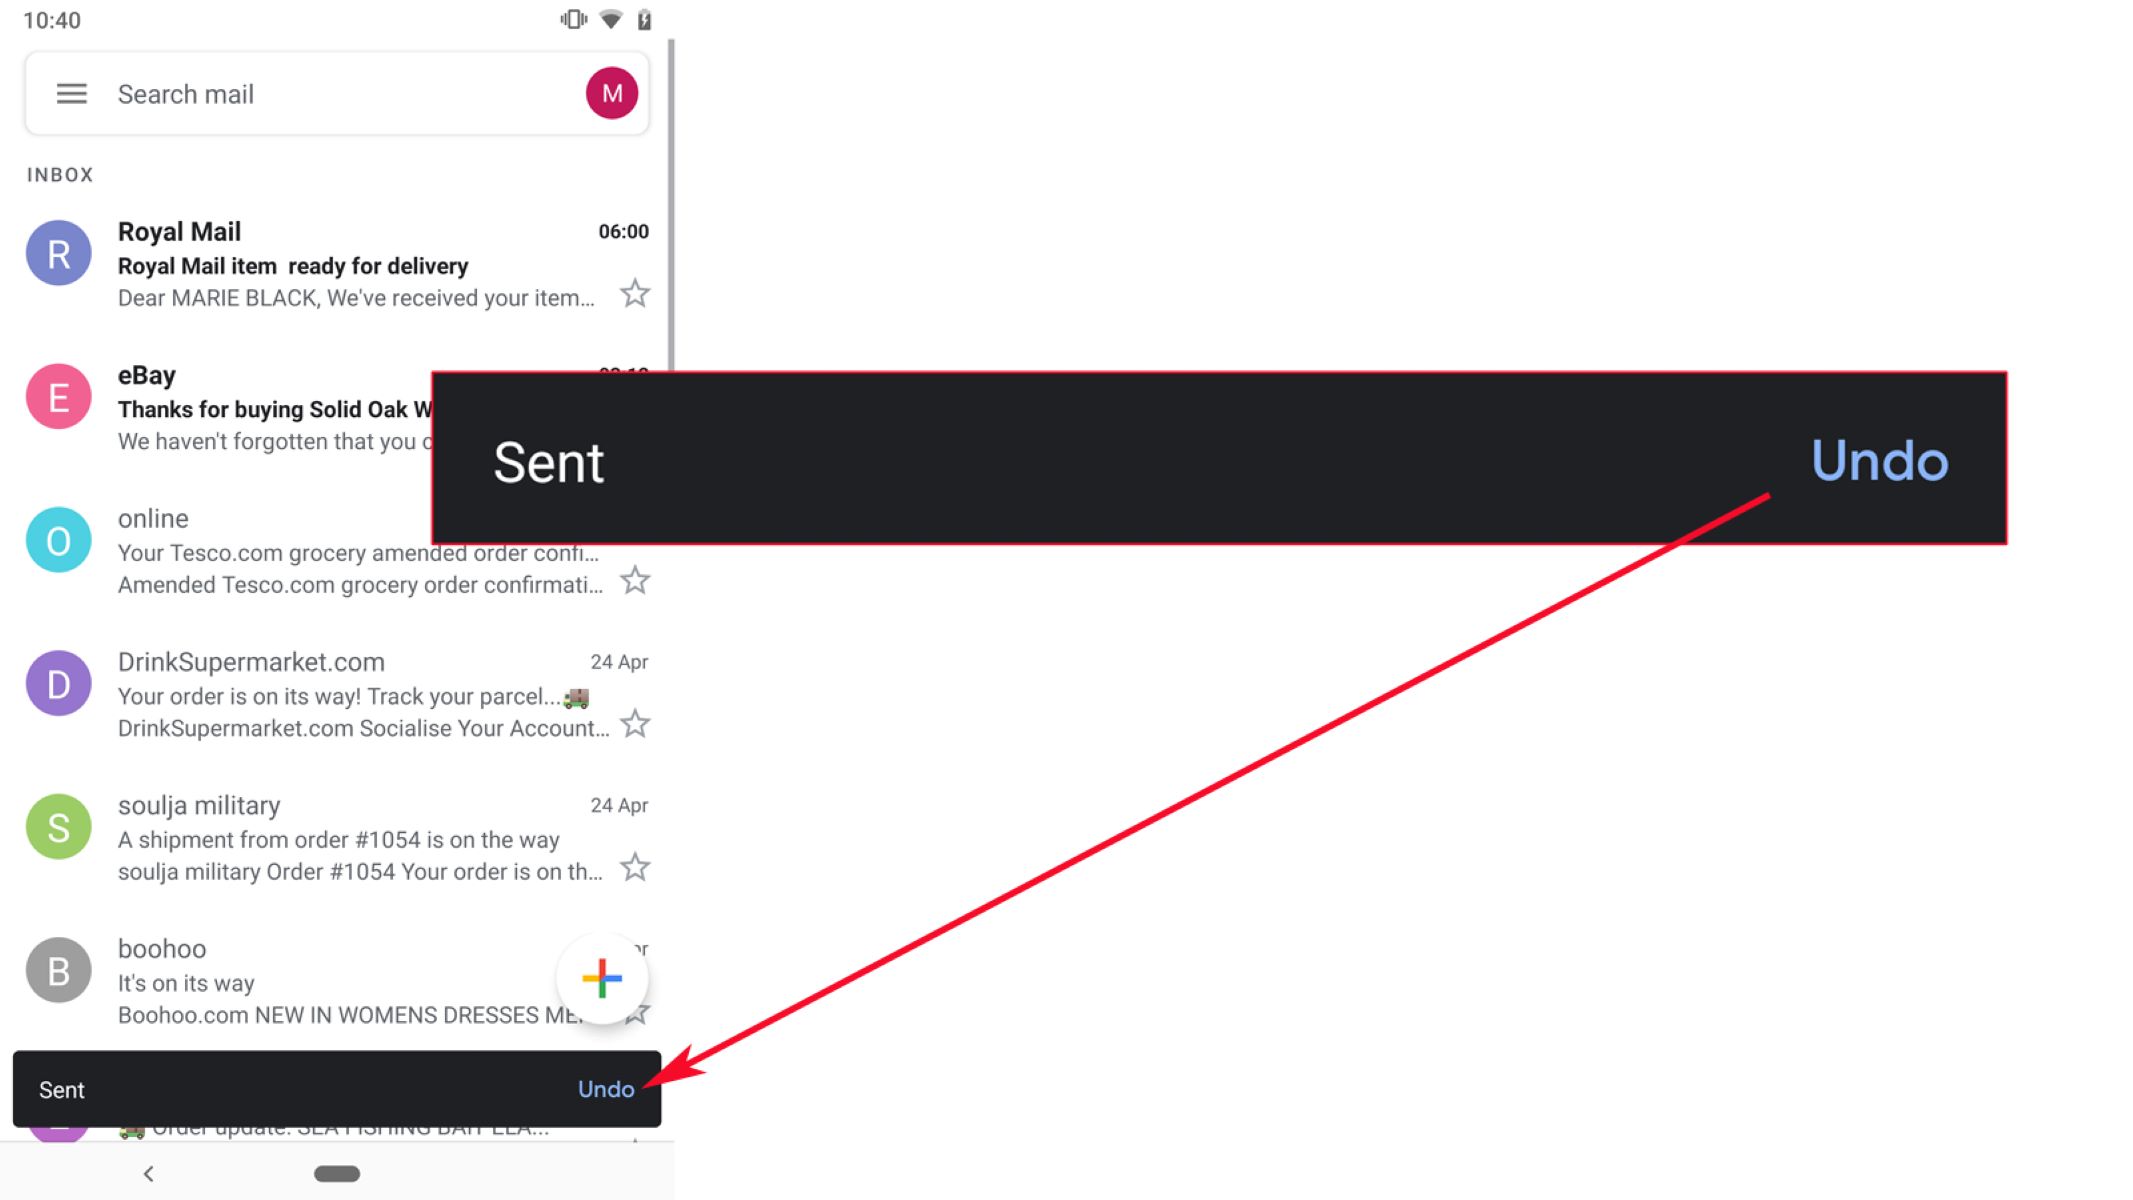
- A pop-up menu will appear with several options. Tap on “Undo Send” to unsend the email.
- If the email was successfully unsent, you will see a confirmation message on the screen. The email will be withdrawn from the recipient’s inbox and will not be delivered.
It’s important to note that the “Undo Send” feature has a time limit. You must initiate the unsend process within the specified period after hitting the send button. Once that time has elapsed, you will no longer be able to unsend the email.
By following these steps, you can effectively unsend an email on your iPhone, rescinding a message that you no longer want to be delivered. However, keep in mind that if the recipient has already opened the email or if it has been delivered to their inbox, the unsend feature may not work and the email may still be accessible to them.
Now that you know how to unsend an email, the next section will guide you on how to remove the unsent email from the outbox on your iPhone.
Remove the Unsent Email from the Outbox
If you’ve successfully unsent an email using the “Undo Send” feature on your iPhone, you may notice that the email still appears in your outbox. While the email has been retracted and will not be delivered, it’s a good idea to remove it from the outbox to avoid any confusion in the future. Follow these steps to remove the unsent email from the outbox:
- Open the Mail app on your iPhone.
- Navigate to the outbox folder, which is typically located near the sent folder.
- Find the unsent email in the outbox. You can identify it by looking for the email with a status of “Unsent” or “Draft”.
- Swipe left on the email to reveal the delete button.
- Tap on the delete button to remove the unsent email from the outbox.
After deleting the unsent email from the outbox, it will no longer be visible in your email folders. This step ensures that you have a clean and organized email interface on your iPhone.
It’s important to note that once you have removed the unsent email from the outbox, it cannot be recovered. Therefore, make sure to review the email carefully before unsending and deleting it from the outbox.
With the email successfully unsent and removed from the outbox, you can now rest assured that it will not be delivered and that it won’t clutter your email folders.
In the final section, let’s summarize what we’ve learned and provide some closing thoughts on using the “Undo Send” feature on your iPhone.
Recap and Final Thoughts
In this article, we have explored the steps to enable and use the “Undo Send” feature on your iPhone, allowing you to unsend emails and regain control over your email communication. Let’s recap what we have learned:
First, we discussed how to enable the “Undo Send” feature by navigating to the Mail settings on your iPhone and toggling the switch next to “Undo Send”. This feature gives you a specified amount of time to retract an email after hitting the send button.
Next, we learned how to identify the sent email by navigating to the “Sent” folder within the Mail app on your iPhone. You can use the search bar to quickly locate a specific email by using relevant keywords or the recipient’s name.
Then, we explored the steps to unsend an email by opening the email, tapping on the reply arrow icon, and selecting “Undo Send” from the menu. Remember that this feature has a time limit, so make sure to initiate the unsend process within the specified period.
Finally, we discussed the importance of removing the unsent email from the outbox to maintain a clean and organized email interface on your iPhone. Simply navigate to the outbox folder, swipe left on the email, and tap on the delete button to remove it.
By following these steps, you can effectively unsend emails on your iPhone, helping you avoid potential mistakes, embarrassment, or miscommunication. However, it’s important to double-check your emails before sending, as the “Undo Send” feature may not always be able to retract them.
Remember, the ability to unsend emails is a valuable feature that can give you more control and peace of mind in your email communication. Use it wisely and make sure to take advantage of this feature when needed.
Now that you have a better understanding of how to unsend emails on your iPhone, you can confidently communicate through email knowing that you have the power to correct any mistakes or change your mind before the email reaches its recipient.