Introduction
Welcome to the world of Outlook, where sending emails is a breeze and communication is just a click away. But what happens when you hit that send button a little too soon, and a wave of regret washes over you? Don’t fret – with Outlook, you have the power to unsend emails and save yourself from embarrassing or erroneous messages.
In this guide, we will walk you through the steps to unsend email on Outlook, ensuring that you can prevent those “Oops!” moments from reaching your recipients’ inboxes. Whether you accidentally sent an incomplete email, attached the wrong file, or simply changed your mind, Outlook’s “Undo Send” feature will come to your rescue.
By enabling the “Undo Send” option, you will have a designated time window to recall a sent email, giving you enough breathing room to fix any mistakes before it’s too late. So, let’s dive in, explore the steps, and reclaim control over your outgoing messages.
Please note that the “Undo Send” feature is only available for emails sent using the Outlook desktop client or the Outlook web app. It is not available on the Outlook mobile app or other email clients. Additionally, it is worth mentioning that the “Undo Send” feature does not guarantee that the email will be recalled successfully, as it depends on various factors such as the recipient’s email server and the time elapsed since the email was sent.
Now, without further ado, let’s get started with enabling the “Undo Send” feature and mastering the art of recalling emails in Outlook.
Step 1: Enable Undo Send in Outlook
The first step in unsending emails on Outlook is to enable the “Undo Send” feature. By default, this feature is not enabled, so you’ll need to follow these simple steps to activate it:
- Open Outlook on your computer or access the Outlook web app.
- Click on the gear icon in the top-right corner of the screen to open the settings menu.
- From the dropdown menu, select “View all Outlook settings” (for the web app) or “Options” (for the desktop client).
- In the settings menu, navigate to the “Mail” section.
- Locate the “Compose and reply” tab and click on it.
- Scroll down until you find the “Undo Send” option.
- Toggle the switch to turn on the “Undo Send” feature.
- Choose the desired time delay for recalling emails using the dropdown menu. The available options are 5, 10, 15, 20, 25, and 30 seconds.
- Click on the “Save” or “Apply” button to save your changes.
Once you have completed these steps, the “Undo Send” feature will be enabled in your Outlook account, allowing you to retract emails within the specified time window. It’s important to note that the longer the time delay you choose, the more time you’ll have to realize any mistakes and recall your email before it gets delivered.
Now that you have successfully enabled the “Undo Send” feature, let’s move on to the next step, where we’ll explore how to set up the time delay for recalling emails in Outlook.
Step 2: Setting up the Undo Send time delay
Now that you have enabled the “Undo Send” feature in Outlook, the next step is to configure the time delay for recalling your emails. The time delay determines the duration in which you can unsend an email after hitting the send button. Follow these steps to set up the time delay:
- Open Outlook and go to the settings menu by clicking on the gear icon in the top-right corner of the screen.
- Select “View all Outlook settings” (for the web app) or “Options” (for the desktop client) from the dropdown menu.
- Navigate to the “Mail” section in the settings menu.
- Click on the “Compose and reply” tab.
- Scroll down until you find the “Undo Send” option.
- Next to the option, you will see a dropdown menu displaying various time intervals.
- Select the desired time delay for recalling emails. The available options are 5, 10, 15, 20, 25, and 30 seconds.
- Save your changes by clicking on the “Save” or “Apply” button.
By setting up the time delay, you are giving yourself a grace period to reconsider your sent emails and make necessary changes or recall them entirely. The duration you choose depends on your preference and the level of certainty you want before finalizing your outgoing messages.
It’s important to note that once the set time elapses, you won’t be able to retrieve or unsend the email. So, make sure to choose a suitable time delay that gives you ample opportunity to rectify any mistakes or make any last-minute adjustments.
Now that you have configured the time delay for recalling emails, let’s proceed to the next step, where we’ll explore how to send an email and recall it if needed.
Step 3: Sending an email and how to recall it
Now that you have enabled the “Undo Send” feature and set up the time delay, let’s move on to the exciting part – sending an email and learning how to recall it if necessary. Follow these steps:
- Compose your email as you normally would, addressing the recipient, adding the subject, and writing the content.
- Double-check the email for any errors, such as typos or missing attachments. Take your time to ensure the email is accurate and complete.
- When you are ready to send the email, click on the “Send” button. Take note of the time delay you have set for recalling emails.
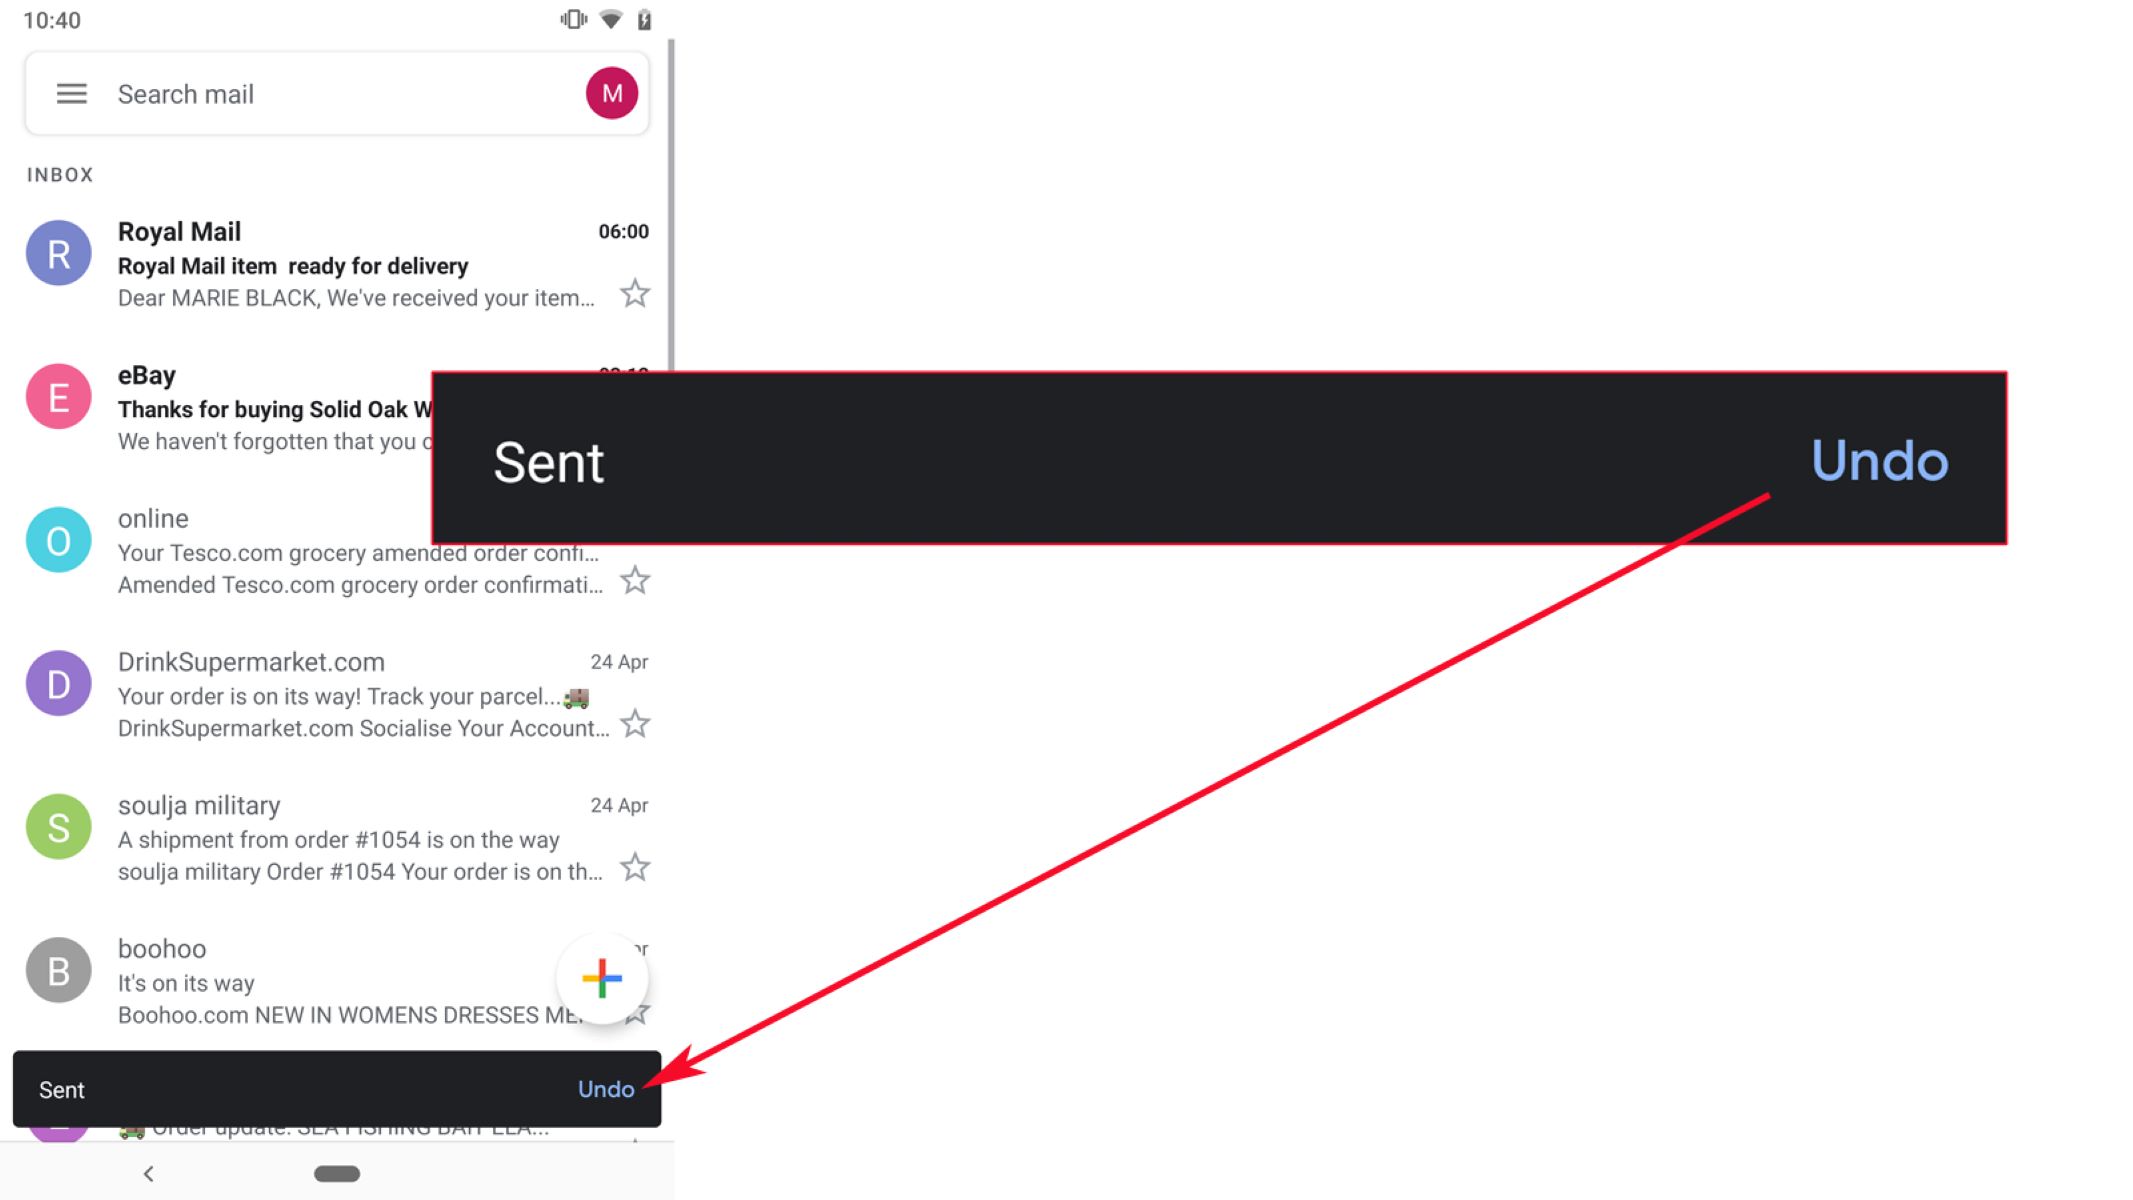
- After clicking the “Send” button, a notification or pop-up message will appear, informing you that the email has been sent and giving you the option to “Undo”.
- If you spot any issues or changes that need to be made, click on the “Undo” button immediately. This will recall the email and bring you back to the draft view.
It’s important to act quickly if you decide to recall the email. Remember that the time delay you have set will determine how much time you have to undo the action. If you exceed the set time, the email will be sent and cannot be recalled.
Recalling an email is a handy feature that gives you a chance to correct mistakes before they reach the recipient’s inbox. However, keep in mind that the success of the recall depends on various factors, such as the recipient’s email server and the time elapsed since the email was sent. There is no guarantee that the email will be successfully recalled in all cases.
Now that you know how to send an email and recall it if needed, let’s move on to the next step, where we’ll learn how to check if the email was successfully recalled.
Step 4: Checking if the email was successfully recalled
After recalling an email using the “Undo Send” feature in Outlook, it’s important to verify whether the recall was successful. Here’s how you can check if the email was successfully recalled:
- Go to the “Sent Items” folder in your Outlook account. This folder contains all the emails you have sent.
- Look for the email that you attempted to recall.
- If the recall was successful, you will notice that the email has disappeared from the “Sent Items” folder. This indicates that the email was successfully recalled and will not be delivered to the recipient.
- However, if the email is still present in the “Sent Items” folder, it means that the recall was not successful. The email has been sent and will be delivered to the recipient as intended.
- In case the recall was not successful, you may need to reach out to the recipient and explain the situation or send a follow-up email with the necessary corrections or updates.
It’s crucial to note that the success of recalling an email depends on several factors, including the recipient’s email server settings and the timing of the recall attempt. Therefore, it’s possible that some email recipients may still receive the recalled email even if it disappears from your “Sent Items” folder.
By checking the “Sent Items” folder and confirming the status of the recalled email, you can ensure that any mistakes or erroneous messages are swiftly addressed, minimizing the potential impact on your communication.
Now that you know how to check if the email was successfully recalled, let’s move on to the final step, where we’ll discuss troubleshooting common issues that you might encounter when using the “Undo Send” feature in Outlook.
Step 5: Troubleshooting common issues
While the “Undo Send” feature in Outlook is a powerful tool for recalling emails, there may be instances where you encounter certain issues or challenges. Here are some common problems you might come across and how to troubleshoot them:
Issue 1: Email recall not working: If you find that your attempts to recall an email are unsuccessful, double-check the following:
- Ensure that you have enabled the “Undo Send” feature in your Outlook settings.
- Verify that you are within the specified time delay for recalling emails.
- Confirm that the email has not already been delivered to the recipient before you attempted to recall it.
Issue 2: Recalled email still visible to recipient: Sometimes, even if you successfully recall an email, the recipient may still see the message. This can happen due to various reasons:
- The recipient’s email server processed the original email before the recall request reached their inbox.
- The recipient has already opened or read the original email before the recall request took effect.
- The recipient’s email client or server does not support the recall feature.
Issue 3: Email recalled, but recipient receives a notification: Occasionally, when you recall an email, the recipient may receive a notification about the recall attempt, even if the email itself was successfully deleted from their inbox. Unfortunately, this is a known limitation with the recall feature in Outlook.
If you encounter any of these issues or other difficulties with recalling emails, it’s recommended to reach out to your email administrator or IT support for further assistance and guidance. They can provide specific troubleshooting steps based on your organization’s email system setup and configuration.
Now that you are aware of common troubleshooting scenarios, you can navigate through potential challenges when using the “Undo Send” feature in Outlook.
With this final step, you have completed the process of unsending emails on Outlook. By following the steps outlined in this guide, you can regain control over your outgoing messages and rectify any mistakes or errors before they impact your communication. Enjoy the peace of mind that comes with the ability to recall emails and keep your professional correspondence polished and error-free!
Conclusion
Congratulations! You have now learned how to unsend emails on Outlook using the “Undo Send” feature. With this powerful tool at your disposal, you can prevent embarrassing or erroneous messages from reaching your recipients’ inboxes.
By following the step-by-step instructions provided in this guide, you enabled the “Undo Send” feature, set up the time delay for recalling emails, sent an email and learned how to recall it if needed, checked if the email was successfully recalled, and troubleshooted common issues that may arise during the email recall process.
It’s important to note that while the “Undo Send” feature is a useful tool, successful email recall depends on various factors, including the recipient’s email server and the timing of the recall attempt. Therefore, it’s always advisable to double-check your emails before sending them to ensure accuracy and completeness.
Remember, the key to utilizing the “Undo Send” feature effectively is to act quickly. As soon as you realize an error or change is needed, click on the “Undo” button within the specified time delay to recall the email. By doing so, you can rectify any mistakes and maintain professionalism in your communication.
Now that you have mastered the art of unsending emails on Outlook, take advantage of this invaluable feature to enhance your email etiquette and avoid the stress and consequences of sending incorrect or incomplete messages.
Thank you for following this guide, and we hope it helps you navigate the world of Outlook with confidence and control. Happy emailing!