Introduction
Scanning and emailing documents has become a common practice in today’s digital age. Whether you need to send important paperwork to a colleague, submit application materials, or share important information with a client, knowing how to scan and email a document with your HP printer can save you time and effort.
HP printers are equipped with efficient scanning capabilities, allowing you to effortlessly convert physical documents into digital files that can be easily shared via email. With a few simple steps, you can have your document scanned, attached to an email, and sent off in no time.
In this guide, we will walk you through the process of scanning and emailing a document using an HP printer. From setting up the scanner to attaching the scanned document to an email, we’ll provide you with all the necessary steps to successfully complete the task.
So, whether you’re a business professional or a home user, let’s dive into the step-by-step process of scanning and emailing a document with an HP printer.
Step 1: Set up the Scanner
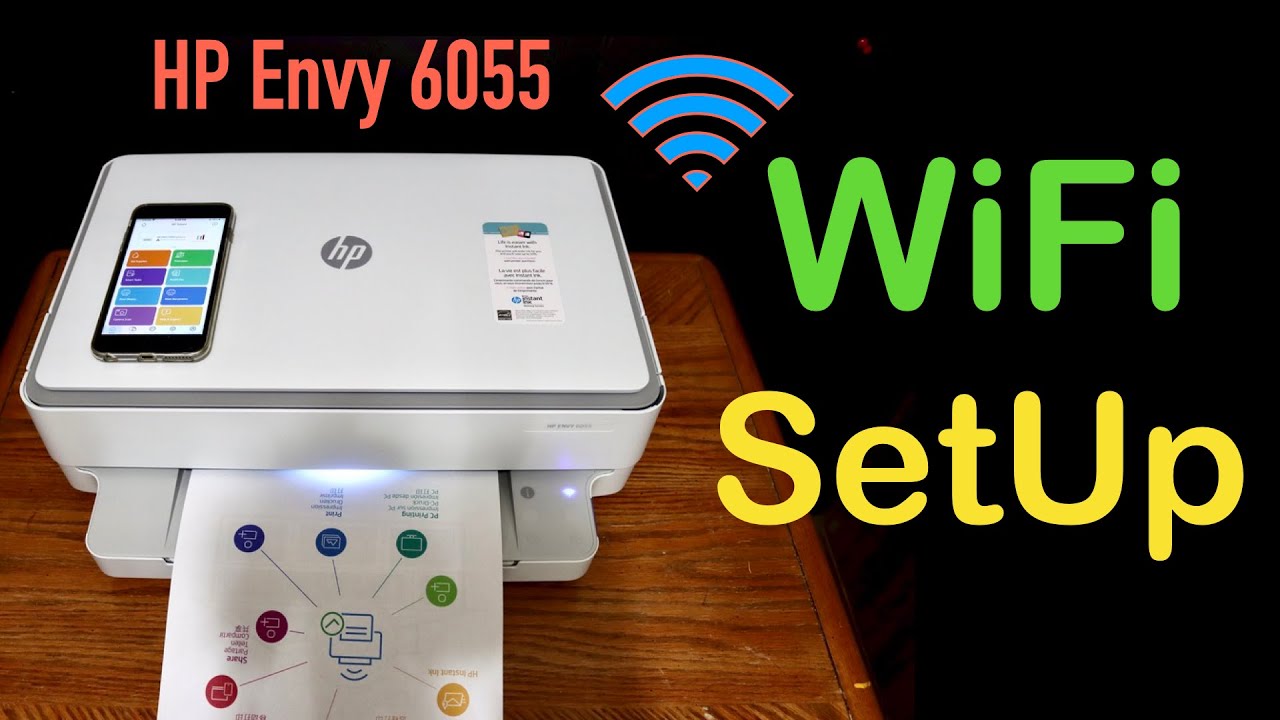
The first step in scanning and emailing a document with your HP printer is to set up the scanner. Make sure that your HP printer is connected to your computer or network, and that both devices are powered on.
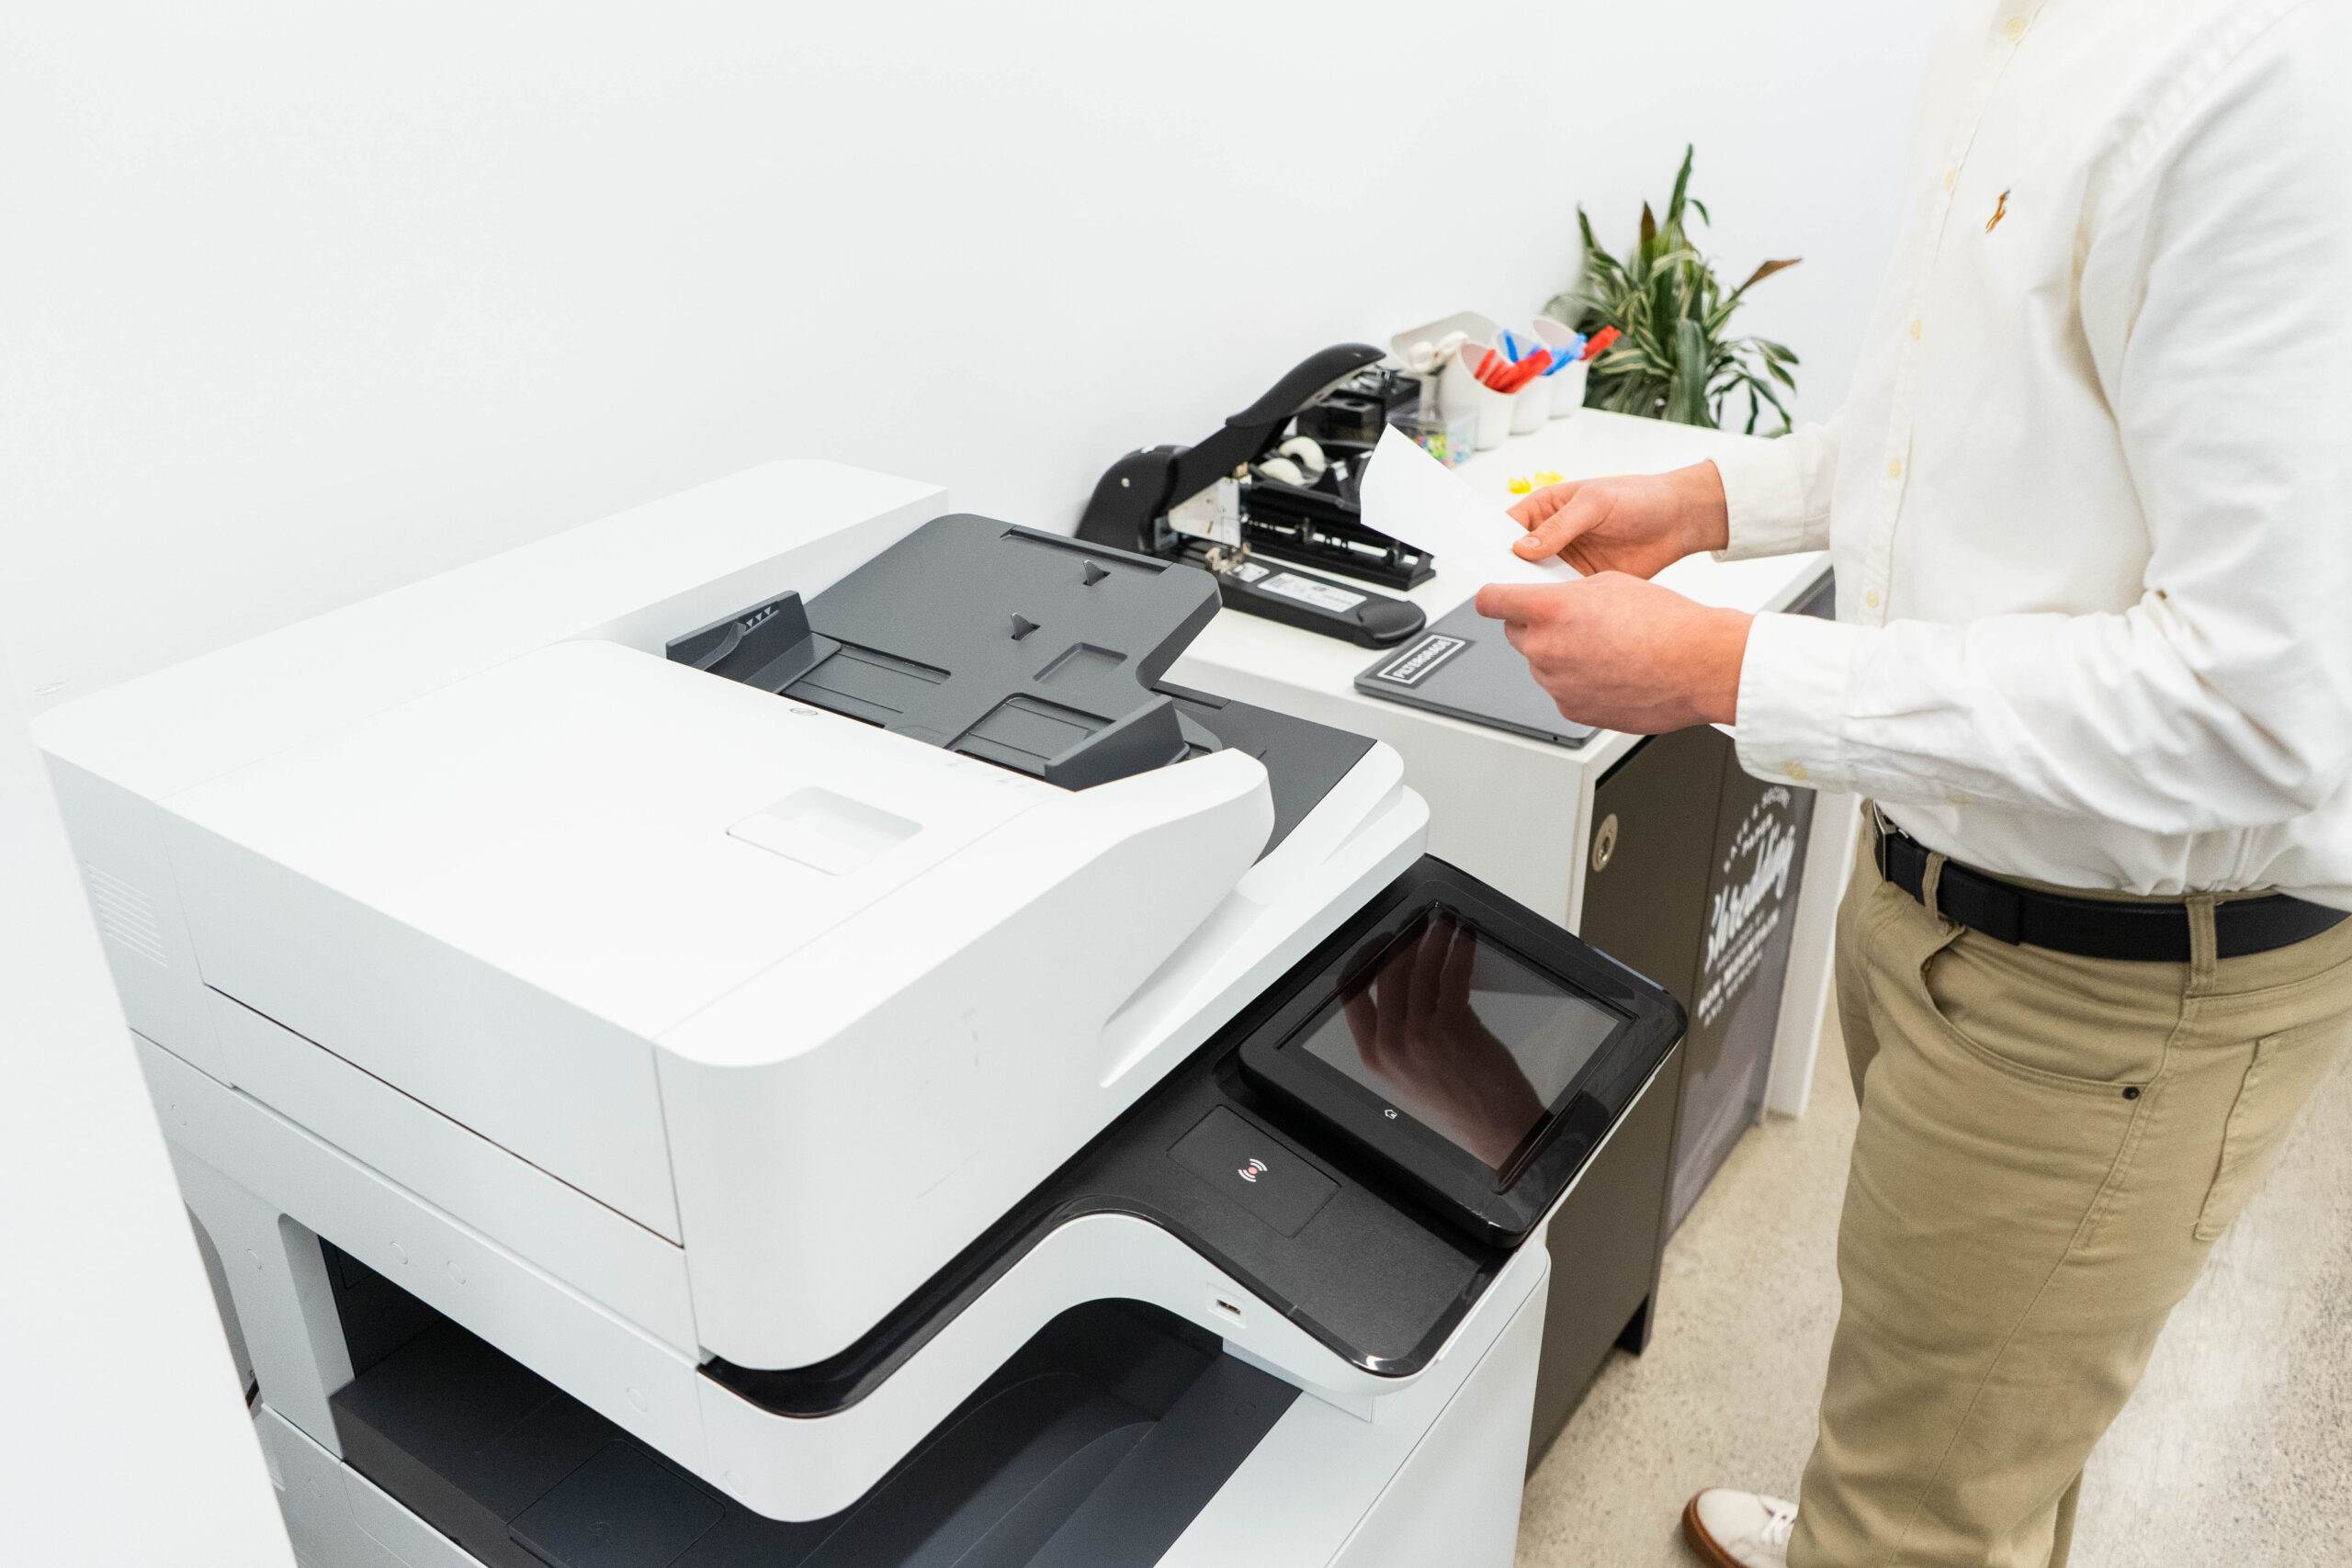
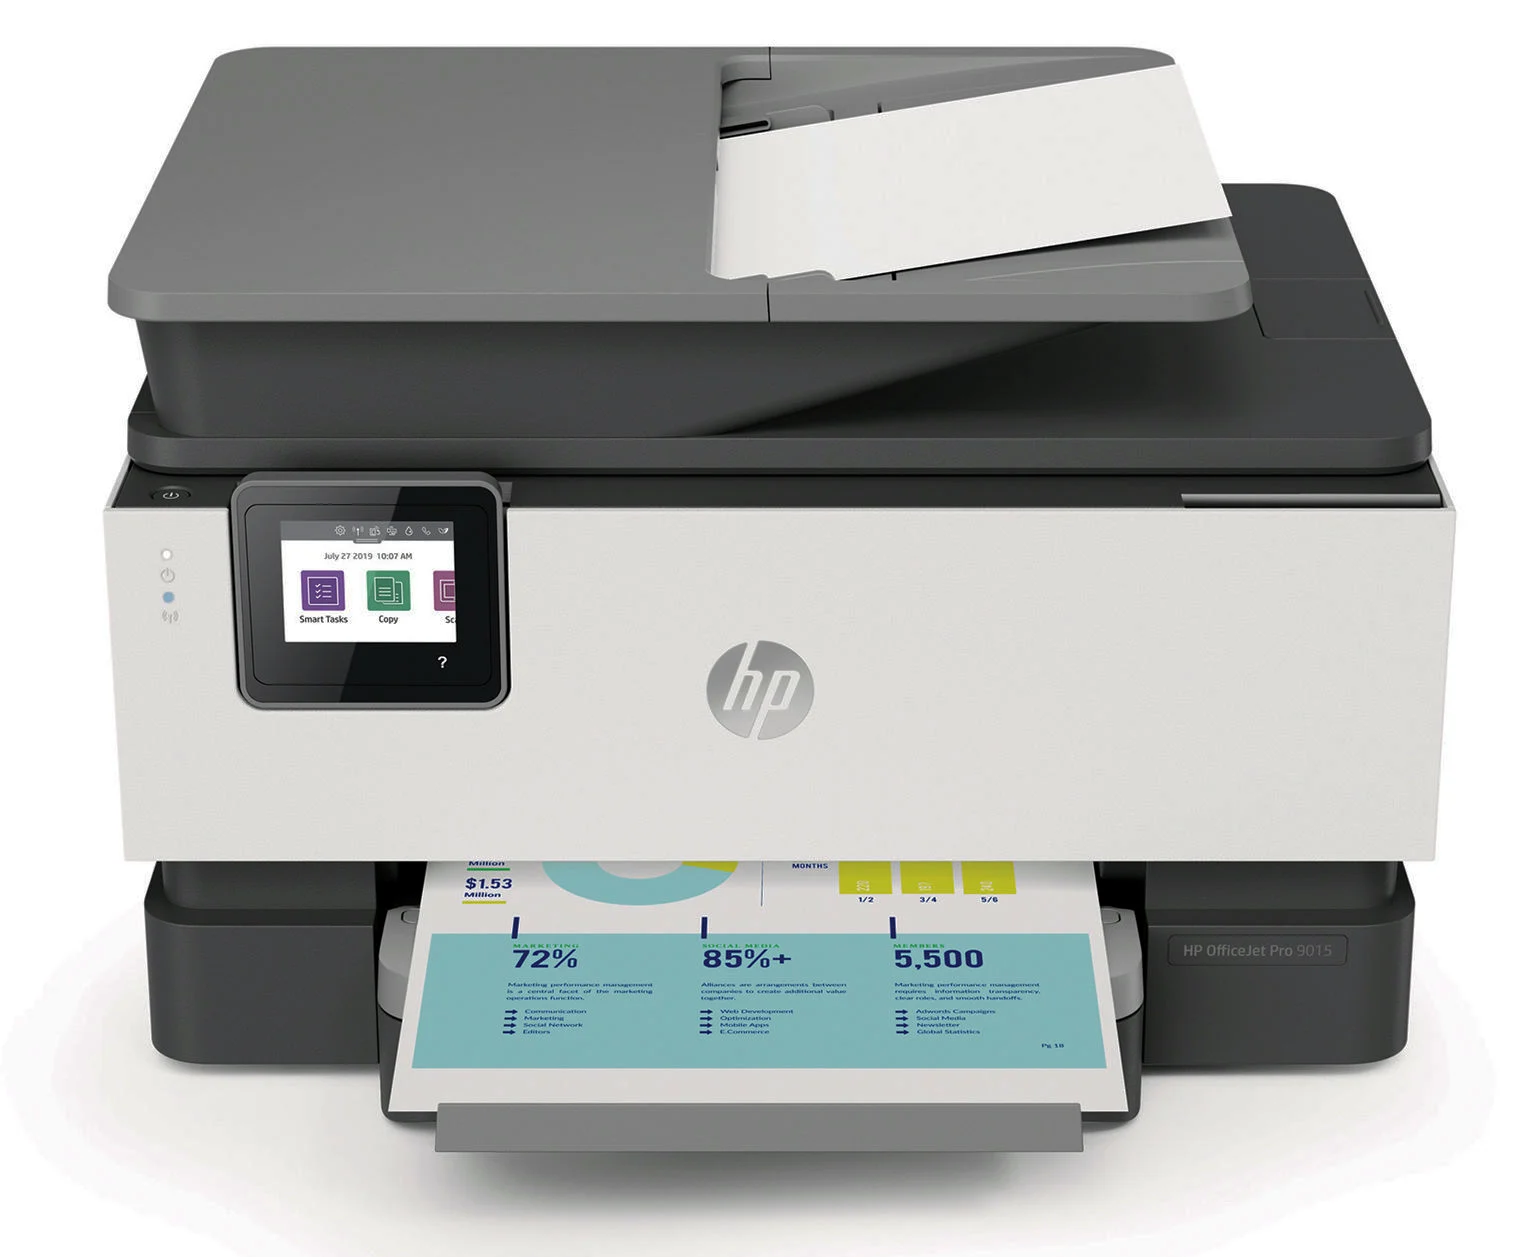
To start, locate the scanning bed or glass on your HP printer. This is where you will place the document you want to scan. Ensure that the scanning area is clean and free from any dirt or debris. It’s important to have a clean surface to avoid smudging or damaging the scanned document.
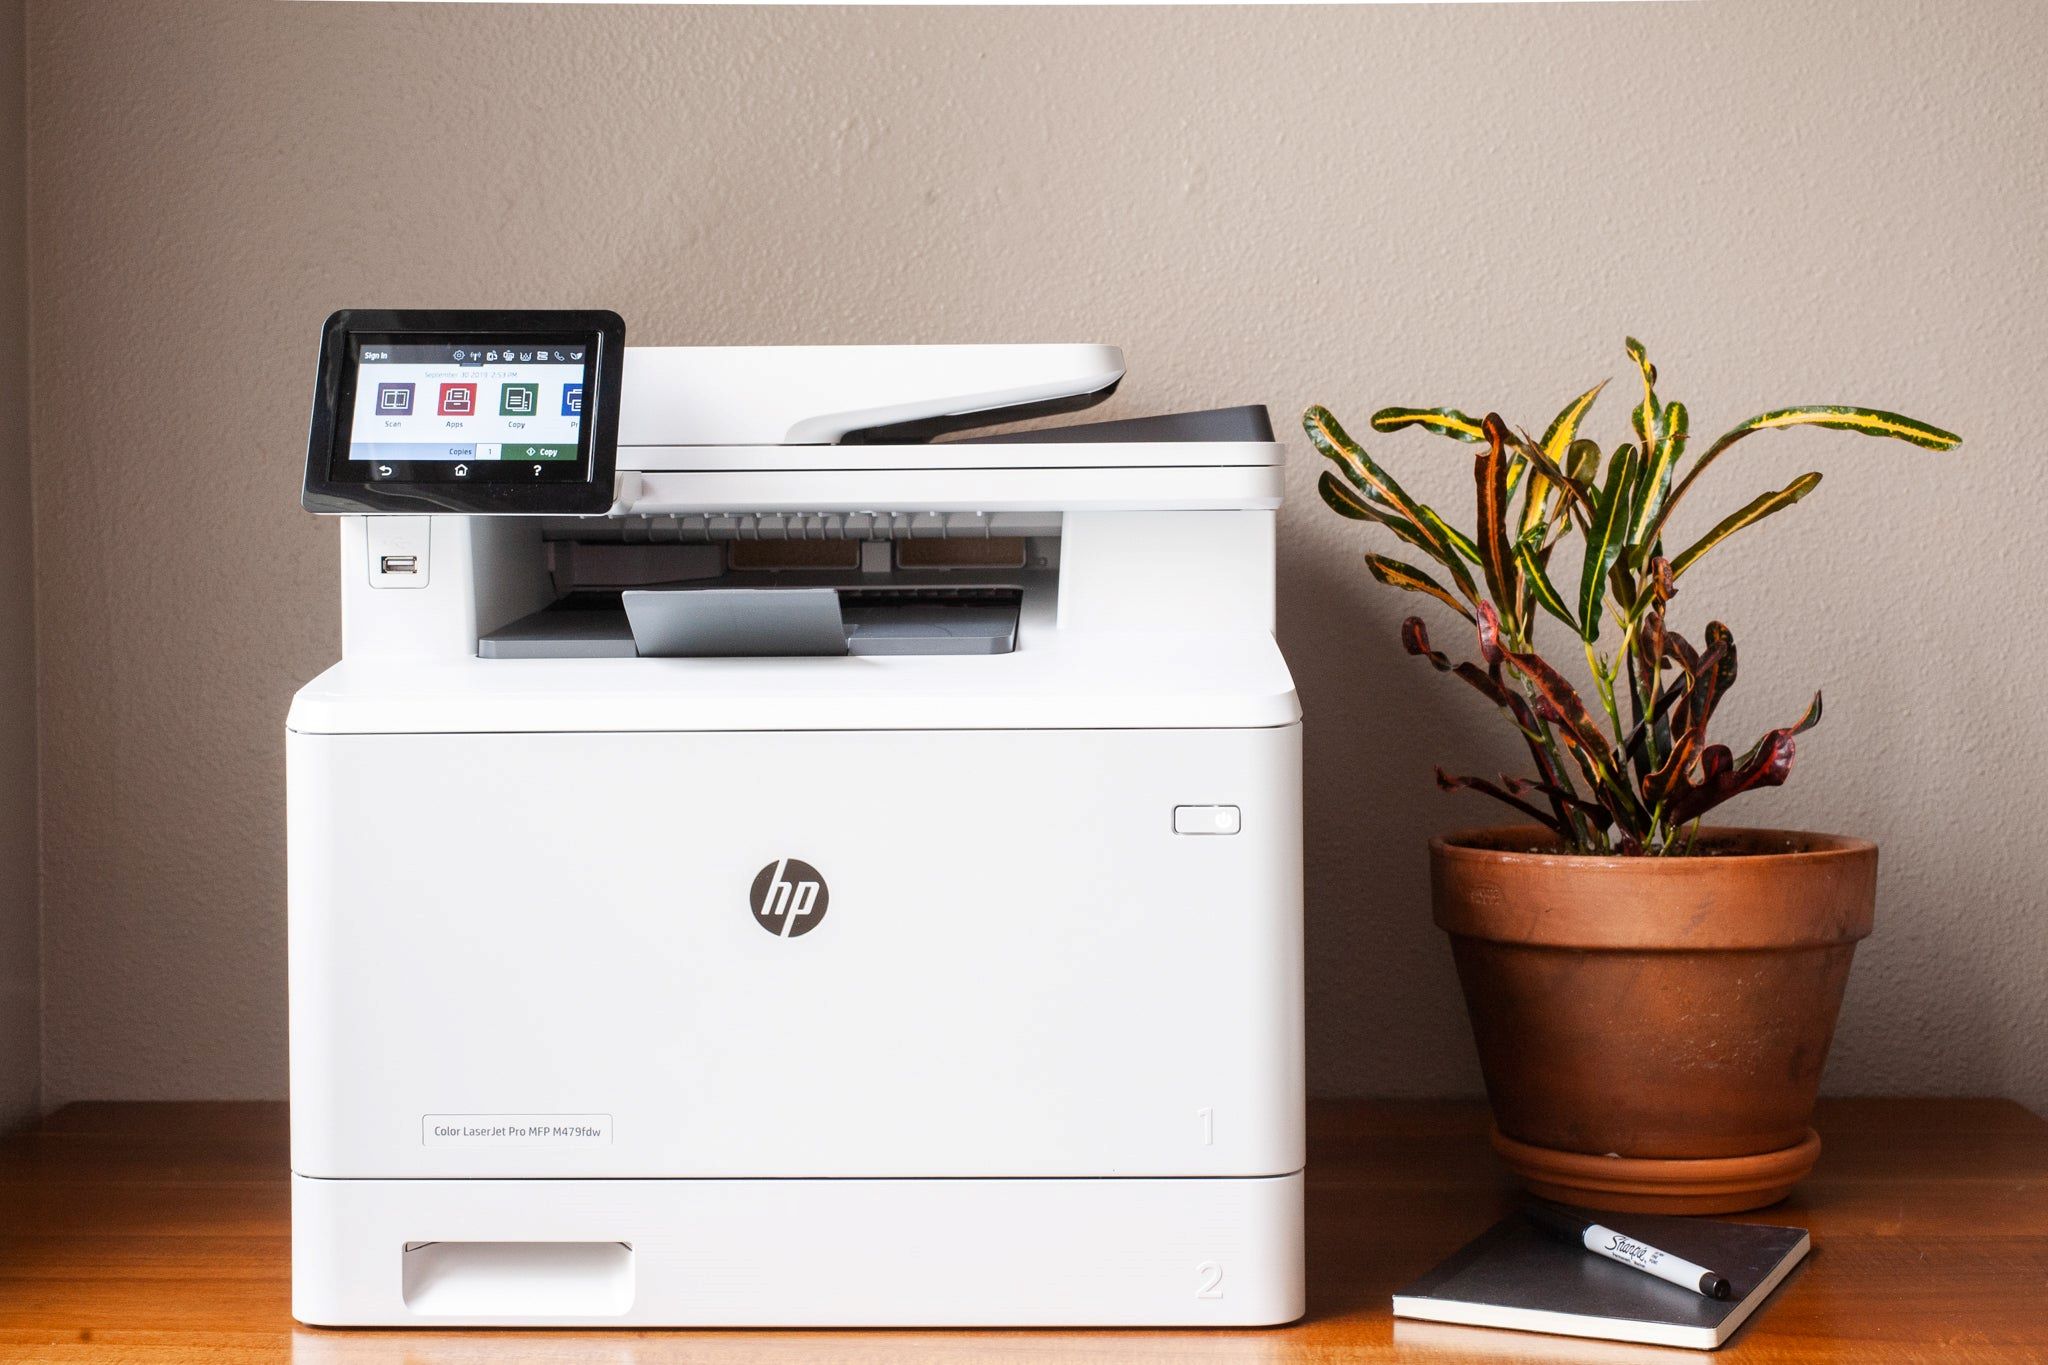
Next, check if your HP printer has a dedicated scanning button or if you need to access the scanning function through the printer software on your computer. If there is a scanning button, press it to open the scanning interface on your printer’s display screen. Otherwise, open the HP printer software on your computer and navigate to the scanning option.
If this is your first time setting up the scanner, you may need to install the necessary scanning drivers and software. Check the HP website for the latest drivers and software specific to your printer model. Download and install the required files, following the instructions provided by HP.
Once the scanner is set up and the software is installed, you’re ready to proceed to the next step and start scanning your document. Remember to keep your HP printer and computer connected throughout the process to ensure seamless communication between the two devices.
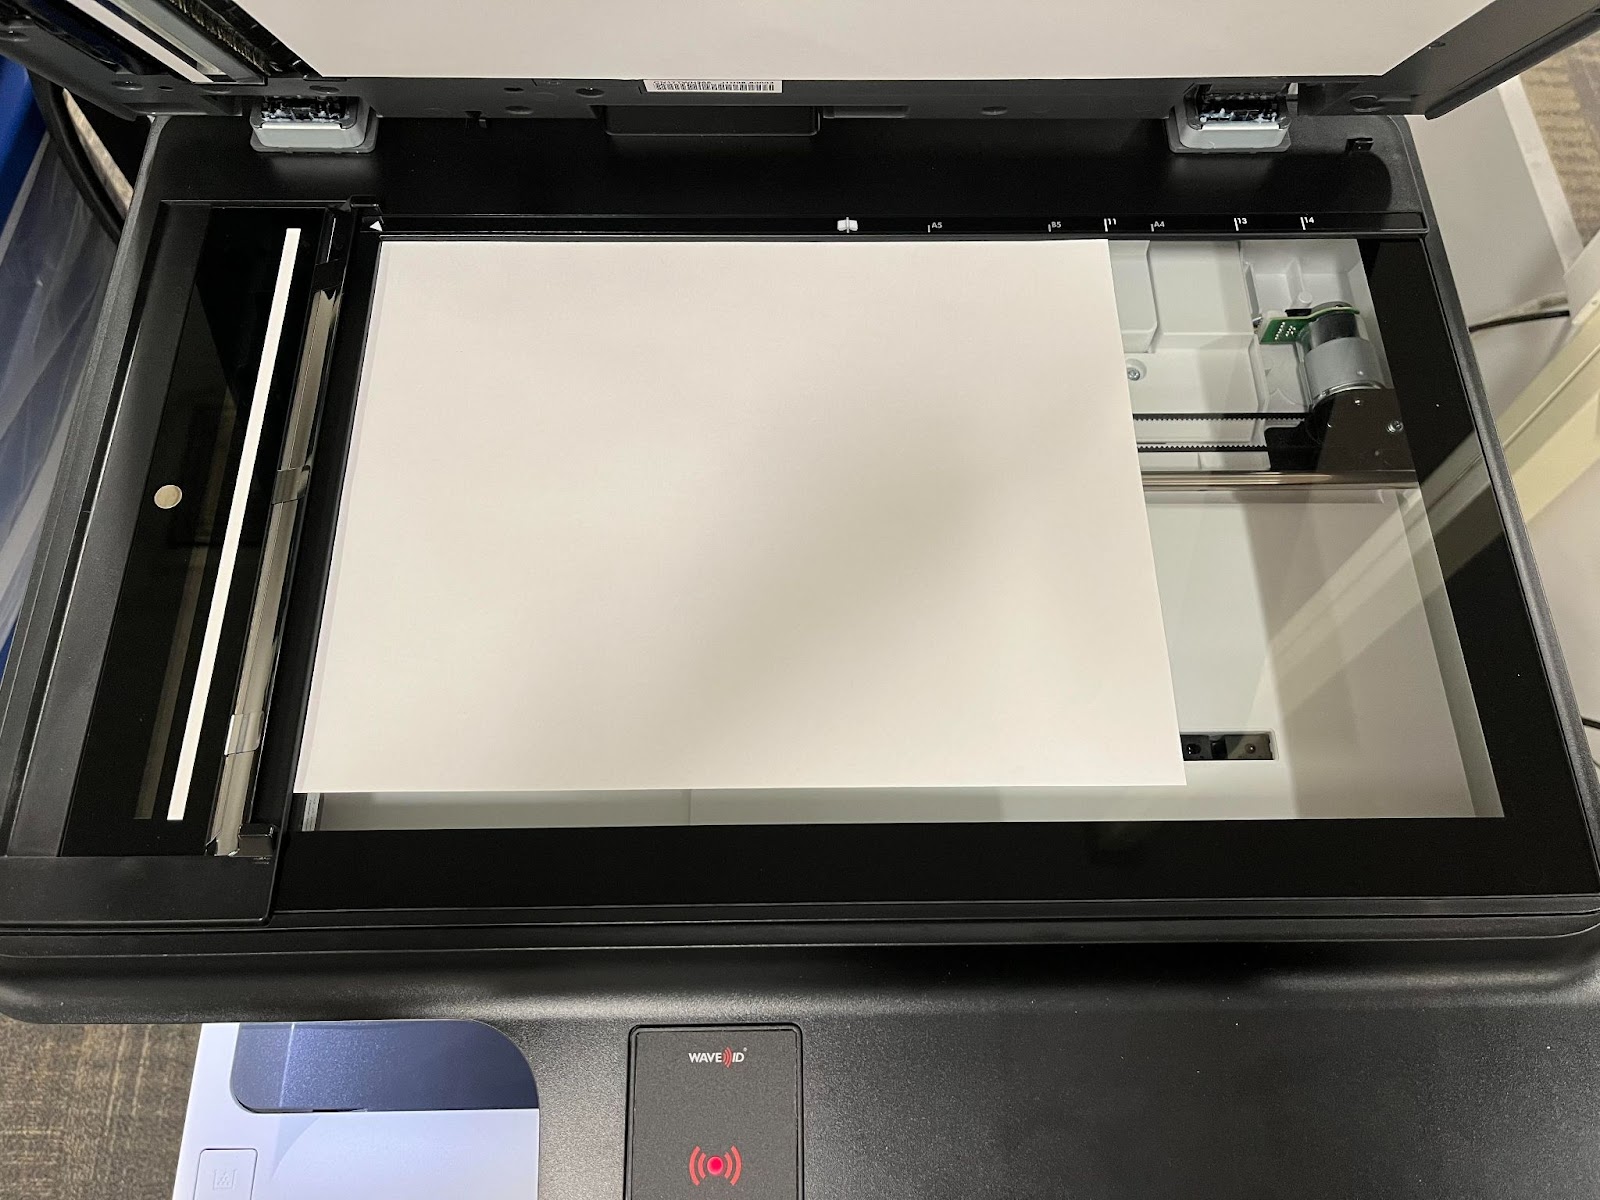
Step 2: Place the Document on the Scanner
Now that you have set up the scanner, it’s time to place the document you want to scan onto the scanning bed or glass of your HP printer. Ensure that the document is clean and free from any folds, creases, or staples that may impact the scanning quality.
Lift the scanner lid or access the document feeder, depending on the model of your HP printer. If your printer has a document feeder, you can simply place the document face-up in the feeder tray and adjust the paper guides to fit the size of the document. Make sure that the document is aligned properly so that it feeds smoothly through the scanner.
If your HP printer does not have a document feeder, you will need to place the document directly on the scanning bed or glass. Open the scanner lid and position the document face-down on the glass, aligning it with the markings or guides provided. Close the scanner lid gently to avoid any movement of the document during the scanning process.
It’s important to position the document properly to ensure accurate scanning. Align the edges of the document with the edges of the scanning bed or glass to avoid cutting off any content. If your HP printer has a scan preview option, you can use it to confirm that all the necessary content is within the scanning area.
Once you have placed the document correctly, you’re ready to move on to the next step and begin the scanning process. Remember to handle the document with care to avoid smudges or damage while placing it on the scanner.
Step 3: Open the HP Printer Software
In order to scan and email a document using your HP printer, you need to open the HP printer software on your computer. This software acts as the interface between your computer and the printer, allowing you to access various functions, including scanning.
To begin, ensure that your HP printer is connected to your computer and turned on. Launch the HP printer software by searching for it in your computer’s applications or by locating the HP Printer icon in the system tray or taskbar.
If you’re unable to find the HP printer software on your computer, you may need to download and install it from the official HP website. Look for the software specific to your printer model, download it, and follow the on-screen instructions to complete the installation process.
Once the HP printer software is open, you should see a user-friendly interface with various options and settings. Navigate to the scanning option, which might be labeled as “Scan,” “Scan to Computer,” or something similar, depending on your printer model and software version.
Click on the scanning option to open the scanning interface. Here, you will have access to different settings and features related to scanning, such as resolution, document type, and file format. Familiarize yourself with the available options to customize the scanning process according to your preferences.
By opening the HP printer software, you’re one step closer to scanning and emailing your document. In the next step, we’ll delve into how to select the appropriate scan option for your specific needs.
Step 4: Select the Scan Option
Once you have opened the HP printer software, the next step in scanning and emailing a document is to select the appropriate scan option. The scan options may vary depending on your HP printer model and the software version you are using.
In the scanning interface of the HP printer software, you will typically find various scan options to choose from. These options may include “Scan to Email,” “Scan to Computer,” “Scan to PDF,” or other similar choices. Select the option that best suits your needs.
If you want to directly scan and email the document, choose the “Scan to Email” option. This will enable you to scan the document and attach it to a new email automatically. It streamlines the process and saves you from the hassle of manually attaching the scanned document later on.
On the other hand, if you prefer to scan the document first and then manually attach it to an email, you can choose the “Scan to Computer” option. This option will save the scanned document to a designated folder on your computer, from where you can easily access and attach it to an email at a later time.
In addition to these primary scan options, you may also have the ability to select the resolution, color settings, and other preferences for your scan. Take a moment to review and adjust these settings according to your requirements.
Once you have selected the appropriate scan option and made any necessary adjustments, you are now ready to proceed to the next step and fine-tune the scan settings.
Step 5: Adjust the Scan Settings
After selecting the scan option in the HP printer software, the next step is to adjust the scan settings according to your preferences. The scan settings allow you to customize various aspects of the scanning process, such as resolution, color mode, and file format.
Start by selecting the desired resolution for your scanned document. The resolution determines the level of detail and clarity in the scanned image. Higher resolutions generally result in more detailed scans but also larger file sizes. Consider the purpose of the scanned document and choose a resolution that balances quality and file size, keeping in mind the email attachment size limitations, if applicable.
Next, you may want to adjust the color mode of the scan. Depending on your needs, you can choose between color, grayscale, or black and white scanning modes. Color mode is suitable for documents with colored images or graphics, while grayscale and black and white modes are ideal for text-based documents or documents with simple graphics.
In addition to resolution and color mode, you may have the option to select the file format for the scanned document. Common file formats include PDF, JPEG, and TIFF. PDF is often preferred for its compatibility and ability to preserve document formatting, while JPEG and TIFF are suitable for images and graphics.
Take a moment to review the available scan settings and adjust them as necessary. Experiment with different combinations to find the optimal settings for your specific document and emailing requirements.
Once you have adjusted the scan settings to your satisfaction, you’re ready to move on to the next step and preview the scan before finalizing it.
Step 6: Preview the Scan
Before finalizing the scan, it’s important to take a moment to preview the scanned document within the HP printer software. This allows you to ensure that the document has been scanned accurately and meets your expectations.
In the scanning interface of the HP printer software, look for a “Preview” button or option. Click on it to generate a preview of the scanned document. The preview will give you a glimpse of how the final scanned image will appear, allowing you to make any necessary adjustments or corrections.
During the preview, carefully review the document for any potential issues, such as missing content, distorted images, or skewed alignment. If you notice any problems, you may need to adjust the positioning of the document on the scanner or revisit the scan settings to ensure optimal results.
Take this opportunity to verify that the scanned document is clear, legible, and properly aligned. Pay attention to details such as text readability, image quality, and overall document presentation. If everything looks satisfactory, you can proceed to the next step and finalize the scan.
However, if you aren’t satisfied with the preview and need to make further adjustments, refer to the previous steps to make any necessary changes. It’s essential to ensure the scanned document accurately represents the original document before sending it via email.
By previewing the scan, you have the opportunity to catch any potential issues and make necessary corrections. Doing so ensures that the final scanned document is of high quality and meets your expectations. Now that you have reviewed the scan, let’s move on to the next step and save the document onto your computer.
Step 7: Scan and Save the Document
Once you have previewed the scanned document and ensured its quality, it’s time to proceed with the final scanning process and save the document onto your computer. This step allows you to store the scanned document in a digital format, making it easier to attach to an email and share electronically.
In the scanning interface of the HP printer software, locate the “Scan” or “Start Scan” button and click on it to initiate the scanning process. Your HP printer will begin scanning the document according to the settings you have chosen, and the scanned image will be transferred to your computer.
The time it takes for the scanner to complete the process will depend on various factors such as the size of the document and the scanning settings. Be patient and wait for the scanning process to finish before proceeding to the next step.
Once the scanning process is complete, you will be prompted to choose a destination on your computer to save the scanned document. Select a folder or location where you want to store the file, and specify a relevant and identifiable name for the document.
Consider creating a dedicated folder for scanned documents to keep them organized. This will make it easier to locate and attach the files when needed. Additionally, be mindful of the file format you selected during the scan settings process, as it will determine the format of the saved document.
After selecting the folder and providing a name for the scanned document, click on the “Save” or “Finish” button to complete the saving process. The scanned document will now be stored on your computer, ready to be accessed and attached to an email in the next steps.
By scanning and saving the document, you have successfully converted the physical document into a digital file format. This allows for easy sharing and emailing, eliminating the need for physical copies and ensuring efficient communication. Now, it’s time to proceed to the next step and compose a new email.
Step 8: Compose a New Email
With the scanned document saved on your computer, it’s time to compose a new email to send it to the intended recipient. By following this step, you will be one step closer to successfully scanning and emailing your document using your HP printer.
Open your preferred email client or webmail service, such as Outlook, Gmail, or Yahoo Mail. Click on the “Compose” or “New Email” button to start composing a new email.
In the email composition window, fill in the necessary details such as the recipient’s email address in the “To” field, a relevant subject for the email, and any additional recipients in the “Cc” or “Bcc” fields if necessary.
Compose your email message, including any pertinent details or instructions that you want to convey along with the scanned document. Make sure to double-check the content of your email for accuracy and clarity.
To add a personal touch, consider customizing the email with a friendly greeting and a professional closing. Additionally, you can utilize formatting options such as bold or italic text, bullets, or numbering to enhance the readability and visual appeal of your email.
Proofread the email to catch any spelling or grammatical errors, ensuring that the message is clear and coherent. Taking the time to review your email before sending it demonstrates professionalism and attention to detail.
Once you are satisfied with the content and formatting of your email, you’re ready to proceed to the next step and attach the scanned document to the email.
By composing a new email, you have set the stage for sending the scanned document to the intended recipient. The next step will guide you through the process of attaching the scanned document to the email.
Step 9: Attach the Scanned Document to the Email
Now that you have composed your email, the next step is to attach the scanned document to the email. This ensures that the recipient will receive the document along with your message, allowing them to view and access the information you are sharing.
In the email composition window, look for an “Attach” or “Attach File” button, usually represented by a paperclip icon. Click on this button to access your computer’s file explorer or finder.
Navigate to the folder where you saved the scanned document in Step 7. Locate the scanned document file and select it. You can typically select multiple files to attach if needed.
Once you have selected the scanned document file(s), click on the “Open” or “Attach” button to initiate the attachment process. The file(s) will be uploaded and attached to the email, displayed either as a clickable link or as an embedded file, depending on the email client or webmail service you are using.
Take a moment to ensure that the attached document is visible and accurately labeled within the email composition window. Verify that the document file name and format match the scanned document you intended to attach.
If necessary, you can add additional attachments, such as supporting documents or images, following the same process of selecting and attaching the files.
Keep in mind that some email services have limitations on attachment file size. If your scanned document is too large to attach, consider compressing the file or exploring alternative methods such as uploading the document to a cloud storage service and sharing the download link in the email.
By successfully attaching the scanned document to the email, you have ensured that the recipient will receive the necessary file along with your message. The next step will guide you through the process of sending the email with the attached document.
Step 10: Send the Email
After attaching the scanned document to the email, the final step in scanning and emailing a document with your HP printer is to send the email. By doing so, you will successfully share the document with the recipient and complete the process.
Take a moment to review the content of your email, ensuring that the attached document is mentioned and any necessary instructions or context are provided. Double-check the recipient’s email address to ensure accuracy.
Once you are confident that the email is ready to be sent, locate the “Send” button in the email composition window. This button is usually represented by an icon or text labeled “Send” or “Send Email.”
Click on the “Send” button to initiate the sending process. Depending on your email client or webmail service, you may see a loading or progress indicator as the email is being sent.
Be patient while the email is being sent, as it may take a few seconds or longer depending on various factors such as the file size of the attached document and the speed of your internet connection.
Once the email has been sent, you may see a confirmation message or a notification indicating that the email has been successfully sent. This confirms that the recipient will soon receive the email along with the attached document.
Make sure to keep a copy of the sent email for your records if necessary. Most email clients have an option to save a copy in your sent folder or archive.
Congratulations! You have successfully scanned the document with your HP printer, attached it to an email, and sent it to the recipient. The recipient can now access the document and review the information you have shared.
Remember to close the email composition window and any other related windows or applications associated with the scanning and emailing process.
By completing the final step of sending the email, you have completed the process of scanning and emailing a document using your HP printer. Well done!
Conclusion
Scanning and emailing a document with your HP printer is a convenient and efficient way to share important paperwork, information, or files with others. By following the ten step-by-step instructions provided in this guide, you can seamlessly scan and email documents using your HP printer, saving time and effort.
From setting up the scanner and placing the document correctly to adjusting the scan settings and previewing the scanned image, each step plays a crucial role in ensuring the quality and accuracy of the final scanned document. By carefully following these steps, you can confidently scan and save documents in a digital format.
In addition, composing a new email, attaching the scanned document, and sending the email with the attached document ensures that your recipient receives the necessary information in a timely manner. It allows for easy access and viewing of the scanned document, promoting seamless communication and collaboration.
Remember to customize your email with a friendly greeting, clear instructions, and a professional closing to enhance the overall messaging experience. Proofreading your email before sending it ensures that it is error-free and effectively conveys your intended message.
By successfully completing these steps, you have harnessed the power of your HP printer’s scanning capabilities and utilized them to streamline your document sharing process. Whether you’re a business professional, student, or home user, knowing how to scan and email documents with your HP printer is a valuable skill.
So, the next time you need to send important paperwork or share information with others, rely on your HP printer’s scanning functionality and the steps outlined in this guide to make the process quick and efficient.
Enjoy the convenience and ease of scanning and emailing documents with your HP printer!