Introduction
Welcome to the world of Gmail, the popular email service offered by Google. Whether you’re a seasoned Gmail user or just starting out, there may come a time when you realize that you need to delete a sent email. Perhaps you accidentally sent the wrong attachment or noticed a typo in your email after hitting the send button. Whatever the reason may be, the good news is that deleting a sent email in Gmail is a relatively simple process.
Gmail provides a straightforward method for deleting sent emails, ensuring that you have control over the content you send and helping you maintain a clutter-free inbox. By using the steps outlined in this guide, you’ll be able to quickly and easily delete any sent email that you no longer want visible in your conversation history.
It’s important to note that once you delete a sent email, it will be permanently removed from both your Sent folder and the recipient’s inbox. This means that they will no longer be able to view or access the email. Keep this in mind before proceeding with the deletion, as it cannot be undone. With that said, let’s dive into the steps required to delete a sent email in Gmail.
Step 1: Open Gmail
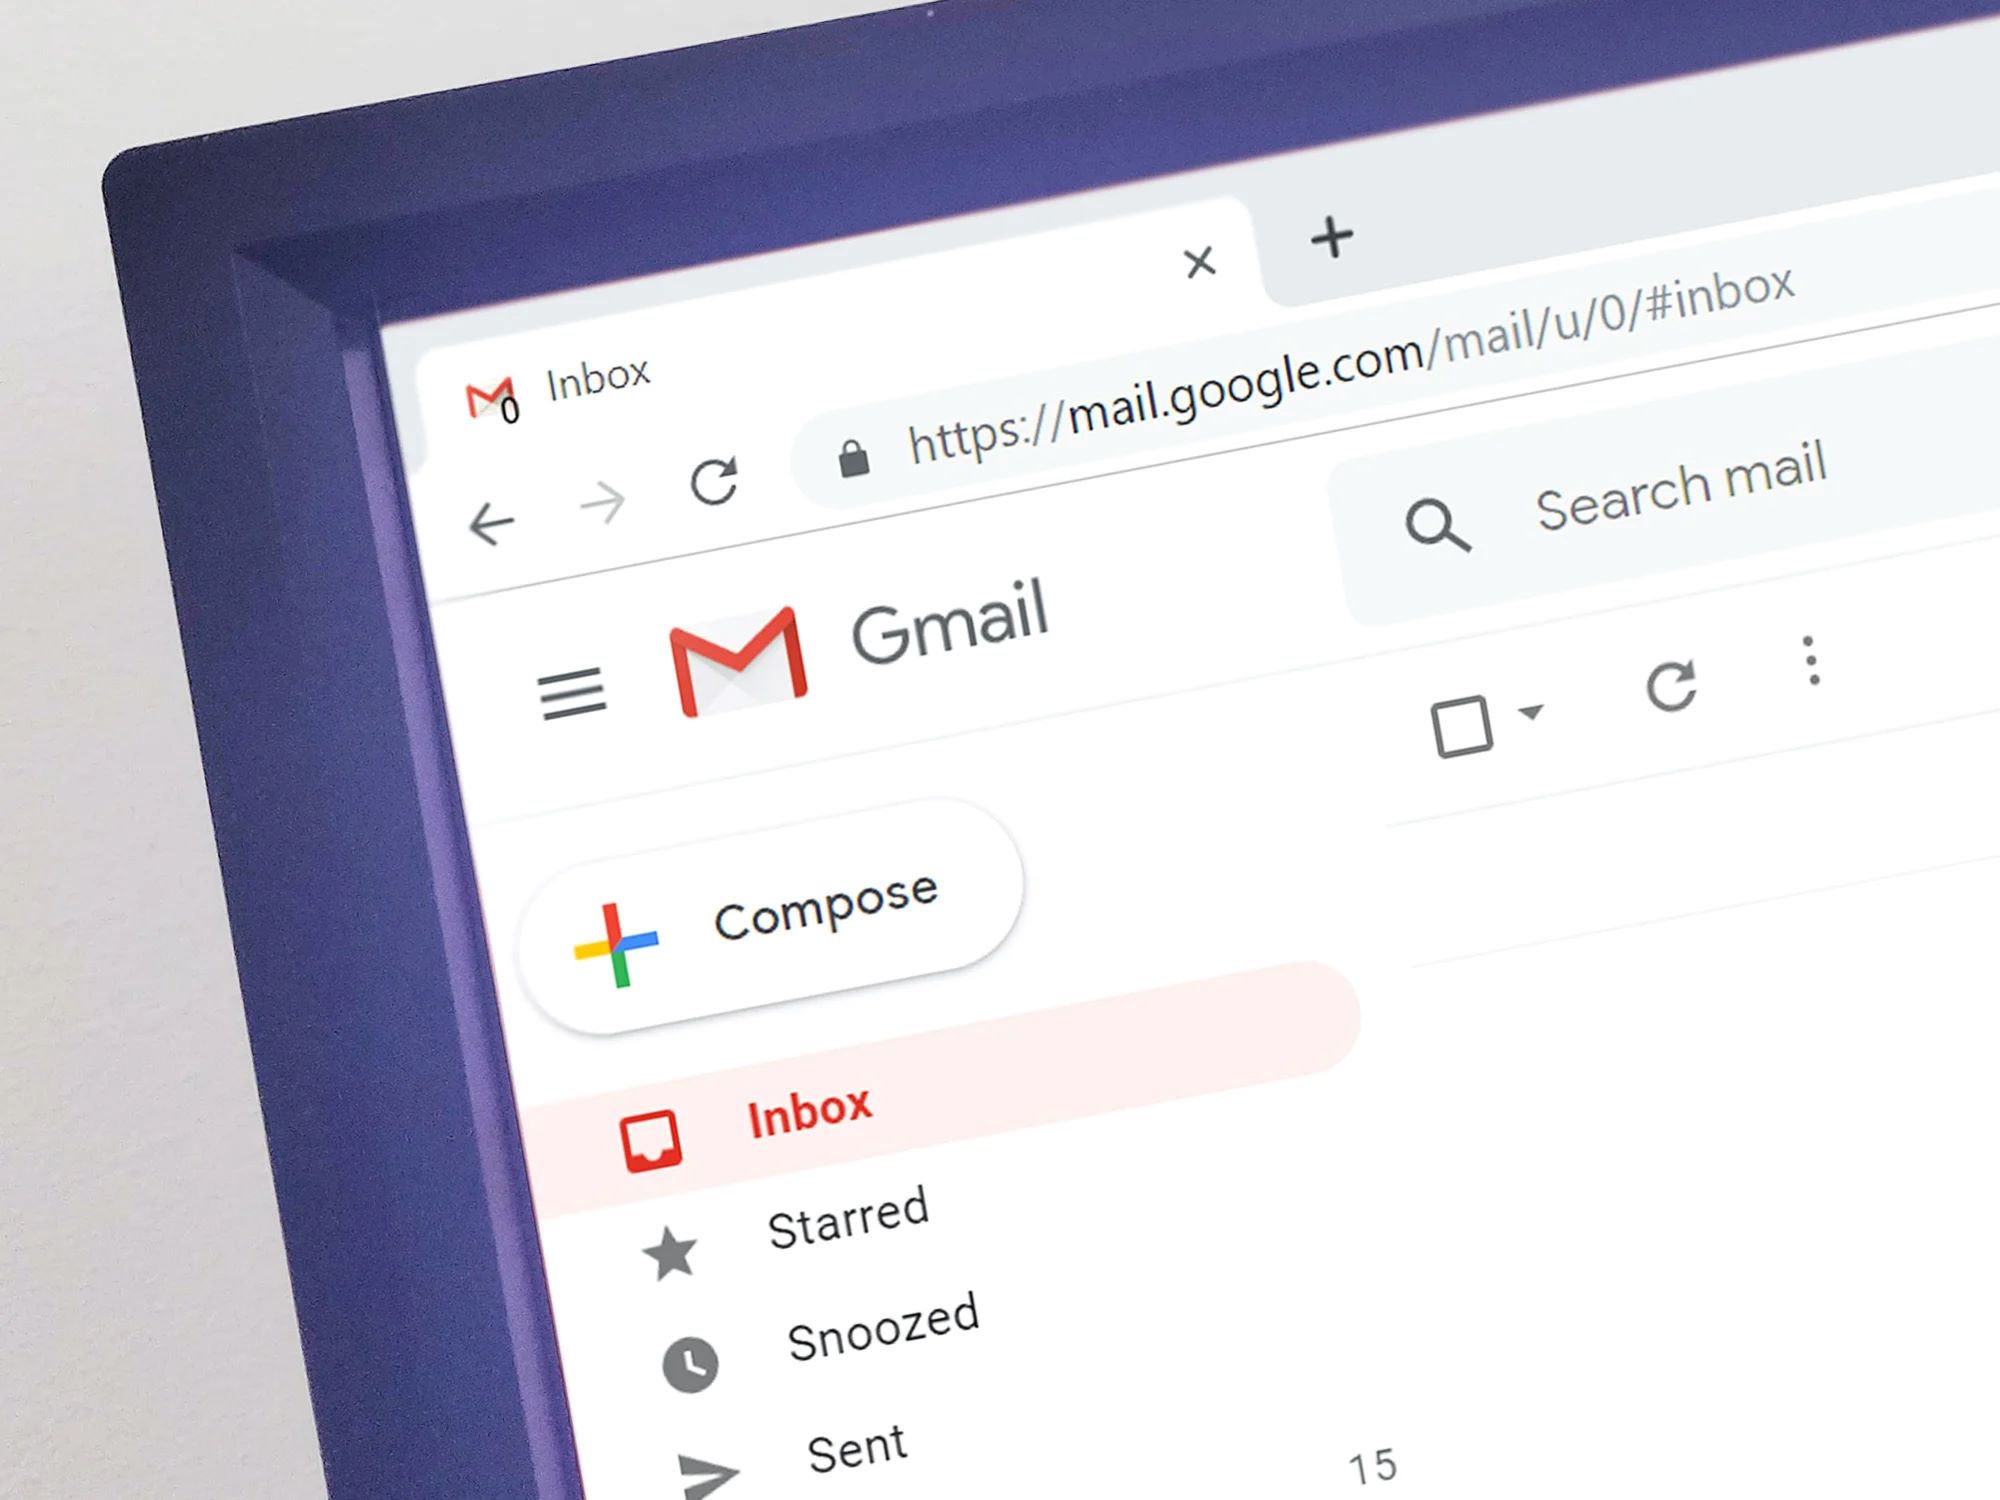
The first step in deleting a sent email in Gmail is to open the Gmail website or app on your device. You can access Gmail through your web browser by typing in “gmail.com” in the address bar. If you prefer to use the Gmail app, simply open the app on your smartphone or tablet.
Once you’re on the Gmail homepage or app, you’ll need to sign in to your Gmail account using your email address and password. If you have multiple Gmail accounts, make sure to sign in to the account that contains the email you want to delete.
If you’re not already signed in, you’ll be directed to the Gmail sign-in page. Enter your email address in the designated field, click “Next,” and then enter your password on the following page. Once you’ve entered your credentials, click “Sign In” to access your Gmail account.
Once you’re signed in to your Gmail account, you’ll be taken to your inbox. This is where you can view your received and sent emails, as well as access various features and settings within Gmail. Now that you’re logged in, you’re ready to move on to the next step of deleting your sent email.
Step 2: Open the Sent folder
After you’ve signed in to your Gmail account, the next step is to navigate to the Sent folder. This is where all your sent emails are stored and organized, making it easy to find the specific email you want to delete.
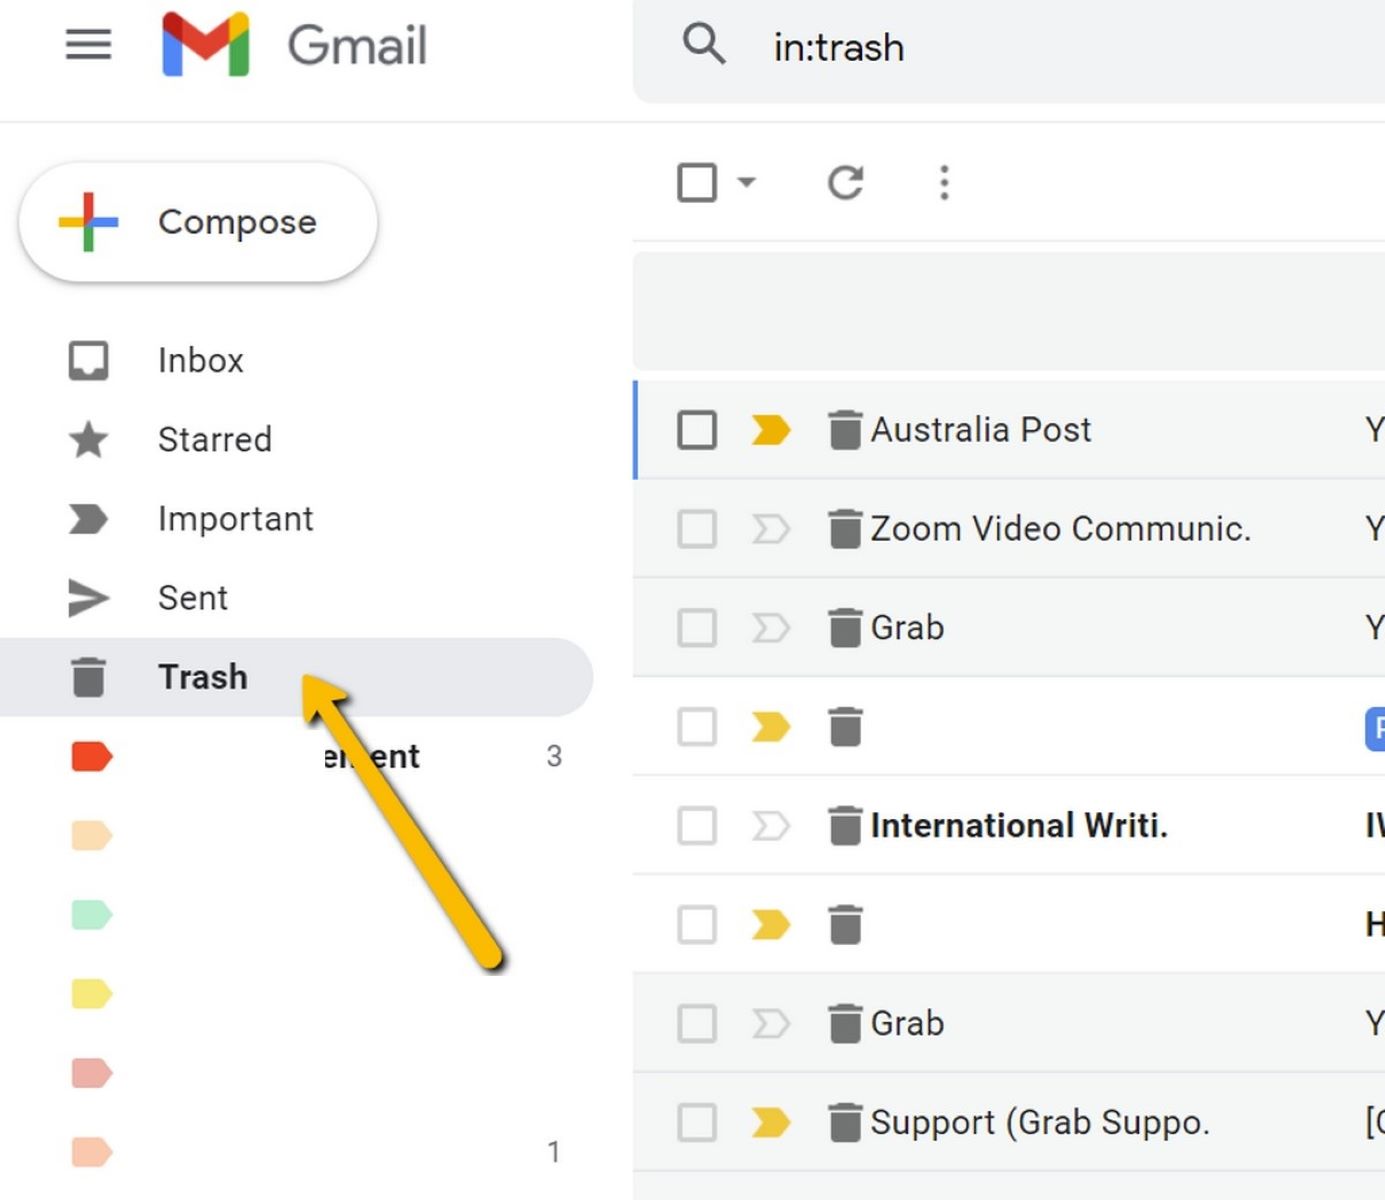
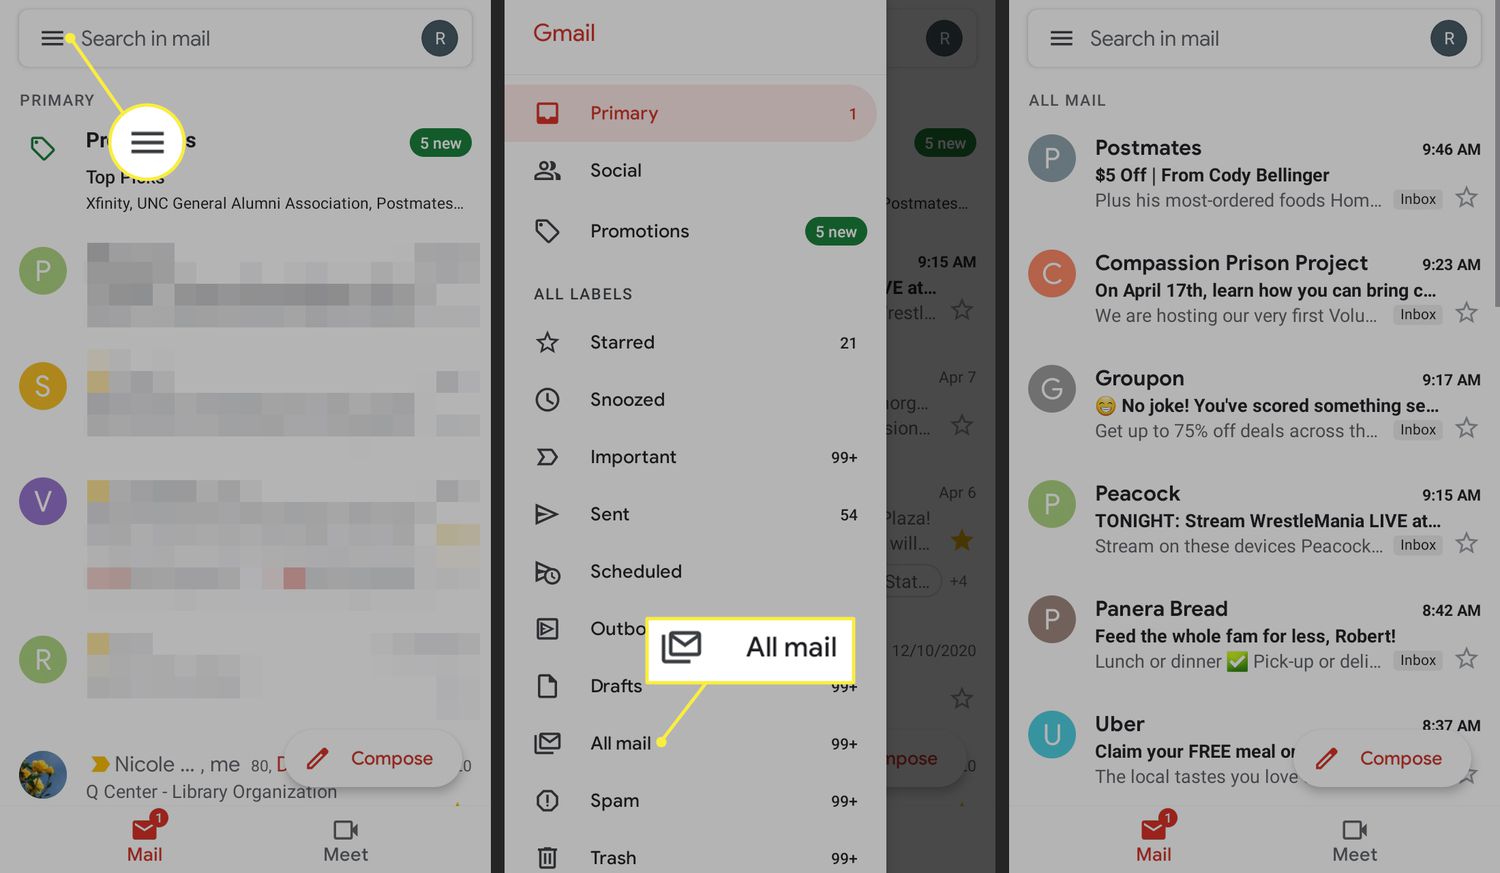
In the Gmail interface, you’ll find the navigation pane on the left-hand side of the screen. Look for the “Sent” folder, which is typically located below the “Inbox” folder. Placed in chronological order, the Sent folder contains a record of all the emails you have sent.
To open the Sent folder, simply click on the “Sent” label in the navigation pane. This action will display all the sent emails in your Gmail account, allowing you to browse through your email history and locate the specific email you wish to delete.
If you have a large number of sent emails and it’s difficult to find the email you want to delete, you can utilize the search bar located at the top of the Gmail interface. Type in relevant search keywords, such as the recipient’s name, email subject, or specific keywords from the email content. Gmail will automatically filter the results to show you the matching sent emails.
Once you’ve located the email you want to delete in the Sent folder, you’re ready to proceed to the next step of deleting it from your Gmail account.
Step 3: Open the email you want to delete
Now that you have accessed the Sent folder and found the specific email you wish to delete, the next step is to open the email in question. Opening the email will allow you to view its content and access the necessary options for deletion.
To open the email, simply click on its subject line or the sender’s name. This action will open the email in a new window or pane, depending on your Gmail settings and preferences.
Once the email is open, you will be able to see the content of the email, including any attachments, images, or text. Take a moment to review the email and ensure that it is indeed the one you want to delete. It’s important to double-check the email content to avoid accidentally deleting the wrong email, especially if you have similar emails in your Sent folder.
If you’re dealing with a lengthy email conversation or a thread, make sure to open the specific email within the conversation thread that you want to delete. Gmail displays email conversations as threads, grouping related email exchanges together. Opening the specific email within the thread is important to ensure that you delete the exact email you intend to remove.
Once you have confirmed that you have opened the correct email, you’re now ready to move on to the next step and initiate the deletion process.
Step 4: Click on the “Delete” button
Deleting a sent email in Gmail is as simple as clicking on the “Delete” button. Once you have opened the email you want to delete, you will find the delete option conveniently located in the Gmail interface.
Look for the “Delete” button, which typically appears as a trash bin icon. The exact placement and appearance may vary slightly depending on the version of Gmail you are using, but it is generally located near the top of the email interface, alongside other options such as reply, forward, and archive.
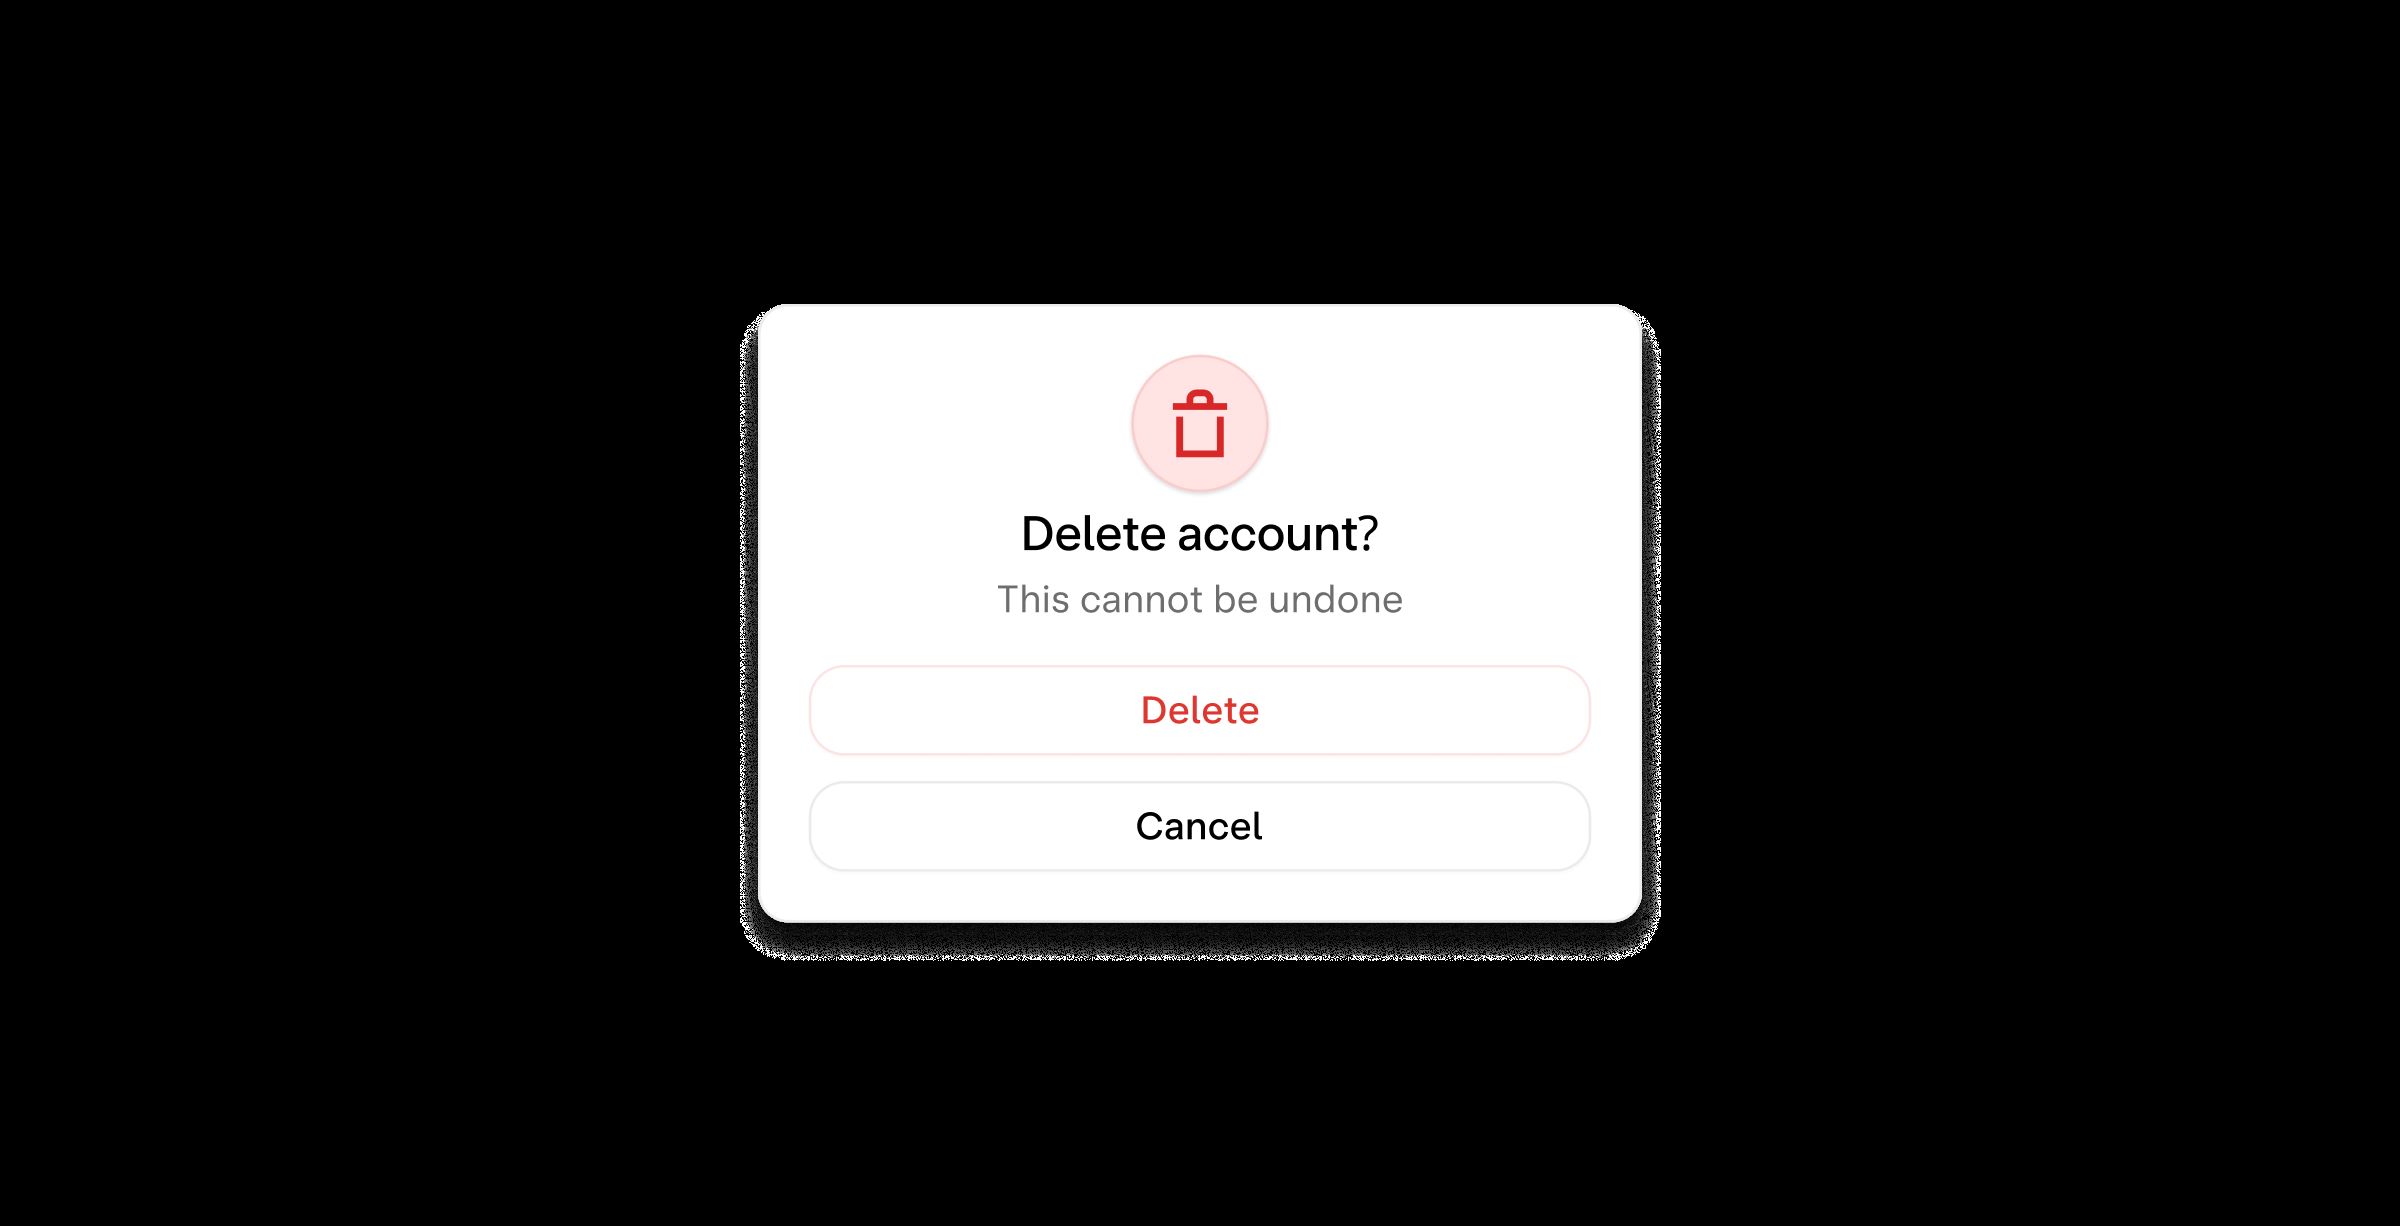
When you find the “Delete” button, click on it to initiate the deletion process. Gmail may prompt you to confirm the action or provide additional options for deleting the email. Be sure to read any dialog boxes or pop-up messages that may appear to ensure that you are deleting the correct email.
It’s important to note that deleting a sent email in Gmail will permanently remove it from your Sent folder and the recipient’s inbox. This action cannot be undone, so it’s crucial to exercise caution when clicking the “Delete” button.
In some cases, you may encounter the option to “Move to Trash” instead of a dedicated “Delete” button. The functionality remains the same, as moving the email to the trash effectively deletes it from your Gmail account.
Once you have clicked on the “Delete” button or its equivalent, the email you selected will be marked for deletion. However, it is not immediately removed from your Gmail account. To complete the deletion process, you need to confirm the deletion, which leads us to the next step.
Step 5: Confirm the deletion
After clicking on the “Delete” button or its equivalent, you will need to confirm the deletion of the sent email. This step ensures that you intended to delete the email and prevents accidental deletions.
When you click on the “Delete” button, Gmail will typically prompt you with a confirmation message. This message will ask if you are sure you want to delete the email and may provide additional information about the consequences of deleting the email.
Read the confirmation message carefully to make sure you understand the implications of deleting the email. Once you are certain that you want to proceed with the deletion, confirm it by clicking on the appropriate button or option.
Your sent email will then be permanently removed from your Sent folder and the recipient’s inbox, ensuring that it is no longer accessible to either party. It is important to note that this action cannot be undone, so make sure you have selected the correct email for deletion.
After confirming the deletion, you may be redirected back to your Sent folder or to the previous email in your list. You can verify that the email has been successfully deleted by checking for its absence in the Sent folder or searching for it using the search bar.
Remember that while the email is no longer visible in your Gmail account, it may still exist in the recipient’s inbox, depending on when they viewed or accessed it. Deleting the email from your Sent folder does not guarantee its removal from the recipient’s mailbox.
With the deletion confirmed, you have successfully deleted a sent email in Gmail. Congratulations! You now have greater control over the content of your emails and can ensure that unwanted or inaccurate information is removed from your conversation history.
Conclusion
Deleting a sent email in Gmail is a useful feature that allows you to maintain control over the content you send and keep your inbox organized. By following the simple steps outlined in this guide, you can quickly and easily delete any sent email that you no longer want visible in your conversation history.
Remember to open Gmail and sign in to your account. From there, navigate to the Sent folder where all your sent emails are stored. Open the specific email you wish to delete and click on the “Delete” button or its equivalent. Confirm the deletion to permanently remove the email from your Sent folder and the recipient’s inbox.
It is important to exercise caution when deleting sent emails, as the action cannot be undone. Take a moment to review the email and ensure that you have selected the correct one for deletion.
Gmail’s powerful email management capabilities make it easy to keep your inbox organized and clutter-free. Deleting unnecessary or outdated sent emails helps in maintaining a cleaner and more efficient Gmail experience.
Now that you have learned how to delete a sent email in Gmail, you have the necessary tools to manage your email communication effectively. Use this knowledge to delete any unwanted emails and maintain a tidy inbox.
Thank you for reading this guide, and we hope it has been helpful in assisting you with deleting sent emails in Gmail. Happy emailing!