Introduction
Deleting an email account on Gmail may seem like a daunting task, but it’s actually a straightforward process that anyone can accomplish. Whether you want to stop using a particular email address or you’re simply looking to declutter your inbox, deleting your Gmail account can help you achieve that goal.
In this step-by-step guide, we will walk you through the process of deleting an email account on Gmail. From signing in to your account to verifying your identity, we’ve got you covered. By the end of this article, you’ll have the knowledge and confidence to delete your Gmail account with ease.
Before diving into the steps, it’s essential to understand the implications of deleting your Gmail account. Please note that deleting your account will permanently erase all your emails, contacts, and other data associated with that account. Make sure to back up any important information before proceeding with the deletion process.
Once you have made the decision to delete your Gmail account and have taken the necessary precautions, it’s time to get started. Follow the instructions carefully, and before you know it, you’ll be free from your Gmail account and ready to explore other email platforms or simply enjoy a clutter-free inbox.
Step 1: Sign in to your Gmail account
The first step in deleting an email account on Gmail is to sign in to your account. Open a web browser on your computer or mobile device and navigate to the Gmail website. Once there, enter your username and password to log in to your Gmail account.
If you have multiple Gmail accounts, make sure you sign in to the specific account that you want to delete. Double-check that the account you are signed in to corresponds to the email address you wish to remove.
Remember, it’s important to sign in using the correct credentials to ensure that you have the necessary access privileges to delete the account. If you encounter any issues logging in, make sure you have entered your username and password correctly. If you have forgotten your password, you can follow Google’s account recovery process to regain access to your account.
Once you have successfully signed in to your Gmail account, you are ready to proceed to the next step in the deletion process. It’s crucial to follow each step carefully to ensure a smooth and successful account deletion.
Step 2: Go to the Account Preferences page
After signing in to your Gmail account, the next step is to navigate to the Account Preferences page. This page allows you to make changes to various settings and preferences associated with your account.
To access the Account Preferences page, locate and click on the “Settings” gear icon, typically found in the top-right corner of the Gmail interface. A dropdown menu will appear, displaying various options.
From the dropdown menu, select the “Settings” option. This will redirect you to the Settings page, where you can customize your Gmail experience.
On the Settings page, you will find different tabs that correspond to various settings categories. Look for the tab labeled “Accounts and Import” and click on it.
Next, scroll down the page until you see the section titled “Change account settings.” Here, you will find a variety of options and preferences related to your Gmail account.
Stay on this page for the next step.
It’s worth noting that the Account Preferences page provides a wealth of customization options for your Gmail account. While deleting your account is the focus of our guide, feel free to explore these settings and make any desired changes before proceeding.
Now that you have successfully reached the Account Preferences page, you’re ready to move on to the next step in the deletion process.
Step 3: Select the “Data & Personalization” tab
Once you’re on the Account Preferences page, the next step in the process of deleting your Gmail account is to select the “Data & Personalization” tab. This tab contains important settings and options related to your account’s data and privacy.
To locate the “Data & Personalization” tab, navigate through the different tabs available on the Account Preferences page. Look for the tab with the specific label “Data & Personalization” and click on it.
Upon selecting the “Data & Personalization” tab, you will be presented with a range of settings and options related to the data and personalization features of your Gmail account.
It’s important to note that by accessing this tab, you gain control over how your data is used and shared within the Gmail platform. Take the time to review these settings and make any necessary adjustments before proceeding with the deletion process.
Remember, the Data & Personalization tab allows you to manage various aspects of your Gmail account’s data, including ad personalization, activity controls, and data download options. It’s advisable to familiarize yourself with these settings to ensure you have a complete understanding of how your data is processed within the Gmail ecosystem.
Take a moment to review the options and settings available on the “Data & Personalization” tab. Once you’re comfortable with the settings and have made any desired changes, you can proceed to the next step in the account deletion process.
Step 4: Scroll down to the “Download, delete, or make a plan for your data” section
After accessing the “Data & Personalization” tab in your Gmail account settings, you should scroll down the page until you find the section labeled “Download, delete, or make a plan for your data.” This section contains the necessary options for deleting your Gmail account.
Once you locate the “Download, delete, or make a plan for your data” section, take a moment to read the provided information. Google provides an overview of what deleting your Gmail account entails and the potential consequences of this action.
It’s important to understand that when you delete your Gmail account, you will also be deleting all the associated data, including emails, contacts, and any other information stored within your account. This data cannot be recovered once the deletion process is complete, so it’s crucial to back up any important information beforehand.
Within the “Download, delete, or make a plan for your data” section, you will find options to either download your data, delete specific services, or delete your entire Google account. To proceed with deleting your Gmail account, choose the option that allows you to delete a specific service.
Google offers the flexibility to delete individual services while maintaining your other Google-related accounts, such as YouTube or Google Drive. This means you can delete your Gmail account without affecting other services you may still want to use.
Scroll within this section until you find the option that corresponds to deleting a specific service. It may be labeled as “Delete a Google service” or something similar.
Now that you have reached the appropriate section and located the options for deleting your Gmail account, you can continue to the next step in the deletion process.
Step 5: Click on “Delete a service or your account”
Once you have found the “Download, delete, or make a plan for your data” section in your Gmail account settings, the next step is to click on the option that allows you to “Delete a service or your account.” This option will take you to the necessary page to initiate the deletion process.
Within the “Download, delete, or make a plan for your data” section, look for a clickable link or button that corresponds to deleting a service. The label may vary slightly, but it typically includes the words “Delete” or “Remove.”
Click on the link or button to proceed with deleting the desired service, which, in this case, is your Gmail account. By selecting this option, you indicate your intention to permanently delete your Gmail account from Google’s servers.
It’s important to note that deleting your Gmail account will result in the loss of all associated data, including emails, contacts, and other information stored within your account. Therefore, ensure you have backed up any essential data before proceeding.
Google may prompt you with additional information or notifications regarding the account deletion process. Read these carefully to understand the implications and confirm your decision.
By clicking on “Delete a service or your account,” you are taking a significant step towards removing your Gmail account. Ensure that you have carefully considered this decision before proceeding to the next step.
Now that you have initiated the deletion process, it’s time to move on to the subsequent steps that will guide you through the verification process and the final confirmation of deleting your Gmail account.
Step 6: Verify your identity
After clicking on “Delete a service or your account,” Google will require you to verify your identity to ensure that the account deletion request is legitimate. This step serves as an additional layer of security to protect your information.
The verification process may vary depending on your account settings and preferences. Google may ask you to provide additional information, such as your password, to confirm that you are the rightful owner of the account.
Follow the on-screen prompts and provide the necessary information to complete the identity verification process. Make sure to enter the correct information associated with your Gmail account to proceed successfully.
In some cases, Google may require extra verification steps, such as providing a verification code sent to your registered phone number or alternate email address. This additional verification ensures the safety and privacy of your account.
Google has implemented these security measures to prevent unauthorized access and account deletion. It is crucial to complete the verification process accurately and honestly.
Take your time and carefully follow the instructions provided by Google. If you encounter any issues during the verification process, consult Google’s support documentation or contact their customer support for assistance.
Once you have successfully verified your identity, you are one step closer to deleting your Gmail account. Now, let’s proceed to the next step to delete the specific service, which is your Gmail account in this case.
Step 7: Choose “Delete a Google service” option
After successfully verifying your identity, the next step in deleting your Gmail account is to choose the “Delete a Google service” option. This option will allow you to specify which service, in this case, your Gmail account, you want to delete.
On the page where you have confirmed your identity, you will be presented with a list of Google services associated with your account. Look for the Gmail service among the available options.
Locate and select the option that corresponds to deleting the Gmail service. The label may vary slightly, but it typically includes the words “Delete” or “Remove” alongside the service name, Gmail.
Read any additional information or warnings provided by Google regarding the deletion of the Gmail service. It’s crucial to review these details to ensure that you fully understand the consequences of this action.
By choosing the “Delete a Google service” option and specifically selecting the Gmail service for deletion, you are confirming your decision to permanently remove your Gmail account.
Keep in mind that deleting your Gmail account will result in the loss of all associated data, including emails, contacts, and other information stored within your account. Take a moment to consider if you have backed up any important data before proceeding.
If you have no hesitation in deleting your Gmail account, proceed to the next step to confirm the deletion process and finalize the removal of your account.
Step 8: Select your Gmail account
After choosing the “Delete a Google service” option, the next step is to select your Gmail account for deletion. This ensures that you are targeting the specific Gmail account that you wish to remove.
You will be presented with a list of Google accounts associated with your logged-in session. Look for your Gmail account in the provided list.
Review the account details, including the email address, to ensure that you have selected the correct Gmail account. Double-checking this information is crucial to avoid accidentally deleting the wrong account.
If you have multiple Gmail accounts, make sure you choose the intended account for deletion. It’s essential to select the proper account to ensure that the deletion process is carried out accurately.
Take your time to carefully confirm that you have chosen the correct Gmail account. If you have any doubts or concerns, you can go back and review the account selection to ensure accuracy.
Once you are confident that the correct Gmail account is selected, proceed to the next step to confirm and finalize the deletion process.
It’s worth reiterating that once you confirm the deletion process in the next step, all associated data with the selected Gmail account, including emails, contacts, and other information, will be permanently removed and cannot be recovered.
Be certain that you have backed up any necessary data from your Gmail account before moving forward.
Now that you have selected your Gmail account, you are ready to move on to the final step to complete the account deletion process.
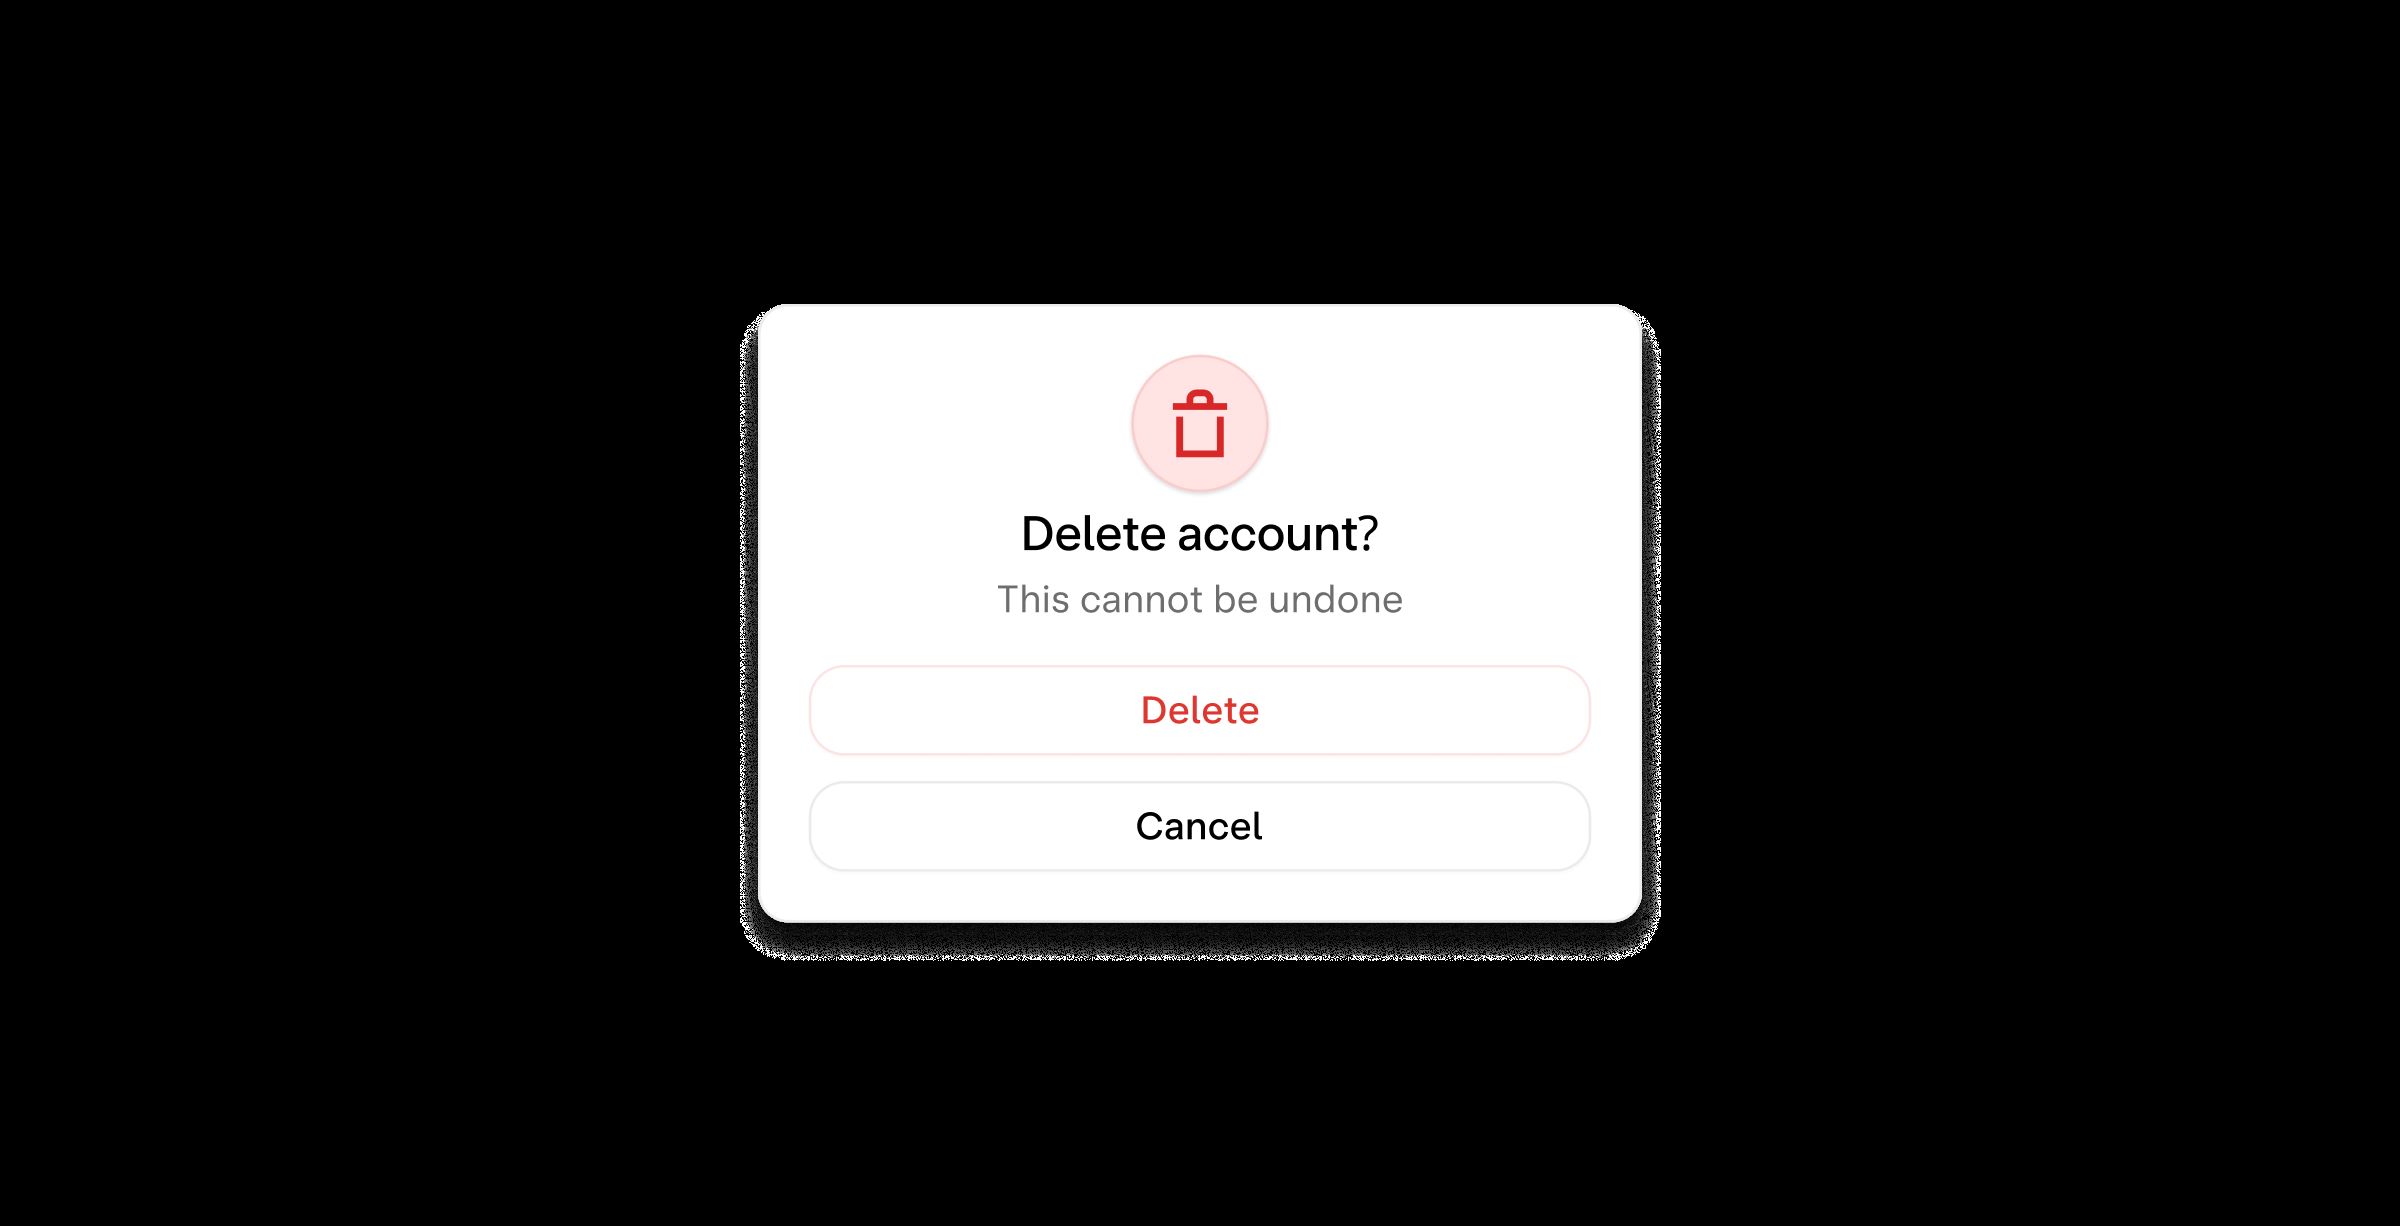
Step 9: Confirm the deletion process
Confirming the deletion process is the penultimate step in deleting your Gmail account. After selecting the specific Gmail account for deletion, you will be prompted to provide final confirmation before permanently removing the account.
Take a moment to carefully review the details and consequences of deleting your Gmail account. Make sure you fully understand and accept the implications of this action.
Read any additional warnings or information provided by Google regarding the deletion process. Google may remind you that deleting your Gmail account will result in the loss of all associated data and that this action cannot be undone.
If you have thoroughly considered and are certain about deleting your Gmail account, proceed by confirming the deletion process. This step is usually achieved by clicking or selecting a checkbox indicating your consent.
It’s essential to be absolutely sure about deleting your Gmail account before confirming. Take the time to review your decision and double-check that you have backed up any important data.
Once you have confirmed the deletion process, Google will begin the process of permanently removing your Gmail account. This may take some time, so be patient and refrain from attempting to access the account during this period.
After the deletion process is complete, you will no longer have access to your Gmail account, and all associated data will be permanently erased. Ensure that you have made any necessary arrangements for email communication, and consider informing your contacts about the change.
Now that you have confirmed the deletion process, let’s move on to the final step to review the deletion details and ensure the successful removal of your Gmail account.
Step 10: Review the deletion details
Once you have confirmed the deletion process of your Gmail account, the final step is to review the deletion details. Google will provide you with a summary of the actions that will be taken and the specific data that will be permanently removed.
Take the time to carefully read through the deletion details to ensure you have a clear understanding of what will be affected. This includes all emails, contacts, attachments, and other stored information within your Gmail account.
Pay close attention to any additional information or warnings provided by Google regarding the deletion process. Google may remind you that this action cannot be undone, so it’s crucial to be certain of your decision before proceeding.
If you have any last-minute concerns or hesitations, take this opportunity to address them. However, once you move forward with the process, it will be difficult to reverse or regain access to your deleted Gmail account and its associated data.
Make sure that you have completed any necessary backups of important emails, contacts, or other data before finalizing the deletion process.
Once you have reviewed the deletion details and are confident in your decision, you can proceed by clicking the final confirmation button or completing any additional prompts that may be required.
By doing so, you will confirm the deletion of your Gmail account and initiate the process of permanently removing it from Google’s servers.
After completing this step, it’s important to acknowledge that your Gmail account will be successfully deleted, and you will no longer have access to the account or its associated data.
Congratulations! You have now completed the process of deleting your Gmail account following each step carefully. Remember to adjust your email preferences and inform your contacts about any changes to your email address.
Conclusion
Deleting an email account on Gmail may initially seem like a complicated process, but by following these step-by-step instructions, you can successfully remove your Gmail account. It’s essential to approach the deletion process with caution, ensuring that you have backed up any important data before proceeding.
We started by signing in to your Gmail account, navigating to the Account Preferences page, and selecting the “Data & Personalization” tab. From there, we scrolled down to the section titled “Download, delete, or make a plan for your data” and clicked on “Delete a service or your account.”
We then went through the verification process to confirm your identity, followed by selecting the “Delete a Google service” option and choosing your Gmail account for deletion. The final steps involved confirming the deletion process and reviewing the deletion details.
It’s crucial to reiterate that deleting your Gmail account will permanently erase all associated data, including emails, contacts, and other information. Take the time to carefully consider your decision and ensure that you have made appropriate backups before proceeding.
Once you have successfully completed the deletion process, your Gmail account will be permanently removed, freeing you from the confines of that email address. Remember to adjust your email preferences, inform your contacts of any changes, and explore alternative email platforms if needed.
Thank you for following this guide to delete an email account on Gmail. We hope it has been helpful, and we wish you the best in transitioning to a new email experience or simply enjoying a clutter-free inbox.