Introduction
Welcome to this guide on how to make a group email on Gmail. Whether you are organizing a project, planning an event, or simply want an easier way to communicate with a specific group of people, creating a group email can save you time and effort. With Gmail’s user-friendly interface, setting up and managing a group email is a breeze.
Gmail is one of the most popular email services used by individuals and businesses worldwide, offering a wide range of features and customization options. Group emails allow you to send messages to multiple recipients with just a single click, eliminating the need to manually add each contact every time you want to reach out.
In this guide, we will walk you through the steps to create a group email on Gmail and show you how to easily add and manage contacts within the group. You will also learn how to compose emails specifically for the group and make any necessary edits or deletions to the group email.
Whether you are a professional looking to streamline communication within your team, a teacher coordinating with parents and students, or an individual organizing a social gathering, having a group email can simplify your correspondence and ensure that important messages reach everyone in the group.
So, if you’re ready to learn how to create a group email on Gmail and enjoy the benefits of efficient communication, let’s dive right in!
Step 1: Log in to your Gmail account
The first step to creating a group email on Gmail is to log in to your Gmail account. Open your preferred web browser and navigate to the Gmail website. If you don’t already have a Gmail account, you’ll need to create one by clicking on the “Create account” option and following the prompts.
Once you have arrived at the Gmail login page, enter your email address and password in the provided fields. If you are using a personal device, you may choose to stay logged in by checking the “Stay signed in” box. However, if you are using a public or shared device, it’s best to leave this box unchecked for security reasons.
After entering your login credentials, click on the “Next” button to proceed. If your information is correct, you will be redirected to your Gmail inbox. Congratulations, you have successfully logged in to your Gmail account!
Gmail provides a secure and reliable platform for managing your emails and other communication. Once you are logged in, you will have access to various features such as organizing your inbox, composing emails, and creating filters to efficiently manage your incoming messages.
Step 2: Click on the “Compose” button
Now that you have successfully logged in to your Gmail account, the next step is to click on the “Compose” button to start creating a new email. The “Compose” button is located in the top-left corner of your Gmail inbox, next to the search bar.
Clicking on the “Compose” button will open a new window or pane where you can start drafting your email. This is where you will enter the details of your message, including the recipients, subject, and content.
When you click on the “Compose” button, you will notice that a new email form appears. The form includes fields for the recipient(s), subject, and body of the email.
In the “To” field, you will enter the email addresses of the recipients. For a group email, you don’t need to manually add each email address individually. We will cover how to create a group email and add contacts in the following steps.
The “Subject” field is where you will enter a brief summary or title for your email. This helps the recipients understand the purpose of your message at a glance.
The main content of your email goes in the body section. Here, you can type out your message, format the text, add attachments, and more. Gmail offers a wide range of formatting options, including bold, italic, and underline text, as well as bullet lists and numbered lists.
Once you have filled out the necessary fields, you can proceed to add recipients to the email. We will cover how to add contacts to a group email in the next step.
Clicking on the “Compose” button is the starting point for creating any email on Gmail. It allows you to easily draft your message and begin the process of communication. So, let’s move on to the next step and learn how to enter the group email name.
Step 3: Enter the group email name
Once you have clicked on the “Compose” button and are ready to create a group email on Gmail, the next step is to enter the group email name. The group email name will help you identify and organize your contacts for future use.
In the “To” field of your email form, enter the desired name for your group email. This name can be anything that helps you recognize the group or its purpose. For example, if you are creating a group email for your project team, you can use a name like “Project Team” or “Team Collaboration”. If you are creating a group email for your family, you can use a name like “Family Members” or “Family Updates”.
As you start typing the group email name, Gmail’s autocomplete feature may suggest different email addresses or contact groups that match the name. If you see a suggestion that matches your intended group, you can simply select it from the dropdown list. This can save you time and ensure that you are selecting the correct group.
If this is the first time you are creating the group email, you will need to manually enter the email addresses of the recipients. However, Gmail provides a convenient way to add contacts to the group email for future use. We will cover this in more detail in the next step.
Once you have entered the group email name and any additional recipients, you can proceed to the next step of adding contacts to the group email. This will allow you to easily send emails to the group without having to manually add each recipient every time.
The ability to enter a group email name makes it effortless to send emails to multiple recipients with just a single click. So, let’s move on to the next step and learn how to add contacts to the group email.
Step 4: Add contacts to the group email
After entering the group email name in the “To” field, it’s time to add contacts to the group email on Gmail. Adding contacts to the group email allows you to easily include them in future emails without having to manually input their email addresses each time.
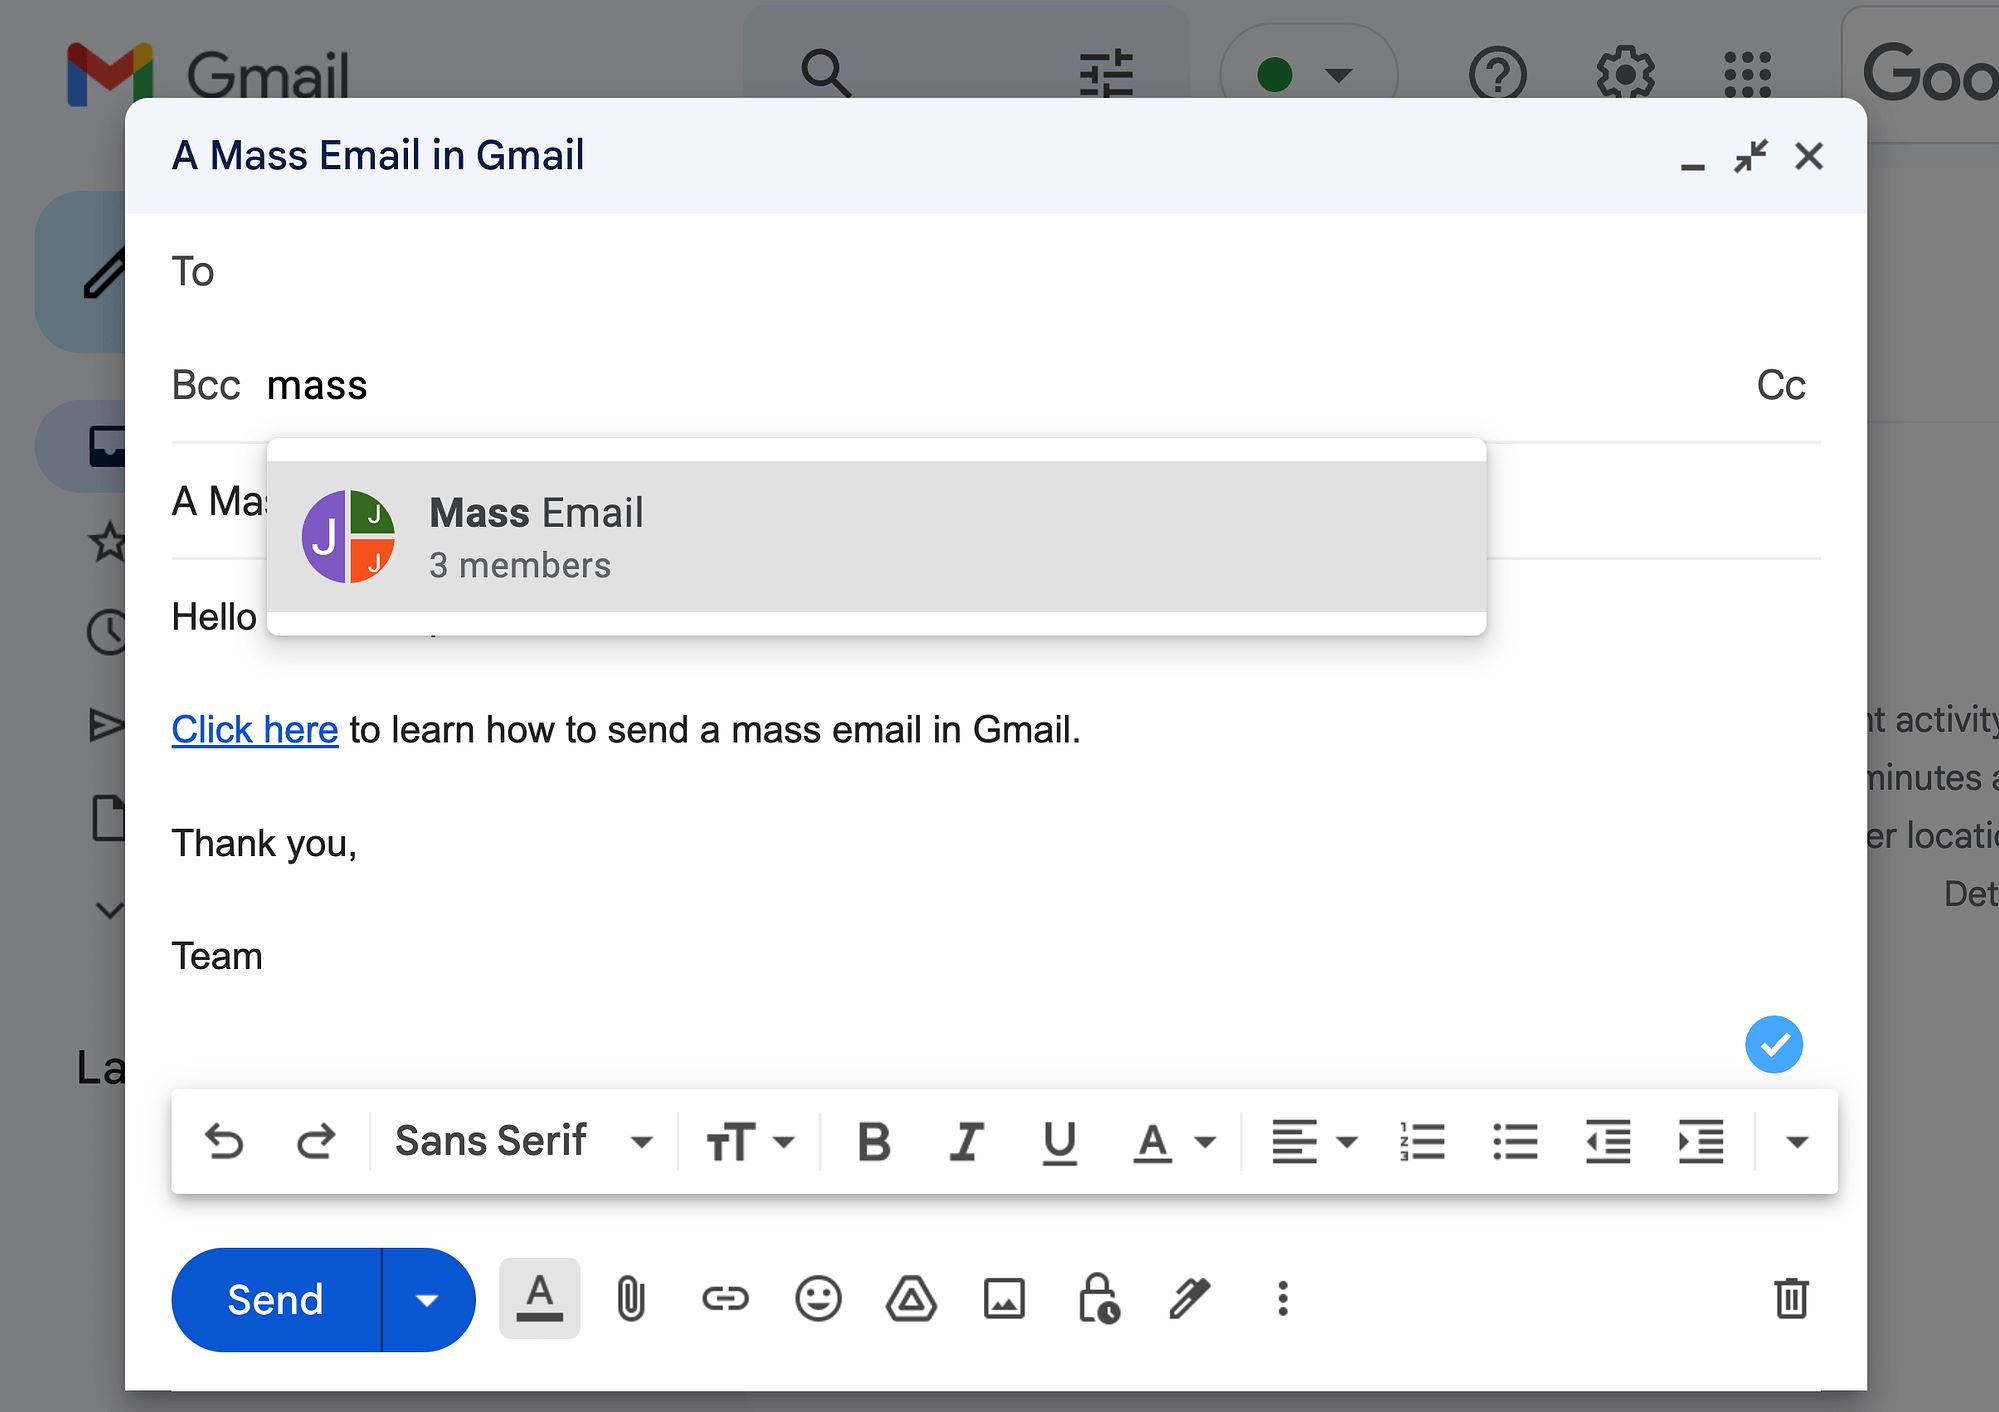
To add contacts to the group email, click on the “Add Bcc” link next to the “To” field. “Bcc” stands for “Blind Carbon Copy,” which means that the recipients’ email addresses will be hidden from each other. This is important to maintain privacy and ensure that each recipient’s email address remains confidential.
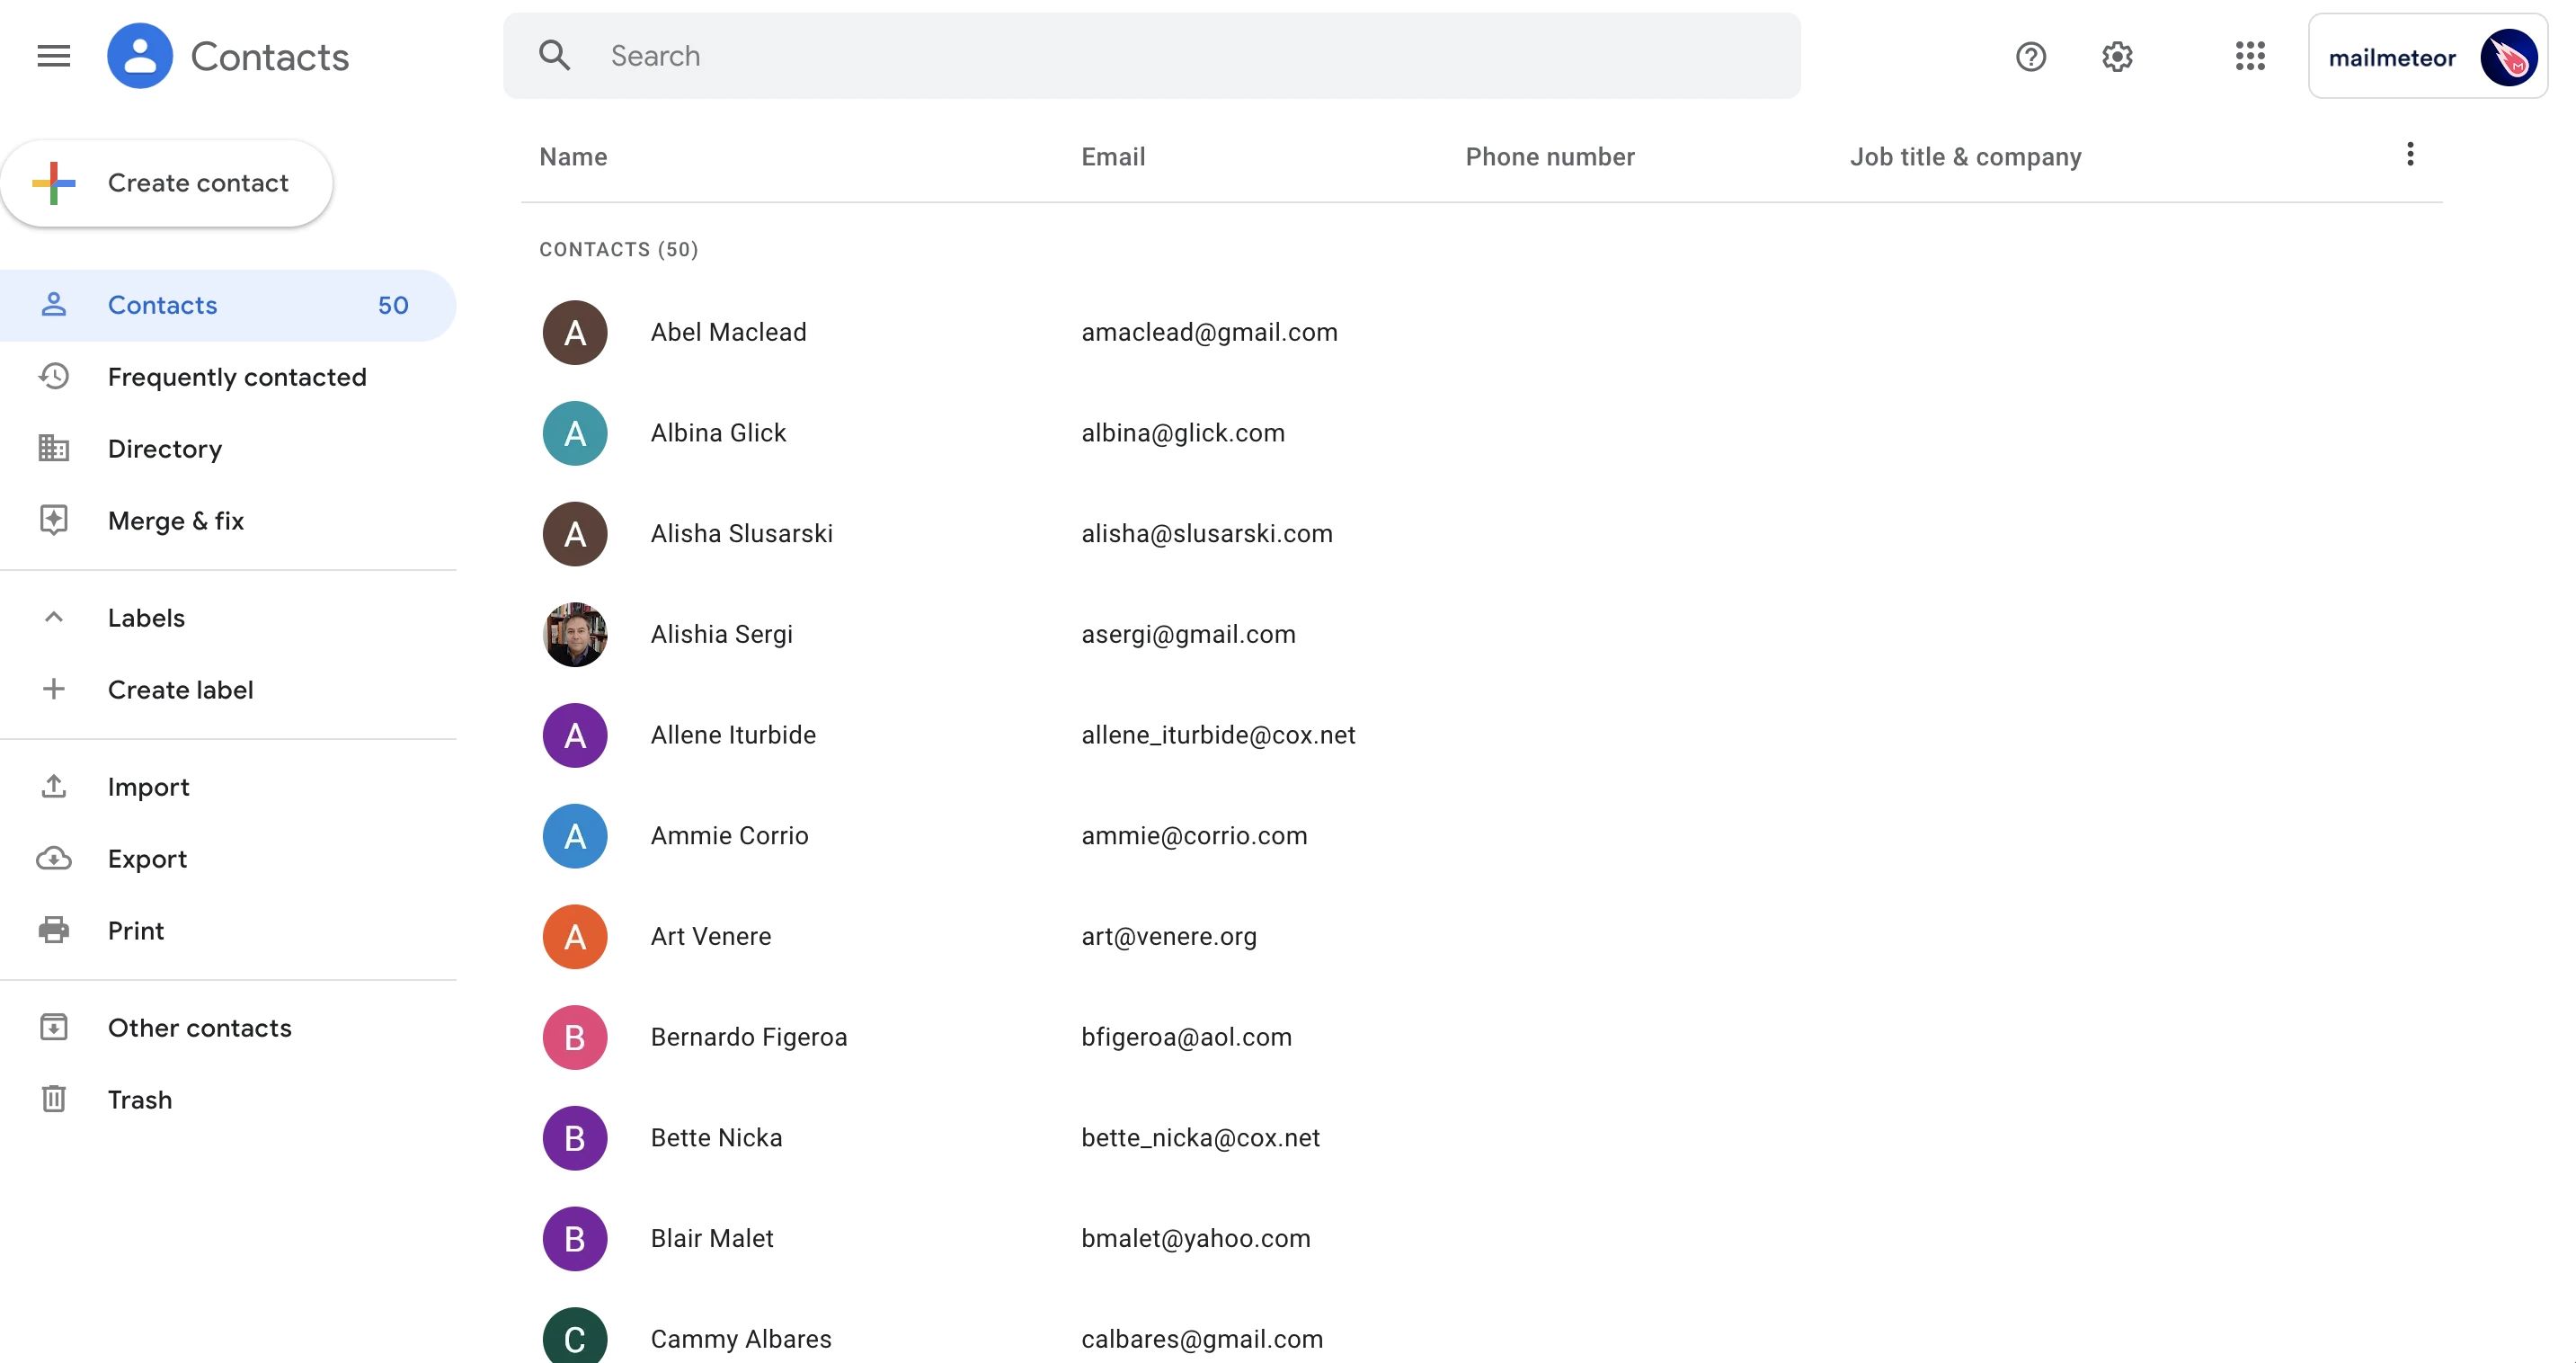
After clicking on the “Add Bcc” link, a new field will appear where you can enter the email addresses of the contacts you want to add to the group. You can either type the email addresses manually or use the Gmail contact selector to choose from your existing contacts. The contact selector provides a convenient dropdown list of all your saved contacts, making it easy to select the ones you want to add to the group.
If you have a large number of contacts to add, you can also import a CSV file containing their email addresses. This method is particularly useful if you already have your contacts organized in a spreadsheet or another email application. To import contacts from a CSV file, click on the “Import” link within the “Add Bcc” field and follow the prompts to upload your file.
Gmail also provides the option to create a new contact directly from the “Add Bcc” field. If there are any contacts you want to add but haven’t saved yet, simply click on the “Create new contact” option and fill in the necessary details, such as the contact’s name and email address.
Once you have added all the desired contacts to the group email, you can proceed to the next step of saving the group email for future use. Saving the group email allows you to easily access it and send emails to the group with a single click.
The ability to add contacts to the group email streamlines the process of sending emails to multiple recipients. With just a few clicks, you can include all the necessary contacts and ensure that your messages reach everyone in the group. Let’s continue to the next step and learn how to save the group email for future use.
Step 5: Save the group email for future use
After adding contacts to the group email on Gmail, it is important to save the group email for future use. By saving the group email, you can easily access it whenever you need to send an email to the entire group, saving you time and effort.
To save the group email, click on the three vertical dots in the bottom-right corner of the “Compose” window. A dropdown menu will appear with several options. Select the “Save draft as template” option from the menu.
Once you select this option, a pop-up window will appear where you can give your group email a name. Choose a name that is descriptive and easy to remember, as this will help you quickly identify the group template in the future.
After entering the name, click on the “Save” button. Your group email is now saved as a template that you can access anytime from the “Compose” window.
To use the saved group email template, simply click on the “Compose” button as you did before. This time, instead of entering the group email name in the “To” field, click on the three vertical dots in the bottom-right corner of the “Compose” window. From the dropdown menu, select the “Templates” option. Another menu will appear, showing your saved group email templates.
Select the desired group email template, and the recipients and content of the email will be automatically populated. You can edit the email as needed before sending it to the group.
By saving the group email as a template, you can easily access and send messages to the group, without the need to manually enter the email addresses each time. This is particularly useful if you frequently communicate with the same group of people.
Now that you have saved the group email for future use, you are ready to compose an email specifically for the group. Let’s move on to the next step and learn how to do that.
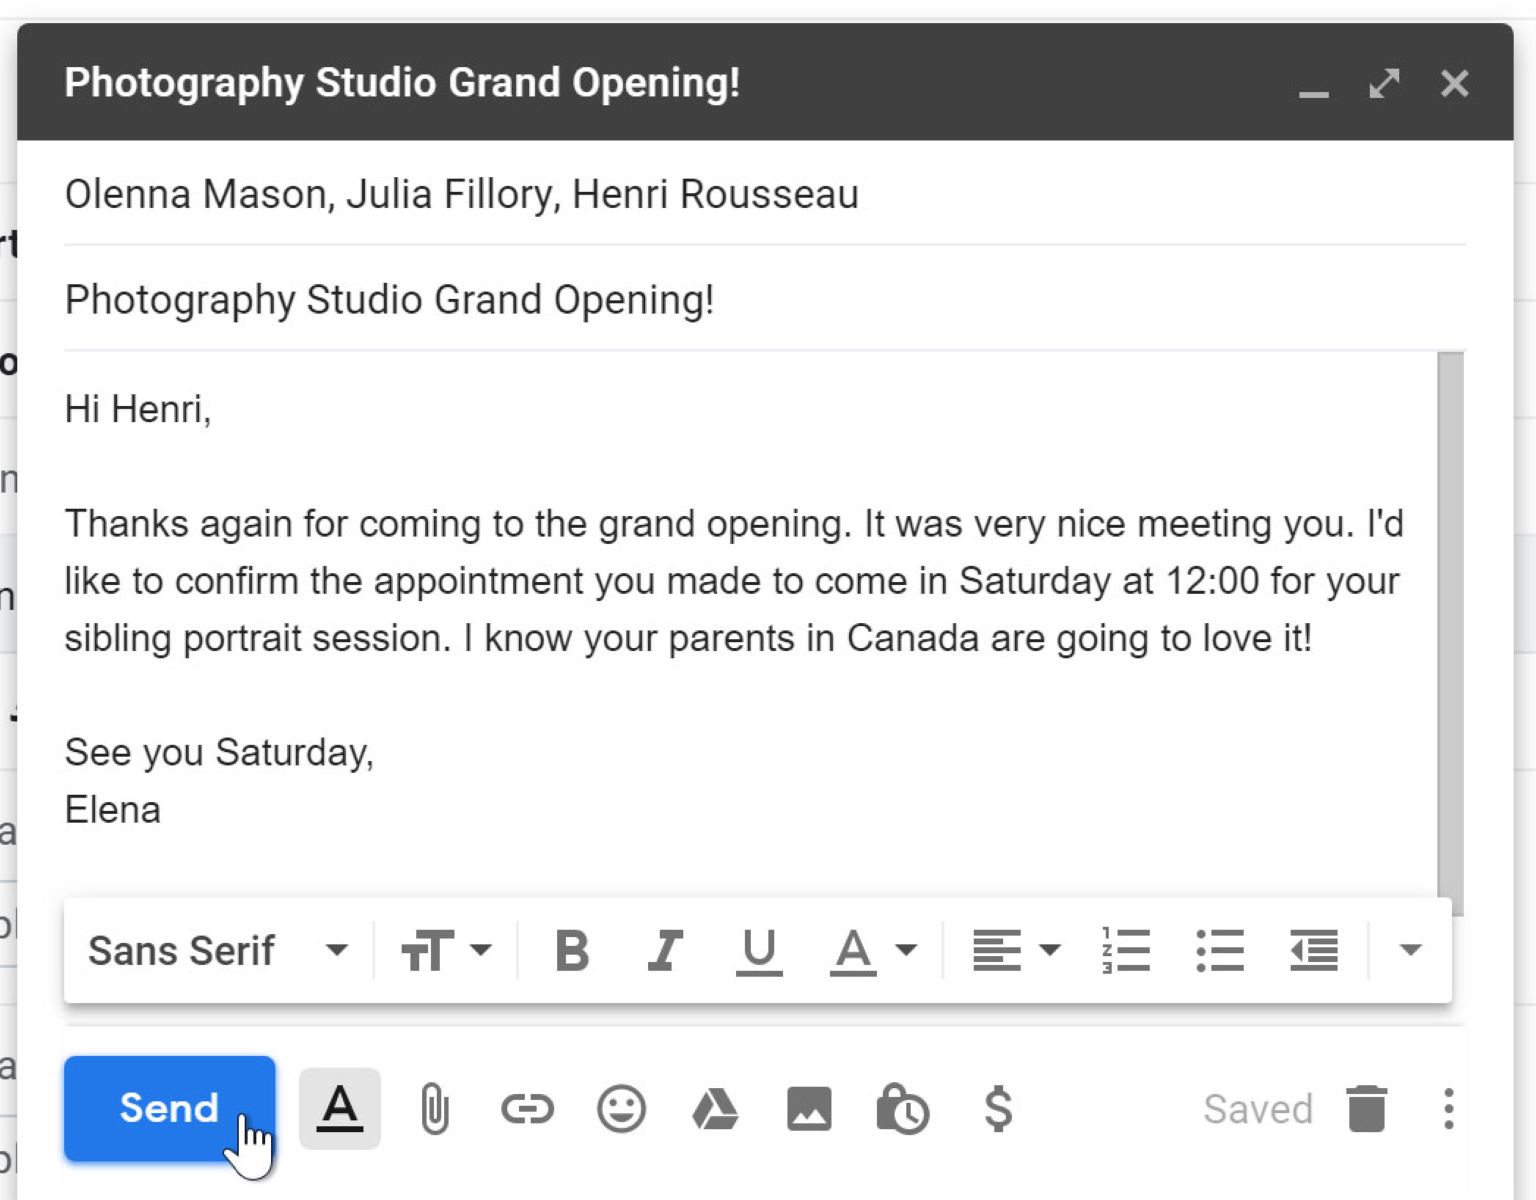
Step 6: Compose an email to the group
Now that you have created and saved the group email on Gmail, it’s time to compose an email specifically for the group. Composing an email to the group allows you to send messages, updates, or announcements to all the contacts in the group with just a few clicks.
To compose an email to the group, start by clicking on the “Compose” button in your Gmail inbox. In the “To” field, enter the name of the group email you previously created. As you start typing, Gmail’s autocomplete feature may suggest the group email name. Select the correct suggestion from the dropdown list.
Once you have entered the group email name, you will see that all the contacts in the group are added to the recipient list. This ensures that the email is sent to all the intended recipients without the need to manually enter each email address.
Next, enter a descriptive subject for your email. The subject should give an overview of the content and purpose of your message, making it easier for recipients to understand its importance. This is especially important when sending group emails, as it helps recipients quickly identify and prioritize your message.
In the body of the email, you can now compose the specific content you want to share with the group. This can include updates, announcements, attachments, or any other information relevant to the group. Gmail offers various formatting options, such as bold, italic, bullet lists, and hyperlinks, to help you structure and enhance your email’s readability.
Take advantage of these formatting options to make your email more visually appealing and engaging. You can also use Gmail’s spellcheck feature to ensure that your email is error-free before sending it to the group.
If you saved the group email as a template, you can also use the template feature to quickly compose an email to the group. In the “Compose” window, click on the three vertical dots in the bottom-right corner, select “Templates,” and choose the desired group email template. The template will automatically populate the email with the recipients and content, which you can then edit as needed.
Once you have composed your email to the group, review it one final time to ensure everything is correct and ready to send. You can use the preview feature to see how the email will appear to the recipients. After reviewing, click on the “Send” button, and your email will be sent to all the contacts in the group.
Composing an email to the group simplifies communication by allowing you to send messages to multiple recipients with ease. Now that you know how to compose an email to the group, let’s move on to the final step of editing or deleting the group email if needed.
Step 7: Edit or delete the group email
Once you have created a group email on Gmail, there may be instances where you need to make changes or delete the group email. The ability to edit or delete the group email gives you control over your contacts and ensures that you can manage your communication effectively.
To edit the group email, navigate to your Gmail inbox and click on the “Compose” button. In the “To” field, enter the name of the group email you created. As you start typing, Gmail’s autocomplete feature may suggest the group email name. Select the correct suggestion from the dropdown list.
Once you have entered the group email name, you will see all the contacts in the group added to the recipient list. From here, you can make any necessary changes to the recipient list by clicking on the “X” icon next to a contact’s email address to remove them from the group email. Similarly, you can add new contacts by typing their email addresses in the “To” field.
If you want to change the name of the group email, simply edit it in the “To” field. Once you have made the desired changes, proceed to compose and send your updated email to the group.
On the other hand, if you want to delete the group email entirely, you can do so by going to the “Compose” window and removing the group email from the “To” field. Simply delete the group email name and replace it with the email addresses of the individual contacts you want to email instead.
Deleting the group email does not remove the contacts from your Gmail contacts list. It only removes the group email name and association. Your contacts will still be available for individual emailing and future use.
By having the ability to edit or delete the group email, you can keep your contact groups organized and up to date. Whether you need to add or remove contacts or change the name of the group email, Gmail provides you with the flexibility to manage your communication efficiently.
With the completion of this final step, you now have the knowledge to create, manage, and utilize group emails on Gmail to streamline your communication with specific groups of people. Whether for professional or personal use, group emails can save you time, enhance productivity, and ensure important messages reach the right recipients.
Utilize the steps outlined in this guide to create your own group emails on Gmail and enjoy the benefits of efficient and effective communication. Happy emailing!