Introduction
Welcome to the world of Google Workspace, where communication and collaboration are made easy. One of the key features of Google Workspace is the ability to create group emails. Group emails allow you to send messages to multiple recipients with just one email address, streamlining communication and ensuring everyone stays on the same page.
Whether you’re working on a team project, planning an event, or simply want to stay connected with a group of like-minded individuals, creating a group email in Google Workspace is a simple and efficient solution. By following a few easy steps, you can set up a group email and start communicating effortlessly with your team or community.
In this tutorial, we will walk you through the process of creating a group email in Google Workspace. You will learn how to access Google Workspace, create a new group, customize group settings, add members, manage group membership, and finally, send emails to the group. So, let’s get started and harness the power of group communication with Google Workspace!
Step 1: Accessing Google Workspace
The first step in creating a group email in Google Workspace is accessing the platform. If you already have a Google account, simply open your web browser and navigate to https://workspace.google.com. Once there, click on the “Sign in” button and enter your Google account credentials to log in.
If you don’t have a Google account, you will need to create one. Click on the “Create account” button and follow the prompts to set up your account. Once your account is created, you can proceed to sign in to Google Workspace.
Once you are signed in to Google Workspace, you will be greeted with the Google Workspace dashboard. This is where you can access all the tools and features offered by Google Workspace, including Gmail, Google Drive, Google Docs, and more.
To proceed with creating a group email, locate and click on the Gmail icon. This will take you to the Gmail interface, where you can manage your email account and access additional features.
Alternatively, you can also access Gmail directly by typing https://mail.google.com into your web browser’s address bar. This will take you directly to the Gmail login page. Enter your Google account credentials to log in and proceed to the Gmail interface.
Now that you have successfully accessed Google Workspace and are in the Gmail interface, you are ready to move on to the next step: creating a new group.
Step 2: Creating a New Group
Now that you are in the Gmail interface, it’s time to create a new group for your email communication needs. Follow these simple steps to create a new group:
1. Click on the “Compose” button to start a new email.
2. In the “To” field, enter the desired name for your group email. This will be the email address that members will use to reach the group.
3. Once you have entered the name for your group email, you will notice a dropdown menu next to it. Click on the dropdown menu and select “Create group”.
4. A popup window titled “Create a new Google Group” will appear. Here, you can specify additional details for your group, such as the group name, group email address, and group description.
5. Enter a relevant and descriptive name for your group in the “Group name” field. This will help members easily identify the purpose of the group.
6. In the “Group email address” field, you can choose a unique email address for your group. Google will automatically suggest a few options based on the group name you have entered. Select the one that best suits your needs, or click on “Customize” to create a personalized email address for your group.
7. Optionally, you can provide a brief description of your group in the “Description” field. This will help members understand the purpose and focus of the group.
8. Once you have completed filling in the details, click on the “Create” button to create your new group.
Congratulations! You have successfully created a new group email in Google Workspace. The newly created group will now be displayed in the left sidebar of your Gmail interface, making it easily accessible for future communications.
In the next step, we will explore how to customize the settings for your group to ensure it functions according to your preferences and requirements.
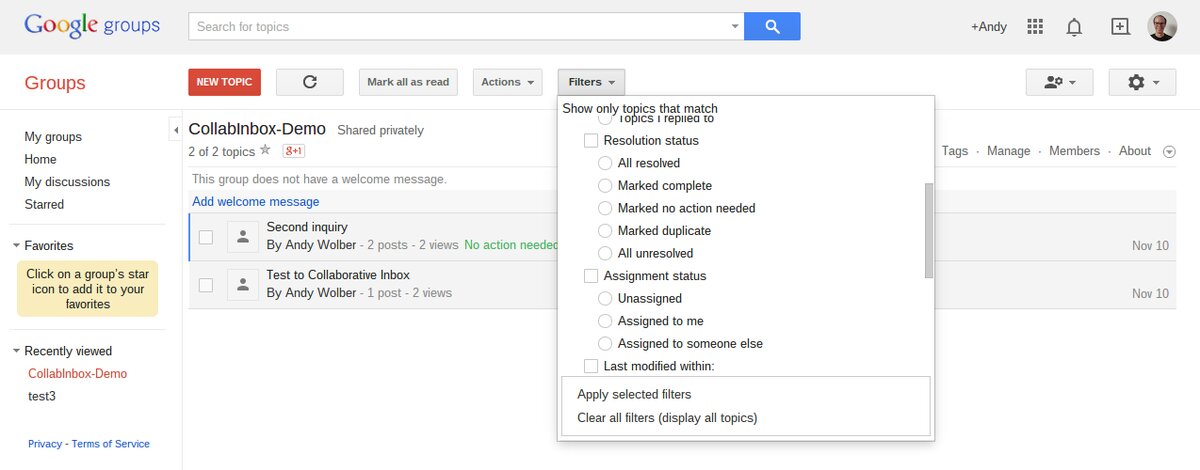
Step 3: Choosing Group Settings
After creating your group email in Google Workspace, it’s important to customize the group settings to optimize its functionality. By adjusting the settings, you can control who can join the group, set permissions for members, and define how the group operates.
To access the group settings, follow these steps:
1. In the Gmail interface, locate the group email you created in the left sidebar.
2. Click on the group email to open the group’s main page.
3. On the group’s main page, click on the “Manage” button located at the top right corner.
4. A new window titled “Google Groups” will open, displaying the settings and management options for your group.
5. In the “Settings” tab, you will find a range of options to customize your group.
6. Explore the different settings available and make changes based on your preferences.
Here are some key settings you might want to consider:
– Membership: Determine who can join the group. You can choose to allow anyone to join, require membership approval, or only invite specific individuals to join.
– Permissions: Set the permissions for group members. You can define who can view, post, and moderate messages within the group.
– Customization: Customize the appearance and behavior of the group. You can change the group name, email address, and add a group logo.
– Archiving and Collaborative Inbox: Control how group messages are archived and whether members can assign and complete tasks within the group.
– Advanced: Explore advanced options such as email delivery preferences, message moderation, and spam filtering.
Take your time to review and adjust the settings according to your specific needs for the group. Once you are satisfied with the changes, click on the “Save” button to apply the new settings.
Customizing the group settings ensures a seamless and effective communication experience within the group. In the next step, we will learn how to add members to the group to start sending emails and collaborating.
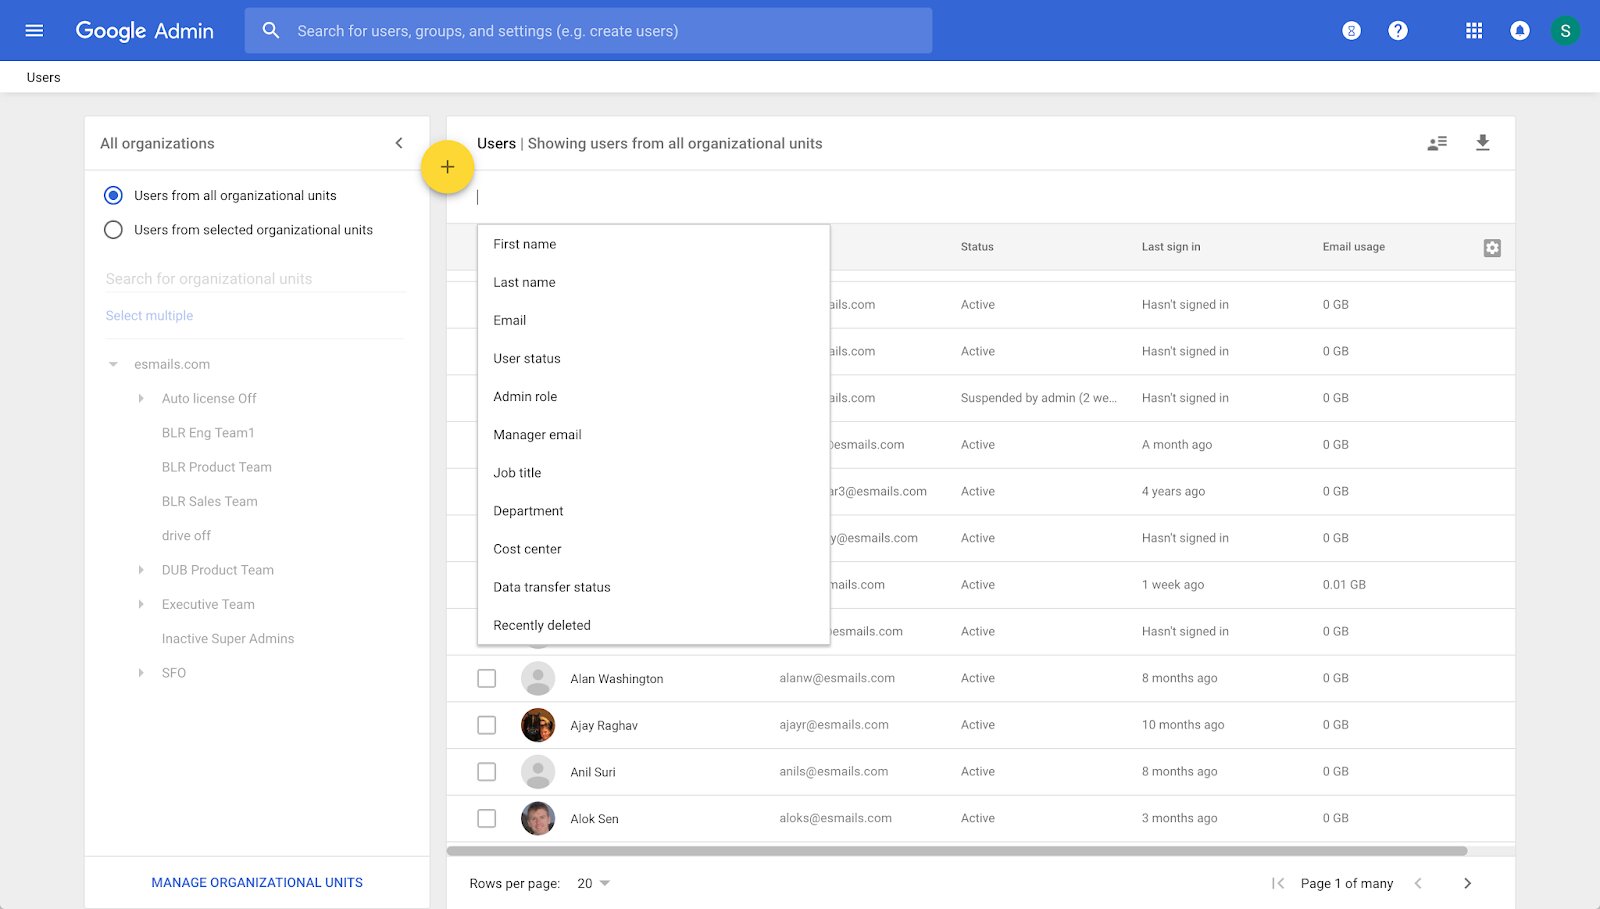
Step 4: Adding Members to the Group
Now that you have set up the group settings, it’s time to add members to your group email in Google Workspace. Adding members will allow them to participate in group discussions, receive group emails, and collaborate with other group members.
Follow these simple steps to add members to your group:
1. Go to the group’s main page in Google Groups by clicking on the group email in the left sidebar of the Gmail interface.
2. Click on the “Manage” button located at the top right corner of the group’s main page.
3. In the management options, click on the “Members” tab to access the member management settings.
4. On the “Members” tab, click on the “Add members” button to start adding new members.
5. You can add members in two ways:
- Invite members: Enter the email addresses of the individuals you want to invite to join the group. You can enter multiple email addresses by separating them with commas. Optionally, you can also include a message to introduce the group and encourage them to join.
- Direct add members: If you have the email addresses of the individuals you want to add, you can directly enter them into the “Email address” field. Similarly, you can enter multiple email addresses by separating them with commas.
6. Choose the appropriate option based on whether you want to invite members or directly add them. Once you have entered the email addresses, click on the “Send invitations” or “Add members” button, respectively.
7. Google will send email invitations to the invited members, prompting them to join the group. If you directly added members, they will receive an email notification confirming their addition to the group.
8. The added members will then have access to the group’s emails and discussions, allowing them to actively participate.
Remember, as the group owner, you have the ability to manage the membership and remove members if necessary. You can also add or remove members at any time to keep the group updated with the latest members.
With the members added to your group, it’s time to move on to the next step: managing the group membership.
Step 5: Managing Group Membership
As the owner of a group email in Google Workspace, it is important to have the ability to manage the membership and ensure that the right individuals are part of the group. By effectively managing the group membership, you can maintain the integrity of the group’s discussions and collaboration efforts.
Here are some important aspects to consider when managing group membership:
1. Removing Members:
If you need to remove a member from the group, follow these steps:
- Go to the group’s main page in Google Groups.
- Click on the “Members” tab to access the member management settings.
- Locate the member you want to remove and click on the “Remove” button next to their name.
- A confirmation message will appear. Click “Remove” to confirm the member’s removal from the group.
2. Managing Member Roles:
You can assign specific roles to members to define their level of control and responsibilities within the group. The available roles include:
- Owner: The owner has full administrative control over the group, including managing settings, adding or removing members, and moderating discussions.
- Manager: Managers have similar permissions as owners but cannot remove the group owner or make other members owners.
- Member: Members are regular participants in the group who can view, post and receive messages.
To assign roles to members:
- Go to the group’s main page in Google Groups.
- Click on the “Members” tab to access the member management settings.
- Locate the member you want to assign a role to and click on the drop-down menu under their name.
- Select the desired role from the available options.
3. Moderating Posts:
If you want to moderate the posts made by group members before they are published, you can enable moderation. With moderation enabled, you can review and approve or reject each message before it is sent to the group. To enable post moderation:
- Go to the group’s main page in Google Groups.
- Click on the “Settings” tab to access the group settings.
- Scroll down to the “Moderation” section.
- Toggle the switch to “On” to enable moderation.
By effectively managing the group membership, you can ensure that the group remains active, engaged, and focused on its objectives. It also helps to maintain a positive and collaborative environment for all members.
In the next step, we will explore how to send emails to the group and foster communication and collaboration within the group.
Step 6: Sending Emails to the Group
Now that you have set up and managed your group email in Google Workspace, it’s time to start sending emails and fostering communication within the group. Whether you need to share updates, discuss ideas, or collaborate on projects, sending emails to the group is a seamless process.
Follow these simple steps to send emails to your group:
1. Open your Gmail interface by clicking on the Gmail icon in the Google Workspace dashboard or visiting https://mail.google.com in your web browser.
2. Click on the “Compose” button to start a new email.
3. In the “To” field, enter the email address of your group. It will be the email address you chose when creating the group.
4. Enter a relevant and descriptive subject for your email. This will help recipients understand the purpose of the email at a glance.
5. Compose your email message in the body section. You can format the text, add attachments, and include any necessary information.
6. Once you are ready to send the email, click on the “Send” button.
That’s it! Your email will be sent to all the members of the group, allowing them to stay informed and engaged. Each member will receive the email in their individual inbox and can respond or contribute to the discussion from there.
Note: Keep in mind that group emails should be used responsibly and only for group-related communication. Avoid sending spam or irrelevant messages that can clutter members’ inboxes.
Sending emails to the group ensures efficient and streamlined communication. It allows members to share information, exchange ideas, and work collaboratively towards common goals.
With Step 6 completed, you have successfully learned how to send emails to your group. Congratulations on setting up and managing a group email in Google Workspace!
To wrap up, let’s review the key steps we covered in this tutorial:
- Accessing Google Workspace
- Creating a New Group
- Choosing Group Settings
- Adding Members to the Group
- Managing Group Membership
- Sending Emails to the Group
By following these steps, you can effectively create and manage a group email in Google Workspace, enabling seamless communication and collaboration within your team, organization, or community.
Conclusion
Creating a group email in Google Workspace is a powerful tool for effective communication and collaboration. By following the steps outlined in this tutorial, you can easily set up and manage a group email, allowing you to stay connected with your team, organization, or community.
We began by accessing Google Workspace and navigating to the Gmail interface. From there, we covered the process of creating a new group and customizing its settings to suit your specific needs. You learned how to add members to the group, assign member roles, and moderate group discussions.
With your group set up and members added, we discussed how to send emails to the group, fostering open communication and collaboration. Sending emails allows you to share updates, discuss ideas, and work together towards common goals.
Remember, as the owner of the group, it’s important to manage group membership and settings regularly. This ensures that the group remains focused, active, and productive.
By utilizing the power of group emails in Google Workspace, you can streamline communication, enhance collaboration, and achieve your objectives more efficiently. Whether you’re working on a team project, organizing an event, or simply staying connected with a group of like-minded individuals, group emails provide a convenient and effective solution.
So, harness the power of Google Workspace and take control of your group communication today. Start creating your own group email and experience the benefits of seamless collaboration and efficient communication.
Thank you for following this tutorial, and we hope that it has provided you with the knowledge and guidance necessary to create and manage a group email successfully. Happy group emailing!