Introduction
Welcome to the world of Google Workspace! Whether you’re a small business owner, a freelancer, or a team leader, creating a Google Workspace account is a crucial step in streamlining your communication, collaboration, and productivity. With its suite of powerful tools like Gmail, Google Drive, Google Docs, and much more, Google Workspace offers a comprehensive solution for managing your work online.
In this article, we will guide you through the process of creating a Google Workspace account, step by step. From choosing a plan to setting up your organization’s information, we will cover everything you need to know to get started. So, let’s dive in and discover how you can make the most of Google Workspace.
Before we proceed, it’s essential to note that Google Workspace was previously known as G Suite. Google rebranded it as Google Workspace to provide a more integrated and flexible experience for users. So, if you were familiar with G Suite in the past, don’t worry, we’ll walk you through the new features and updates as well.
Creating a Google Workspace account comes with multiple benefits. Firstly, it gives you access to professional email addresses with your domain name, making your communication more personalized and credible. Additionally, you get access to a range of productivity tools that enable seamless collaboration among team members, regardless of their location.
Furthermore, Google Workspace offers secure cloud storage for all your files, eliminating the need for physical storage devices and ensuring easy access from anywhere, at any time. With its robust security features, you can trust Google Workspace to safeguard your data and protect your organization from cyber threats.
Now that we know why having a Google Workspace account is advantageous, let’s move on to the steps required to create one. From selecting a suitable plan to configuring your security settings, we’ll cover all the necessary details. So, let’s get started on this exciting journey towards productivity, efficiency, and collaboration with Google Workspace.
Step 1: Go to Google Workspace website
The first step to creating a Google Workspace account is to visit the official Google Workspace website. Open your preferred web browser and type in https://workspace.google.com in the address bar. Press Enter, and you will be directed to the Google Workspace homepage.
On the Google Workspace homepage, you will find an overview of the various features and benefits that Google Workspace offers. Take a moment to familiarize yourself with the information displayed, as it will help you understand how Google Workspace can enhance your productivity.
Once you are ready to proceed, look for the “Get Started” or “Try it for free” button on the homepage. This button will lead you to the sign-up page where you can start the process of creating your Google Workspace account.
Before you click on the “Get Started” button, it’s essential to note that Google Workspace offers different plans, each with its own set of features and pricing. Take some time to explore the different plans and select the one that best suits your requirements. Whether you are a small team, an enterprise, or an educational institution, there is a plan tailored to your needs.
Google Workspace plans include the Business Starter, Business Standard, and Business Plus packages. Each plan offers different storage limits, advanced security features, and additional tools to enhance collaboration and productivity. Take a moment to compare the plans and select the one that aligns with your organization’s size, budget, and specific needs.
After you have chosen a plan, click on the “Get Started” button, and you will be redirected to the sign-up page. On this page, you will need to enter your organization’s details, including the name of your organization, the number of employees, and your country. Fill in the required information accurately to proceed to the next step.
Once you have completed this step, you are ready to move forward with the next phase of creating your Google Workspace account. So, go ahead and head to the Google Workspace website to take the first step towards enhancing your productivity and collaboration.
Step 2: Choose a plan
Now that you’re on the Google Workspace sign-up page, it’s time to select the plan that best suits your organization’s needs. Google Workspace offers a range of plans to accommodate different business sizes and requirements. Let’s explore the available options and choose the plan that aligns with your goals.
Here are the three main plans offered by Google Workspace:
- Business Starter: This plan is perfect for small businesses and startups. It provides you with professional email addresses (you@yourcompany.com) using your domain name, along with secure cloud storage for each user. Collaboration is easy with tools like Google Docs, Sheets, and Slides. With a storage limit of 30GB per user, this plan is ideal for businesses with minimal file storage needs.
- Business Standard: If you have a growing team that requires ample storage space, the Business Standard plan might be the right fit. It includes all the features of the Business Starter plan, along with enhanced storage of 2TB per user. Additionally, it offers advanced features such as security and admin controls, video meetings for up to 150 participants, and audit reports to track user activity.
- Business Plus: Designed for larger organizations with more extensive collaboration needs, the Business Plus plan offers advanced security features, including data loss protection, advanced phishing and malware protection, and endpoint management. With unlimited storage and recording capabilities for video meetings, this plan ensures that your organization has the necessary resources for effective communication and collaboration.
Take a moment to analyze your organization’s requirements, considering factors such as company size, storage needs, collaboration tools, and budget. Consider whether you need advanced security features or additional administrative controls. Once you have evaluated your needs, choose the plan that best aligns with them.
Remember, you can always upgrade or downgrade your plan as your organization’s needs evolve. Google Workspace offers flexibility to ensure that you have the right tools and resources as your business grows.
After selecting the plan, click on the “Next” or “Choose” button to continue with the sign-up process.
Congratulations! You have completed the second step of creating your Google Workspace account. In the next step, we will discuss how to start your trial and begin exploring the powerful features of Google Workspace.
Step 3: Start your trial
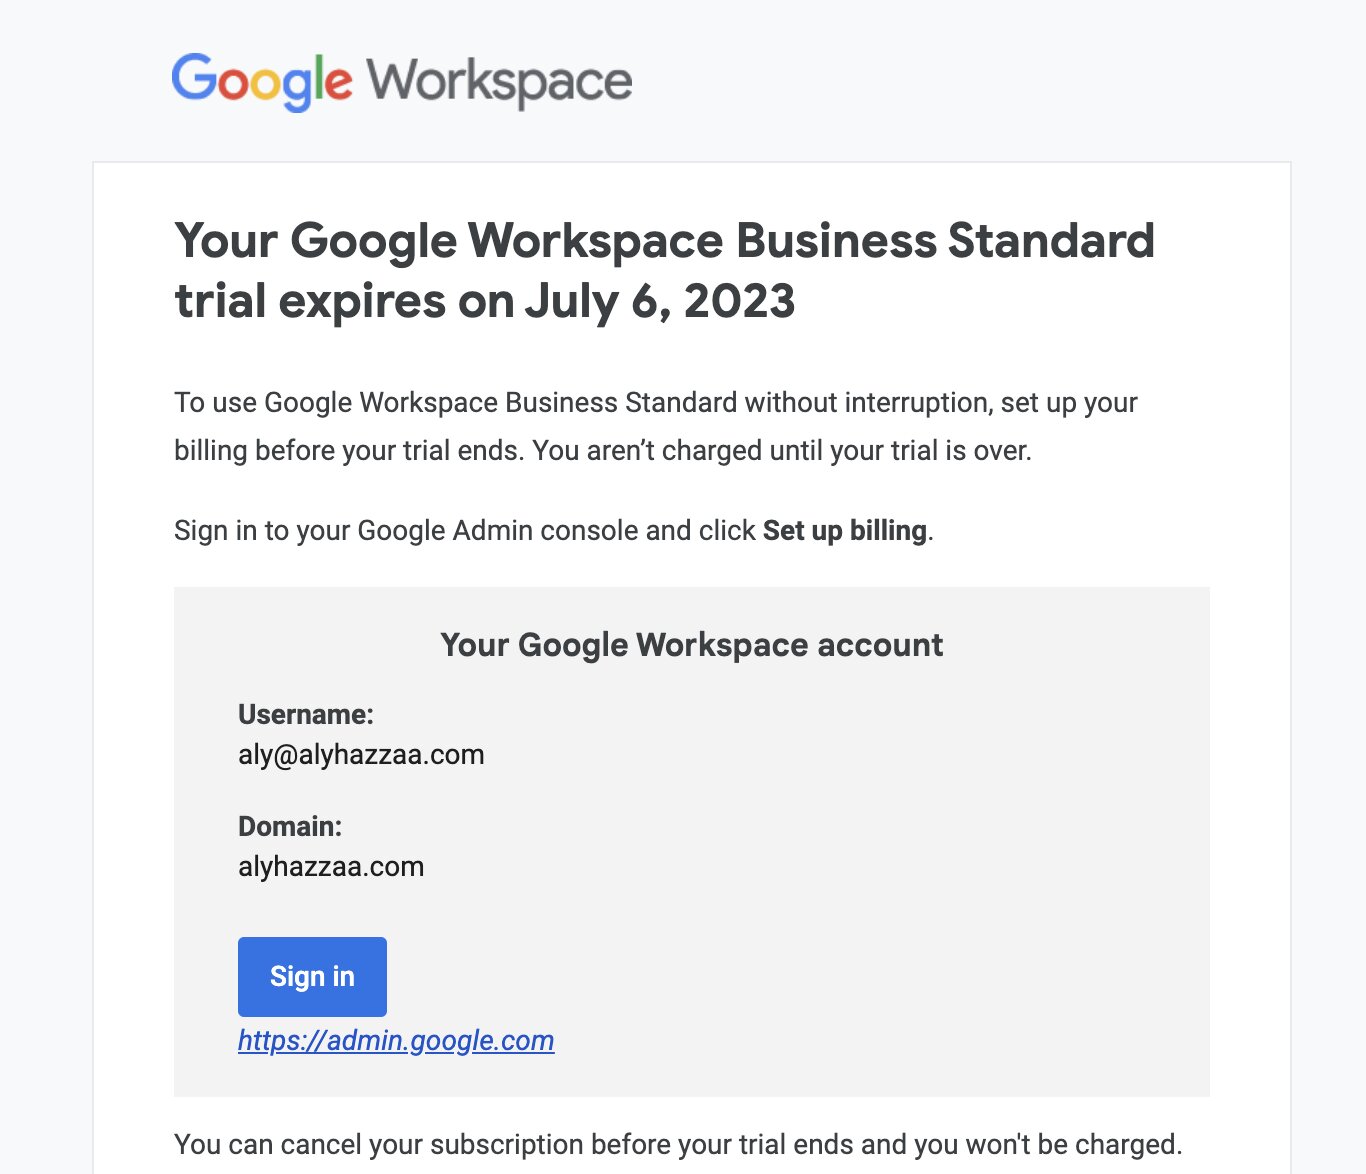
After selecting the Google Workspace plan that best suits your organization, it’s time to start your trial. The trial period allows you to explore the features and functionalities of Google Workspace before committing to a subscription. Let’s walk through the process of starting your trial and getting access to all the powerful tools Google Workspace has to offer.
On the sign-up page, you will see a section where you can choose your billing frequency. Google Workspace offers flexible billing options, allowing you to pay either on a monthly or annual basis. Select the billing frequency that fits your budget and preferences.
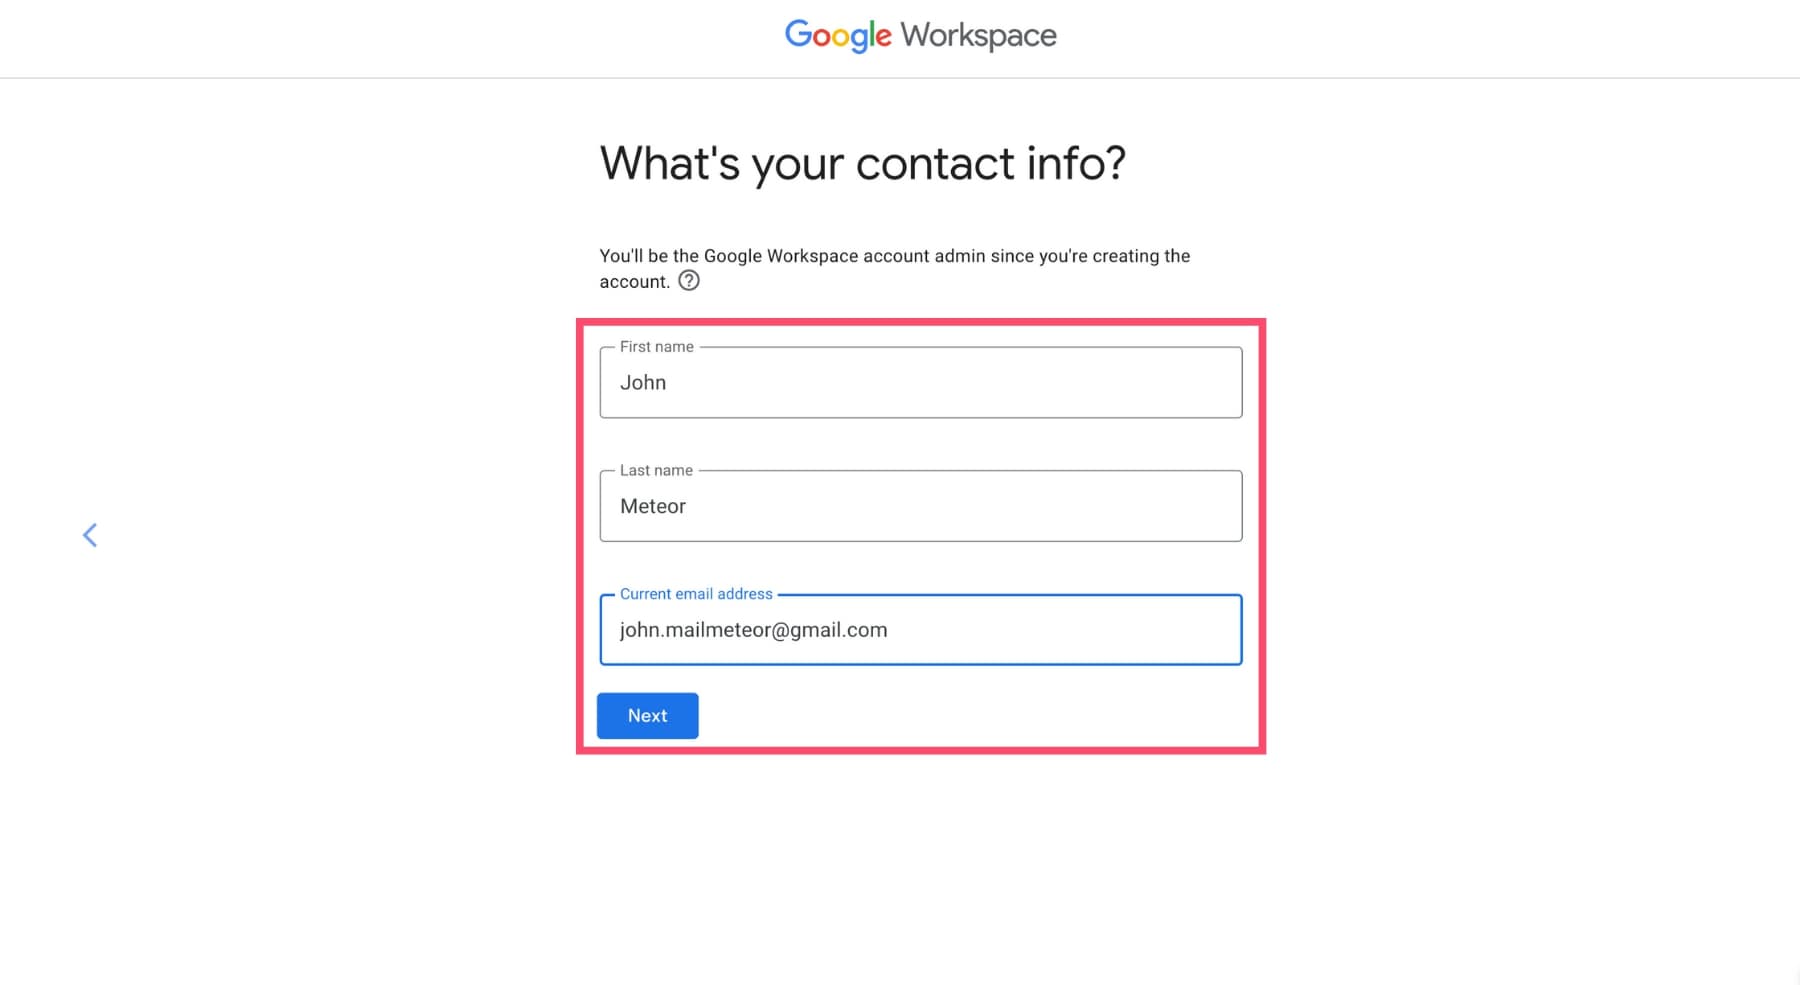
Next, you’ll need to provide your basic contact information, including your first and last name, as well as your current email address. Google will use this information to communicate important updates and notifications regarding your Google Workspace account.
Once you’ve completed the necessary fields, click on the “Next” or “Continue” button to proceed to the payment section. During the trial period, you won’t be charged for using Google Workspace. However, you will need to provide your payment details to activate your trial account.
Google Workspace accepts various payment methods, including major credit cards and bank transfers. Simply enter your payment information, ensuring that all details are accurate and up-to-date. Rest assured that Google’s secure payment infrastructure will keep your information safe.
After providing your payment details, review the terms of service and privacy policy. Make sure you understand and agree to the terms before proceeding. If you have any questions or concerns, take the time to read through the documents or reach out to Google support for assistance.
Once you have reviewed and agreed to the terms, click on the “Start Trial” or similar button to activate your Google Workspace trial. Congratulations! You now have access to all the features and tools offered by Google Workspace.
During the trial period, take the time to explore the various apps and services available. Set up your organization’s email addresses, create and collaborate on documents using Google Docs, and utilize other tools such as Google Drive, Sheets, Slides, and Calendar.
Remember, the trial period is an excellent opportunity to evaluate the suitability of Google Workspace for your organization’s needs. Engage your team members and encourage them to explore the platform’s capabilities, providing feedback on how it enhances collaboration and productivity.
Once your trial period is over, you will have the option to subscribe to a Google Workspace plan and continue using the service. If you decide to subscribe, you can seamlessly transition from the trial to the paid version without losing any of your data or settings.
Enjoy your Google Workspace trial, and make the most of this powerful suite of tools to streamline your organization’s communication and collaboration.
Step 4: Set up your organization’s information
Now that you have started your trial and gained access to Google Workspace, it’s time to set up your organization’s information. This step is crucial as it ensures that your Google Workspace account is customized to meet your organization’s specific needs. Let’s dive into the process of setting up your organization’s information.
After starting your trial, you will be directed to the Google Workspace admin console. This is the central hub where you can manage and customize various aspects of your account. Take a moment to familiarize yourself with the admin console as you will be using it throughout your Google Workspace journey.
In the admin console, you will find an option to set up your organization’s information. Click on this option to begin customizing your account.
The first step is to verify your domain. If you already have a domain, such as yourcompany.com, follow the verification instructions provided. Google will guide you through the process of verifying domain ownership, which may involve adding specific records or codes to your domain’s DNS settings.
If you don’t have a domain yet, Google Workspace provides an option to purchase a domain directly within the admin console. Follow the on-screen instructions to search for and purchase a domain name that represents your organization.
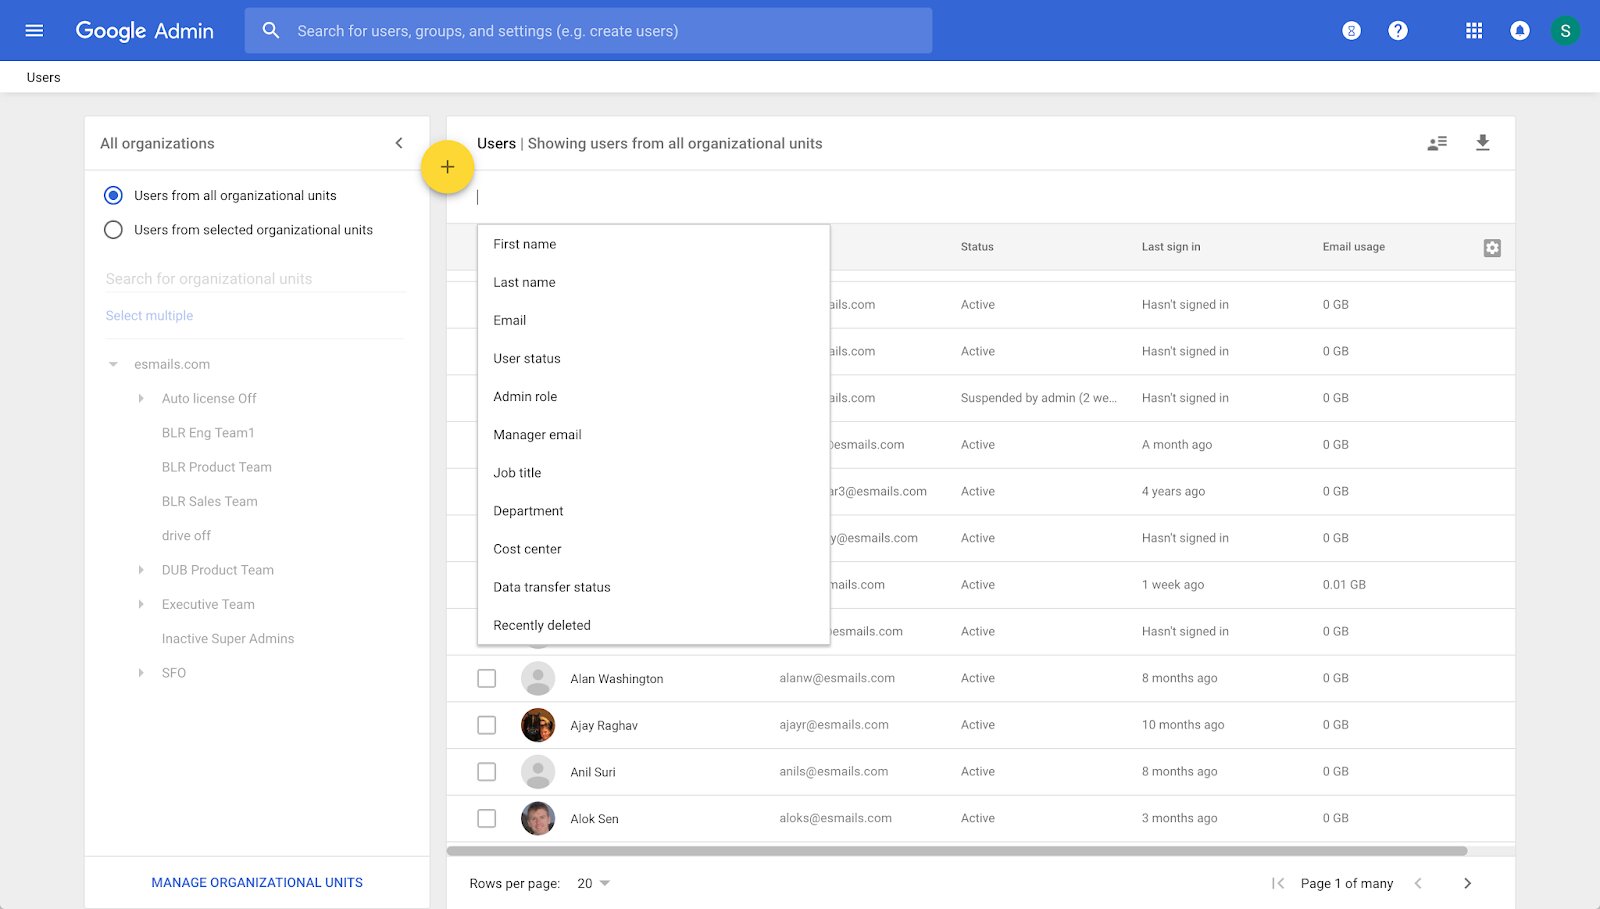
Once your domain is verified, you can proceed to set up user accounts for your organization. User accounts allow individuals within your organization to access and utilize the Google Workspace tools.
In the admin console, navigate to the “Users” section and click on “Add new user” or similar. Enter the necessary details for each user, including their name and desired email address. You can also assign a temporary password or allow users to set their own passwords upon their first login.
Consider organizing users into groups based on their roles or departments. This allows for better access management and streamlined collaboration within the organization. You can create groups in the admin console and assign users to these groups accordingly.
Additionally, explore the various settings within the admin console to enhance your organization’s security and customization. You can configure policies, set user access permissions, and enable multifactor authentication for added protection.
Take your time to navigate through the admin console and explore the different settings and options available. Familiarize yourself with the customization possibilities so that you can tailor Google Workspace to match your organization’s unique requirements.
Remember to save your changes as you make updates to the organization’s information. Google Workspace provides automatic syncing, ensuring that all users have access to the latest settings and configurations.
By setting up your organization’s information, you are laying the foundation for a customized and efficient Google Workspace experience. Enjoy the flexibility and scalability that Google Workspace provides as you continue to streamline your organization’s communication and collaboration.
Step 5: Customize your domain
Once you have set up your organization’s information in Google Workspace, the next step is to customize your domain. Customizing your domain allows you to create a professional and branded experience for your organization’s email addresses and online presence. Let’s dive into the process of customizing your domain in Google Workspace.
In the admin console, navigate to the “Domains” section. Here, you will have the option to add and manage your domain settings.
If you haven’t verified your domain during the setup process, you will need to do so now. Verify your domain ownership by following the provided instructions. This usually involves adding specific DNS records or verification codes to your domain’s DNS settings.
Once your domain is verified, you can start customizing it. One of the essential elements to customize is your organization’s email addresses. With Google Workspace, you can create personalized email addresses using your own domain, such as you@yourcompany.com.
In the admin console, go to the “Users” section and select the user whose email address you want to customize. Click on the user’s name and then click on the “Account” tab. From there, you can edit the user’s primary email address and add any additional email aliases if needed.
Additionally, you can customize other elements of your domain, such as the organization’s logo and branding. By uploading your organization’s logo, it will be displayed in the Google Workspace apps and email signatures, providing a consistent and professional appearance across your organization’s communication channels.
In the admin console, go to the “Company Profile” section and select “Profile.” From there, you can upload your organization’s logo and choose the desired branding settings. You can also customize the organization’s name and contact information.
Another aspect you can customize is the appearance of the Google Workspace apps. You can set a custom theme and color scheme that aligns with your organization’s branding. This will give a consistent look and feel across the various Google Workspace apps like Gmail, Google Drive, and Calendar.
To customize the theme and color scheme, go to the “Company Profile” section and select “Theme.” From there, you can choose from the available themes or create a custom theme that matches your organization’s branding.
Remember to save your customizations as you make changes to the domain settings. Google Workspace will automatically apply these settings to the respective users and apps.
By customizing your domain in Google Workspace, you are enhancing your organization’s brand recognition and creating a professional experience for your users and clients. Enjoy the seamless integration of your domain with the powerful tools of Google Workspace as you continue to streamline your organization’s communication and collaboration.
Step 6: Add users to your account
With your Google Workspace account set up and your domain customized, it’s time to add users to your account. Adding users allows individuals within your organization to access and utilize the Google Workspace tools and services. Let’s walk through the process of adding users to your Google Workspace account.
In the admin console, navigate to the “Users” section. Here, you will find the list of current users in your organization and options to add new users.
To add a new user, click on the “Add new user” or similar button. You will be prompted to enter the necessary information for the new user, including their first and last name, desired email address, and password. You can also choose to let the user set their own password during their first login.
Consider organizing users into logical groups based on their roles or departments within your organization. This allows for better management of user access and facilitates collaboration. In the admin console, you can create groups and assign users to these groups accordingly.
Once you have filled in the required information, click on the “Add” or “Save” button to create the new user account. The user will receive an email with instructions to access their account and set up their Google Workspace profile.
If you need to add multiple users at once, you can do so by importing a CSV file containing the user details. This is especially useful for larger organizations or when adding a batch of new users. In the admin console, navigate to the “Users” section and select the “Import users” option. Follow the instructions provided to upload the CSV file and add the users to your account.
After adding users to your account, it’s important to assign the appropriate roles and permissions to each user. Determine the level of access and privileges required for each user based on their role within the organization. In the admin console, you can assign roles, such as super admin, admin, or user, to individual users or groups.
Take some time to review and adjust the default settings for each user, such as email routing, email aliases, and other preferences. This ensures that each user’s account is tailored to their specific needs within the organization.
Remember, as an administrator, you have full control over the user accounts and their settings. You can manage user passwords, enable two-factor authentication, and customize various security and access settings in the admin console.
By adding users to your Google Workspace account, you are empowering individuals in your organization to effectively collaborate and utilize the suite of tools available. Enjoy the seamless integration of user accounts and continue to enhance productivity and collaboration within your organization.
Step 7: Configure security settings
Ensuring the security of your Google Workspace account is crucial to protect your organization’s data and maintain privacy. Configuring the appropriate security settings will help safeguard your information and provide a secure environment for collaboration. Let’s explore the process of configuring security settings in Google Workspace.
In the admin console, navigate to the “Security” section. Here, you will find various settings and options to enhance the security of your Google Workspace account.
One of the first security measures you should enable is two-factor authentication (2FA). 2FA adds an extra layer of security by requiring users to provide a second form of verification, such as a unique code sent to their mobile device, in addition to their password. In the security settings, look for the option to enable 2FA and follow the instructions to set it up for all users within your organization.
Additionally, you can configure advanced security settings to protect against phishing attempts and other security threats. Google Workspace offers features such as phishing and malware protection, email encryption, and data loss prevention. Review the available options within the security settings and enable the ones that best suit your organization’s needs.
Consider implementing access controls to manage user permissions and restrict access to sensitive information. In the admin console, you can define access levels and assign appropriate roles and permissions to each user. This ensures that only authorized individuals can access confidential data or perform specific actions within Google Workspace.
Regularly reviewing and managing app permissions is essential for maintaining security. In the admin console, you can view and control the access that third-party apps have to your Google Workspace data. Remove any unnecessary or unauthorized app permissions to minimize potential vulnerabilities.
Furthermore, Google Workspace provides activity controls and audit logs to monitor user actions and track any suspicious activity. Enable these features and regularly review the logs to identify any security incidents or potential breaches. You can set up alerts and notifications for specific actions or events to stay proactive in protecting your organization’s data.
Educating your users about security best practices is also crucial. Train your employees on topics such as creating strong passwords, recognizing phishing attempts, and safely sharing and handling sensitive information. Foster a culture of security awareness within your organization.
Lastly, stay informed about the latest security updates and advancements from Google Workspace. Regularly check for any security notifications or advisories from Google and promptly apply the recommended actions or updates to stay protected against emerging threats.
By configuring the security settings in Google Workspace, you are taking proactive steps to protect your organization’s data and ensure a secure collaboration environment. Continually review and update your security measures to adapt to evolving threats and maintain a robust security posture.
Step 8: Set up communication tools
Effective communication is crucial for any organization’s success, and Google Workspace provides a suite of powerful communication tools to facilitate collaboration and streamline communication channels. In this step, we will guide you through the process of setting up and configuring the communication tools offered by Google Workspace.
The primary communication tool within Google Workspace is Gmail. Start by customizing your organization’s Gmail settings to align with your preferences and needs. In the admin console, navigate to the “Apps” section and select “Google Workspace.” From there, click on “Gmail” and explore the different settings and configurations available.
You can set up email routing rules, create filters to organize incoming emails, and configure signatures for consistent branding across your organization’s email communications. Additionally, you can enable features like automatic replies and out-of-office messages to provide timely responses to incoming emails.
An essential aspect of communication within Google Workspace is Google Meet, a video conferencing tool. To set up Google Meet, go to the admin console and navigate to the “Apps” section followed by “Google Workspace.” From there, select “Meet” and explore the available settings.
You can customize video and audio settings, enable screen sharing, and control participant permissions. Take some time to familiarize yourself with these settings to ensure seamless online meetings and collaboration.
Another powerful communication tool offered by Google Workspace is Google Chat. Google Chat provides real-time messaging and collaboration, allowing team members to communicate efficiently. In the admin console, navigate to the “Apps” section and select “Chat” to configure the settings and permissions for this tool.
Customize notification preferences, set up chat rooms or channels for different teams or projects, and explore the integration options with other apps within Google Workspace. Google Chat can streamline communication and enhance collaboration within your organization.
Google Calendar is another valuable communication tool that enables effective scheduling and meeting coordination. In the admin console, go to the “Apps” section and select “Google Workspace,” followed by “Calendar.” Adjust your organization’s calendar settings, such as event visibility and sharing permissions, to align with your collaboration needs.
Lastly, Google Workspace offers the ability to create and collaborate on documents, spreadsheets, and presentations using Google Docs, Sheets, and Slides. These tools promote real-time collaboration and streamline communication among team members. Explore the available settings within the admin console to enhance your organization’s collaboration and document creation processes.
As you set up and configure the communication tools within Google Workspace, consider conducting training sessions or providing resources to educate your team members on how to effectively utilize these tools. Encourage the adoption of these tools to enhance communication, streamline workflows, and increase productivity.
By setting up the communication tools provided by Google Workspace, you are creating a centralized and efficient communication platform for your organization. Enjoy the seamless collaboration and productive communication facilitated by these tools as you continue to leverage the power of Google Workspace.
Step 9: Collaborate using Google Workspace apps
With Google Workspace, collaboration becomes effortless and efficient, thanks to its suite of powerful apps designed for real-time collaboration and productivity. In this step, we will explore how you can collaborate effectively using the various Google Workspace apps.
Google Docs is a collaborative word processing tool that allows multiple users to work on the same document simultaneously. Create a new document within Google Docs and invite team members to collaborate by sharing the document with them. You can track changes, leave comments, and communicate with collaborators in real-time. Leverage the integrated chat feature to discuss ideas and make edits collaboratively.
Similarly, Google Sheets offers seamless collaboration on spreadsheets. Multiple team members can work on the same spreadsheet, updating and analyzing data in real-time. You can assign tasks, add comments, and utilize formulas and functions to automate calculations. With the ability to set permissions and access controls, you can ensure that sensitive data remains secure.
Google Slides is a powerful tool for creating and presenting slide decks collaboratively. Team members can work together to create visually appealing presentations, add comments, and suggest edits. With real-time collaboration, you can fine-tune your presentation as a team, delivering a polished and cohesive final product.
Google Drive provides a centralized and secure platform for storing and sharing files. You can create folders and organize files, granting access permissions to specific individuals or groups. Collaboration is simplified with the ability to share files and folders, allowing team members to edit and provide feedback in real-time. Google Drive also offers version control, ensuring that you always have access to previous versions of documents.
Utilize Google Calendar to schedule and organize meetings, appointments, and events. With the ability to share calendars with team members, you can ensure everyone is on the same page regarding schedules and availability. Collaboratively create and update events, set reminders, and integrate with other Google Workspace apps for seamless communication and planning.
Google Meet, Google’s video conferencing tool, enables real-time collaboration and communication. Schedule video meetings, invite participants, and conduct discussions or presentations. With features like screen sharing, chat, and recording, you can ensure effective collaboration even when team members are geographically dispersed.
Additionally, Google Workspace offers integrations with other popular apps and services, allowing you to streamline your workflows and collaborate seamlessly. Integration with tools like Trello, Asana, and Slack helps to bring your project management and communication together within the Google Workspace environment.
Encourage your team members to fully utilize the collaborative features of Google Workspace. Promote a culture of communication and collaboration, emphasizing the benefits of real-time editing, instant feedback, and streamlined workflows. Leverage the full potential of these collaborative tools to enhance productivity, creativity, and innovation within your organization.
By utilizing the collaborative capabilities offered by Google Workspace apps, you can foster a collaborative work environment where ideas can be shared, refined, and turned into action. Enjoy the seamless collaboration facilitated by Google Workspace apps as you continue to work efficiently towards your organizational goals.
Conclusion
Congratulations! You have successfully navigated through the steps to create a Google Workspace account and explored the various features and tools it offers. By following these steps, you have set yourself and your organization up for enhanced communication, collaboration, and productivity.
From visiting the Google Workspace website and selecting a plan to customizing your domain, adding users, and configuring security settings, you have laid the foundation for a seamless and efficient workflow within Google Workspace.
Through the collaboration tools provided by Google Workspace, such as Gmail, Google Meet, Google Chat, Google Drive, and Google Calendar, you can now streamline communication, promote real-time collaboration, and manage projects effectively.
Remember to regularly review and update your Google Workspace settings to adapt to the changing needs of your organization. Stay informed about new features and updates from Google Workspace, and continue to explore the full potential of the platform to maximize your organization’s productivity.
As you embark on this Google Workspace journey, encourage your team members to explore and engage with the various tools and features. Promote a culture of collaboration, emphasizing the benefits of real-time editing, seamless file sharing, and efficient communication.
Utilize the robust security features provided by Google Workspace to protect your organization’s data and maintain privacy. Implement best practices for security and educate your team members on staying vigilant against potential threats.
Finally, embrace the power of Google Workspace to collaborate, communicate, and innovate. Leverage the integrated suite of apps to streamline your workflows, increase productivity, and drive your organization towards success.
With Google Workspace as your foundation, you have a powerful toolset at your disposal to propel your organization forward. So, dive in, explore, and discover all the possibilities that Google Workspace has to offer!