Introduction
Welcome to our guide on how to add a new email to Google Workspace! As businesses grow and team communication becomes more essential, having a professional email address becomes a necessity. Google Workspace, formerly known as G Suite, offers a powerful suite of productivity tools, including Gmail for Business. In this tutorial, we will walk you through the step-by-step process of adding a new email address to your Google Workspace account.
Whether you’re onboarding a new employee or creating a separate email address for a specific department, Google Workspace makes it easy to manage email accounts for your organization. Having a dedicated email address will not only enhance your brand’s professionalism but also streamline internal communication and collaboration among team members.
By adding a new email to Google Workspace, you’ll be able to enjoy features such as custom email domains, larger mailbox storage, advanced security settings, and access to other Google Workspace apps like Google Drive, Google Docs, and Google Calendar.
Throughout this guide, we will take you through the process step by step, ensuring that you have all the necessary information and guidance to add a new email to your Google Workspace account. So, let’s get started and set up your new email address on Google Workspace!
Step 1: Accessing the Google Workspace Admin Console
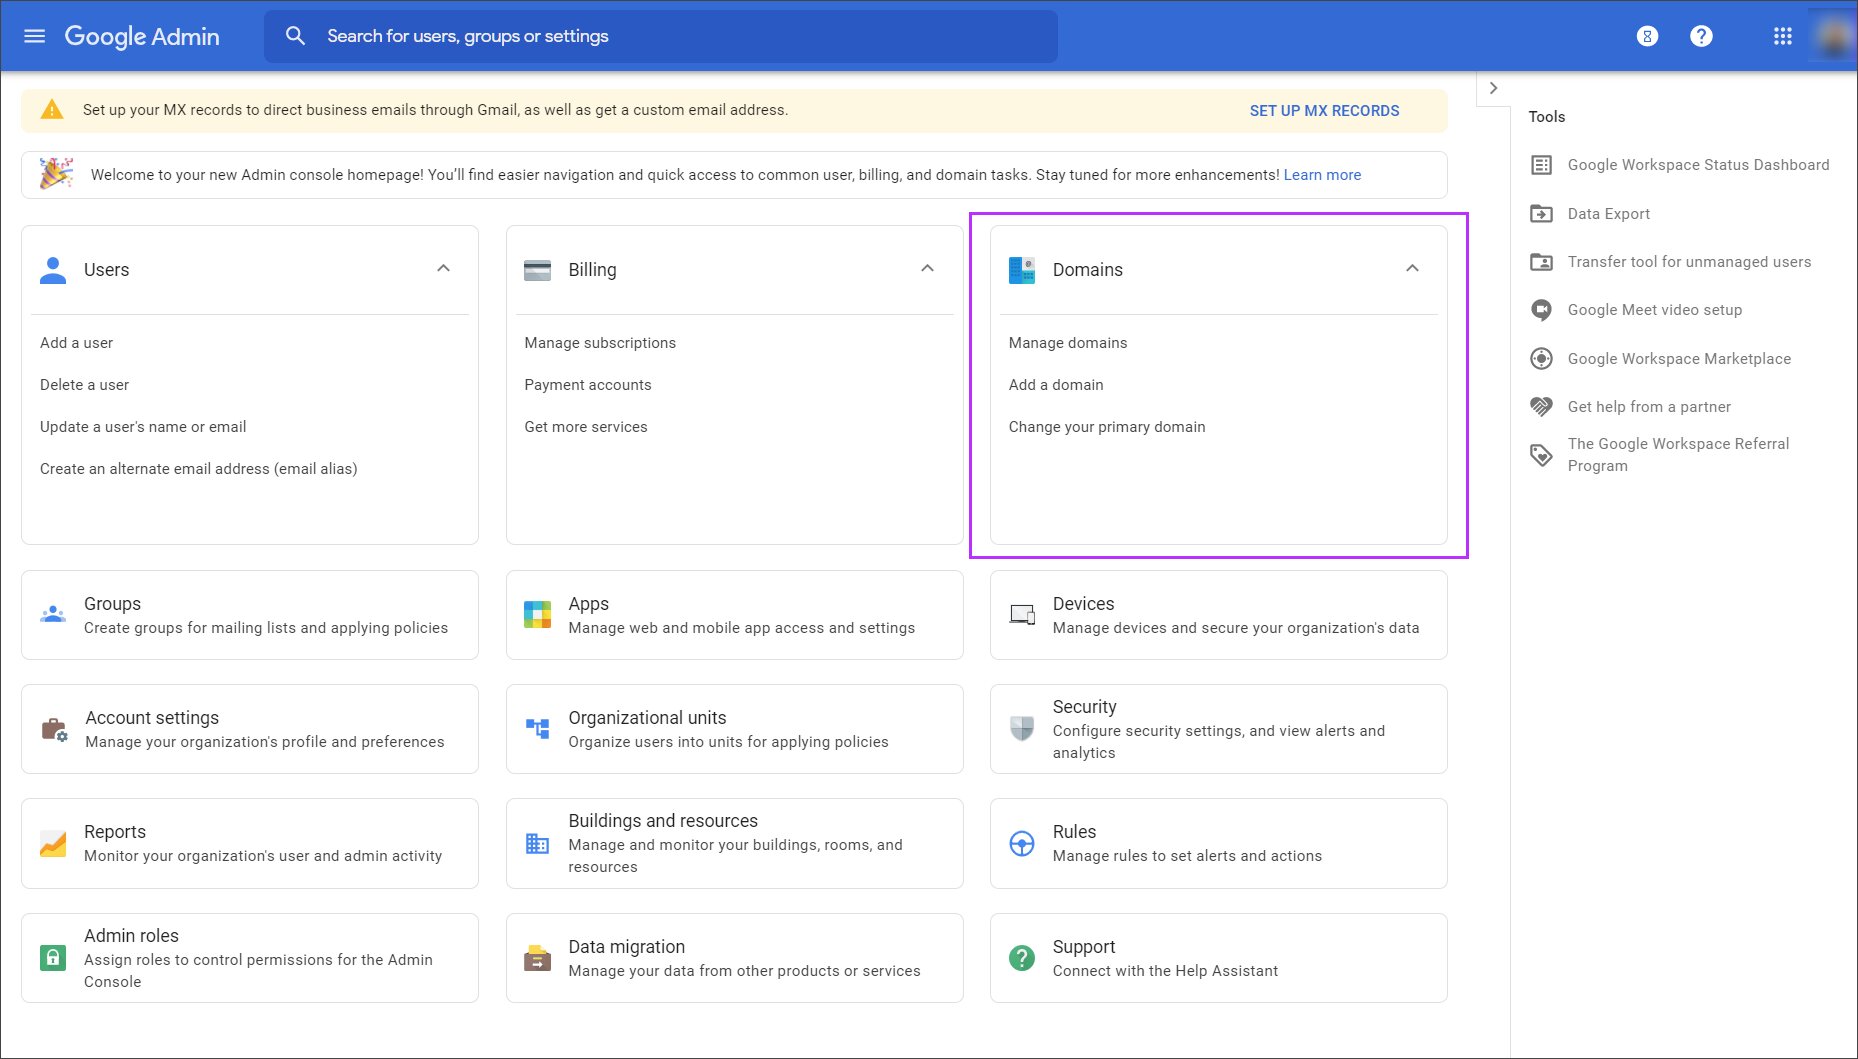
The first step to adding a new email to Google Workspace is to access the Google Workspace Admin Console. This is where you can manage all aspects of your organization’s Google Workspace settings.
To begin, open your web browser and go to https://admin.google.com/. Make sure you are signed in with your Google Workspace admin account credentials.
Once you have reached the Google Workspace Admin Console, you will see a dashboard displaying various settings and options. This is the central hub from which you can control user accounts, email settings, security configurations, and more.
If you are having trouble accessing the Admin Console, double-check that you are using the correct login credentials. Only users with admin privileges will have access to the Admin Console.
It’s worth noting that if you are using multiple Google accounts, ensure that you are signed in with the admin account associated with your Google Workspace domain. This will ensure that you can access and manage your organization’s email settings.
Now that you have successfully accessed the Google Workspace Admin Console, you’re ready to move on to the next step!
Step 2: Navigating to the “Users” Section
Once you are in the Google Workspace Admin Console, the next step is to navigate to the “Users” section. This is where you can manage user accounts and add new email addresses.
To find the “Users” section, look for the menu on the left-hand side of the Admin Console. It is usually represented by an icon of a person or a group of people. Click on this icon to expand the menu and reveal the available options.
Scroll down the menu until you locate the “Users” section. It may be located under a category called “Directory” or “Account”. Once you find it, click on “Users” to access the user management page.
On the “Users” page, you will see a list of all the user accounts associated with your Google Workspace domain. This includes both active and suspended accounts. From here, you can add, edit, and manage user accounts as needed.
If you have a large number of user accounts, you may need to use the search or filter options to locate a specific user. This can be particularly useful when managing a large organization with numerous employees.
Now that you have successfully navigated to the “Users” section, you are ready to proceed to the next step and add a new user and email address to your Google Workspace domain.
Step 3: Adding a New User
With the “Users” section open in the Google Workspace Admin Console, you are now ready to add a new user and create a new email address for them.
To add a new user, look for the “Add +” or “Create User” button on the user management page. Click on this button to initiate the user creation process.
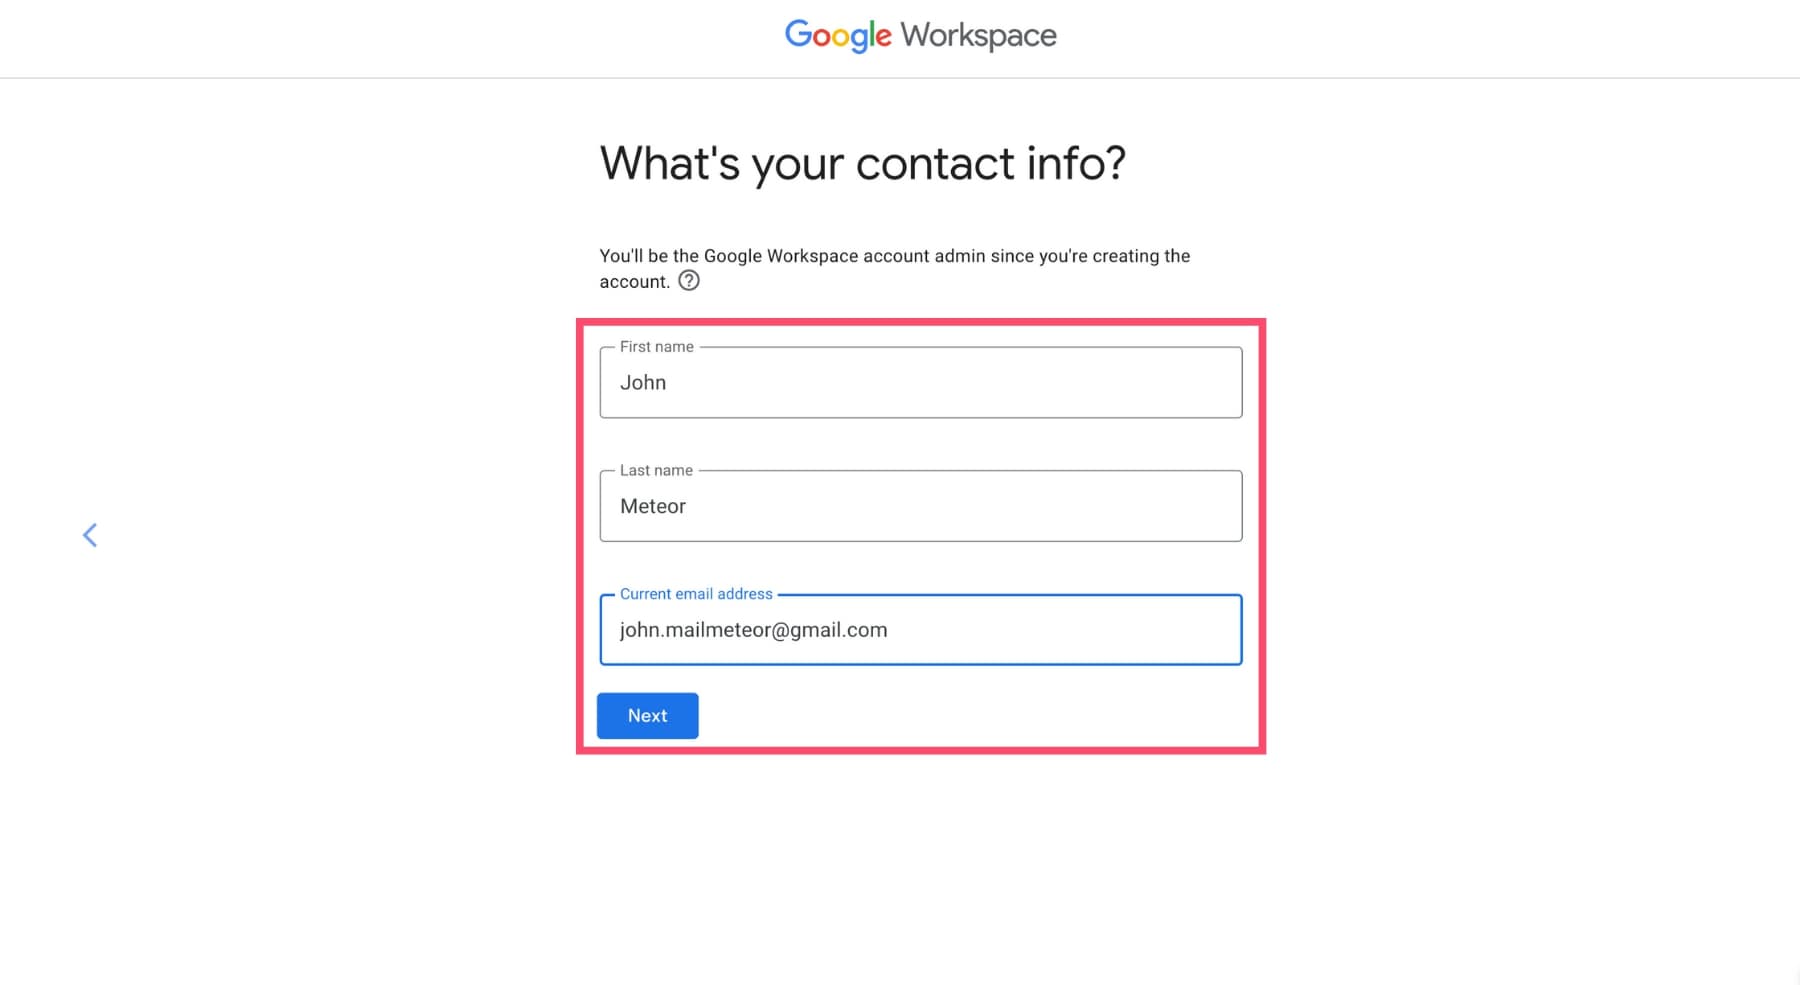
A form will appear where you can enter the details for the new user. Start by providing their first name, last name, and username. The username will serve as their email address, so choose a username that is appropriate for the user and aligns with your organization’s email naming conventions.
Next, set a temporary password for the new user. You can choose to let the user change their password upon their first login or provide them with a temporary password that they can change later. It is important to ensure that the password meets your organization’s security requirements.
If you have multiple domains associated with your Google Workspace account, select the appropriate domain from the dropdown menu.
In some cases, you may want to assign the new user to a specific organizational unit (OU). OUs are helpful for organizing and managing different groups within your organization. If you have OUs set up, select the appropriate one for the new user.
Lastly, you can choose to enable or disable certain features for the new user. For example, you can enable Google Meet, Google Chat, or Google Groups for the user.
Once you have filled in all the necessary information, review it to ensure accuracy. Then, click on the “Add User” button to create the new user and their email address.
Congratulations! You have successfully added a new user to your Google Workspace account. In the next step, we will guide you through the process of setting up the new email address.
Step 4: Setting Up the New Email Address
Now that you have added a new user to your Google Workspace account, it is time to set up their new email address. The process involves configuring email settings and granting the user access to their inbox.
To begin, go back to the user management page in the Google Workspace Admin Console. Locate the user you just added in the list of users.
Click on the user’s name or email address to access their account settings. This will open a page where you can customize various aspects of the user’s account, including their email settings.
In the user’s account settings, navigate to the “Email” section. This is where you can configure the user’s email address and mailbox settings.
Start by clicking on the “Edit” or “Change” button next to the user’s current email address. A popup window or form will appear, allowing you to modify the email address.
Enter the desired email address for the user. Remember to follow your organization’s email address naming conventions and ensure that the email address is available and not already in use.
Once you have entered the new email address, click on the “Save” or “Update” button to confirm the changes.
At this point, the new email address is set up, and the user can start using it to send and receive emails. They can access their email account by visiting https://mail.google.com and signing in with their Google Workspace credentials.
It’s important to inform the user about their new email address and provide them with any necessary instructions for accessing and using their mailbox. Consider sending them an email or having a documented onboarding process to guide them through the setup.
You have successfully set up the new email address for the user. In the next step, we will discuss how to assign user roles and permissions within Google Workspace.
Step 5: Assigning User Roles and Permissions
Once you have added a new user and set up their email address in Google Workspace, it is important to assign appropriate user roles and permissions. User roles determine what actions a user can perform and what features they can access within the Google Workspace environment.
To assign user roles and permissions, go back to the user management page in the Google Workspace Admin Console. Locate the user you want to assign roles to.
Click on the user’s name or email address to access their account settings. Look for the “Roles” or “Permissions” section, typically located in the user’s account details.
In this section, you will see a list of available roles or permissions that you can assign to the user. Google Workspace provides several predefined roles, such as Super Admin, Admin, User, and more. Choose the role that best suits the user’s responsibilities and access needs.
Alternatively, you can create custom roles by clicking on the “Create a custom role” or similar option. This allows you to define specific permissions and restrictions for the user.
Once you have selected the appropriate role or created a custom role, click on the “Save” or “Update” button to apply the changes.
It’s recommended to assign roles and permissions based on the user’s job function, ensuring they have the necessary access to perform their duties while maintaining the security and integrity of your Google Workspace environment.
Keep in mind that assigning Admin roles should be done with caution, as these roles have extensive control and access capabilities. Only grant Admin roles to trusted individuals who require administrative privileges.
By assigning user roles and permissions, you can ensure that users have the right level of access to carry out their tasks within Google Workspace. In the next step, we will explore how to customize additional settings to fit your organization’s needs.
Step 6: Customizing Additional Settings
After adding a new user, setting up their email address, and assigning user roles and permissions, you may want to customize additional settings in Google Workspace to meet your organization’s specific needs. These settings allow you to tailor the user experience and enhance security within your Google Workspace environment.
To access the additional settings, go back to the user management page in the Google Workspace Admin Console and locate the user you want to customize settings for.
Click on the user’s name or email address to access their account settings. Look for the “Additional settings” or “Customize” section, typically located in the user’s account details.
In this section, you will find various options and configurations that you can modify to fit your organization’s requirements.
Here are a few commonly customized settings:
- Aliases: You can add email aliases to a user’s account. Aliases are alternate email addresses that deliver messages to the user’s primary mailbox.
- Signature: Customize the email signature that appears at the bottom of a user’s outgoing messages, representing your organization.
- Email routing: Configure how incoming emails are routed and delivered within your organization.
- Language and time zone: Set the preferred language and time zone for a user’s account.
- Profile picture: Allow users to upload a profile picture that will be displayed in their Google Workspace applications.
Depending on your organization’s needs, there may be additional settings available. Take the time to explore and customize these settings to align Google Workspace with your workflow and preferences.
It’s important to note that some settings may require specific admin privileges or may have certain restrictions in place. Ensure that you have the necessary permissions to modify these settings.
By customizing additional settings, you can personalize the user experience in Google Workspace and optimize it for your organization’s requirements. In the next step, we will discuss how to send account details and instructions to the user.
Step 7: Sending Account Details and Instructions to the User
After adding a new user, setting up their email address, and configuring the necessary settings in Google Workspace, it is essential to send the account details and instructions to the user. This step ensures that the user is informed about their new email account and can start using it promptly.
To send the account details and instructions, you have several options:
- Email: You can simply send an email to the user’s existing email address, providing them with the necessary account details, including their new email address, temporary password (if applicable), and any specific instructions they need to follow to access their account.
- Documented Onboarding Process: If your organization has a standardized onboarding process, consider documenting the steps for new users to access and set up their email accounts. This can be in the form of a document or a knowledge base article that includes screenshots and detailed instructions.
- One-on-One Training: For users who may need more guidance or have specific questions, you may consider scheduling a one-on-one training session to walk them through the setup process and answer any queries they may have.
When communicating with the user, be sure to provide clear instructions on how to access their email account, change their temporary password (if applicable), and familiarize themselves with the features and functionality of Google Workspace.
Consider including helpful resources and links to Google’s support documentation or training materials to assist the user in getting started with Google Workspace.
Timely communication and providing comprehensive instructions are key to ensuring a smooth transition for the user and maximizing their productivity with their new email account in Google Workspace.
By following Step 7 and sending account details and instructions to the user, you can finalize the onboarding process and ensure that the user is ready to utilize their new email account effectively.
Conclusion
Congratulations! You have successfully learned how to add a new email to Google Workspace. By following the step-by-step process outlined in this guide, you can seamlessly onboard new users and provide them with professional email addresses that are integrated with the powerful features of Google Workspace.
Throughout this tutorial, we covered the essential steps involved in adding a new email to Google Workspace, including accessing the Google Workspace Admin Console, navigating to the “Users” section, adding a new user, setting up the new email address, assigning user roles and permissions, customizing additional settings, and sending account details and instructions to the user.
Remember, a well-organized and customized email system can greatly enhance communication and collaboration within your organization. With Google Workspace, you have access to a robust suite of tools that can streamline your workflows and improve productivity.
By harnessing the power of Google Workspace, you can efficiently manage email accounts for your organization, utilize advanced security settings, and enjoy seamless integration with other Google apps and services.
We hope that this guide has been helpful in assisting you with adding a new email to Google Workspace. Feel free to refer back to this tutorial whenever you need to onboard new users or make changes to your email setup. Remember to stay proactive in managing your Google Workspace account and regularly review and update user roles, permissions, and settings to meet the evolving needs of your organization.
Thank you for following this guide, and we wish you all the best in managing your Google Workspace email accounts!