Introduction
With the rise of digital communication, email has become an essential tool for businesses and individuals alike. Whether you’re sending updates to your clients, distributing newsletters to your subscribers, or reaching out to a large group of people for a special announcement, being able to send mass emails efficiently is crucial.
Gmail, one of the most popular email providers, offers a user-friendly interface and a host of features that make it a convenient choice for managing your email communications. While Gmail has a limit on the number of recipients you can add to an email, there are ways to bypass this restriction and send mass emails through Gmail.
In this article, we will guide you through the process of sending mass emails using Gmail. We’ll walk you through the necessary steps to enable the Gmail API, set up your Google Cloud project, create credentials, download and install the client library, prepare your mailing list, create your email template, write the code, and finally, test and execute it.
Whether you’re a small business owner, a marketing professional, or simply someone who needs to send a large number of emails, this guide will provide you with the knowledge and tools to streamline your email communications and save valuable time.
So, let’s get started and learn how to send mass email on Gmail!
Getting Started
Before we dive into the process of sending mass emails on Gmail, there are a few preliminary steps you need to take. These steps will ensure that you have the necessary tools and permissions to perform the required tasks.
Here’s a quick overview of what you’ll need to do:
- Enable the Gmail API
- Set up your Google Cloud project
- Create credentials
- Download and install the client library
Let’s go through each step in detail:
Step 1: Enable the Gmail API
In order to access the Gmail API, you’ll need to enable it in the Google Cloud Platform Console. This will allow your application to send and manage emails on your behalf.
To enable the Gmail API, you’ll need to:
- Go to the Google Cloud Platform Console (console.cloud.google.com).
- Create a new project or select an existing one from the dropdown menu at the top.
- In the sidebar, click on “APIs & Services” and then “Library”.
- Search for “Gmail API” and click on it.
- Click on the “Enable” button.
Once the Gmail API is enabled, you’ll be able to use it in your project.
Step 2: Set up your Google Cloud project
In order to access the Gmail API and use it in your project, you’ll need to set up a Google Cloud project and obtain the necessary credentials.
To set up your Google Cloud project, follow these steps:
- Go back to the Google Cloud Platform Console (console.cloud.google.com).
- Click on the project drop-down and select the project you created or chose in the previous step.
- In the sidebar, click on “APIs & Services” and then “Credentials”.
- Click on the “Create credentials” button and select “OAuth client ID”.
- Follow the prompts to configure your OAuth consent screen.
- Provide a name for your OAuth client ID and choose “Web application” as the application type.
- Enter the authorized JavaScript origins and redirect URIs for your application.
- Once you’ve completed the setup, you’ll be provided with a client ID and a client secret.
Step 3: Create credentials
With your Google Cloud project set up, you’ll now need to create the credentials that will allow your code to access the Gmail API.
To create credentials, follow these steps:
- In the Google Cloud Platform Console, go to “APIs & Services” and then “Credentials”.
- Click on “Create credentials” and select “Service account”.
- Enter a name for the service account and assign it a role (e.g., Project > Owner) to grant access to the necessary resources.
- Click on “Continue” and then “Done”.
- Your service account will be created, and you’ll be redirected to the “Credentials” page.
- Locate the newly created service account and click on the pencil icon to edit it.
- In the “Keys” section, click on “Add Key” and select “JSON” as the key type.
- A JSON file containing your credentials will be downloaded to your device.
Step 4: Download and install the client library
Now that you have your credentials, you’ll need to download and install the necessary client library to interact with the Gmail API.
To download and install the client library, follow these steps:
- Visit the Google API Client Library for Python GitHub page (github.com/googleapis/google-api-python-client).
- Scroll down to the installation section and follow the instructions based on your operating system.
- Once the library is installed, you’ll be ready to start writing your code.
Now that you have completed the initial setup steps, you’re ready to proceed to the next section and start preparing your mailing list.
Step 1: Enable the Gmail API
The first step in sending mass emails on Gmail is to enable the Gmail API. Enabling the API allows your application to access Gmail functionalities programmatically, making it possible to manage and send emails on a larger scale.
Follow these steps to enable the Gmail API:
- Go to the Google Cloud Platform Console and log in with your Google account.
- Create a new project or select an existing one from the project dropdown at the top of the page.
- In the sidebar, click on “APIs & Services” and then select “Library”.
- Use the search bar to find “Gmail API”. Once you find it, click on it.
- On the Gmail API screen, click on the “Enable” button to enable the API for your project.
By completing these steps, you have successfully enabled the Gmail API for your project. This means your application is now authorized to access Gmail data and perform actions such as sending and managing emails.
Enabling the Gmail API provides your application with the necessary permissions to interact with your Gmail account. However, you still need to set up additional credentials to authenticate your application and access the API from your code.
With the Gmail API enabled, you’re now one step closer to sending mass emails on Gmail. The next step is to set up your Google Cloud project and create the necessary credentials.
Once you’ve completed all the necessary steps, you’ll be ready to start coding and sending mass emails through the Gmail API. Notes that the process of enabling the Gmail API only needs to be done once, and you can use the same API for multiple projects or applications.
Step 2: Set up your Google Cloud project
In order to access the Gmail API and utilize its functionalities, you need to set up a Google Cloud project and configure it accordingly. This project serves as the foundation for your application’s integration with the Gmail API.
Follow the steps below to set up your Google Cloud project:
- Open the Google Cloud Platform Console in your web browser.
- Select the desired project from the project dropdown menu at the top. If you don’t have an existing project, click on the “New Project” button to create one.
- In the sidebar, click on “APIs & Services” and then select “Credentials”.
- Click on the “Create credentials” button and choose the “OAuth client ID” option from the dropdown menu.
- If prompted, configure your OAuth consent screen by providing a name for your application and any other required information.
- Next, select the application type as “Web application” and enter the authorized JavaScript origins and redirect URIs for your project. These URIs specify the domains from which your application can access the Gmail API.
- After saving your credentials, you will be provided with a client ID and a client secret. These are unique identifiers for your application that are used for authentication.
With your Google Cloud project set up and credentials generated, you’re one step closer to sending mass emails through the Gmail API. The next step involves creating the necessary credentials to authenticate your application with the Gmail API.
The Google Cloud project allows you to manage and track the usage and resources associated with your application’s integration. It provides a centralized location for managing various aspects of your project, such as credentials, APIs, and billing.
By completing the setup of your Google Cloud project, you are now ready to proceed with the next step of creating the credentials required for accessing the Gmail API.
Take note that the setup process is a one-time task for each project. Once your project is set up, you can reuse it for multiple applications or projects that require integration with the Gmail API.
Step 3: Create credentials
Creating credentials is a crucial step in setting up the authentication process for accessing the Gmail API. These credentials will enable your application to securely interact with the API and perform operations on your Gmail account.
Follow the steps below to create the necessary credentials:
- Access the Google Cloud Platform Console and navigate to the “APIs & Services” section.
- Click on “Credentials” and then select “Service account”.
- Provide a name for your service account, which helps you identify it within your project.
- Assign a role to your service account to determine its level of access. For example, you can assign the “Project > Owner” role to grant full access to your project and the associated resources.
- Click on “Continue” and then “Done” to create your service account.
- Locate the newly created service account in the “Credentials” section and click on the pencil icon to edit it.
- In the “Keys” section, click on “Add Key” and choose the key type as “JSON”.
- A JSON file containing your credentials will be downloaded to your device. Make sure to keep this file in a secure location, as it provides the necessary authentication details for your application.
By creating these credentials, you have established a connection between your application and the Gmail API. The service account acts as a representative of your application, allowing it to access and manage your Gmail account on your behalf.
These credentials are unique to your service account and are used to authenticate your application when making requests to the Gmail API. With these credentials in place, you can proceed to the next step and install the necessary client library to interact with the Gmail API programmatically.
Note that the service account credentials are essential for ensuring the security and privacy of your Gmail account. Therefore, it is important to handle them with care and restrict access to authorized individuals or applications.
Once you have successfully created the required credentials, you are now ready to proceed with the next step of downloading and installing the client library to interact with the Gmail API.
Step 4: Download and install the client library
Once you have set up your Google Cloud project and obtained the necessary credentials, the next step is to download and install the client library for your chosen programming language. This library will provide the necessary tools and functions to integrate your application with the Gmail API.
Follow the steps below to download and install the client library:
- Visit the official repository for the Google API Client Library for Python (or the repository for your preferred programming language).
- Scroll down to the installation section to find the instructions specific to your operating system and programming language.
- Follow the provided instructions to install the necessary dependencies and set up the client library.
By installing the client library, you gain access to a collection of pre-built functions and methods that simplify the interaction with the Gmail API. These functions handle tasks such as authentication, message creation, and sending emails, allowing you to focus on the specific logic and implementation of your application.
Ensure that you have downloaded the correct version of the client library that matches your programming language and project setup. Following the installation instructions specific to your operating system will ensure a smooth setup and integration into your project.
Once the client library is successfully installed, you are ready to proceed with the next steps involved in sending mass emails on Gmail. These steps will involve preparing your mailing list, creating your email template, writing the code, and testing and executing it to send the emails.
Now that you have the client library installed, you can utilize its functionalities and leverage the power of the Gmail API to automate and streamline your email communication tasks.
With the client library in place, you are now equipped with the necessary tools to interact with the Gmail API programmatically. The next step is to prepare your mailing list and begin creating your email template to send out mass emails on Gmail.
Step 5: Prepare your mailing list
Before you can start sending mass emails on Gmail, you need to prepare your mailing list. Your mailing list is a collection of email addresses that will be recipients of your mass email campaign. This step involves gathering and organizing the email addresses of your intended recipients.
Follow these guidelines to prepare your mailing list:
- Identify your target audience: Determine the specific group of individuals or businesses that you want to reach out to with your mass email campaign. This could be your existing customers, potential leads, or subscribers to your newsletter.
- Collect email addresses: Gather the email addresses of your selected target audience. You may already have a list of email addresses from your existing customer database, website subscriptions, or other sources. Make sure to comply with privacy regulations when collecting and storing email addresses.
- Organize the mailing list: Create a spreadsheet or use a dedicated email marketing tool to organize your mailing list. Include fields such as first name, last name, email address, and any other relevant information that will help you personalize your mass emails.
- Segment your list (optional): Depending on your campaign objectives, you may want to segment your mailing list into different groups based on specific criteria such as demographics, interests, or purchase history. This allows you to tailor your email content and increase the relevance and effectiveness of your campaign.
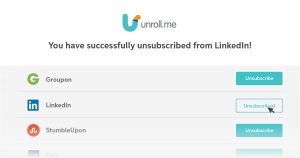
- Maintain data cleanliness: Regularly update and validate your mailing list to ensure accuracy and relevance. Remove any invalid or bounced email addresses and handle unsubscribe requests promptly.
Preparing your mailing list is a crucial step in ensuring the success of your mass email campaign. By identifying your target audience, collecting and organizing email addresses, and maintaining data cleanliness, you can effectively reach your recipients and deliver personalized content that resonates with them.
Once you have your mailing list ready, you can proceed to the next step of creating an email template to use in your mass email campaign on Gmail. This will allow you to design and customize the content that you will be sending to your recipients.
Note that it is essential to obtain proper consent and comply with privacy regulations when sending mass emails. Make sure to follow best practices and adhere to any legal requirements related to email marketing in your jurisdiction.
Step 6: Create your email template
Creating an email template is an important step in the process of sending mass emails on Gmail. An email template provides a consistent and professional layout for your emails, making it easier to convey your message to your recipients. It also allows you to save time by reusing the template for future email campaigns.
Here are some guidelines for creating an effective email template:
- Define your email’s purpose: Determine the goal of your email campaign. Are you promoting a product or service? Sharing important updates? Offering a limited-time promotion? Identifying the purpose of your email will help you structure and customize your template accordingly.
- Keep it simple and mobile-friendly: Most people read emails on their mobile devices, so it is crucial to design your email template to be responsive and easily readable on smaller screens. Keep the layout simple, avoid excessive images, and use clear fonts and colors.
- Add a header and footer: Include a header at the top of your email template with your company logo or branding to establish familiarity. Add a footer at the bottom, containing your contact information, social media links, and an unsubscribe link to comply with email marketing regulations.
- Personalize your content: Use merge tags or dynamic content to personalize your emails, addressing recipients by their names or including other relevant details. Personalization helps create a more engaging and relevant experience for your recipients.
- Create a clear call-to-action (CTA): Make sure to include a prominent and eye-catching CTA that clearly conveys what action you want the recipient to take. Whether it’s a button or a text link, the CTA should be compelling and encourage recipients to click through to your desired destination.
- Include relevant visuals: Incorporate images or graphics that enhance your message and capture the attention of your recipients. However, be mindful of the file size to ensure fast loading times and prevent emails from being blocked by spam filters.
- Test your template: Before sending the mass email, thoroughly test your template to ensure it displays correctly across different email clients and devices. Check for any broken links, missing images, or formatting issues that may affect the overall user experience.
By creating a well-designed and visually appealing email template, you can effectively convey your message, engage your audience, and encourage them to take action.
Now that you have your email template ready, the next step is to write the code that will utilize the Gmail API to send your mass emails. This code will allow you to automate the process and send personalized emails to your entire mailing list without manually composing and sending each email individually.
When creating your email template, remember to align your design and content with your brand’s visual identity and tone of voice. Consistency in branding helps build trust and recognition with your recipients.
Step 7: Write the code to send mass email on Gmail
Writing the code to send mass emails on Gmail involves utilizing the Gmail API and incorporating it into your application. This step allows you to automate the process of sending personalized emails to multiple recipients from your mailing list. Depending on your programming language of choice, the code implementation may differ, but the principles remain largely the same.
Here are the key steps involved in writing the code:
- Install the necessary libraries: Use your programming language’s package manager to install the required libraries for interacting with the Gmail API. For example, in Python, you can use the ‘google-api-python-client’ library.
- Import the necessary modules: In your code, import the necessary modules and functions to handle authentication, message creation, and sending emails using the Gmail API.
- Authenticate your application: Use the credentials you obtained earlier to authenticate your application with the Gmail API. This establishes a secure connection between your application and Gmail.
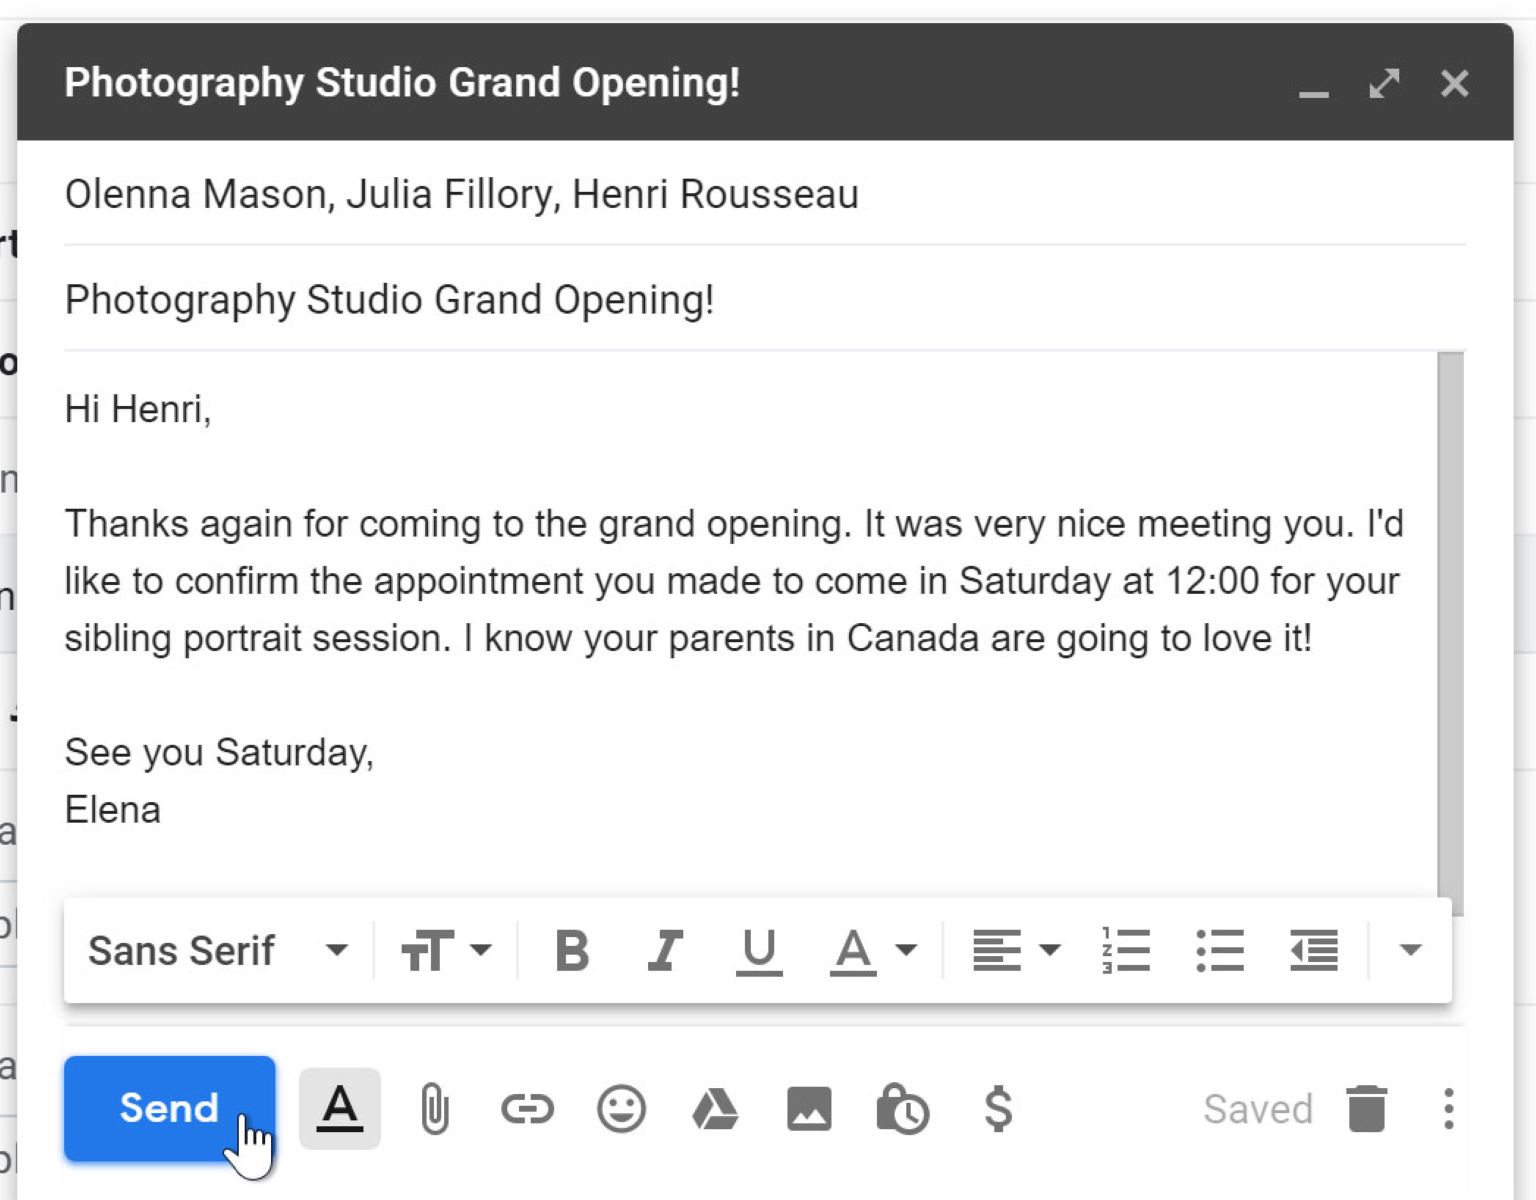
- Create the email message: Use the provided functions to create the email message. Specify the recipient, sender, subject, and content of the email. You can also add attachments or customize the formatting as required.
- Send the email: Invoke the function to send the email using the Gmail API. This will use the credentials and the created message to send the email to each recipient in your mailing list.
- Handle errors and exceptions: Implement error handling to ensure robustness in case of any issues during the sending process. This includes handling authentication errors, network connectivity issues, or any other relevant exceptions that might occur.
- Iterate through your mailing list: Depending on your programming language, you may need to iterate through your mailing list, sending the email to each recipient one by one. This allows you to personalize the content or subject line for each recipient if desired.
Make sure to refer to the official documentation and resources provided by Google for your chosen programming language. They will provide detailed instructions, code samples, and best practices to help you successfully implement the functionality of sending mass emails on Gmail.
Writing the code to send mass emails on Gmail gives you the power to automate your email communication process, saving time and effort while delivering personalized messages to your recipients.
With your code now in place, you’re ready to move to the next step: testing and executing the code to ensure it functions as expected.
Note that the code implementation may vary depending on the specific requirements and features you want to integrate with your application. Take the time to understand the Gmail API documentation and tailor your code to align with your needs.
Step 8: Test and execute the code
Once you have written the code to send mass emails on Gmail, it’s important to thoroughly test your code to ensure its functionality and performance. Testing helps identify any bugs or errors in your code and ensures that your mass email campaign will run smoothly when executed.
Here are the key steps for testing and executing your code:
- Create a test mailing list: Before sending the mass emails to your actual recipients, create a test mailing list with a few email addresses. This will allow you to send test emails without disturbing your real mailing list.
- Execute the code in a test environment: Set up a test environment to run your code. Use a smaller subset of your mailing list and execute the code to send emails to these test recipients. Monitor the process closely and make sure the code executes without errors.
- Validate the email delivery: Check the email delivery for each test recipient. Verify that the emails are successfully sent to the inbox, and there are no issues with the formatting or attachments. Ensure that personalization, if implemented, is correctly applied to each email.
- Review the logs and error handling: Inspect the logs and error handling mechanism in your code. Validate that error messages are being logged appropriately, and error scenarios are handled gracefully. This will help you identify and resolve any potential issues that may arise during the actual execution of the code.
- Perform load testing (optional): If you anticipate a large volume of emails being sent, consider performing load testing to assess the performance and scalability of your code. This involves simulating a high number of email sends and monitoring the behavior of your code under such conditions.
- Make any necessary adjustments: Based on the feedback from your testing phase, make any necessary adjustments or improvements to your code. Address any bugs, optimize performance, or refine the email template as needed.
- Execute the code in the production environment: Once you are satisfied with the results from your testing phase, it’s time to execute the code in your production environment. Use your actual mailing list and ensure that you have made any necessary configurations for scaling and reliability.
Testing and executing your code allows you to identify and resolve any potential issues before launching your mass email campaign. It ensures that your emails are delivered successfully, personalized as intended, and meet the expectations of your recipients.
By following a systematic testing approach and monitoring the execution of your code, you can ensure a smooth and effective delivery of your mass emails.
Once you have successfully tested and executed your code in the production environment, you can sit back and let the code run its course, sending out your mass emails on Gmail to your targeted recipients.
Remember, continuous monitoring and periodic testing of your code and email campaigns will help you maintain the efficiency and effectiveness of your email communication strategy over time. Keep apprised of best practices and updates to the Gmail API to maximize the impact of your mass email campaigns.
Conclusion
Effective communication through email is essential for businesses and individuals alike. Sending mass emails on Gmail can help you scale your communication efforts, reach a larger audience, and streamline your email campaigns. By following the steps outlined in this guide, you have learned how to send mass emails on Gmail using the Gmail API.
Throughout the process, we covered crucial steps such as enabling the Gmail API, setting up your Google Cloud project, creating credentials, downloading and installing the client library, preparing your mailing list, creating an email template, writing the code, and testing and executing the code. These steps provide you with the necessary foundation to automate and optimize your email communication process.
Remember to always follow best practices when it comes to email marketing, such as obtaining proper consent and complying with relevant regulations. Personalization, responsiveness, and clear calls-to-action can significantly increase engagement and response rates for your mass email campaigns.
As you execute your mass email campaigns, keep track of the results and metrics to evaluate the effectiveness of your campaigns. Analyze open rates, click-through rates, and conversions to refine your approach and improve future campaigns. Continuously iterate and optimize your email content, subject lines, and sending strategies to achieve better results.
The ability to send mass emails on Gmail using the Gmail API can save you time, provide scalability, and enhance the impact of your email communication efforts. Whether you’re a business owner, marketer, or an individual sending updates or newsletters, leveraging the Gmail API can help you streamline and optimize your email campaigns.
Now that you have a solid understanding of the process, it’s time to put it into practice and start sending your own mass emails on Gmail. Embrace the power of automation, personalization, and efficient email communication to drive engagement and achieve your desired outcomes.