Introduction
Have you ever found yourself in a situation where you needed to send an email to multiple recipients individually? Whether you are organizing a business event, sending personalized invitations, or simply reaching out to a group of friends, it is essential to ensure that each recipient receives a customized email tailored to their specific needs.
Sending a mass email with a long list of recipients in the “To” or “CC” field may seem like the easiest solution. However, this approach has a significant drawback – it compromises the privacy of your recipients. When you send an email to multiple recipients in a visible group, each person can see the email addresses of everyone else. This not only raises privacy concerns but also gives the impression that the email was a generic message sent to a large group without any personal touch.
To overcome these challenges, there is a straightforward solution: sending an email to multiple recipients individually. This method allows you to maintain the privacy of each recipient’s email address while customizing the content to make it more personal and engaging. In this article, we will guide you through the steps to achieve this in a simple and efficient manner.
Whether you are using a desktop email client like Outlook or Thunderbird, or a web-based email service such as Gmail or Yahoo Mail, the principles remain the same. By following a few steps outlined in this guide, you will be able to send emails to multiple recipients individually, ensuring that each person feels valued and that their privacy is respected.
So, if you are ready to learn how to send an email to multiple recipients individually, let’s dive into the step-by-step process. Start composing your new email, and we will walk you through the remaining steps to ensure that your emails stand out in the recipients’ inboxes.
Step 1: Compose a new email
The first step in sending an email to multiple recipients individually is to compose a new email. Open your email client or log in to your web-based email service and click on the “Compose” or “New Email” button. This will open a blank email template where you can start crafting your message.
Ensure that you have a clear understanding of the purpose and content of your email before proceeding. Consider the tone, style, and overall message you wish to convey to each recipient. By planning ahead, you can save time and ensure that your emails are relevant and effective.
Start by filling in the basic information of your email, such as the subject line and email body. The subject line should be concise but informative, giving the recipient an idea of what the email is about. Avoid using generic subject lines that may be mistaken for spam or overlooked. Instead, try to make it personalized and engaging to capture the recipient’s attention.
Next, move to the email body, where you will write the main content of your message. Begin with a warm and personalized greeting to make each recipient feel special. Address them by their name instead of using a generic salutation like “Dear All” or “Hi Everyone.”
In the email body, clearly and concisely convey the purpose of your email. Whether you are sharing an announcement, inviting recipients to an event, or providing important information, make sure your message is clear and easy to understand. Avoid unnecessary jargon or technical terms that may confuse the recipients.
Consider using bullet points or numbered lists to organize your content and make it easier for recipients to read. This will help maintain their attention and ensure that the key points are conveyed effectively. Additionally, bold important details or keywords to draw attention to them.
As you compose your email, keep in mind that each recipient will receive a separate email. Therefore, avoid referring to other recipients or mentioning that the email is sent to multiple people. This will help create the illusion that each email was crafted exclusively for the individual recipient.
Once you are satisfied with the overall message and content of your email, proceed to the next step: adding individual recipients. This is a crucial step in ensuring that each email is sent separately with a personalized touch. Let’s move on to Step 2 to learn how to accomplish this with ease.
Step 2: Add individual recipients
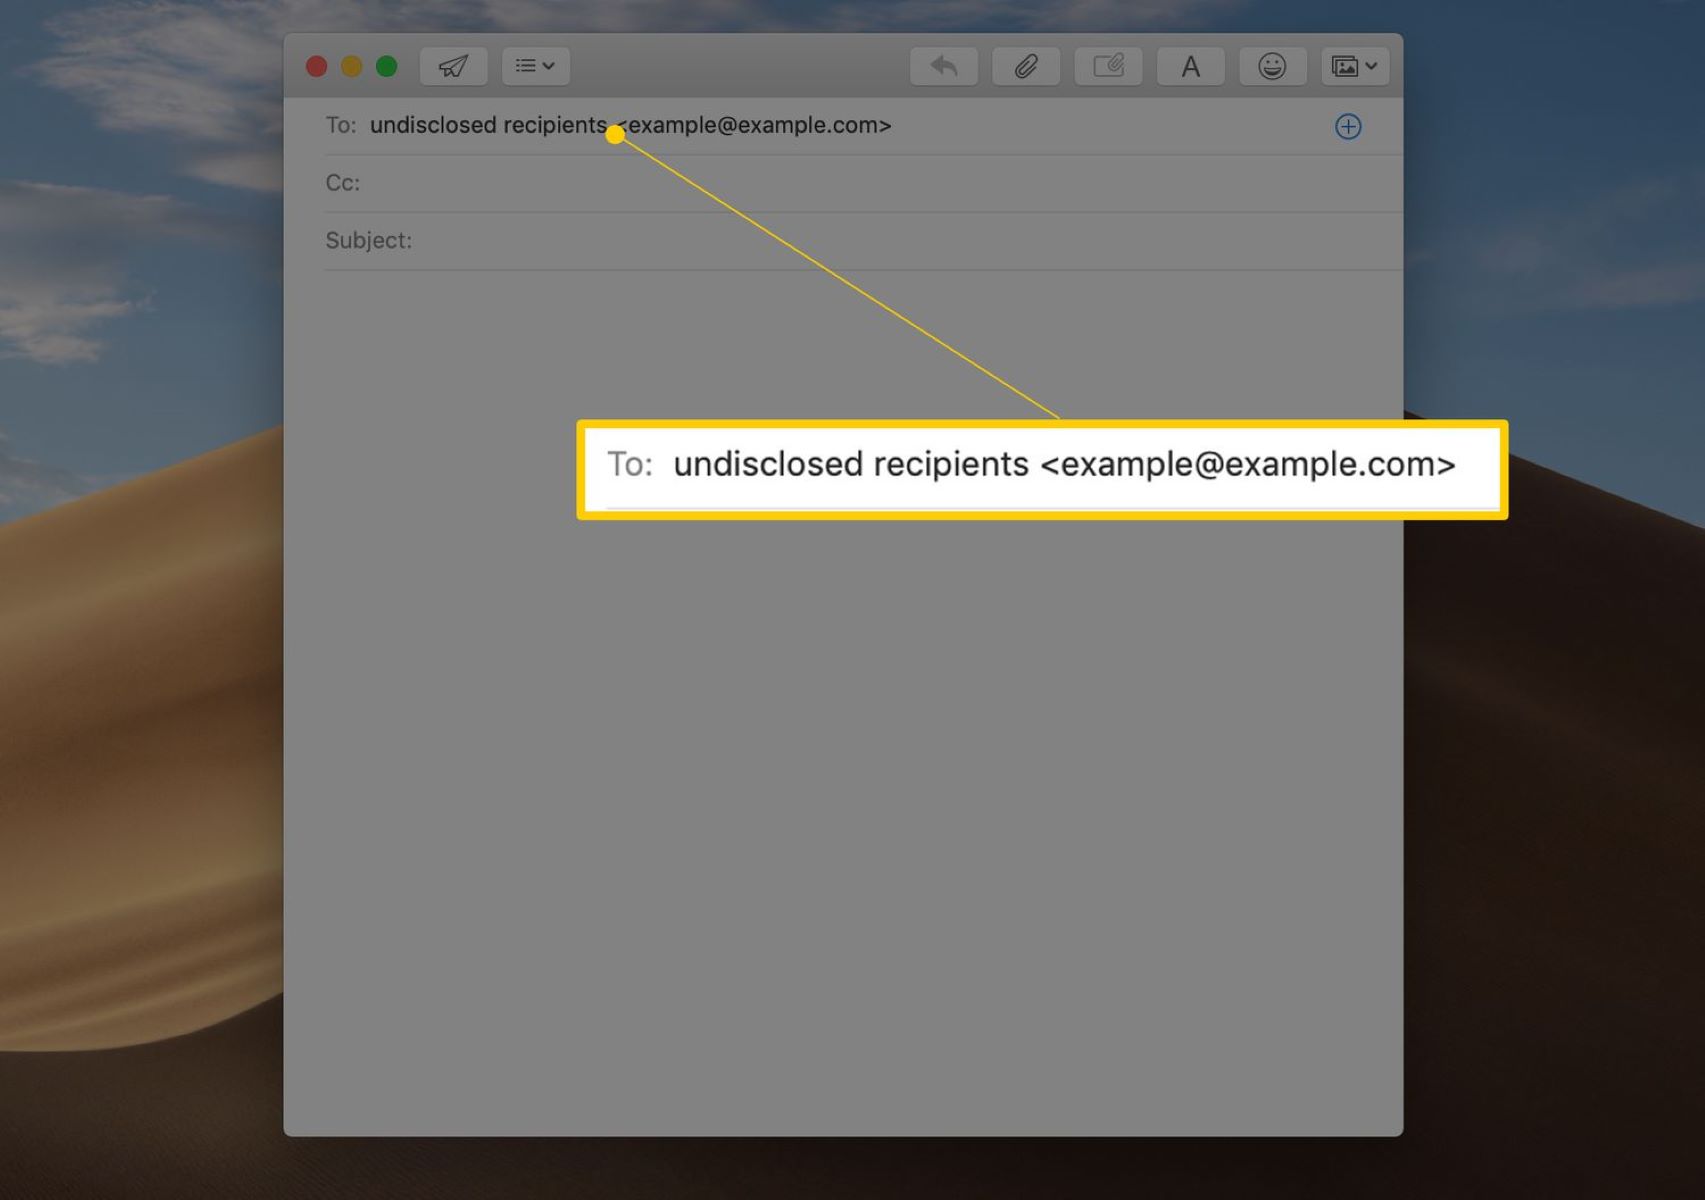
After composing your email, the next step is to add individual recipients. Instead of adding all the recipients in the “To” field, which would result in a group email, we will add each recipient individually to ensure privacy and personalization.
Start by addressing the first recipient in the “To” field. Depending on your email client or web-based service, you may need to click on the “Add Recipient” or the “+” button to add additional recipients individually.
Type the email address of the first recipient and proceed to add more recipients one by one. You can also use the “CC” field if you want to copy additional recipients, such as supervisors or colleagues who need to be kept in the loop.
As you add each recipient, double-check the spelling of their email address to avoid any delivery issues. Pay attention to any auto-fill suggestions that your email client or web-based service provides and ensure that you select the correct recipient.
Remember, the key here is to add one recipient per “To” field and avoid adding all recipients in a visible group. By doing so, each recipient will receive a separate email, maintaining their privacy and creating a personalized experience.
If you have a large number of recipients, it may be more efficient to use an email merge feature if it is available in your email client or web-based service. Email merge allows you to create a template email and automatically personalize it for each recipient, saving you time and effort.
Once you have added all the individual recipients, ensure that you review the recipient list before proceeding. This step is crucial in avoiding any accidental omissions or mistakes. Take a moment to ensure that all the intended recipients are added correctly.
Now that you have successfully added individual recipients, it’s time to move on to the next step: customizing each email to make it more personal and engaging. Follow along with Step 3 to learn how to accomplish this effectively and efficiently.
Step 3: Customize each email
Now that you have added individual recipients, it’s time to customize each email to make it more personal and engaging. This step ensures that each recipient receives a unique email tailored to their needs and preferences. Here are some tips to help you customize each email effectively.
1. Personalize the greeting: Use the recipient’s name in the greeting to create a warm and friendly tone. Instead of a generic “Dear recipient” or “Hi there,” address them directly by their name. This small detail can make a big difference in how the email is perceived.
2. Reference previous interactions: If you have had previous interactions with the recipient, such as a conversation or collaboration, reference it in the email. This shows that you value the relationship and have taken the time to personalize the message.
3. Tailor the content: Customize the content of each email to make it relevant to the recipient. Consider their interests, preferences, and any specific information you have about them. This can include mentioning shared experiences, referring to their role or position, or highlighting how the email content specifically relates to them.
4. Use a conversational tone: Write the email in a conversational tone, as if you are talking directly to the recipient. This creates a more personal connection and makes the email feel less like a mass communication.
5. Address specific needs or concerns: If you have information or solutions that directly address the recipient’s needs or concerns, make sure to highlight them in the email. This demonstrates that you understand their unique situation and are providing valuable information or assistance.
6. Offer personal insights or recommendations: Depending on the nature of the email, you can offer personal insights or recommendations related to the recipient’s interests. Whether it’s a book recommendation, a helpful resource, or a tip related to their industry, providing personalized recommendations can add value to the email.
7. Customize the closing: Just as you personalized the greeting, don’t forget to customize the closing as well. Use a closing phrase that matches the tone of the rest of the email and sign off with your name or a friendly signature.
By following these tips, you can ensure that each email feels unique and tailored to the recipient. Taking the time to customize the content will make your emails more effective and help you establish stronger connections with your recipients.
Now that you have customized each email, it’s time for the final step: sending the emails. Proceed to Step 4 to learn how to send the emails efficiently and ensure their successful delivery.
Step 4: Send the emails
After customizing each email, it’s time to send them to the individual recipients. Follow these steps to ensure that your emails are sent efficiently and successfully to each recipient.
1. Review the emails: Before sending, take a moment to review each email individually. Double-check the content, spelling, and formatting to ensure that everything is accurate and error-free. This step is crucial in maintaining a professional image and avoiding any misunderstandings.
2. Check the attachments: If you have included any attachments in the email, make sure that they are properly attached and can be easily opened by the recipients. Test the attachments beforehand to ensure that they are accessible and relevant to each recipient.
3. Use “Send” or “Send individually” option: Depending on your email client or web-based service, choose the appropriate option to send the emails. Some email clients may have a “Send” button that sends each email individually, while others may have a “Send individually” option. Select the option that ensures each recipient receives a separate email.
4. Monitor the sending process: If you have a large number of recipients, it’s a good practice to monitor the sending process to ensure that all emails are sent successfully. Some email clients or web-based services provide progress bars or notifications that indicate the sending status. Keep an eye on these indicators to confirm that all emails are sent without any issues.
5. Respect delivery time and recipient preferences: Consider the time zones and working hours of your recipients. If you are sending emails to recipients in different time zones, try to send the emails at a time when they are likely to check their inbox. Additionally, respect any specific communication preferences that each recipient has indicated, such as preferred contact methods or email frequency.
Once you have sent the emails, it’s a good practice to follow up with any necessary actions. This may include tracking the delivery status, responding to any replies or inquiries from the recipients, or updating your records accordingly.
Remember, the key to successfully sending emails to multiple recipients individually lies in personalization, attention to detail, and respect for each recipient’s privacy. By following these steps, you can ensure that each recipient receives a customized email that meets their needs and establishes a stronger connection.
Congratulations! You have successfully learned how to send emails to multiple recipients individually. By implementing these steps, you can improve the effectiveness of your communication and enhance the overall recipient experience.