Introduction
Have you ever found yourself in a situation where you needed to send a text message to an email address? Whether it’s for work, personal reasons, or simply because the recipient prefers to receive messages via email, knowing how to send a text message to email can be a valuable skill to have.
Sending a text message to an email address allows you to bridge the gap between different communication platforms. It enables you to reach individuals who may not have access to a mobile phone or who prefer to receive messages on their computer or other devices. This method of communication also comes in handy when you want to keep a record of your conversations or when you need to send important information that requires a higher level of formatting or attachments.
In this article, we will guide you through the steps of sending a text message to an email address. Whether you’re using Android or iOS, we’ve got you covered. So, let’s get started!
Why would you want to send a text message to email?
Sending a text message to an email address can be beneficial for several reasons. Let’s explore some of the common scenarios where this method of communication comes in handy:
- Accessibility: Not everyone has a mobile phone or prefers to receive messages on their phone. By sending a text message to an email address, you can ensure that your message reaches the recipient regardless of their device.
- Documentation: Sending a text message to email allows you to keep a record of your conversations. Unlike traditional text messages that may get lost or deleted, emails can be easily archived and accessed later on.
- Formatting and Attachments: Text messages have limitations when it comes to formatting and attachments. By converting the message to email, you can include rich formatting, such as bold or italicized text, and attach files or images to provide more context or information.
- Reach Email-only Recipients: When you have information or updates to share with individuals who primarily use email, sending a text message to their email address ensures they receive the message promptly and directly in their preferred communication platform.
- Syncing across Devices: If you use multiple devices and want to access your text messages on all of them, sending them to email allows you to sync your conversations across different devices seamlessly.
- Privacy and Security: In some cases, email can offer better privacy and security features compared to standard text messaging. For sensitive or confidential information, sending a text message to email can provide an extra layer of protection.
As you can see, there are many valid reasons why you might want to send a text message to an email address. It offers flexibility, convenience, and a wider range of communication options to suit different preferences and needs.
Steps to send a text message to email
Sending a text message to an email address is a straightforward process. Follow these simple steps, based on your device’s operating system:
For Android:
- Step 1: Open your messaging app on your Android device.
- Step 2: Compose a new message by tapping on the pencil or compose icon.
- Step 3: In the recipient field, enter the email address of the recipient.
- Step 4: Type your message in the text field.
- Step 5: Tap the send button to send the text message to the specified email address.
- Step 6: Check your email account associated with the email address you sent the text message to. The text message should appear as an email in your inbox.
For iOS (iPhone):
- Step 1: Open your messaging app on your iPhone.
- Step 2: Start a new message by tapping on the compose button.
- Step 3: Enter the recipient’s email address in the “To” field.
- Step 4: Type your message in the text field.
- Step 5: Tap the send button to send the text message to the specified email address.
- Step 6: Access your email account associated with the email address you sent the text message to. The text message should appear as an email in your inbox.
By following these steps, you can easily send a text message to an email address and ensure that your message reaches the intended recipient in their preferred communication platform.
Step 1: Open your messaging app
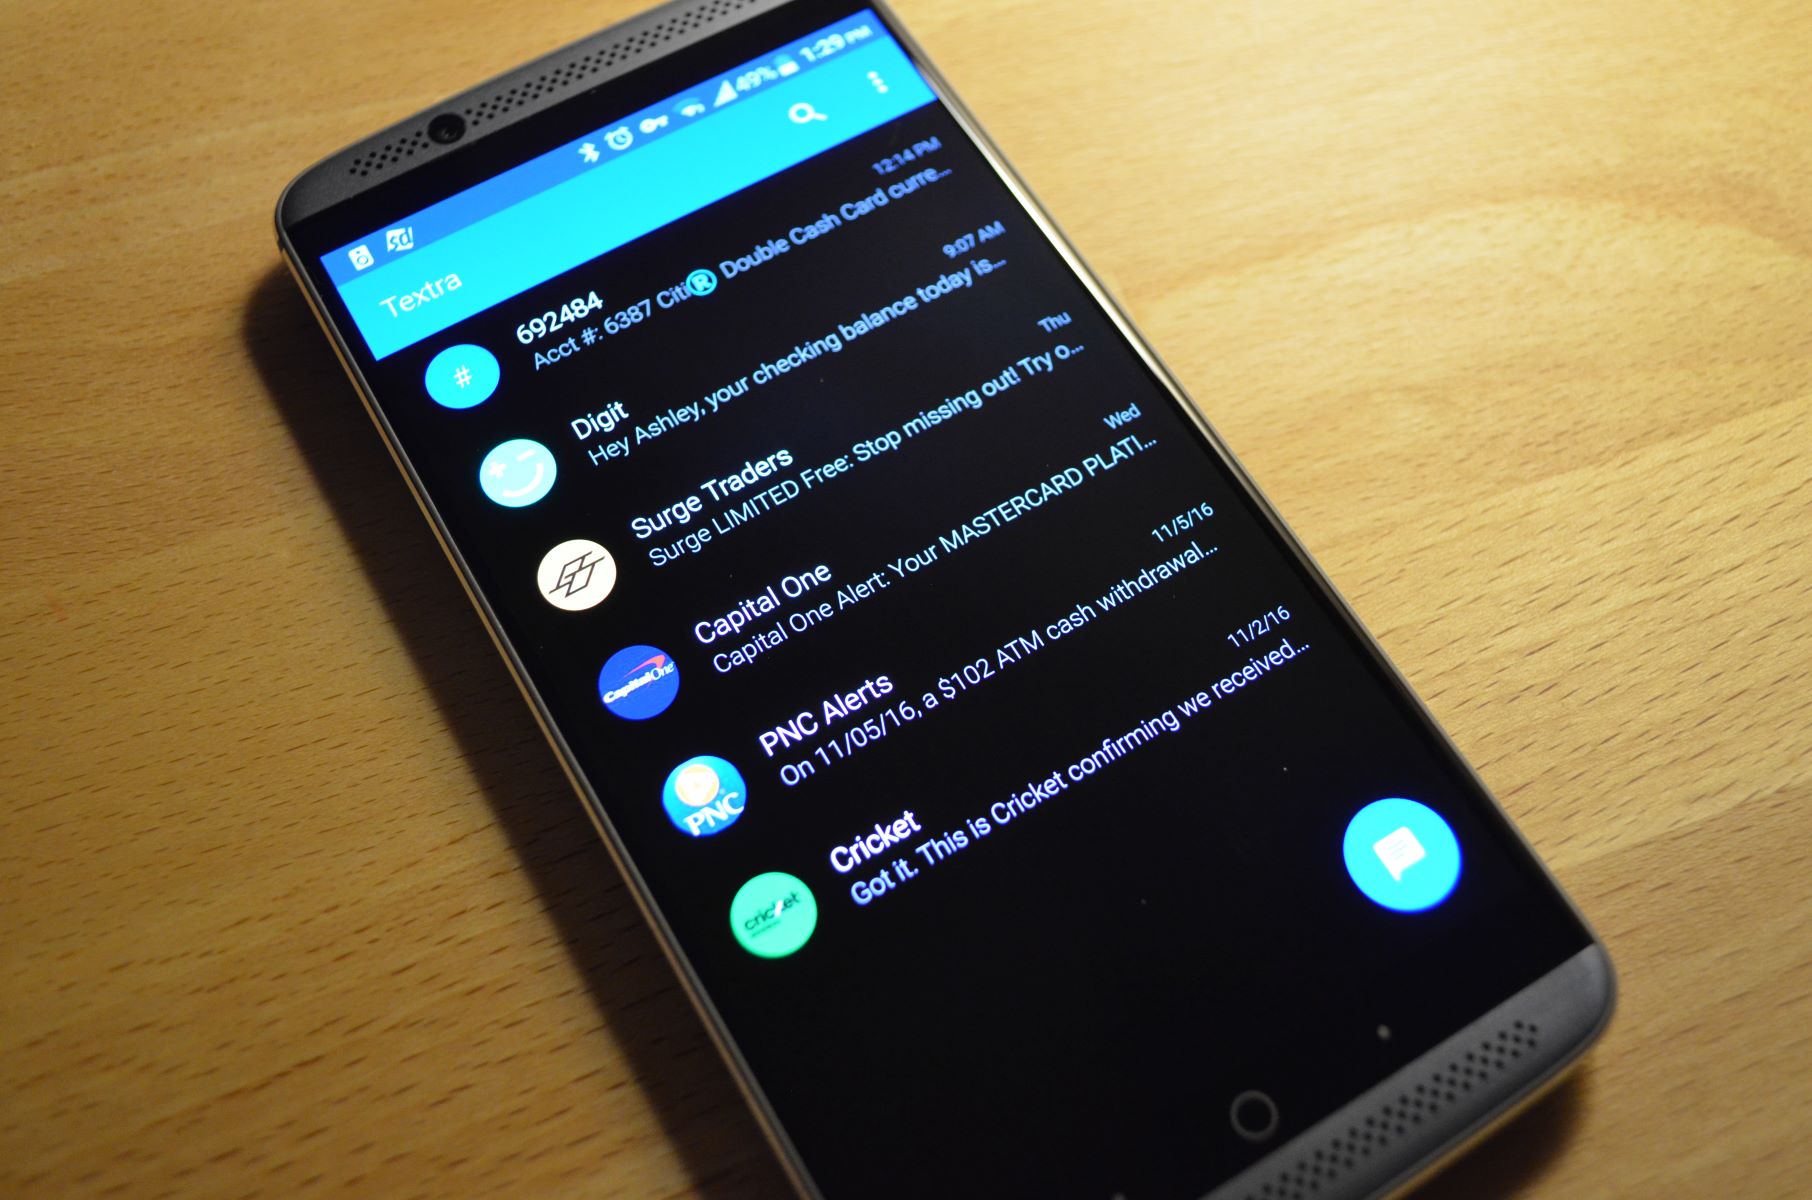
The first step in sending a text message to an email address is to open your messaging app on your device. The location and appearance of the messaging app may vary depending on your device’s operating system, but it is typically represented by an icon that resembles a speech bubble or a messaging symbol.
On Android devices, you can find the messaging app on your home screen or in the app drawer. Look for the icon that corresponds to your default messaging app, which may have a different name depending on the device manufacturer (e.g., Messages, Messaging, or Text Messages).
On iOS devices, the messaging app is called “Messages” and is represented by a green icon with a white speech bubble. You can usually find it on your home screen or by swiping down and typing “Messages” in the search bar at the top of the screen.
Once you locate the messaging app, tap on the icon to open it. This will launch the messaging interface, where you can view your existing conversations and start a new message.
Note that if you are using a third-party messaging app instead of the default messaging app on your device, the steps may have slight variations. However, the general concept remains the same – you need to access your messaging app to send a text message.
Now that you have opened your messaging app, you are ready to proceed to the next step and compose a new message.
Step 2: Compose a new message
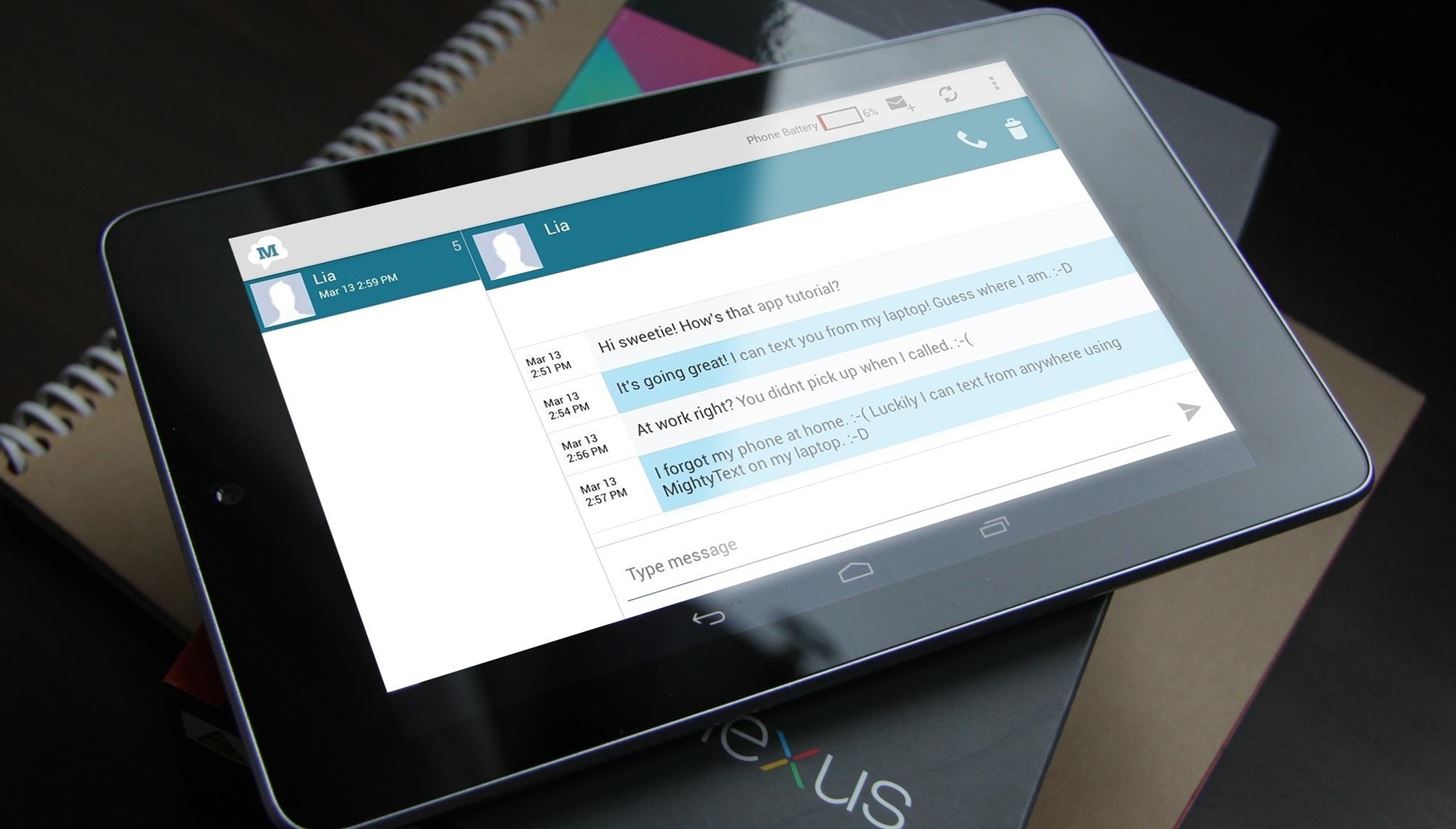
After opening your messaging app, the next step in sending a text message to an email address is to compose a new message. This allows you to start a fresh conversation where you can enter the recipient’s email address and compose your message.
In most messaging apps, you can initiate a new message by tapping on the compose or pencil icon, usually located in the bottom right corner of the screen. The icon is often represented by a pen, a plus sign, or a message bubble with a plus symbol.
Once you tap on the compose icon, you will be taken to a screen where you can create a new message. Depending on your device and messaging app, this screen may have different layouts or options, but it generally consists of a recipient field and a text input field for composing the message.
In the recipient field, you need to enter the email address of the person you want to send the text message to. Make sure to type the email address correctly to ensure the message is delivered to the intended recipient’s email inbox.
After entering the recipient’s email address, you can move on to the text input field. This is where you can type your message. Express yourself clearly and concisely, ensuring that your message conveys the intended information or purpose.
Additionally, some messaging apps may provide additional features such as attaching files, including emojis, or formatting options like bold, italics, or underline. You can utilize these features to enhance your message or add context as needed.
Once you have entered the recipient’s email address and typed your message, you are ready to move on to the next step – sending the text message to the designated email address.
Step 3: Enter the email address
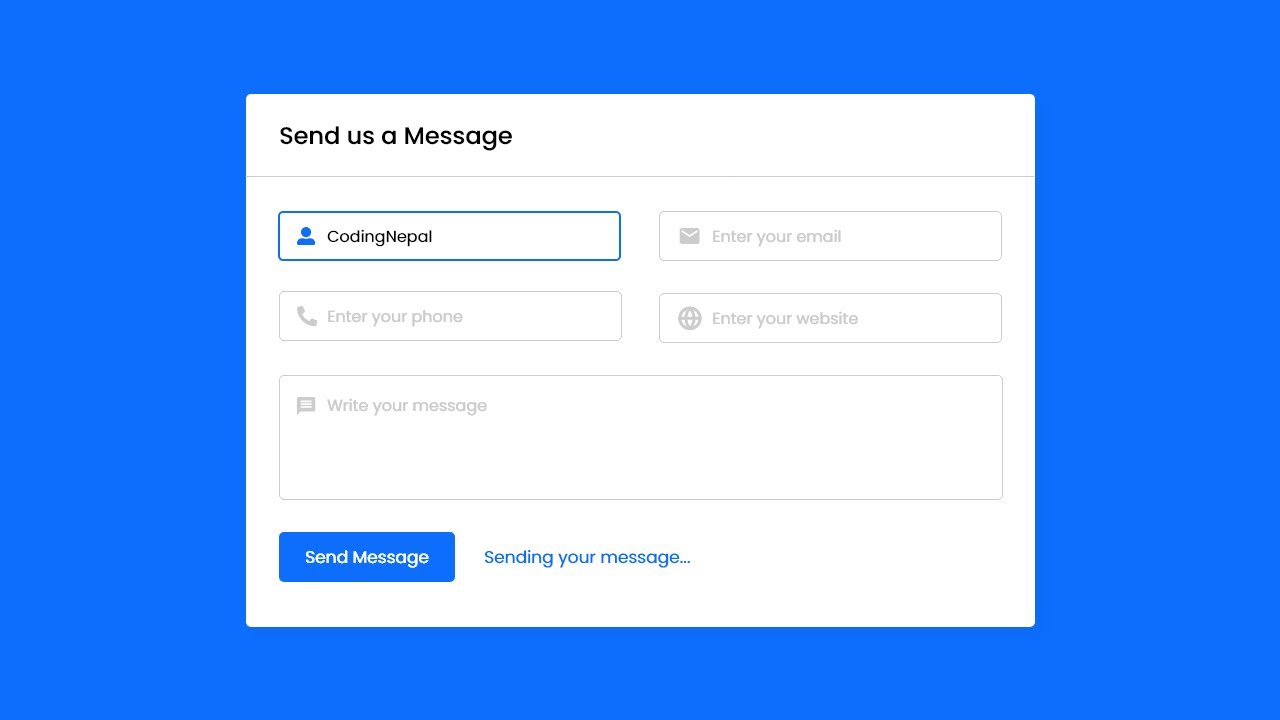
After composing a new message, the next step in sending a text message to an email address is to enter the recipient’s email address. This ensures that the message is delivered directly to their email inbox.
Most messaging apps have a designated field where you can enter the recipient’s email address. This field is typically labeled as “To” or “Recipient.” Tap on this field to activate it and then start typing the email address.
Make sure to enter the email address accurately to ensure the message reaches the intended recipient. Double-check for any typos or missing characters, as even a small mistake can result in the message being sent to the wrong email address.
If you are sending a text message to multiple recipients, separate their email addresses with commas. This allows you to send the message to multiple email addresses simultaneously.
Remember, the email address you enter should be the primary email address of the recipient, as this is where they will receive the text message. If you are unsure of the recipient’s email address or have multiple email addresses for them, it’s best to confirm with the recipient beforehand to ensure the message reaches the correct email inbox.
Once you have entered the recipient’s email address, you can proceed to the next step and type your message in the text input field.
Step 4: Type your message
After entering the recipient’s email address, the next step in sending a text message to an email address is to type your message. This is where you can convey your thoughts, share information, or communicate with the recipient using text.
In the messaging app’s text input field, tap on it to activate the keyboard and start typing your message. Take your time to compose a clear and concise message that effectively communicates what you want to say.
You can use the keyboard on your device to type out your message. It may include both letters and numbers, as well as special characters and symbols.
Express yourself in a way that is easy for the recipient to understand and respond to. Consider the tone and style of your message to ensure it matches the intended purpose, whether it’s professional, casual, or informative.
Depending on the messaging app you are using, you may have additional options or features available. These can enhance your message by allowing you to format the text, add emojis or stickers, include media attachments, or even use voice input to dictate your message.
If you want to add any formatting to your text, such as making it bold or italicized, refer to the app’s formatting options or use any keyboard shortcuts that are available.
Ensure that your message is concise and to the point. If your message is too long or exceeds the character limit set by the messaging app, consider revising it or splitting it into multiple messages.
Once you have typed your message, take a moment to review it for any mistakes or errors. Check for spelling or grammar issues and correct them if necessary.
When you are satisfied with your message, you are ready to proceed to the next step and send the text message to the designated email address.
Step 5: Send the text message to email
After composing your message, the next step in sending a text message to an email address is to send the message. This allows the text message to be delivered directly to the recipient’s email inbox.
In most messaging apps, there is a specific button or icon that represents the action of sending the message. This icon is often represented by a paper plane, an arrow pointing upwards, or a send symbol.
To send the text message to the email address you entered, simply tap on the send button or tap the designated area of the screen to initiate the sending process.
Once you tap the send button, the messaging app will proceed to send the message to the recipient’s email address. This process may take a few seconds, depending on your internet connection and the size of the message.
While the message is being sent, you may see a loading indicator or a progress bar to indicate the status of the sending process. It’s important to allow the app to complete the sending process before navigating away from the messaging screen.
Be patient during the sending process, and avoid tapping the send button multiple times, as it can lead to duplicate messages being sent to the recipient.
If you encounter any errors or issues while sending the message, such as a failed send attempt or an error message, double-check the recipient’s email address and your internet connection. You may need to make corrections before attempting to resend the message.
Once the message has been successfully sent, you can proceed to the final step – checking your email account associated with the email address for the text message.
Step 6: Check your email for the text message
After sending the text message to the designated email address, the final step is to check your email account associated with that address. This is where you will find the text message that you sent from your messaging app.
Open your email application or log in to your email account using a web browser. Make sure you are using the same email address that you entered as the recipient in the messaging app.
Once you access your email account, navigate to your inbox or the folder where incoming messages are stored. This is where you will find the email containing your text message.
Look for the email with the sender field indicating your name or the name associated with your messaging app. The subject line or preview text may also give you a clue that the email contains the text message you sent.
Open the email to read the text message. The message should be displayed in the body of the email, similar to any other email you receive.
Review the message to ensure that it appears as you intended, without any formatting issues or content missing. Take note of any attachments or media files that you may have included in the message.
If you do not find the email in your inbox, check other folders such as Spam or Junk. Sometimes, depending on your email settings or filters, the message could have been mistakenly sorted into these folders.
If you still cannot locate the email, double-check the email address you entered as the recipient in the messaging app. Make sure it is the correct email address and that there are no spelling errors or typos.
After successfully finding and verifying the text message in your email, you can access and respond to it as you would with any other email message. You can also archive it or mark it as important for future reference.
Now that you have completed all the steps, you have successfully sent a text message to an email address and checked for its arrival in your email account.
Conclusion
Being able to send a text message to an email address can be a valuable skill, offering flexibility and convenience in communication. Whether you need to reach individuals who prefer email or want to ensure your messages are documented and accessible across devices, this method enables you to bridge the gap between different communication platforms.
We discussed the step-by-step process of sending a text message to an email address on both Android and iOS devices. From opening your messaging app and composing a new message to entering the recipient’s email address, typing your message, and finally sending it, each step is crucial in ensuring a successful transfer of your text message to email.
By following these steps and double-checking the recipient’s email address, you can send your message with confidence, knowing it will reach the intended email inbox.
Furthermore, we explored the various reasons why you might want to send a text message to an email address. Whether it’s for accessibility, documentation, formatting, or reaching email-only recipients, this method offers a range of benefits that can enhance your communication experience.
Remember, when sending a text message to email, it’s important to use clear and concise language, check for any errors or formatting issues, and be mindful of any attachments or media files you want to include.
Now that you have a better understanding of how to send a text message to an email address, you can confidently communicate with individuals who prefer email or utilize email as a documentation method for your conversations.
So, the next time you find yourself needing to send a text message to an email address, follow the steps outlined in this article and enjoy the seamless communication experience it offers.