Introduction
Microsoft Outlook is a widely used email client that provides a convenient way to send and receive emails. Whether you’re a professional sending business communications or an individual staying connected with friends and family, knowing how to use Outlook for sending emails is essential.
In this guide, we will walk you through the step-by-step process of sending an email using Outlook. From opening the application to customizing your message, we will cover all the necessary details to ensure you’re equipped with the knowledge to send emails confidently and efficiently.
Sending emails through Outlook offers a host of features and functionalities that can help you stay organized and make communication seamless. With Outlook, you can compose richly formatted emails with embedded images, attach files, and even schedule emails to be sent at a specific time.
Whether you’re a beginner or an experienced user, this guide will provide you with a comprehensive understanding of how to send an email on Outlook. So, let’s get started!
Step 1: Opening Outlook
To begin, you’ll first need to open Microsoft Outlook on your device. Here’s how to do it:
- Locate the Outlook app on your computer’s desktop or search for it in the Start menu.
- Click on the Outlook icon to launch the application.
- If this is your first time using Outlook, you will be prompted to set up your email account. Follow the on-screen instructions to enter your email address, password, and any other required information.
- Once you’ve set up your account, Outlook will open to your default mailbox.
- If you have multiple email accounts set up in Outlook, you can switch between them by clicking on the account name in the left-hand sidebar.
It’s important to note that Outlook comes with various versions such as Outlook for Windows, Outlook for Mac, and Outlook for the web. The steps mentioned above are applicable to the desktop versions of Outlook for Windows and Mac. However, the overall process remains similar across different versions, with slight variations in the interface.
Once you have successfully opened Outlook, you’re ready to start composing your email. Continue reading to learn how to create a new email in Outlook.
Step 2: Composing a New Email
Now that you have Outlook open, it’s time to compose a new email. Here’s how:
- In the Outlook interface, locate and click on the “New Email” button. This button is usually positioned in the toolbar at the top of the screen.
- A blank email window will appear, ready for you to start composing your message.
- At the top of the email window, you’ll find the “To” field. This is where you enter the recipient’s email address. You can enter multiple email addresses by separating them with a comma or semicolon.
- Next, fill in the “Cc” (Carbon Copy) field if you want to send a copy of the email to additional recipients. Similarly, you can use the “Bcc” (Blind Carbon Copy) field if you want to send a copy of the email to recipients without others knowing.
- Move on to the “Subject” field. Here, you should provide a concise and descriptive subject line that summarizes the content of your email.
- Once you’ve filled in the necessary fields, you’re ready to start writing your message in the body of the email. Simply click inside the large text box provided.
When composing your email, you have various formatting options available in the toolbar. You can customize the font, size, and color of your text, create bulleted or numbered lists, align your text, and even insert hyperlinks and images.
Additionally, Outlook provides you with options to spell-check your message, add a signature, and choose a priority level for your email. These features can help you personalize your email and ensure it’s professional and error-free.
Now that you know how to open Outlook and compose a new email, it’s time to move on to the next step: adding recipients to your email. Read on to learn more about this important aspect of email composition.
Step 3: Adding Recipients
Once you have started composing your email, the next step is to add recipients to your message. Whether you’re sending an email to one person or a group of individuals, Outlook makes it easy to manage your recipients. Here’s how:
- In the “To” field, enter the email address of the primary recipient. You can start typing the recipient’s name or email address, and Outlook will suggest matching contacts from your address book.
- If you want to send a copy of the email to additional recipients, you can utilize the “Cc” (Carbon Copy) and “Bcc” (Blind Carbon Copy) fields. Click on the respective field and enter the email addresses of the recipients.
- When using the “Cc” field, all recipients will be able to see who else received the email. If you want to keep the additional recipients hidden, use the “Bcc” field. This is particularly useful when sending an email to a large group or when you want to maintain privacy.
- You can also add recipients by clicking on the “To” button or the address book icon in the toolbar. This will open your address book, allowing you to select recipients from your contacts or search for specific email addresses.
Remember to double-check the email addresses you enter to ensure accuracy. Sending an email to the wrong recipient can lead to confusion and potential privacy concerns.
If you’re sending an email to a large group of contacts or working with a mailing list, you can create and use distribution lists in Outlook. A distribution list allows you to send an email to multiple recipients by simply typing the name of the list in the “To” field. This saves time and effort, especially for recurring emails.
Now that you have added recipients to your email, it’s time to focus on the subject and content. The next step, “Step 4: Writing the Subject and Message,” will guide you through this process. Keep reading to learn more!
Step 4: Writing the Subject and Message
Now that you have your recipients added, it’s time to focus on writing the subject line and crafting your email message. Here’s how to do it:
- In the subject line field, provide a clear and concise summary of the email’s content. A well-written subject line helps recipients understand the purpose of your email at a glance. Avoid vague or generic subject lines and try to be specific.
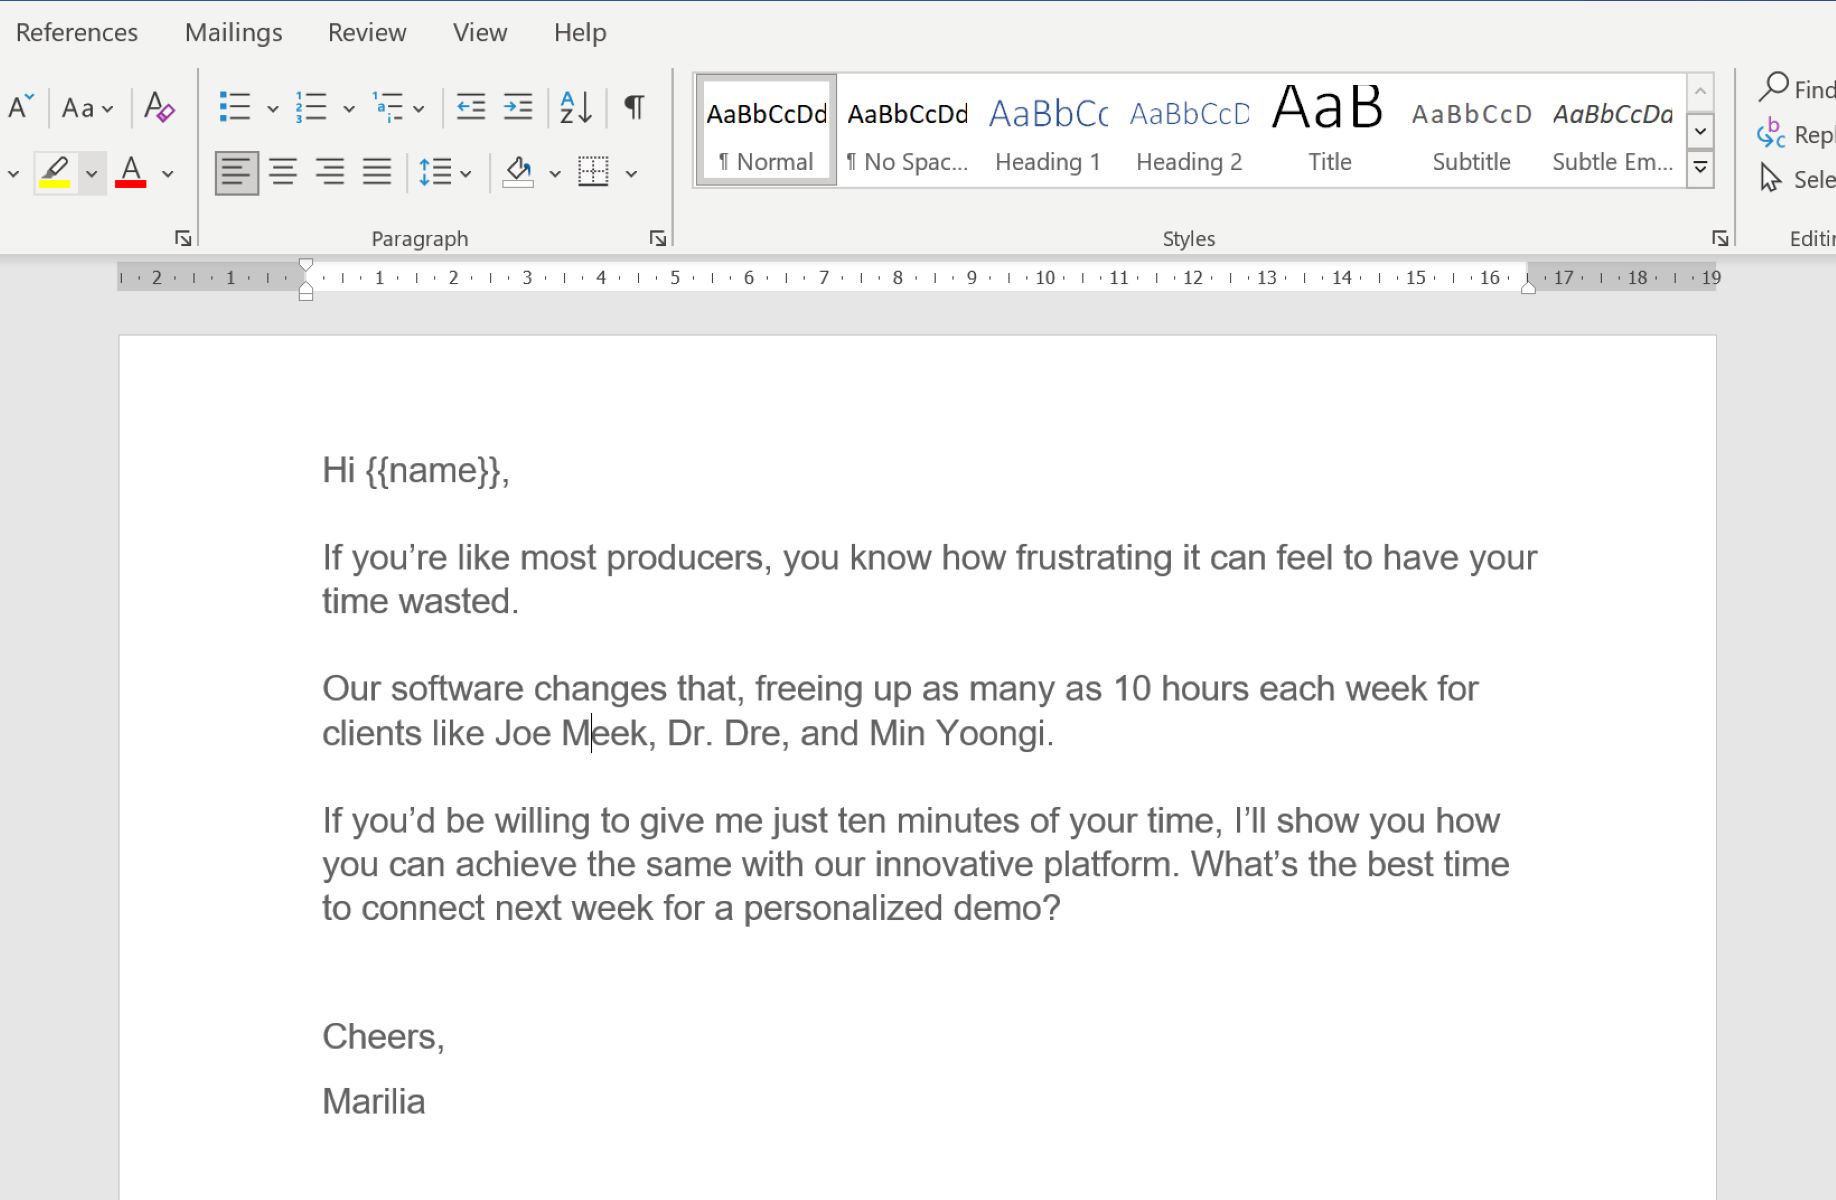
- Move on to the body of the email. This is where you will compose the main message. Start by greeting the recipients with a friendly salutation, such as “Dear,” followed by their name or a general term like “Team” or “Colleagues.”
- When writing the message, keep it concise and to the point. Use paragraphs to break up the text and enhance readability. Clearly state the purpose or reason for the email and provide any necessary details or instructions.
- Be mindful of your tone and language. Tailor your writing style to suit the recipient and the context of the email. Use a polite and professional tone for formal or business-related emails, while maintaining a more casual tone for personal emails.
- Proofread your email for spelling and grammar errors. Outlook provides a built-in spell-check feature that can help you identify and correct any mistakes. This step is crucial to ensure your message appears professional and is easily understood by the recipient.
In addition to plain text, you can enhance your message by utilizing various formatting options available in Outlook’s toolbar. You can bold or italicize text, create bulleted or numbered lists, adjust font styles, and even add hyperlinks or images to your email.
Remember to keep your email concise and focused. Most people appreciate emails that get straight to the point without unnecessary fluff. However, be sure to include all the necessary information and any actionable items or requests.
With these guidelines in mind, you’re now ready to move on to the next step: formatting your email. In “Step 5: Formatting the Email,” we will explore the various formatting options available in Outlook. Continue reading to learn more!
Step 5: Formatting the Email
Once you have written the subject line and message of your email, it’s time to format and enhance it. Microsoft Outlook provides various formatting options that allow you to customize the appearance of your email. Here’s how:
- To change the font style, size, and color of the text, highlight the desired text and use the formatting options in the toolbar. You can make text bold, italicized, underlined, or apply different font styles.
- To create bulleted or numbered lists, select the relevant text and use the corresponding list formatting buttons in the toolbar. This helps to organize information in a clear and visually appealing way.
- If you want to align your text, Outlook provides alignment options such as left, center, right, and justified. This can help you create a more professional and aesthetically pleasing email.
- Outlook also allows you to customize the colors and backgrounds of your email. You can choose from predefined themes or create your own by modifying the background, font, and other elements.
- If you wish to include hyperlinks in your email, select the text you want to turn into a link and click on the hyperlink button in the toolbar. Enter the URL or link destination and choose how you want it to be displayed.
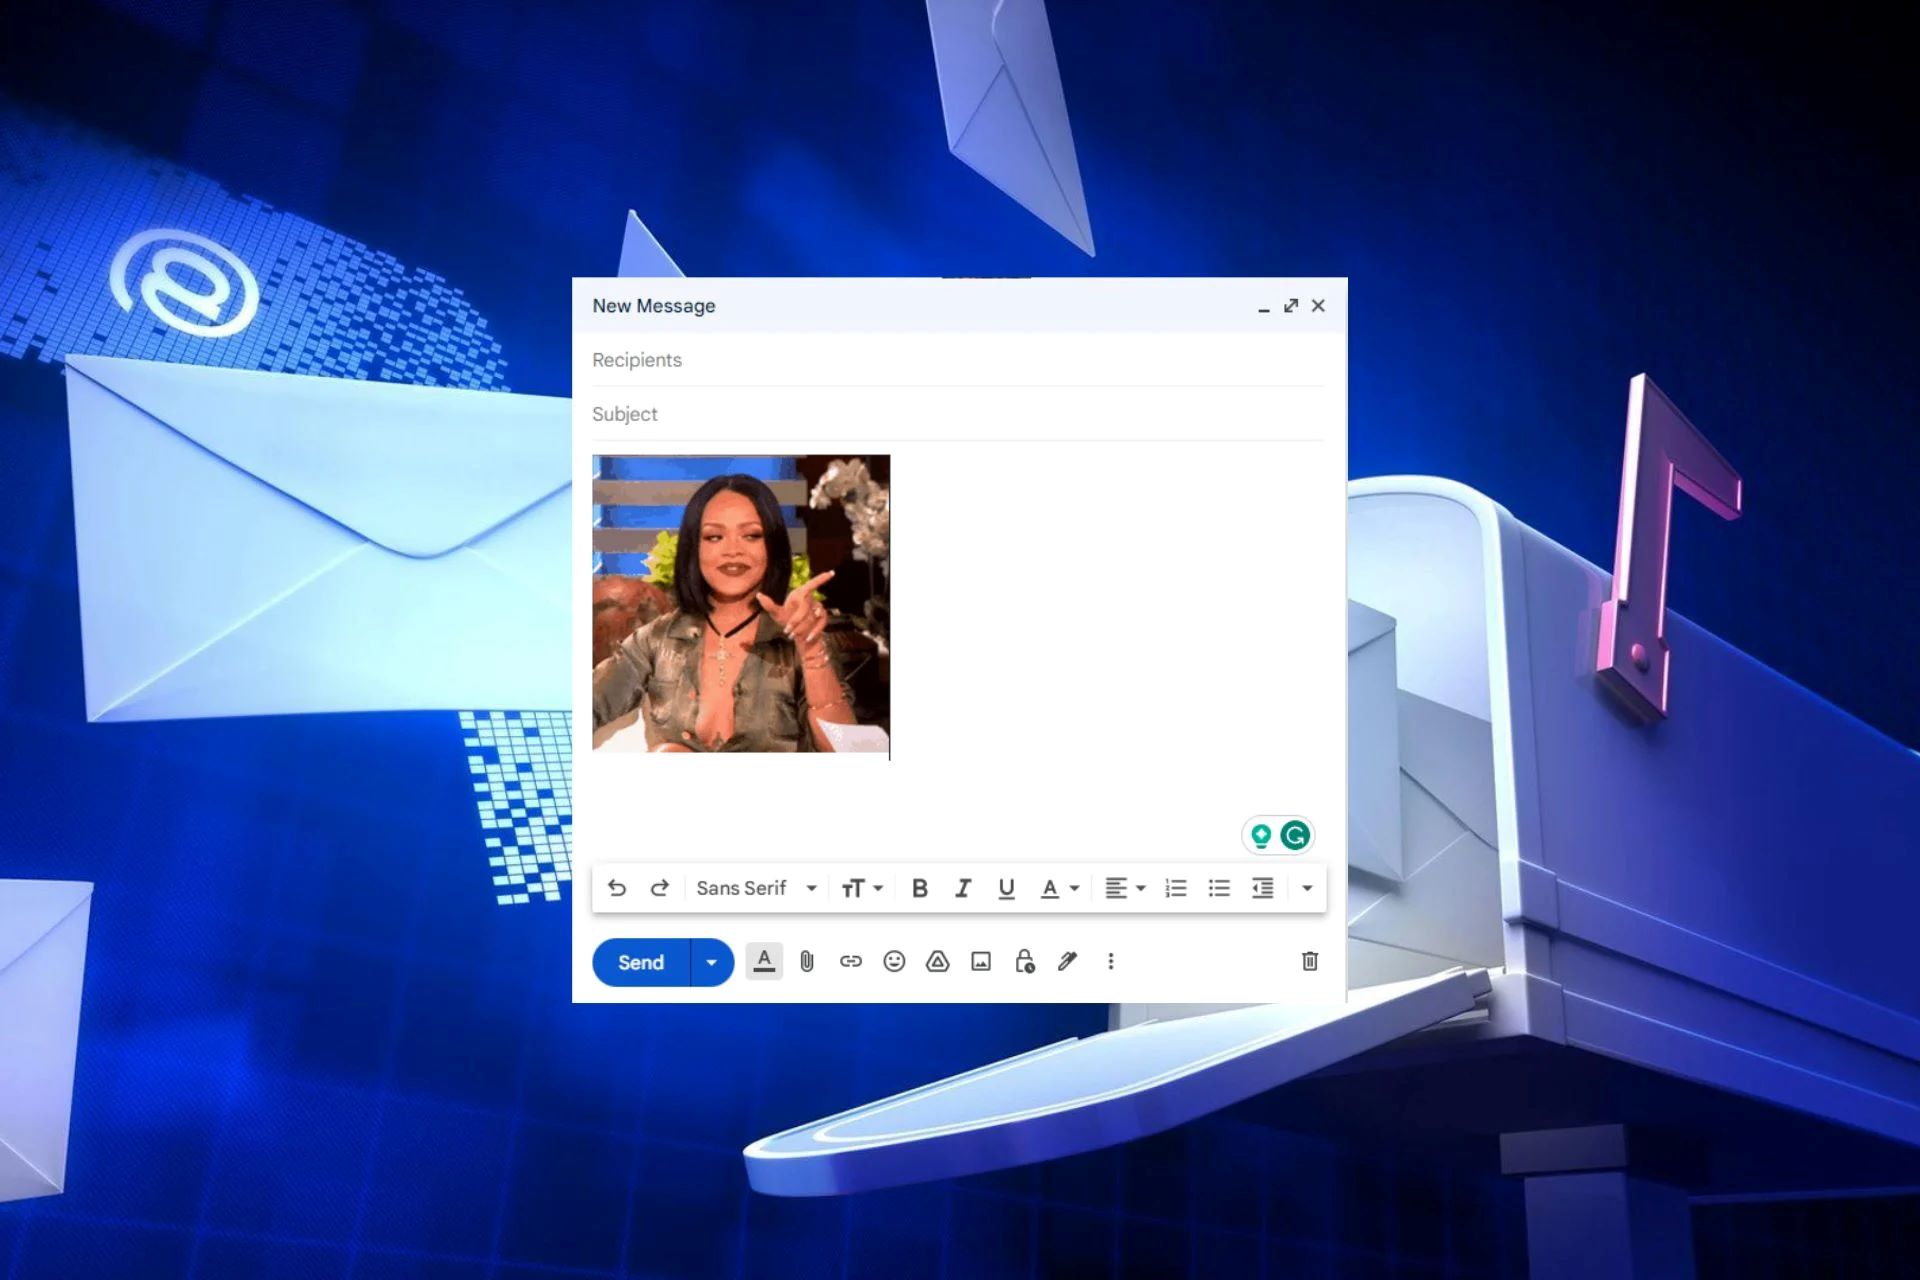
- Additionally, you can insert images or attach files to your email. Use the corresponding buttons in the toolbar to select and embed images from your device or insert files from your computer.
By utilizing these formatting options, you can make your email more visually appealing and easier to read. However, it’s important to maintain a balance and avoid excessive use of formatting, which can make the email appear cluttered or unprofessional.
Remember to review your email for consistency and readability, ensuring that the formatting is applied consistently throughout the message. Make use of preview options, such as sending a test email to yourself or using the “Preview” feature in Outlook, to see how the email looks before sending it to the recipients.
Now that you have successfully formatted your email, it’s time to move on to the next step: attaching files. In “Step 6: Attaching Files,” we will guide you through the process of including attachments in your Outlook emails. Keep reading!
Step 6: Attaching Files
If you need to include files such as documents, images, or presentations in your email, Outlook offers a simple and straightforward way to attach them. Here’s how you can attach files to your Outlook email:
- While composing your email, position your cursor where you want the file to be attached. This is usually at the end of your message, but you can also insert attachments within the body of the email.
- Locate and click on the “Attach” button in the Outlook toolbar. It’s usually represented by a paperclip icon.
- A file explorer window will open, allowing you to browse and select the files you want to attach. You can select multiple files by holding down the Ctrl key while clicking on each file.
- Once you’ve chosen the files you want to attach, click the “Attach” or “Open” button, which may vary depending on your operating system.
- Outlook will then upload and attach the selected files to your email. You will see the names of the attached files listed below the subject line of the email.
- If necessary, you can also remove or replace an attachment by clicking on the respective file name and choosing the appropriate option.
It’s important to note that there might be file size restrictions when attaching files to an email. If your attachment exceeds the size limit, consider compressing the file or using alternative methods such as file-sharing services or cloud storage.
Ensure that the attached files are relevant to the content of your email and are properly named. Providing clear instructions or notes about the attachments within the email body can help recipients understand their purpose and ensure they review them accordingly.
Once you’ve successfully attached the necessary files to your email, take a moment to review your email for any final adjustments or additions. Preview the email to ensure the attachments are correctly displayed and verify that the email content and subject line accurately reflect your intent.
Now that you know how to attach files to an Outlook email, it’s time to move on to the final step: reviewing and sending the email. Continue reading to learn more in “Step 7: Reviewing and Sending the Email.”
Step 7: Reviewing and Sending the Email
Before sending your email, it is crucial to thoroughly review its contents to ensure accuracy, clarity, and professionalism. Follow these steps to review and send your Outlook email:
- Proofread the entire email for any spelling, grammar, or formatting errors. Use the built-in spell-check feature in Outlook to identify and correct any mistakes. Mistakes in your email can create a negative impression on the recipient.
- Ensure that the subject line accurately represents the content of the email. A clear and concise subject line helps recipients understand the purpose of your email and improves the chances of it being read promptly.
- Verify that all recipients’ email addresses are correct and that you have entered them in the appropriate “To,” “Cc,” or “Bcc” fields.
- Check that any attachments you have included are the correct files and that they are properly named.
- Review the body of the email to confirm that the message is clear, concise, and appropriately reflects your intended tone and purpose.
- If necessary, consider adding a polite closing, such as “Best regards,” followed by your name and contact information, to provide a professional finish to your email.
- Once you are satisfied with the content of your email, locate the “Send” button, usually located in the top left or right corner of the Outlook window, and click on it to send your email.
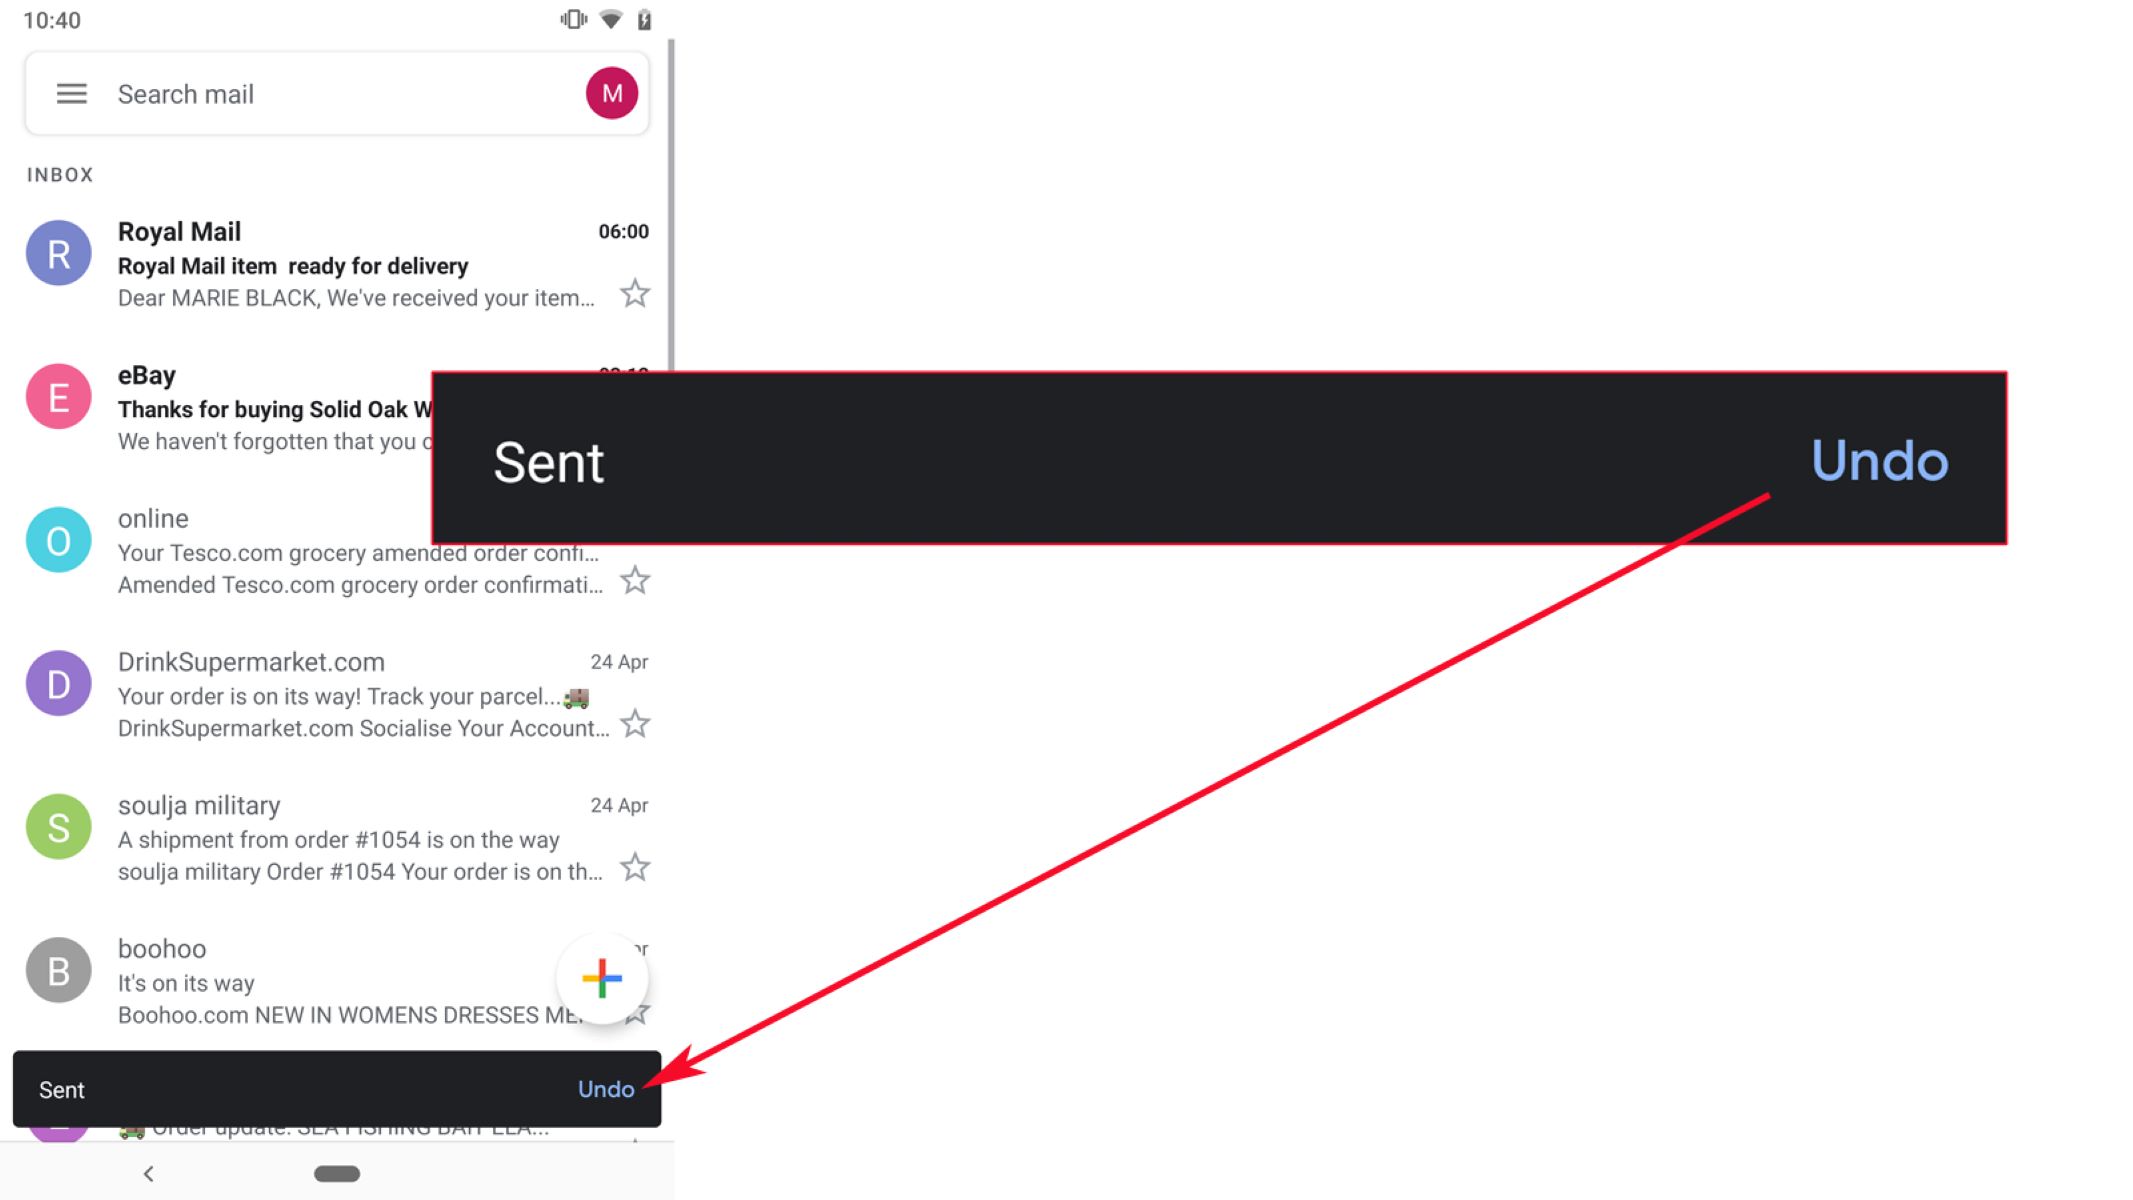
After clicking “Send,” the email will be placed in your “Sent” folder, and Outlook will begin the process of delivering it to the recipients’ email addresses. Depending on the size of the email and the recipient server’s internet connection, this process may take a few seconds to a few minutes.
It’s important to note that once an email has been sent, it cannot be recalled or retrieved from the recipient’s inbox. Therefore, it is critical to review your email carefully before hitting the “Send” button to avoid any mistakes or misinterpretations.
By following these review steps, you can ensure that your email is professional, error-free, and effectively conveys your message to the recipients.
Congratulations! You have successfully learned the step-by-step process to send an email on Outlook. With these newfound skills, you can now effectively communicate and connect with others through your Outlook email client.
Conclusion
Sending emails using Microsoft Outlook is a straightforward and efficient way to communicate and stay connected with others. By following the steps outlined in this guide, you can confidently compose and send emails using Outlook’s robust features and functionalities.
From opening Outlook to composing a new email, adding recipients, writing the subject and message, formatting the email, attaching files, and reviewing before sending, each step plays a vital role in ensuring effective communication.
Remember to pay attention to the details, such as proper spelling and grammar, concise subject lines, appropriate formatting, and accurate recipient addresses. Taking these extra measures will help you craft professional and engaging emails that resonate with your recipients.
With features like customizable formatting, attachment options, and easy-to-use interfaces, Outlook provides a powerful platform for your email communications. Utilize the various tools and options available to personalize your emails and make them stand out.
By following the step-by-step instructions in this guide, you can feel confident in your ability to navigate Outlook and send emails efficiently and effectively. Whether it’s for personal or professional use, Outlook is a valuable tool that streamlines your email management and communication processes.
Now that you have mastered the art of sending an email on Outlook, go ahead and put your newfound skills to use. Craft engaging messages, attach relevant files, and make the most out of the features provided by Outlook to enhance your communication experience.
Enjoy the convenience and power that Outlook offers, and keep connecting with others through well-crafted and effective email communication. Happy emailing!