Introduction
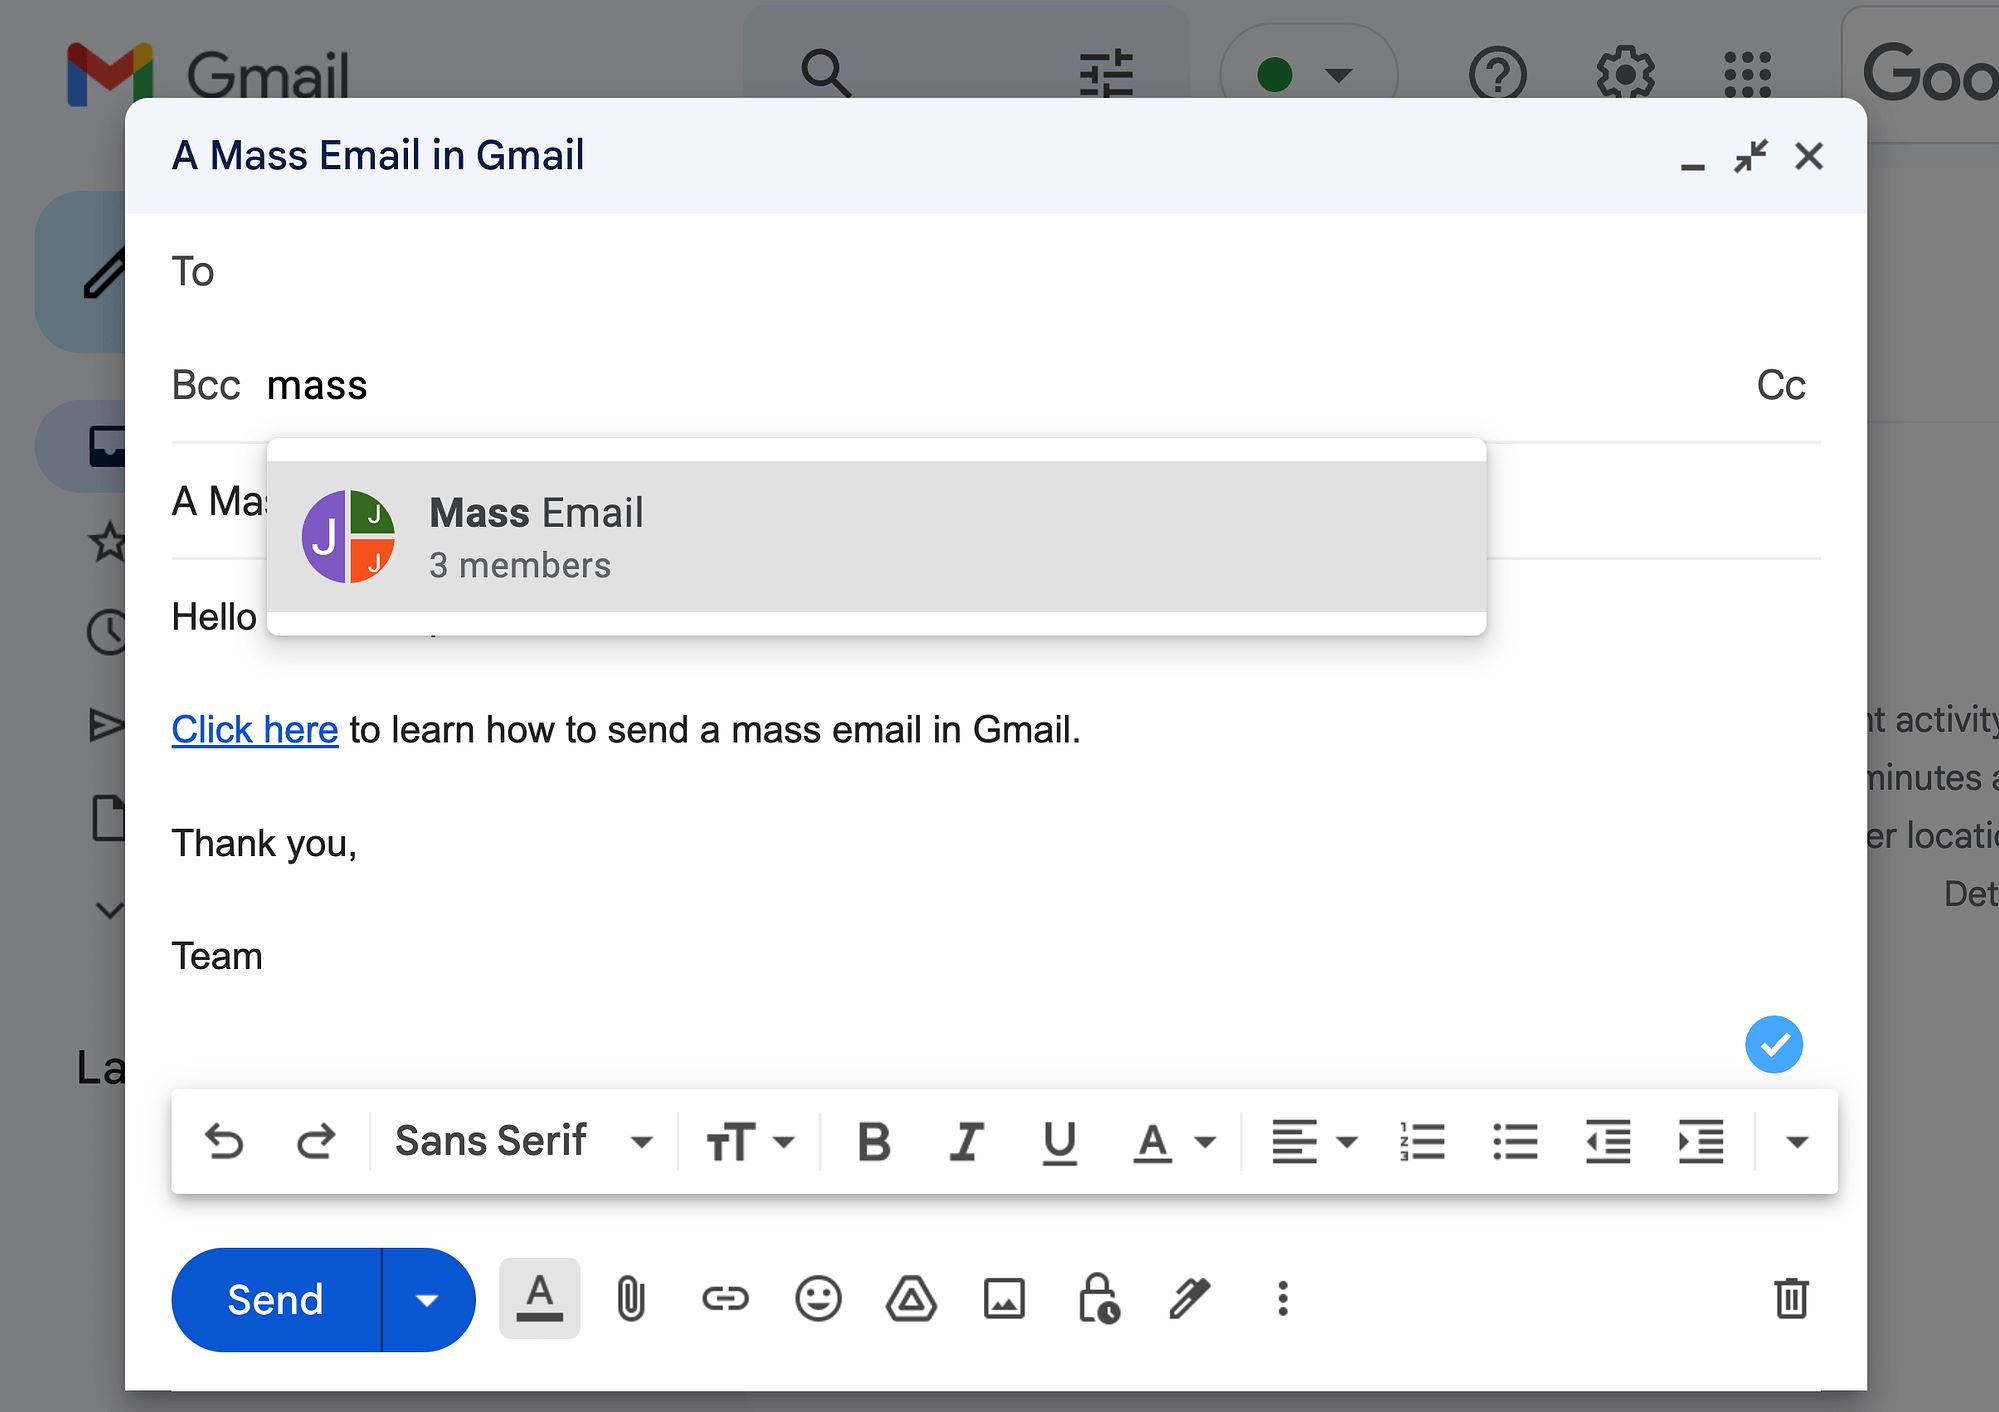
Did you know that you can send mass emails right from your Outlook account? Whether you need to send updates to your team, a newsletter to your subscribers, or promotions to your customers, Outlook provides a convenient way to send bulk email messages with just a few clicks.
In this article, we will guide you through the process of sending mass emails in Outlook. We’ll show you how to create a distribution list, customize email templates for personalization, track delivery and open rates, manage unsubscribes and bounces, and analyze the results to improve your future campaigns.
Sending mass emails can save you time and effort compared to composing individual messages. It allows you to reach a large audience with a single click, making it an ideal solution for businesses, organizations, and individuals who need to communicate with a large number of recipients.
Before we dive into the details, it’s important to note that sending mass emails requires careful consideration of legal regulations and best practices. It’s essential to obtain proper permission from your recipients and provide an easy way for them to unsubscribe from your mailing list. Moreover, you need to ensure that your emails comply with anti-spam laws and respect data privacy.
Now that we have set the groundwork, let’s explore how to send mass emails in Outlook step by step. By the end of this guide, you’ll be able to efficiently manage your email campaigns and effectively communicate with your target audience.
Adding Contacts to a Distribution List
Before you can send a mass email in Outlook, you need to create a distribution list that includes all the recipients you wish to contact. A distribution list is a group of contacts that you can conveniently send emails to as a collective entity.
To add contacts to a distribution list, follow these steps:
- Open Outlook and navigate to the “People” or “Contacts” section.
- Click on “New Contact Group” or “New Distribution List”, depending on your Outlook version.
- Give your distribution list a name that reflects its purpose or the group of contacts it includes.
- Click on the “Add Members” button and select the desired contacts from your address book or type their email addresses manually.
- Once you have added all the contacts, click on the “Save & Close” or “OK” button to save the distribution list.
It’s important to ensure that the contacts you add have given their consent to receive emails from you. If you are adding contacts from a previous email campaign or another source, make sure you have obtained their permission beforehand.
By organizing your contacts into distribution lists, you can easily send mass emails to specific groups of recipients without the need to manually enter each individual email address. This saves time and reduces the chance of missing any important recipients.
Remember, periodically review and update your distribution lists to ensure they remain up to date and relevant. You can add or remove contacts from the distribution list whenever necessary to keep your email communications targeted and efficient.
Creating a New Email Template
When sending mass emails in Outlook, using an email template can help you save time and maintain consistency in your communications. An email template is a pre-designed layout that you can use as a starting point for your mass email messages.
To create a new email template in Outlook, follow these steps:
- Open Outlook and click on the “File” tab.
- From the dropdown menu, select “Options” and then “Mail”.
- In the Mail options, click on the “Stationery and Fonts” button.
- Click on the “Theme” dropdown menu and select “New Theme”.
- Give your new theme a name that is descriptive and easy to remember.
- Customize the email template by selecting a background color, font style, font size, and other formatting options.
- Add any images, logos, or branding elements to the template if desired.
- Once you are satisfied with the template design, click on “Save” to save the template.
When creating your email template, keep in mind the importance of a clean and visually appealing design. Use clear and easy-to-read fonts, and avoid cluttering the template with excessive images or blocks of text. Make sure the template reflects your brand and conveys a professional image.
By using a well-designed email template, you can save time by not having to recreate the email layout for each mass email. It also ensures consistency in your messaging, which helps to establish brand recognition and professionalism among your recipients.
Remember to periodically review and update your email templates to align with any changes in your branding or messaging strategy. Keeping the templates up to date ensures that your mass emails remain fresh and engaging for your recipients.
Customizing Merge Fields for Personalization
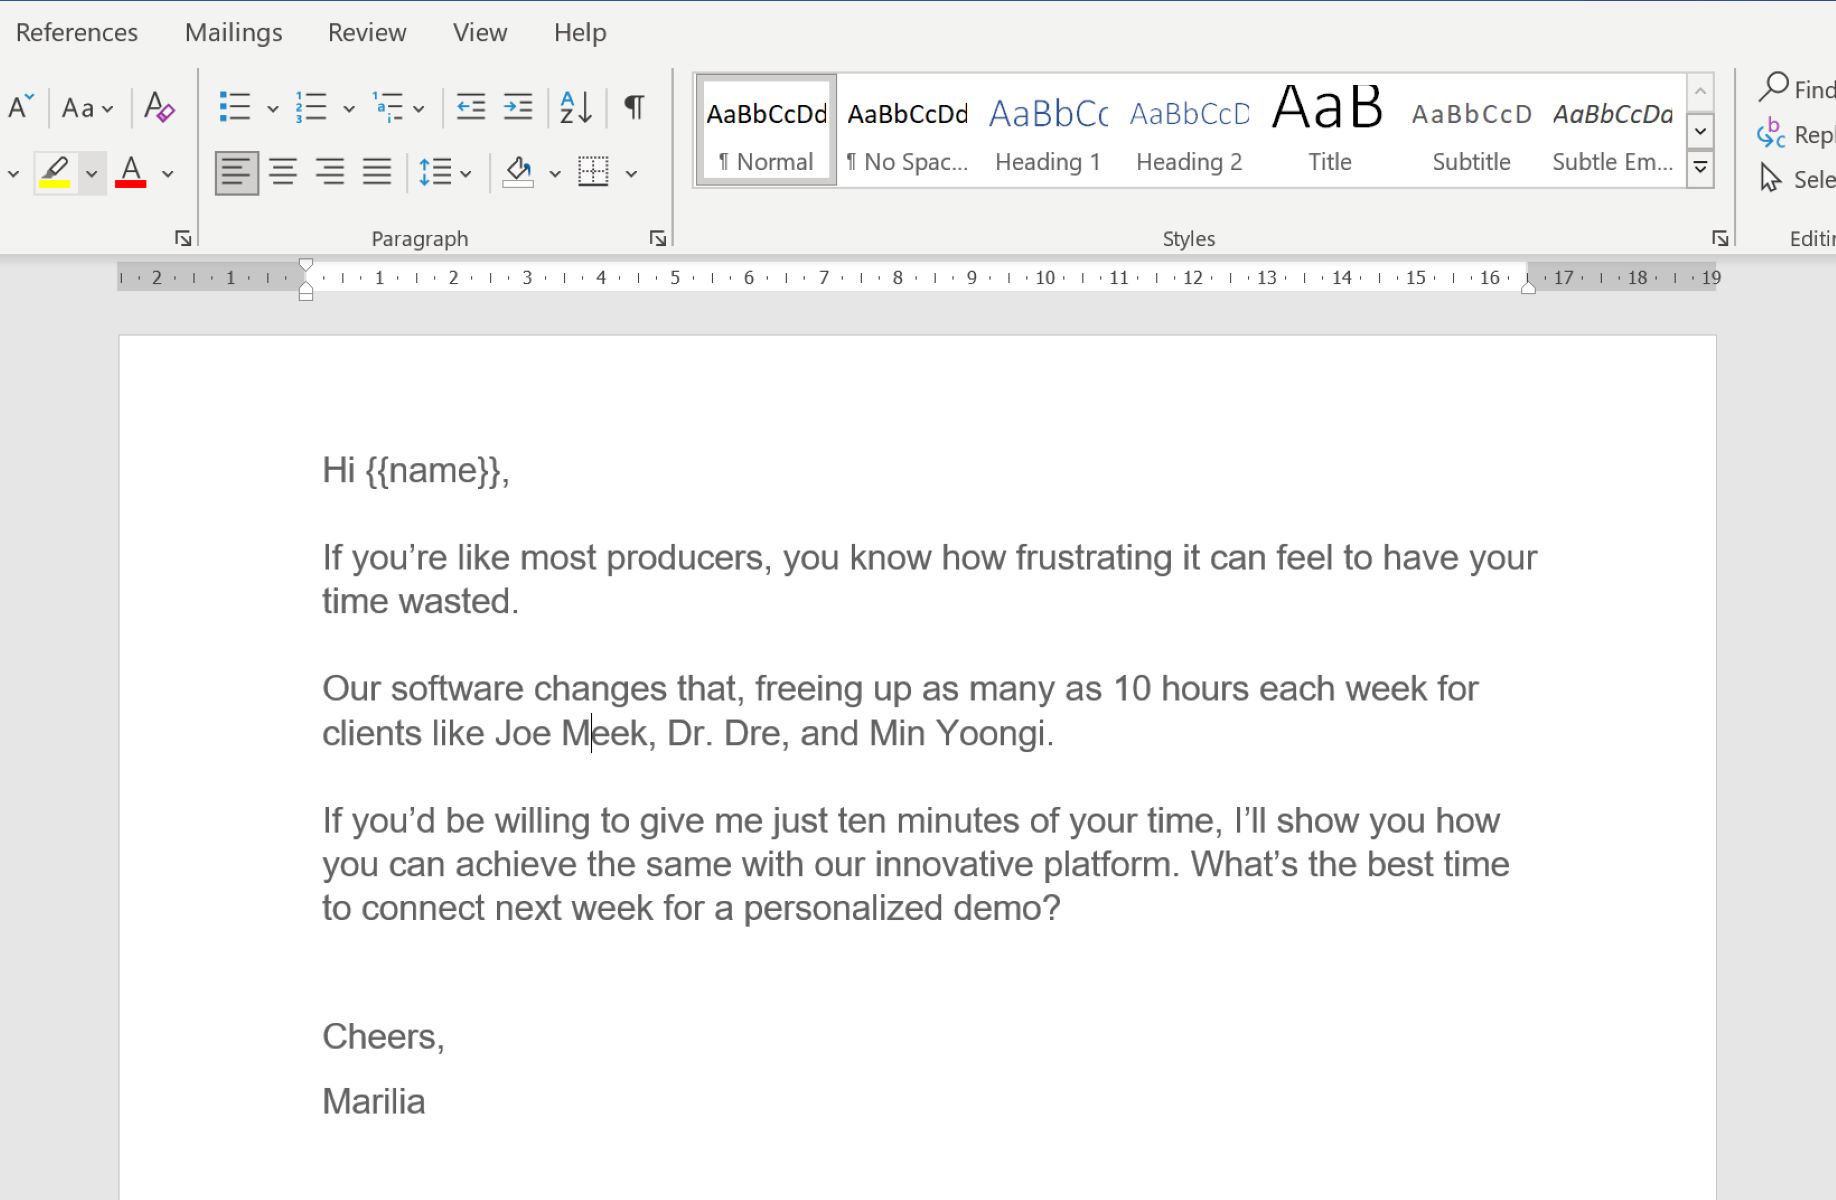
Personalizing your mass email messages can significantly improve engagement and make your recipients feel valued. Outlook allows you to customize merge fields, also known as placeholders, which dynamically populate individual recipient information into your email template.
To customize merge fields for personalization in Outlook, follow these steps:
- Open Outlook and navigate to the “Mailings” or “Developer” tab (depending on your Outlook version).
- Click on the “Start Mail Merge” or “Insert Merge Field” button.
- Select the desired merge field from the dropdown list. Merge fields can include recipient names, email addresses, company names, and other relevant information.
- Place the merge field in the appropriate location within your email template.
- Repeat the process for any additional merge fields you wish to include.
By customizing merge fields, you can add a personal touch to your mass email messages without having to manually input recipient-specific information for each email. This not only saves time but also makes your emails feel more tailored and relevant to the individual recipient.
When using merge fields, ensure that the data you’re merging is accurate and up to date. Double-check any dynamic information, such as names or contact details, to avoid sending incorrect or outdated information to your recipients.
Personalization goes beyond just using merge fields. Consider segmenting your audience based on demographic data or past interactions, and tailor your email content accordingly. Craft compelling subject lines and opening statements to grab the recipient’s attention and make them feel like the email is specifically for them.
Remember, personalization can significantly boost the effectiveness of your mass email campaigns, but don’t overdo it. Use personalization strategically and sparingly to maintain professionalism and avoid coming across as overly familiar or intrusive.
Inserting Merge Fields into the Email Template
Once you have customized the merge fields for personalization in Outlook, the next step is to insert them into your email template. Inserting merge fields allows you to dynamically populate recipient-specific information into each mass email message.
To insert merge fields into your email template in Outlook, follow these steps:
- Open Outlook and create a new email message.
- Click on the “Options” tab and select “Mail Merge”.
- In the “Select Recipients” section, choose the distribution list or contact group you want to send the mass email to.
- In the body of the email, place the cursor where you want to insert a merge field.
- Click on the “Insert Merge Field” button, and select the desired merge field from the dropdown list.
- Repeat the process to insert any additional merge fields as needed.
- Once you have inserted all the desired merge fields, compose the rest of your email content as you would with any other email message.
When inserting merge fields, make sure they are placed in the appropriate context within your email template. For example, use recipient names where it makes sense to address recipients individually, and utilize other merge fields to personalize other relevant information.
Previewing the mass email before sending is crucial to ensuring that the merge fields display the correct information for each recipient. This step allows you to catch any errors or discrepancies and make necessary adjustments to your email template before sending it to a larger audience.
Remember, the power of merge fields lies in their ability to personalize each email message for the individual recipient. Take advantage of this feature to make your mass emails feel more personalized and relevant, increasing the chances of engagement and response from your recipients.
Previewing the Mass Email
Before sending out your mass email in Outlook, it’s crucial to preview the email to ensure that it appears correctly and all merge fields are populated with the appropriate recipient information. Previewing allows you to catch any potential formatting issues or errors in the email template before it reaches your recipients.
To preview the mass email in Outlook, follow these steps:
- Open Outlook and make sure you have the email message with the merge fields inserted.
- Click on the “Preview Results” button in the “Mail Merge” options.
- Navigate through the emails in the preview to review how each email will appear to the individual recipients.
- If you notice any issues or errors, go back to the email template and make the necessary modifications.
- Continue previewing the mass email until you are satisfied with how it looks for all recipients.
During the preview, pay close attention to the dynamic content generated by merge fields. Check that the recipient’s name, company information, or any other personalized data is displayed correctly and is not cut off or missing. Ensure that the overall layout and formatting of the email appear as intended.
Previewing the mass email not only helps you catch any potential mistakes but also gives you a chance to review the overall flow and messaging of the email. Make sure the email delivers the intended message, has a clear call-to-action, and adheres to your brand guidelines.
If everything looks good during the preview, you’re ready to proceed with sending the mass email. However, if any issues or errors are detected, take the time to correct them before sending the email to the larger audience. This ensures a more professional and error-free communication with your recipients.
Remember that the preview is a crucial step in the mass email process, as it allows you to review and fine-tune your email content before it reaches your entire recipient list. Take the time to thoroughly preview each individual email to ensure accuracy and professionalism in your communication.
Sending the Mass Email
After previewing and finalizing your mass email in Outlook, it’s time to send it to your intended recipients. Sending a mass email ensures that your message reaches a large audience simultaneously, saving you time and effort compared to sending individual emails.
To send the mass email in Outlook, follow these steps:
- Ensure that you have the final version of the email message with all the desired modifications and merge fields correctly populated.
- Click on the “Finish & Merge” or “Send Email” button in the “Mail Merge” options.
- Choose the option to send the email messages.
- Review the recipients’ list and make any necessary adjustments.
- Click on “Send” to initiate the sending process.
- Outlook will begin sending the mass emails, which may take some time depending on the number of recipients.
- Once the mass emails are sent, you will receive a confirmation or delivery report indicating the status of each email.
When sending mass emails, it’s essential to pay attention to your email service provider’s sending limits and policies. Some email providers have restrictions on the number of emails you can send per day or per hour to prevent abuse and ensure deliverability.
Additionally, consider scheduling the mass email to be sent during a time when your recipients are likely to be checking their emails. Sending emails during business hours or early in the morning tends to yield better open and response rates.
While sending the mass email, it’s crucial to ensure that you are complying with anti-spam laws and regulations. Make sure you have obtained proper permission from your recipients and have provided an easy way for them to unsubscribe if they wish to do so. Always respect the privacy and preferences of your recipients.
Once the mass email has been sent, avoid making any major changes or modifications to the email content, as it may lead to confusion or inconsistencies among recipients. Instead, focus on tracking the delivery and open rates and analyzing the results to improve your future email campaigns.
Tracking the Delivery and Open Rates
Tracking the delivery and open rates of your mass email in Outlook is an essential step in evaluating the effectiveness of your email campaign. By monitoring these metrics, you can gain insights into how well your email is performing and make informed decisions for future improvements.
To track the delivery and open rates of your mass email in Outlook, follow these steps:
- Open Outlook and navigate to the “Sent Items” folder.
- Locate the mass email you sent and open it.
- Review the email’s delivery status, which indicates whether the email was successfully delivered to each recipient on your list.
- To track the open rates, determine if your email includes any tracking mechanisms such as read receipts or image-based tracking.
- If read receipts are enabled, you can view the “Read” status for each recipient who has opened the email.
- For image-based tracking, check if the tracking pixel has been loaded, indicating that the recipient has opened the email.
- Make note of the delivery and open rates and analyze the data to gauge the overall performance of your mass email campaign.
Tracking the delivery and open rates allows you to assess how well your mass email is reaching and engaging your recipients. A high delivery rate indicates that your email successfully reached the majority of your intended audience, while a low delivery rate may indicate delivery issues or problems with your recipients’ email servers.
Monitoring open rates provides insights into the effectiveness of your subject line, email content, and overall relevance to your recipients. A high open rate suggests that your email captured the attention of recipients and encouraged them to explore the message further. Conversely, a low open rate may indicate that your subject line or email content needs improvement.
Keep in mind that delivery and open rates are just some of the metrics you can track. Additional metrics, such as click-through rates and conversion rates, provide deeper insights into recipient engagement and the success of your call-to-action. Consider using email tracking tools or services that provide comprehensive analytics to obtain a more comprehensive view of your email campaign’s performance.
By regularly tracking the delivery and open rates of your mass email, you can fine-tune your email marketing strategy, optimize your content, and improve future campaign performance. Use the data as a basis for making informed decisions and implementing changes that drive better engagement and response from your recipients.
Managing Unsubscribes and Bounces
When sending mass emails in Outlook, it’s essential to have a mechanism in place to manage unsubscribes and bounces. Unsubscribes allow recipients to opt-out of receiving future mass emails, while bounces occur when an email cannot be delivered to a recipient’s inbox.
To effectively manage unsubscribes and bounces in Outlook, consider the following:
- Include an unsubscribe link in your mass email template that allows recipients to opt-out of future emails. This link should be clear, visible, and easy to use.
- Regularly monitor and process unsubscribe requests. When a recipient clicks on the unsubscribe link, promptly remove them from your distribution list to comply with applicable regulations and respect their preferences.
- Monitor bounced emails to identify invalid or inactive email addresses. Outlook typically categorizes bounces as either “soft bounces” or “hard bounces”. Soft bounces occur for temporary issues, such as a full inbox, while hard bounces indicate a permanent delivery failure.
- Upon receiving a bounce notice, verify the accuracy of the recipient’s email address and take appropriate action. For soft bounces, you can attempt to resend the email at a later time. However, for hard bounces, it’s best to remove the email address from your distribution list as it is unlikely to be delivered successfully in the future.
- Maintain a clean and updated email list to reduce the number of bounces. Regularly review and remove any invalid or inactive email addresses from your distribution list to ensure that your emails reach engaged recipients.
- Consider using an automated email management system or specialized software that can help you streamline the process of managing unsubscribes and bounces. These tools often provide features like automatic unsubscribe handling and bounce management, making it easier to maintain a healthy email list.
Managing unsubscribes and bounces not only helps you comply with email marketing regulations but also ensures that your communications are reaching engaged recipients. By respecting individuals’ preferences and maintaining a clean email list, you can enhance your sender reputation and improve the deliverability of your mass emails.
Remember to also review and adhere to specific legal requirements in your jurisdiction, such as the CAN-SPAM Act (for recipients in the United States) or the General Data Protection Regulation (GDPR) (for recipients in the European Union).
By proactively managing unsubscribes and bounces, you can maintain a positive relationship with your audience and focus your efforts on engaging recipients who are genuinely interested in your email communications.
Analyzing the Results and Improving future Campaigns
After sending your mass email campaign in Outlook, it’s crucial to analyze the results to gain insights into its performance. By reviewing key metrics and gathering feedback from recipients, you can make informed decisions and implement improvements for future email campaigns.
Here are some steps to help you analyze the results and improve your future campaigns:
- Review delivery, open, and click-through rates: Examine the email metrics provided by Outlook or other tracking tools to assess how well your email performed. Analyze the delivery rate to ensure your email reached as many recipients as possible. Study the open and click-through rates to gauge how engaged your audience was with your content.
- Segment and analyze recipient responses: Divide your recipients into segments based on various factors such as demographics, behavior, or response rates. Analyze the data to identify patterns and trends among different segments. This analysis will help you understand which types of recipients responded positively to your email campaign.
- Gather feedback: Encourage recipients to provide feedback on your mass email by including a survey or feedback form. Analyze the feedback to gain insights into what worked well and what could be improved. Pay attention to common themes or suggestions that can guide future enhancements.
- Identify areas for improvement: Based on the data and feedback collected, pinpoint specific areas where your email campaign can be enhanced. This could include improving the subject line, refining the email content, optimizing the call-to-action, or adjusting the send time or frequency.
- Implement changes: Incorporate the insights gained from the analysis into your future email campaigns. Make the necessary adjustments to your email templates, targeting strategy, and content to align with the preferences and needs of your audience.
- A/B test variations: Experiment with different elements of your email campaign by conducting A/B tests. Test different subject lines, layouts, or calls-to-action to determine which variations yield better results. Use the findings to optimize your future campaigns and maximize engagement.
- Monitor and track progress: Continuously monitor and track the performance of your email campaigns over time. Compare the results of different campaigns and iterations to identify trends and measure the effectiveness of your improvements. Use this data to refine your strategies and drive continuous improvement.
Remember, analyzing the results of your mass email campaign is an ongoing process. Regularly update your email marketing strategies based on the insights gained and evolving industry best practices. Keep experimenting and exploring new ideas to stay ahead of the competition and optimize your email campaign performance.
By regularly analyzing the results of your mass email campaigns, you can continually refine your approach and create more effective and engaging communications. Through data-driven insights and responsiveness to recipient feedback, you can refine your messaging, increase audience engagement, and achieve better results with each subsequent campaign.
Conclusion
Sending mass emails in Outlook can be a powerful tool for efficiently communicating with a large audience. By following the steps outlined in this guide, you can create effective email campaigns that reach recipients in a personalized and engaging manner.
Start by organizing your contacts into distribution lists, allowing you to easily select the recipients for each campaign. Creating a well-designed email template that includes merge fields for personalization adds a professional touch to your messages.
Always preview your mass emails before sending to ensure that merge fields are correctly populated and the email appears as intended. Tracking the delivery and open rates provides valuable insights into the effectiveness of your campaign, allowing you to analyze and optimize your future email efforts.
Managing unsubscribes and bounces is crucial for maintaining compliance with regulations and fostering a positive relationship with your recipients. By continuously analyzing the results of your mass email campaigns and making improvements based on feedback and metrics, you can refine your strategies and achieve better engagement and outcomes.
Remember, sending mass emails should always be done responsibly and in accordance with applicable regulations. Respect the preferences and privacy of your recipients, and obtain proper permission to ensure you are sending email communications to interested individuals.
By leveraging the power of Outlook and implementing best practices in your mass email campaigns, you can effectively reach and engage your audience, build relationships, and achieve your communication goals. Embrace the opportunities that mass email offers and see how it can benefit your professional or personal endeavors.