Introduction
One of the most common methods of communication in the modern world is through email. Whether it’s for personal or professional purposes, knowing how to send an email is an essential skill. Email allows us to connect with people across the globe, share information, and communicate in a convenient and efficient way.
In this article, we will guide you through the process of sending an email, from creating an email account to composing and sending your message. We will provide step-by-step instructions and valuable tips to ensure that your emails are clear, professional, and effective.
Sending an email may seem like a straightforward task, but there are various factors to consider, such as selecting the appropriate recipients, crafting a compelling subject line, composing the email body, and attaching files. Additionally, understanding how to format text and add hyperlinks can enhance the visual appeal and functionality of your emails.
By following this guide, you will gain the necessary knowledge and skills to confidently send emails in any context. Whether you’re a seasoned email user or new to the world of electronic communication, this article will provide you with valuable insights and practical advice.
So, let’s dive in and discover how to send an email like a pro!
Step 1: Creating an Email Account
Before you can send an email, you need to have an email account. There are several email service providers to choose from, such as Gmail, Yahoo Mail, Outlook, and many others. Here’s how you can create an email account:
1. Choose a service provider: Start by selecting a service provider that best suits your needs. Consider factors like storage capacity, ease of use, and additional features.
2. Visit the provider’s website: Once you’ve chosen a service provider, go to their official website. Look for a “Sign Up” or “Create Account” button, which is usually prominently displayed.
3. Fill in your information: Click the button to begin the account creation process. You’ll be asked to provide some basic information, such as your name, desired email address, and password. Ensure that your email address is memorable and professional.
4. Set up security measures: To protect your email account, set up security measures like a strong password and recovery options, such as a secondary email address or phone number. This will help you regain access to your account if you forget your password.
5. Complete the process: Follow the instructions provided by the email service provider to complete the account creation process. You may need to verify your email address by clicking on a link sent to the email ID you provided.
6. Customize your account: Once your account is created, you can customize it by adding a profile picture, creating a signature, and adjusting privacy settings according to your preferences.
7. Learn the email interface: Take some time to explore the email interface. Familiarize yourself with the different features and options, such as accessing your inbox, composing new emails, and managing folders.
Congratulations! You’ve successfully created an email account. Now you’re ready to start sending and receiving emails. In the next step, we’ll guide you through the process of composing a new email.
Step 2: Composing a New Email
Now that you have your email account set up, it’s time to compose a new email. Whether you need to send a message to a friend, a colleague, or a potential client, the process is generally the same. Here’s how you can compose a new email:
1. Open your email client: Begin by opening your email client or web browser and navigating to your inbox. Look for a button or icon that says “Compose” or “+ New Email”. Click on it to start a new email.
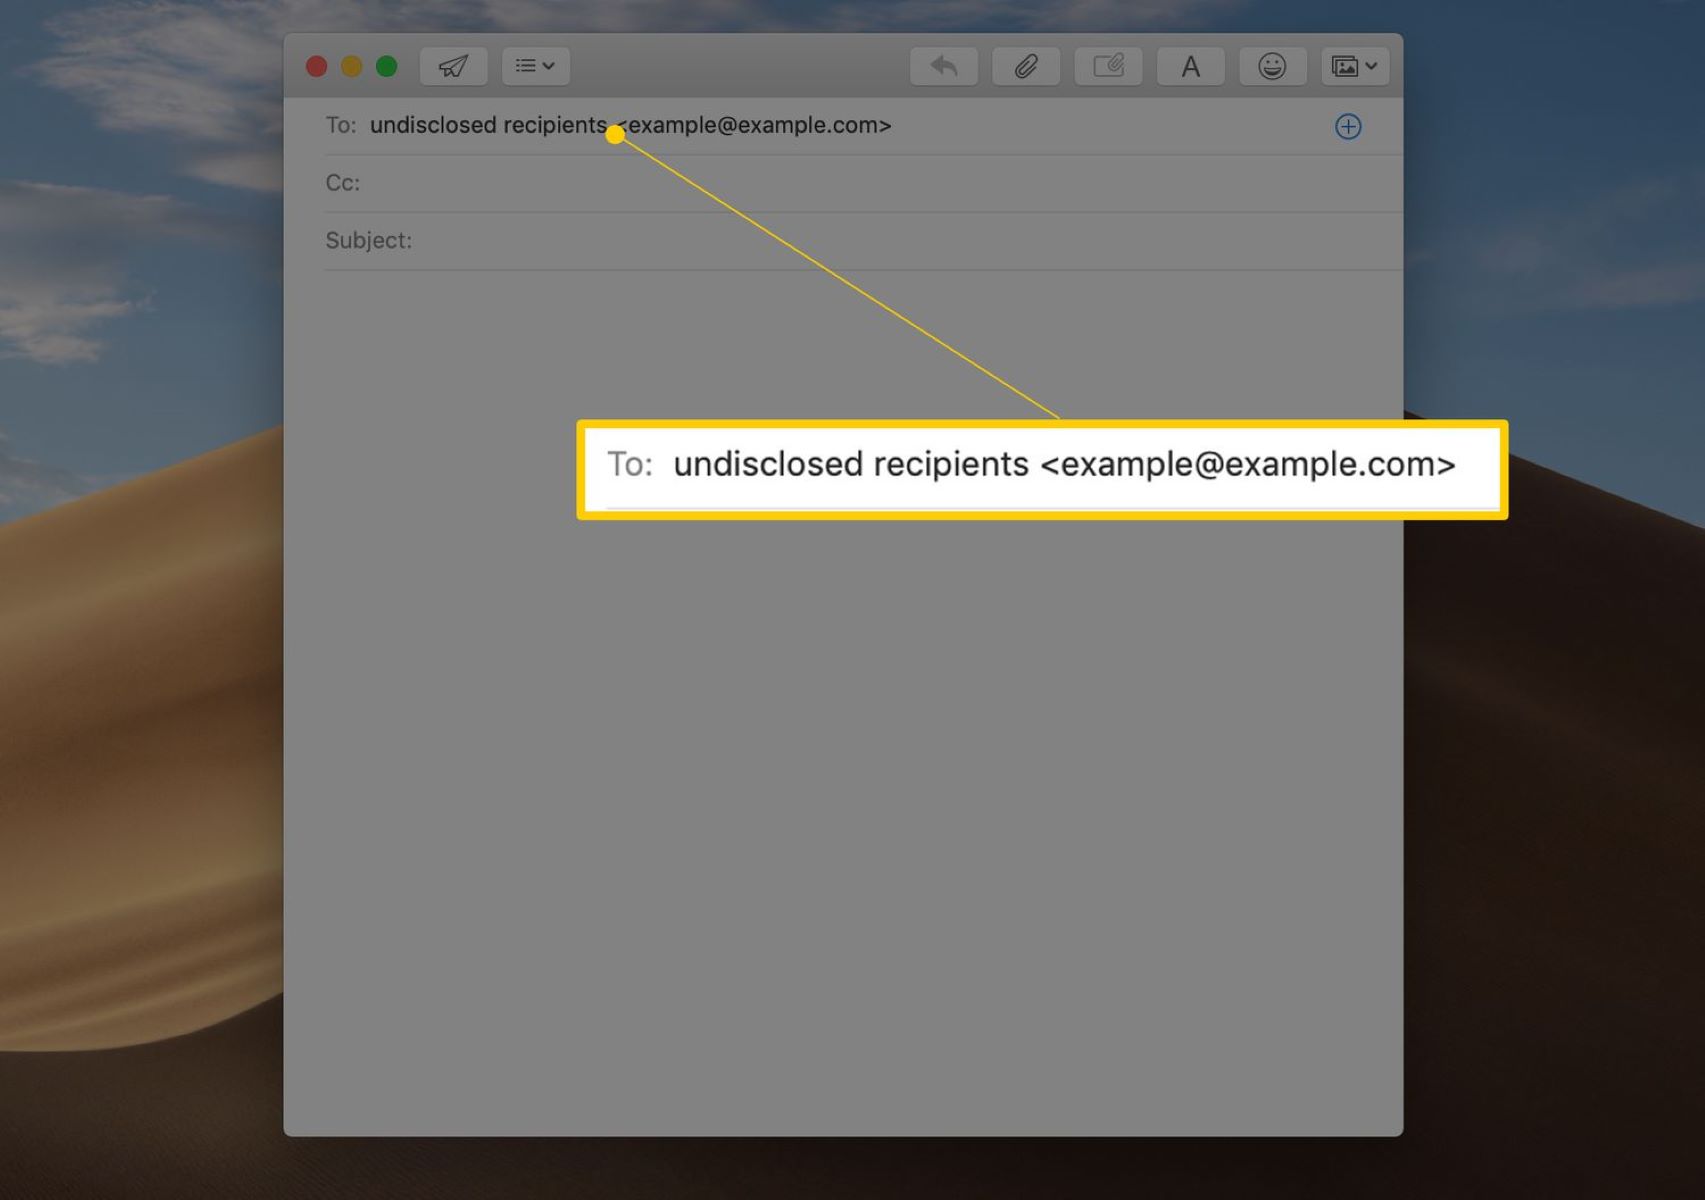
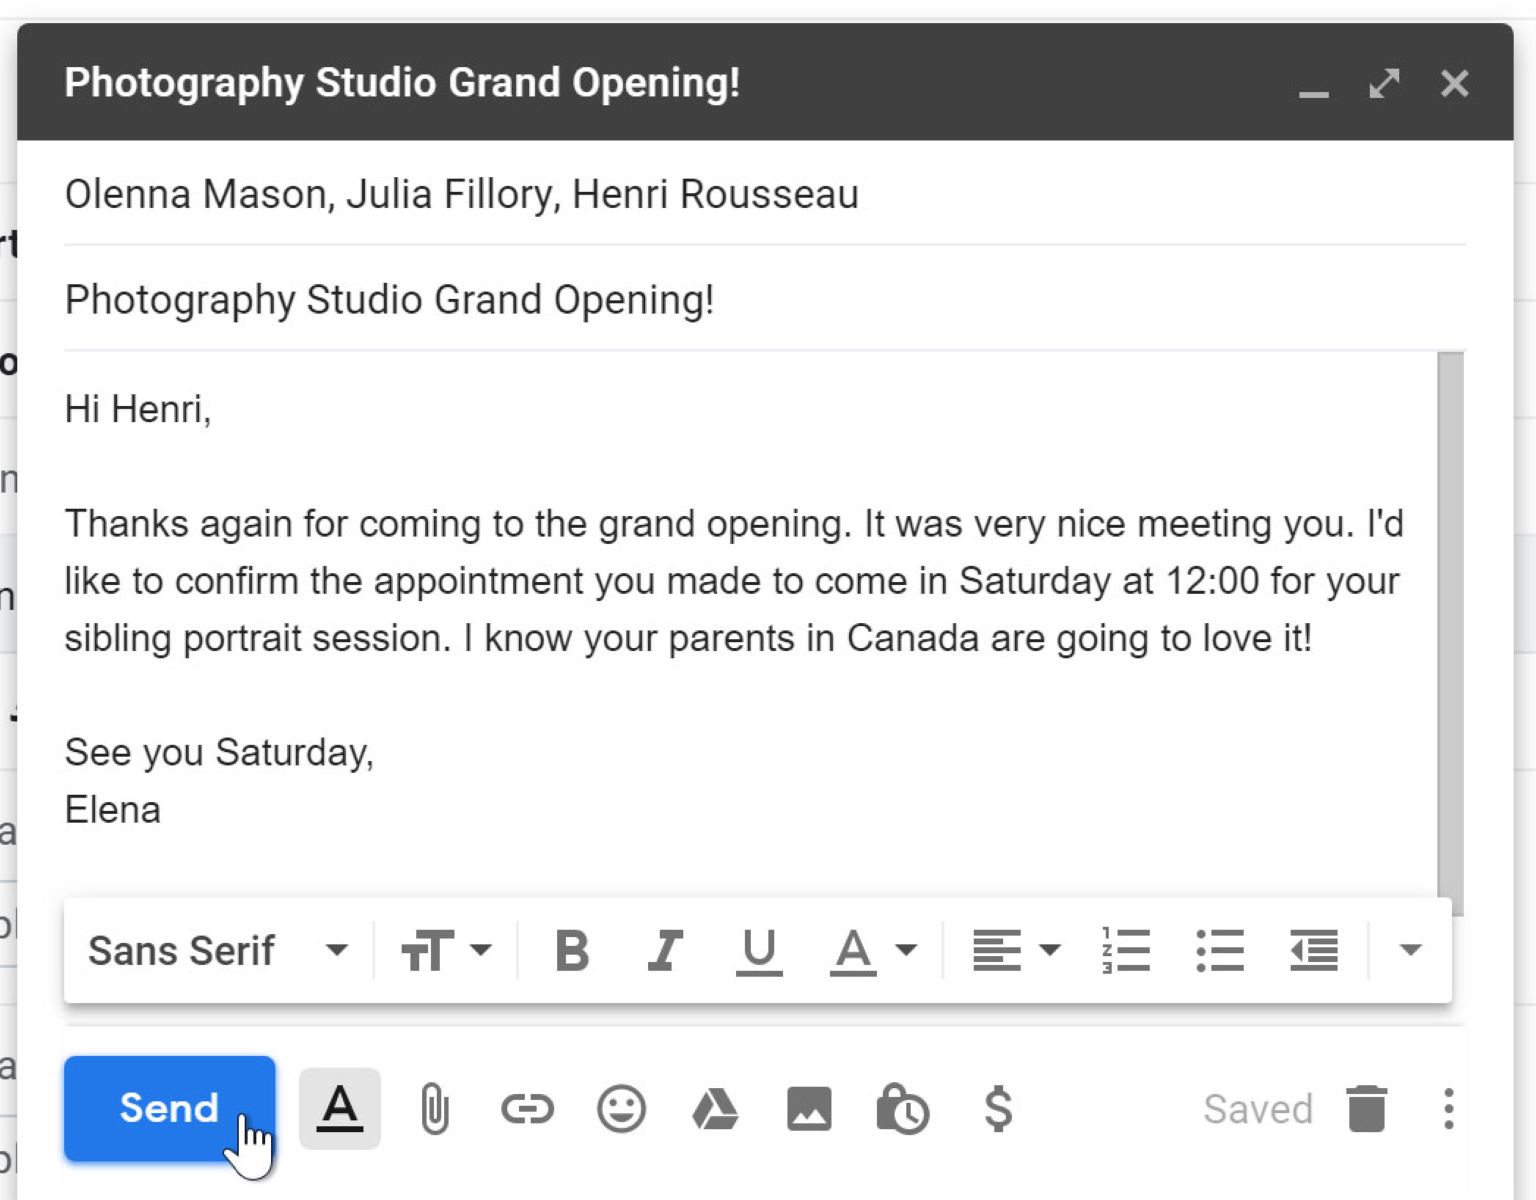
2. Enter the recipient’s email address: In the “To” or “Recipient” field, enter the email address of the person or people you want to send the email to. You can enter multiple addresses if needed, separating them with commas.
3. Add a Cc or Bcc if necessary: If you want to carbon copy (Cc) someone or blind carbon copy (Bcc) them on the email, enter their email addresses in the appropriate fields. Cc recipients can see who else received the email, while Bcc recipients cannot.
4. Write a concise and compelling subject line: The subject line is a brief summary of the email’s content. It should be clear, concise, and grab the recipient’s attention. Use action-oriented language and avoid using all caps or excessive punctuation.
5. Craft the body of the email: In the main body section, write your message. Start with a polite greeting, such as “Dear [Recipient’s Name]” or “Hello [Recipient’s Name]”. Clearly and concisely communicate your purpose, provide any necessary details, and end with a courteous closing, such as “Sincerely” or “Best Regards”.
6. Use proper email etiquette: When composing an email, it’s important to follow proper email etiquette. Use a professional tone, avoid using slang or emoticons, and always check for spelling and grammar errors before sending.
7. Utilize formatting options: Most email clients offer formatting options like bold, italics, underline, and font colors. Use these tools sparingly to emphasize important points or headings within your email.
8. Consider attaching files or links: If you need to share documents, images, or other files, consider attaching them to the email. Most email clients have an attachment button where you can browse and add files. Alternatively, you can insert hyperlinks if the files are hosted online.
9. Proofread and review: Before sending your email, take a moment to proofread it for any errors or typos. Review the recipient list, subject line, and email content to ensure that everything is accurate and well-written.
Once you’re satisfied with your email, click on the “Send” button to dispatch it to the recipient(s). Congratulations! You’ve successfully composed a new email. In the next step, we’ll cover how to add recipients to ensure your message reaches the right people.
Step 3: Adding Recipients
When sending an email, it’s important to ensure that it reaches the intended recipients. Adding recipients correctly helps avoid any miscommunication and ensures that each individual receives the message. Here’s how you can add recipients to your email:
1. Start with the primary recipient: In the “To” field, enter the email address of the primary recipient. This is the person you want the email to directly reach. Make sure you have the correct email address to avoid sending the email to the wrong person.
2. Consider using the Cc field: The Cc (carbon copy) field is used to copy other individuals on the email. This is useful when you want others to be aware of the conversation, but it is not necessary for them to take immediate action. Enter additional email addresses in the Cc field, separating them with commas.
3. Use the Bcc field when necessary: The Bcc (blind carbon copy) field allows you to send a copy of the email to others without revealing their email addresses to the primary and Cc recipients. This is helpful when you want to maintain privacy or send the same message to a group without revealing everyone’s email addresses. Enter the Bcc email addresses in the appropriate field, separating them with commas.
4. Be mindful of recipient privacy: When adding recipients, be mindful of their privacy. Avoid sharing email addresses without the recipients’ consent, especially when using the Cc or Bcc fields. Consider sending separate emails to maintain individual privacy.
5. Double-check the recipient list: Before sending the email, double-check the recipient list to ensure that you have included all the necessary individuals and that there are no typing errors. Verify that each recipient’s email address is accurate to avoid any delivery issues.
6. Add or remove recipients as needed: If you realize you need to add or remove recipients after composing the email, you can do so by editing the recipient fields. This allows you to update the recipient list before sending the email.
Adding recipients correctly is crucial to effective email communication. It ensures that your message is delivered to the right individuals and facilitates clear and efficient communication. In the next step, we will cover how to write an effective subject line to grab the recipient’s attention and convey the purpose of your email.
Step 4: Writing the Subject Line
When it comes to email communication, the subject line plays a crucial role in grabbing the recipient’s attention and summarizing the content of your message. A well-crafted subject line can significantly increase the likelihood of your email being opened and read. Here’s how you can write an effective subject line:
1. Be concise and specific: The subject line should be brief but descriptive. It should clearly indicate the purpose or main topic of your email. Avoid vague or generic subject lines that may be overlooked or confuse the recipient.
2. Use action-oriented language: Engage the recipient by using action-oriented language in your subject line. If there’s a specific action you want them to take, such as “Review,” “Answer,” or “Confirm,” include it in the subject line to communicate the urgency or importance of your message.
3. Highlight important information: If there’s important information or a key point you want to convey, consider including it in the subject line. This can pique the recipient’s curiosity and give them a clear idea of what to expect in the email.
4. Personalize when appropriate: If you’re sending an email to a specific person, consider personalizing the subject line. Include their name or reference something specific to your relationship or previous communication. This can make your email stand out and foster a sense of familiarity and importance.
5. Avoid using all caps or excessive punctuation: Using all caps or excessive punctuation in your subject line can come across as unprofessional and may even trigger spam filters. Stick to sentence case and use punctuation sparingly and appropriately.
6. Test different subject lines: If you’re unsure about which subject line will be most effective, consider testing different variations. Send the same email with different subject lines to see which one generates the best response. This can help you refine your approach and improve future email open rates.
Remember that the subject line serves as a preview of your email’s content. Make it compelling, informative, and concise to entice the recipient to open and engage with your message. In the next step, we will explore how to compose the body of your email in a clear and effective manner.
Step 5: Composing the Email Body
When composing the body of your email, it’s crucial to communicate your message clearly and effectively. The body of the email provides an opportunity to express your thoughts, provide information, and engage the recipient. Here are some tips for composing an effective email body:
1. Start with a polite greeting: Begin your email with a polite greeting to acknowledge the recipient. Use phrases like “Dear [Recipient’s Name]” or “Hello [Recipient’s Name]” to set a friendly tone.
2. Clearly state the purpose: Clearly state the purpose of your email in the opening paragraph. Let the recipient know why you are reaching out and what you hope to accomplish. Be concise and to the point.
3. Use paragraphs and bullet points: Break up your email body into paragraphs to improve readability. Use bullet points or numbered lists to present information in a structured and organized way. This makes it easier for the reader to understand and absorb the content.
4. Be concise and focused: Keep your email concise and focused on the main topic. Avoid unnecessary details or unrelated information. Stick to the key points and provide enough context for the recipient to understand the message.
5. Use a professional tone: Maintain a professional tone throughout the email. Use appropriate language and avoid slang or informal expressions. However, if you are communicating with a close colleague or friend, you can adjust the tone accordingly.
6. Be considerate of the recipient’s time: Respect the recipient’s time by keeping your email as brief as possible while still conveying the necessary information. If there are multiple topics or questions, separate them into separate paragraphs or consider sending multiple emails.
7. Use proper grammar and spelling: Proofread your email before sending it to ensure there are no grammar or spelling mistakes. Typos can detract from the professionalism and credibility of your message. Use spelling and grammar checking tools if needed.
8. End with a clear call-to-action: Clearly specify what you expect from the recipient or what action they need to take, if applicable. Use language like “Please let me know by [date]” or “I would appreciate your feedback by [date]” to indicate your expectations.
9. Close with a polite closing: Sign off your email with a polite closing, such as “Sincerely” or “Best regards,” followed by your name. If appropriate, you can also include additional contact information, such as your phone number or social media handles.
Remember, the body of your email is your chance to convey your message effectively. Use clear and concise language, structure your information logically, and provide the necessary details. In the next step, we will explore how to attach files to your email if needed.
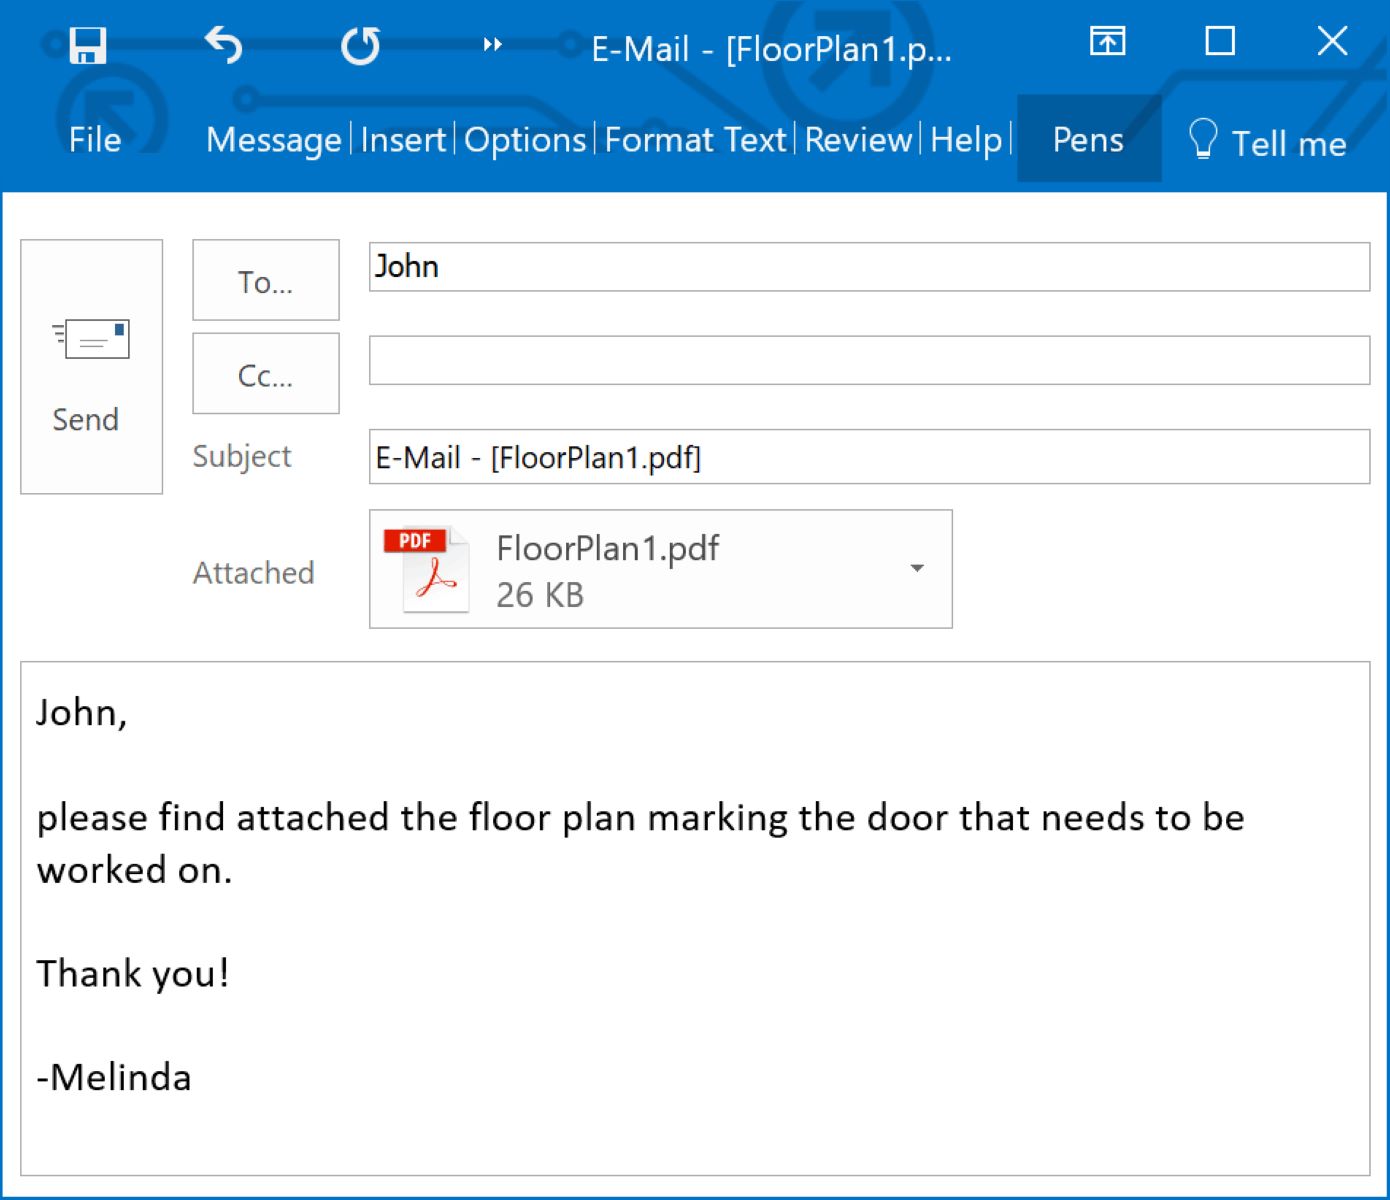
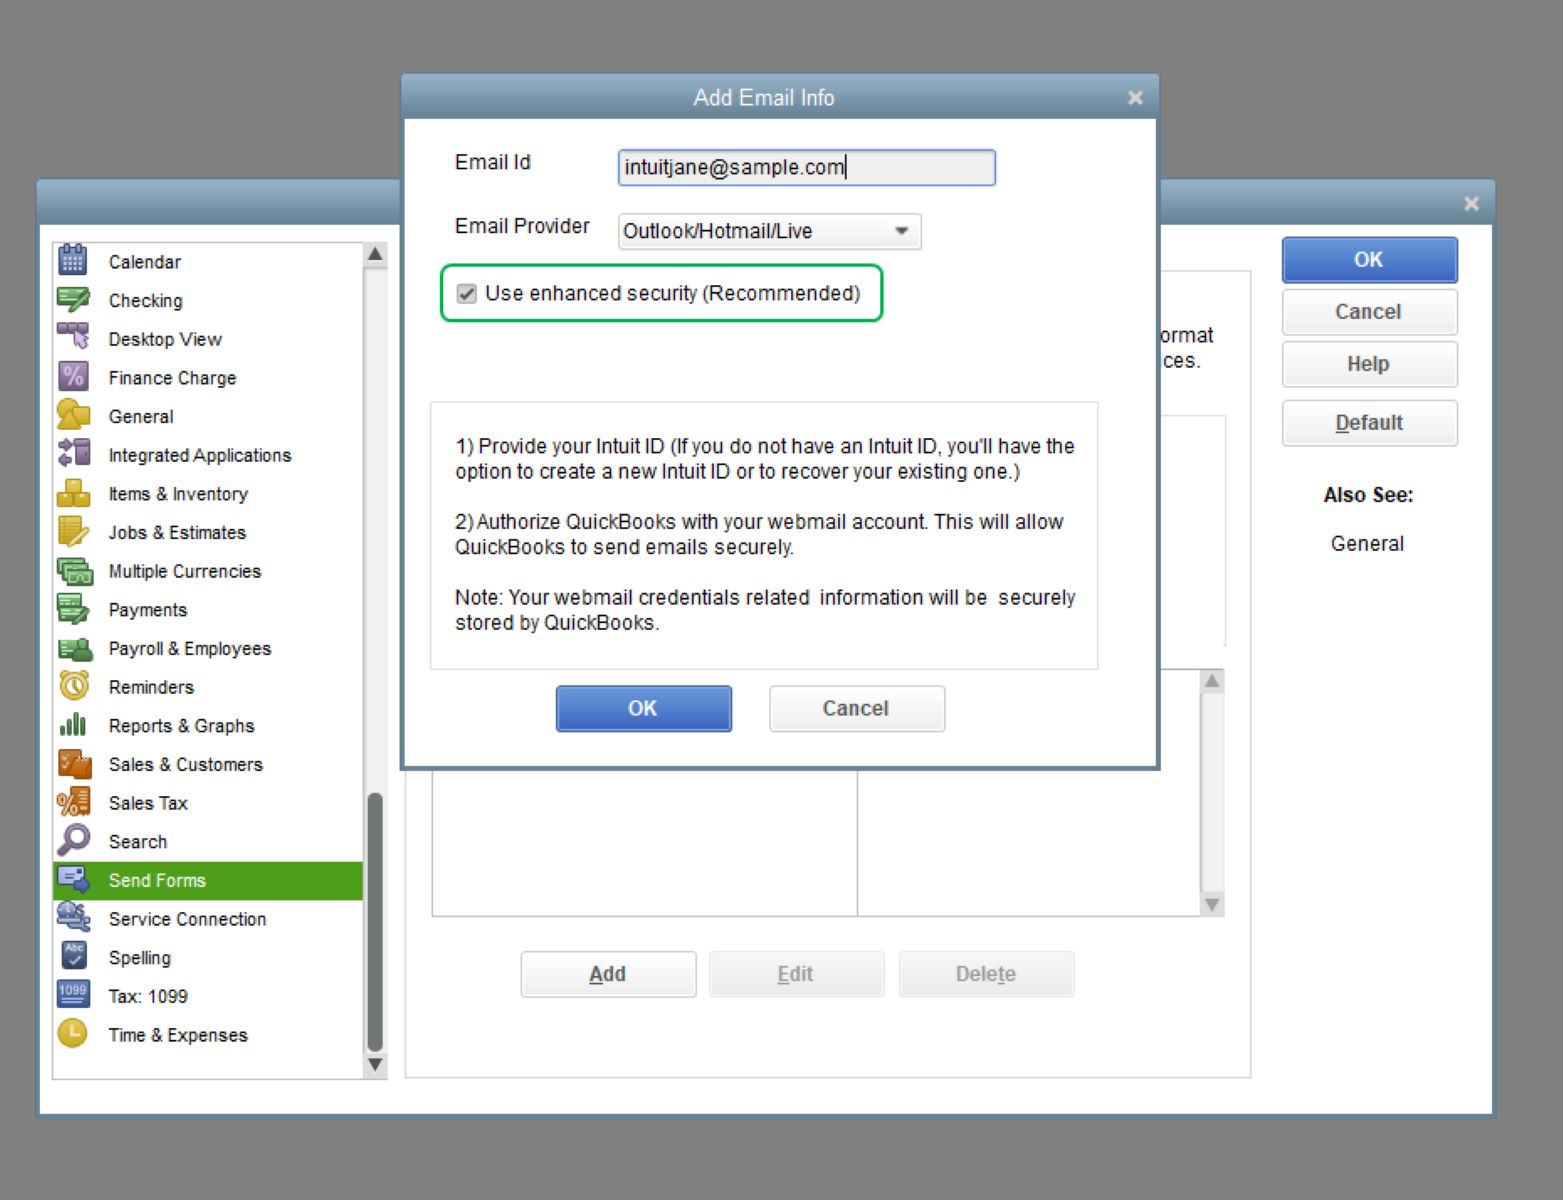
Step 6: Attaching Files
Attaching files to your email allows you to share documents, images, or any other relevant files with the recipient. Whether it’s a presentation, a PDF document, or a collection of photos, attaching files can enhance the information exchange and facilitate collaboration. Here’s how you can attach files to your email:
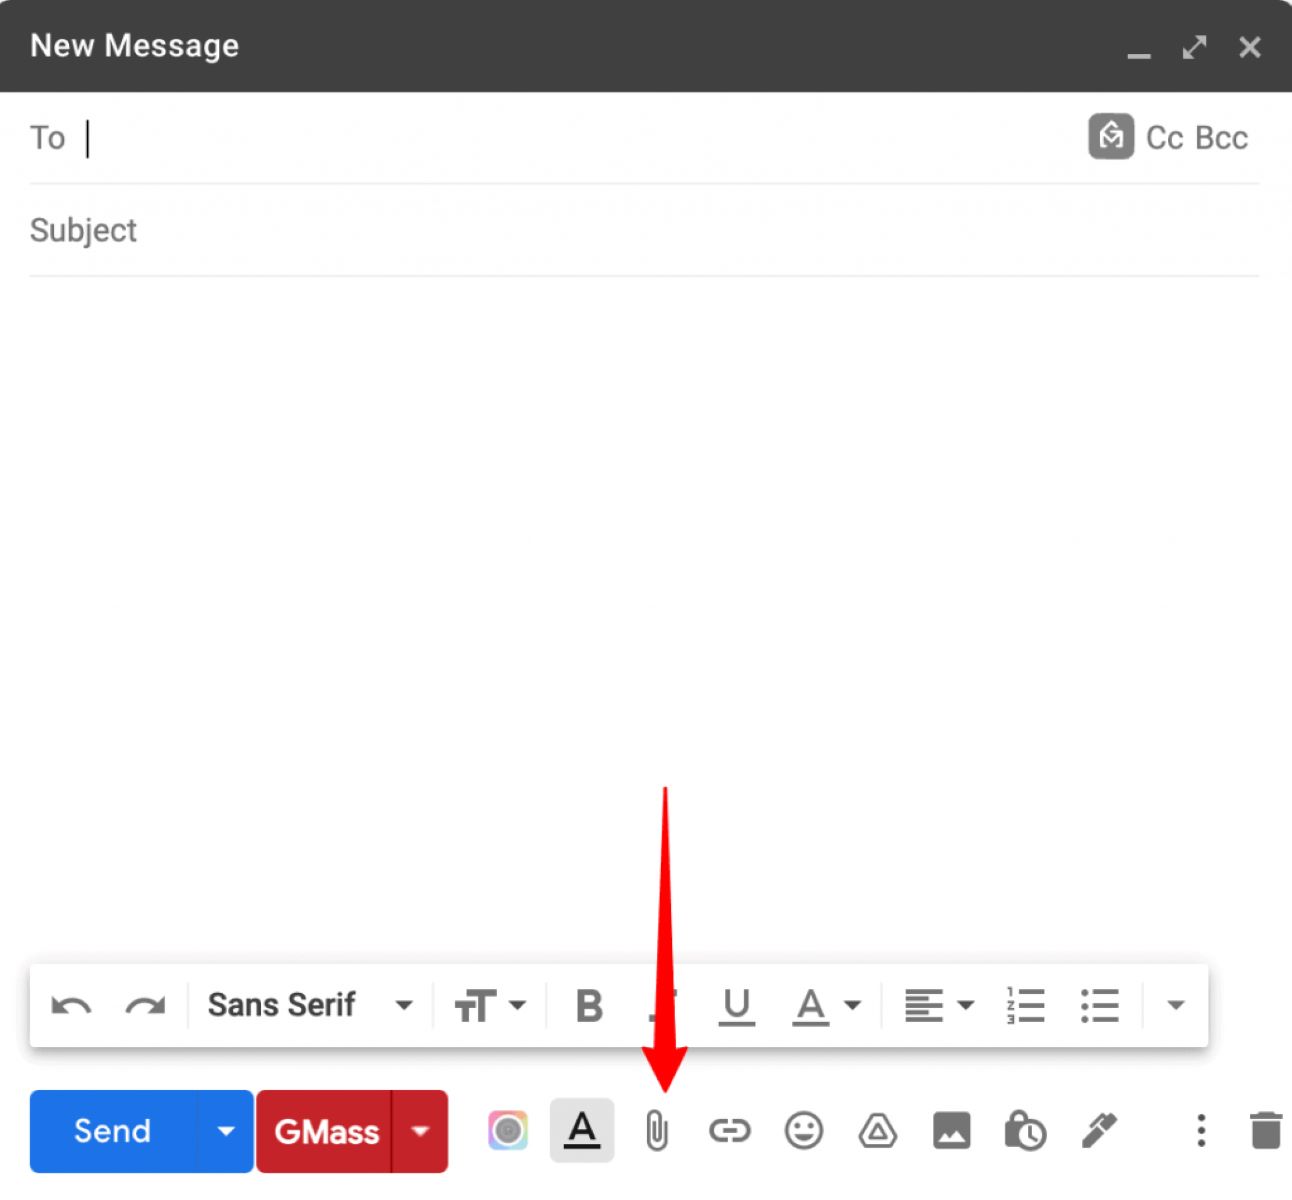
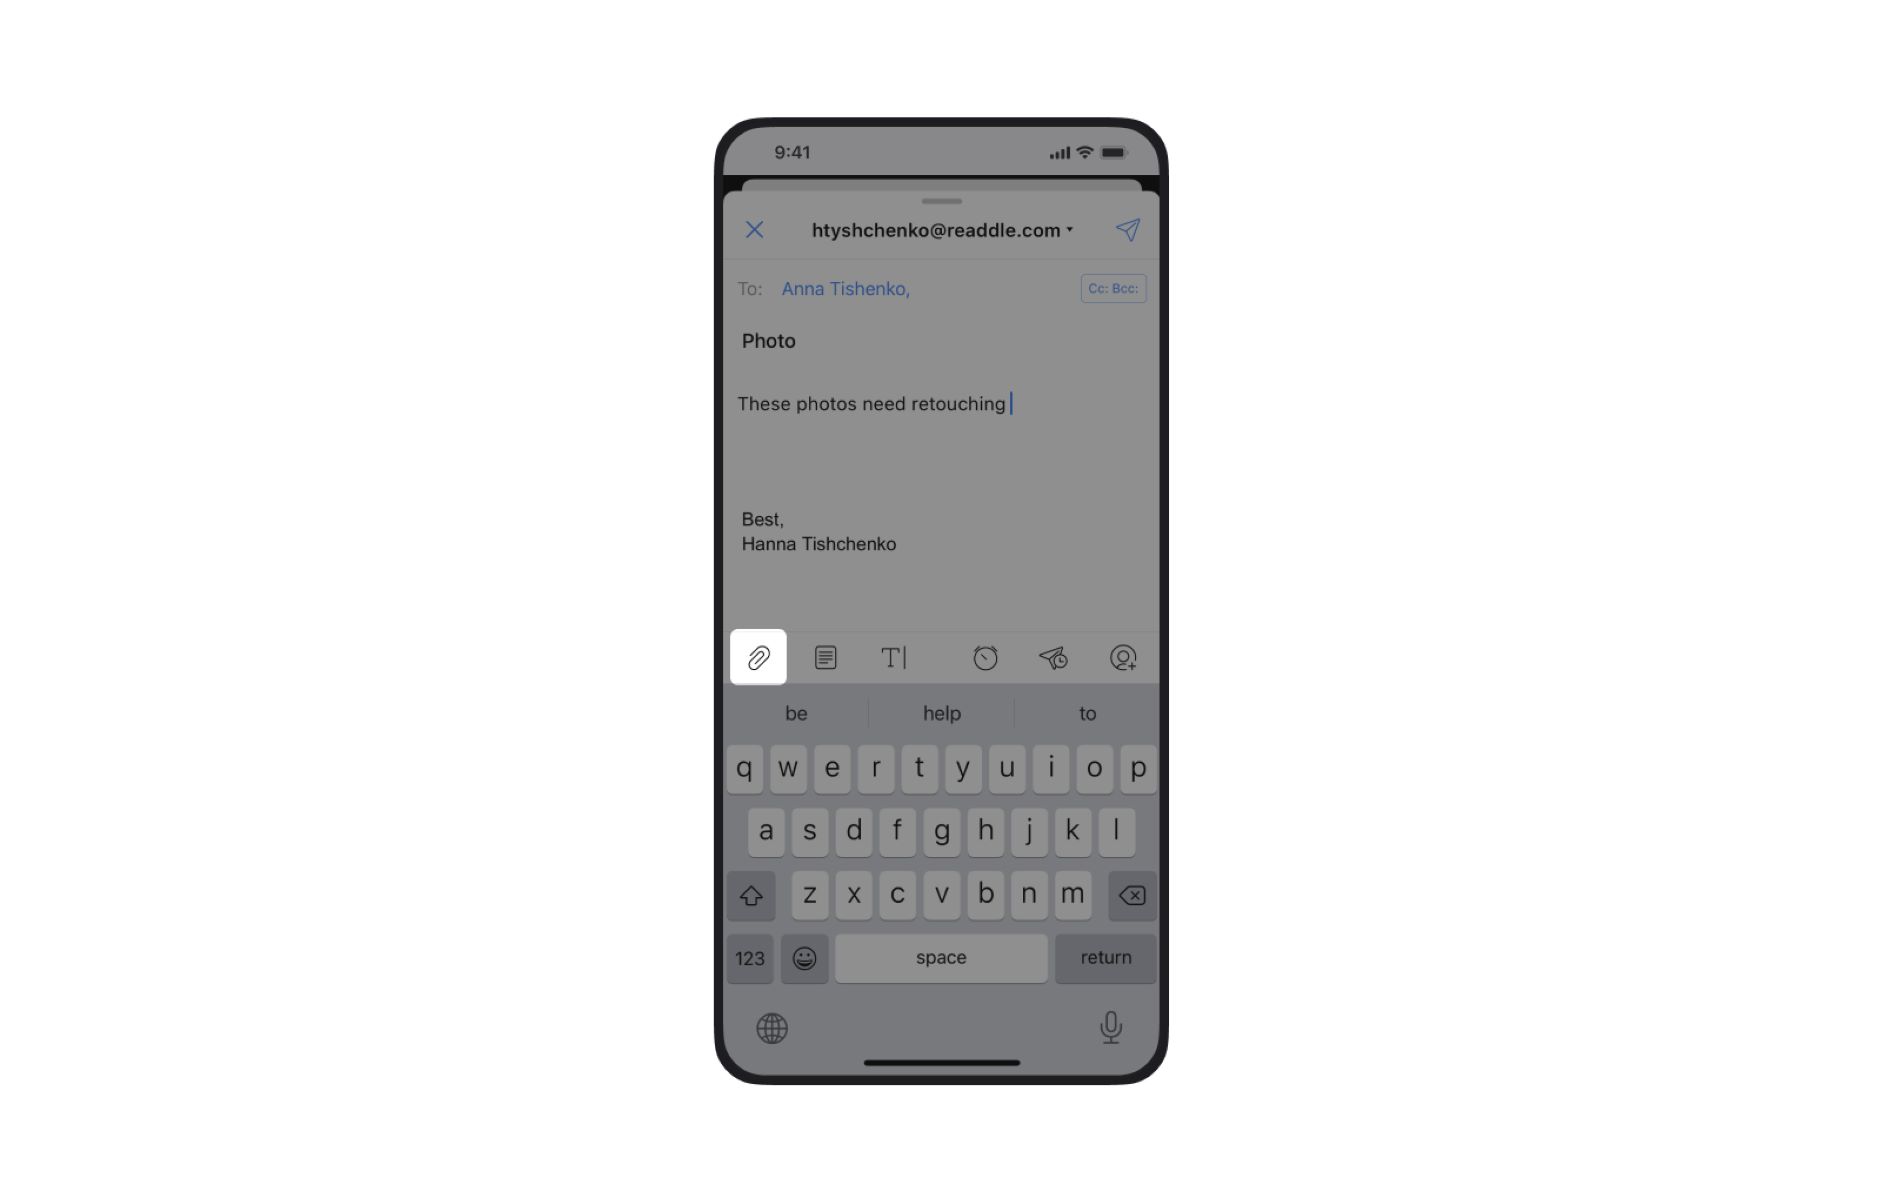
1. Look for the attachment button: Open your email client and locate the attachment button. It is usually represented by a paperclip icon or an option in the toolbar with a similar symbol. Click on it to begin the attachment process.
2. Select the file(s) to attach: A file browser window will open, allowing you to browse and select the file(s) you want to attach. Click on the desired file(s) and then click the “Open” button to add them to your email.
3. Manage file size: Keep in mind that some email providers have limitations on the size of attachments. If your file exceeds the size limit, you may need to compress it or use a file-sharing service to send it. Consider whether it’s necessary to send the file as an attachment or if an alternative method like sharing a download link would be more appropriate.
4. Confirm attachment inclusion: Double-check that the attachment is added to your email. Most email clients display a visualization of the attached file(s) below the subject line or in a designated attachment area.
5. Provide context for the attachment: Before sending the email, it can be helpful to provide context or instructions related to the attachment. You can mention it in the body of your email or briefly explain the purpose or relevance of the attached file(s).
6. Verify file compatibility: Check that the recipient will be able to open and access the attached file(s). If you are using a specific file format that might not be universally supported, consider converting it to a more commonly used format or providing alternative options for compatibility.
7. Test the attachment if possible: If it’s essential that the recipient interacts with the attached file(s) in a specific way, consider testing the attachment before sending the email. Ensure that the files open correctly and according to your intended use.
Once you have attached the necessary file(s) to your email, you’re ready to send it. Just make sure to review your email for any additional edits or changes before submitting it. In the next step, we’ll explore how to format your email text and add hyperlinks to enhance your message.
Step 7: Formatting Text and Adding Hyperlinks
Formatting text and adding hyperlinks to your email can enhance the visual appeal and functionality of your message. Whether you want to emphasize certain words, create headings, or include links to external resources, formatting options can help you convey your message effectively. Here’s how you can format text and add hyperlinks to your email:
1. Use basic text formatting: Most email clients offer basic text formatting options, such as bold, italics, and underline. Highlight the text you want to format and select the corresponding option from the toolbar or right-click menu. Use these formatting options sparingly to draw attention to important points or headings.
2. Create headings and subheadings: To organize the content of your email, consider using headings and subheadings. Use a larger and/or bold font size to indicate headings and a slightly smaller or italicized font size for subheadings. This visually separates different sections and makes it easier for the recipient to navigate through the email.
3. Add hyperlinks: To include a hyperlink in your email, highlight the text you want to turn into a link and click on the “Insert hyperlink” button. Enter the URL of the website or the email address you want to link to. Provide a concise and descriptive text as the link, so the recipient knows where it leads without having to click on it.
4. Format hyperlinks: Consider formatting hyperlinks differently from regular text by underlining them or using a different font color. This helps distinguish them and makes it clear to the recipient that they can click on those links for additional information.
5. Test hyperlinks: Before sending the email, test the hyperlinks to ensure they are working correctly. Click on them to verify that they open the intended webpage or trigger the appropriate action, such as opening a new email with a pre-filled recipient address.
6. Avoid excessive formatting: While formatting options can be useful, it’s important not to overdo it. Using too many formatting styles or excessive colors can make your email appear cluttered or unprofessional. Stick to a clean and consistent formatting style that complements the content and maintains readability.
By utilizing text formatting and adding hyperlinks, you can make your email more engaging and informative. Remember to proofread your email after formatting to ensure that the text is accurate, clear, and error-free. In the next step, we’ll cover how to review and edit your email before sending it.
Step 8: Reviewing and Editing the Email
Before hitting the send button, it’s essential to review and edit your email to ensure that it is clear, concise, and error-free. Taking the time to review your email can help avoid miscommunications and ensure that your message comes across as intended. Here are some steps to follow when reviewing and editing your email:
1. Read through the email carefully: Read your email from start to finish, paying attention to the content, tone, and overall structure. Ensure that your message flows logically and that the information is presented in a clear and coherent manner.
2. Check for spelling and grammar errors: Review your email for any spelling or grammar mistakes. Typos and errors can reflect negatively on your professionalism and credibility. Use spell checkers or editing tools to assist you, but also perform a manual review to catch any errors that might be missed.
3. Verify accuracy of information: Double-check any factual information, figures, or dates mentioned in your email. Make sure that all details are accurate and up-to-date. Inaccurate information can lead to misunderstandings or confusion.
4. Consider the recipient’s perspective: Put yourself in the shoes of the recipient and read the email from their perspective. Consider how they might interpret or react to the information provided. Ensure that your message is clear, respectful, and considerate of their needs or expectations.
5. Remove unnecessary or redundant information: Eliminate any irrelevant or redundant information from your email. Keep your message focused on the main topic and remove any unnecessary details that may distract or confuse the recipient.
6. Simplify complex language or jargon: If you have used technical terms or complex language, consider simplifying them to ensure clarity. Avoid jargon or industry-specific terms that the recipient may not be familiar with. Use plain language that is easily understood by a wide audience.
7. Ensure email formatting is consistent: Check that your email formatting is consistent throughout. Ensure that headings, font styles, and other formatting elements are used consistently and do not distract from the message. Consistent formatting helps maintain a polished and professional appearance.
8. Proofread attachments and hyperlinks: If you have attached files or included hyperlinks, double-check them to ensure they are functioning correctly and linking to the intended content. Verify that the attachments open without issues and the hyperlinks direct to the correct webpages or email addresses.
By thoroughly reviewing and editing your email, you can catch any errors or inconsistencies and ensure that your message is well-presented and effective. Taking the time to refine your email demonstrates professionalism and attention to detail.
In the next step, we will cover how to send the email and conclude this email sending process.
Step 9: Sending the Email
After reviewing and editing your email, it’s time to send it to the intended recipients. Sending your email is a straightforward process, but it’s important to double-check everything before clicking that send button. Here’s how you can send your email:
1. Confirm the recipient(s): Before sending, ensure that the correct recipients are listed in the “To,” “Cc,” and “Bcc” fields. Verify that you have included all intended recipients and that you have not accidentally added any incorrect email addresses.
2. Check the subject line: Review the subject line one final time to make sure it accurately reflects the content of your email and allows the recipient to understand the main purpose at a glance.
3. Validate attachments and hyperlinks: If you have attached files or included hyperlinks, verify once more that they are correctly attached and functioning as intended. Open the attachments and click on the hyperlinks to confirm they are working properly.
4. Review the email body: Read through the email body one last time to ensure that it communicates your message clearly and concisely. Confirm that the tone is appropriate, the information is accurate, and the content is well-structured.
5. Proofread for errors: Carefully proofread your email again to catch any spelling, grammar, or formatting errors that might have been missed during the initial review. Correct any mistakes or awkward phrasing to improve the overall professionalism of your email.
6. Consider the timing: Reflect on the timing of your email. If your message requires a prompt response or is time-sensitive, ensure that you send it at an appropriate time. Be mindful of the recipient’s time zone and any potential interruptions to their workday.
7. Click the send button: Once you are confident that your email is polished and ready to go, click the send button to dispatch it to the intended recipients. Your email will then be delivered to their inbox, ready for them to read and respond to.
8. Save a copy: If you need to keep a record of the sent email, save a copy in a designated folder or in your sent items. This allows you to refer back to it if needed and maintain a record of your communication.
Congratulations! You have successfully sent your email. Remember that proper email etiquette is important, so allow the recipient ample time to reply and be respectful in your follow-up if necessary. Now, sit back and wait for the responses to come in.
Conclusion
Mastering the art of sending emails is a valuable skill in both personal and professional spheres. By following the step-by-step process outlined in this guide, you can ensure that your emails are effective, professional, and well-received by the recipients.
Creating an email account is the first step toward email communication. Choose a reliable email service provider, complete the account setup, and customize your account to suit your preferences. Once your account is created, you can compose a new email by adding recipients, writing a clear subject line, and crafting the body of the email.
Consider the importance of adding recipients correctly, using the Cc and Bcc fields appropriately to address privacy concerns and include relevant parties in the conversation. The subject line is the gateway to your email, so make it concise, specific, and action-oriented to grab the recipient’s attention.
The email body is where you convey your message effectively. Use proper formatting, concise language, and clear calls-to-action to engage the recipient and achieve your intended outcome. When needed, attach files and include hyperlinks to provide additional information or resources.
Before sending your email, be sure to review and edit for any errors, ensuring accuracy and professionalism. Pay attention to spelling, grammar, and overall clarity of your message. Finally, click the send button with confidence, knowing that you have crafted a well-structured and thoughtfully composed email.
Remember, effective communication is a two-way street. Be responsive to email replies, respectful of the recipient’s time, and prompt in your follow-up actions. By mastering the art of sending emails, you can improve your communication skills, maintain professionalism, and achieve your desired outcomes in various personal and professional scenarios.
So, start applying these steps when communicating via email, and you’ll see how your email exchanges become more efficient, purposeful, and impactful. Happy emailing!