Introduction
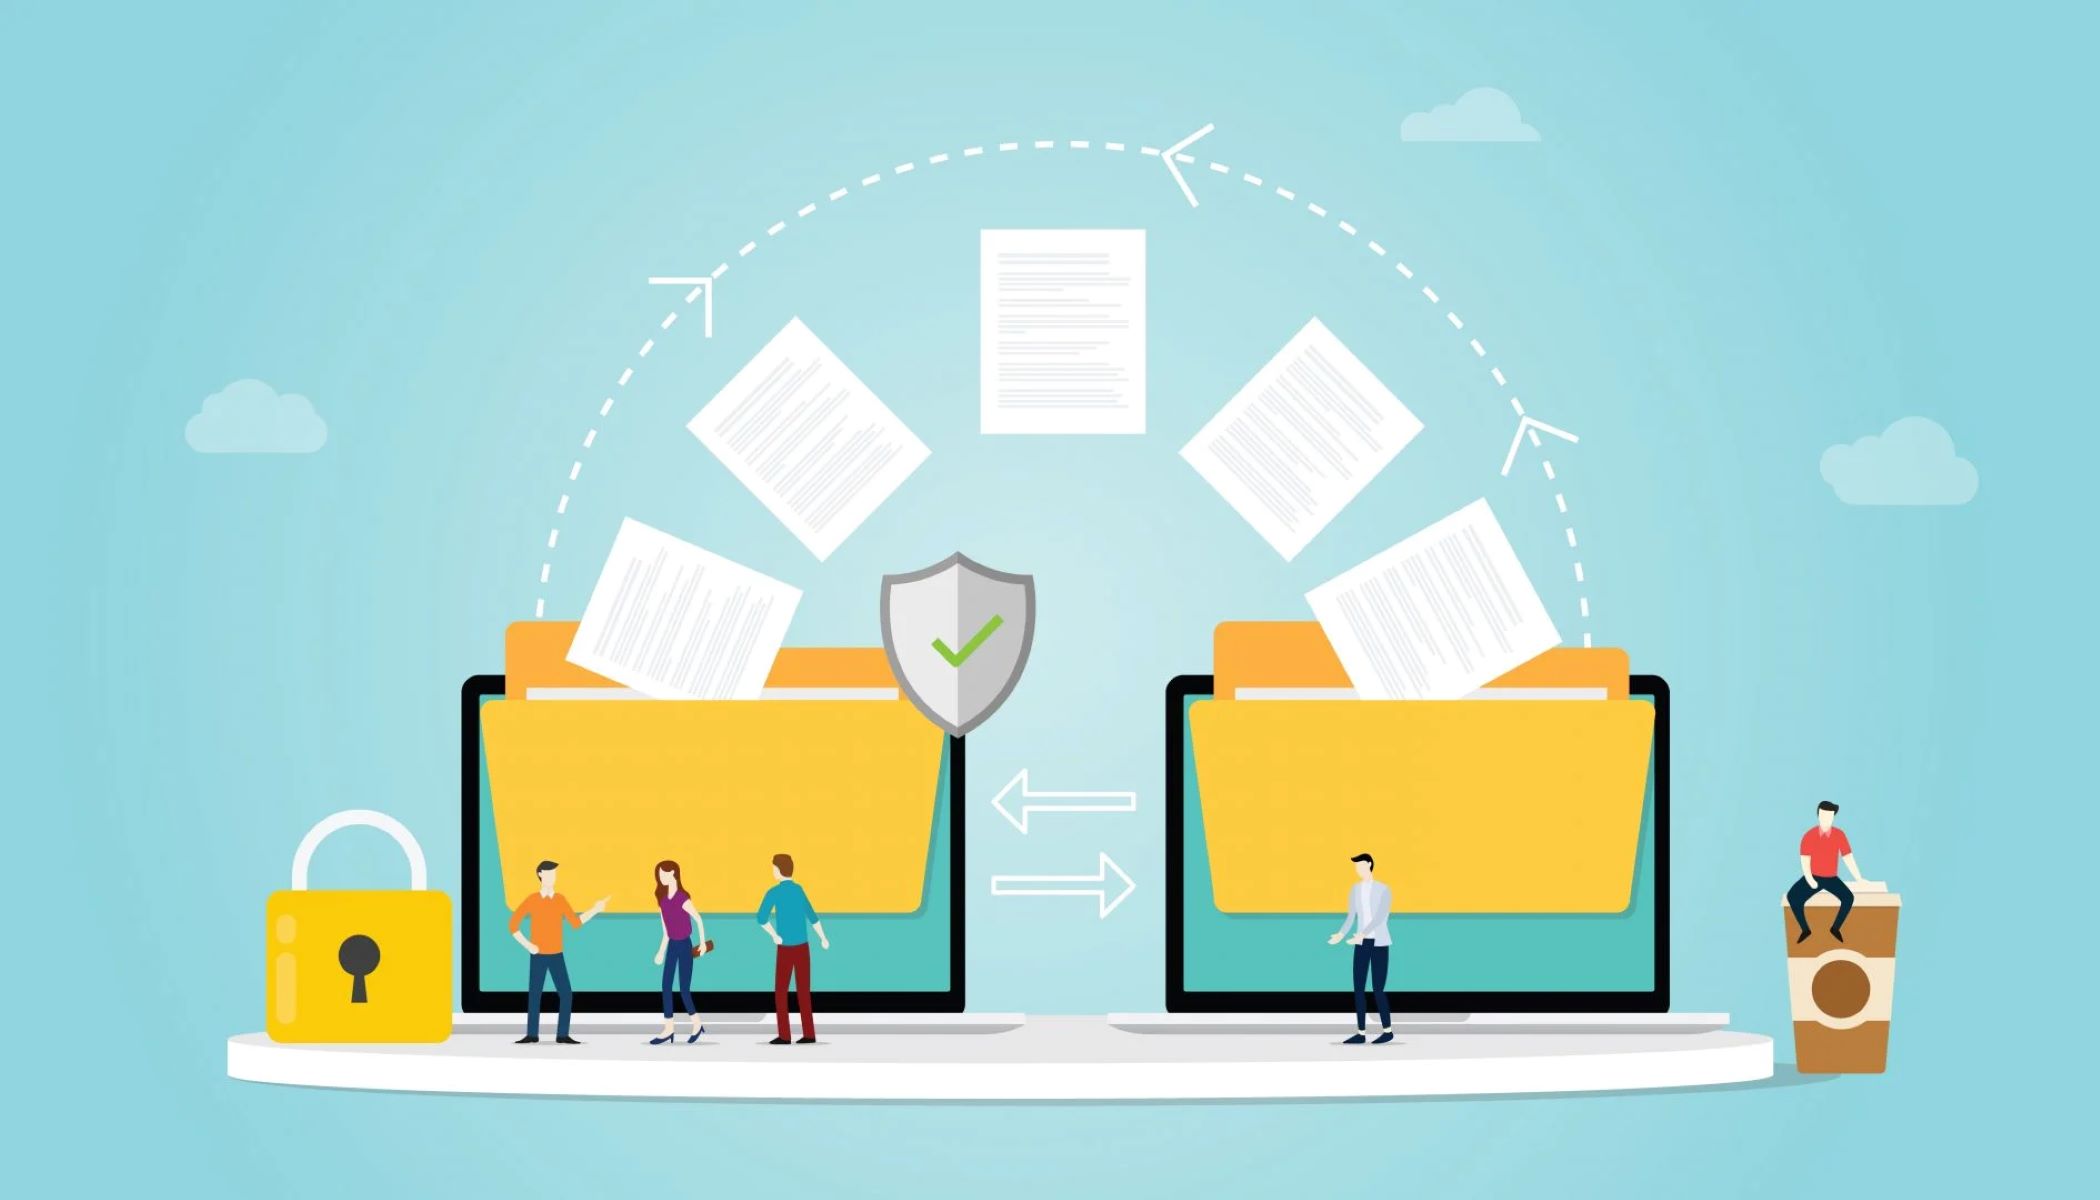
When it comes to sending important documents or sharing files with others, email has become the go-to method of communication. Attaching files to an email allows you to conveniently share documents, images, or any other files with just a few clicks. Whether you’re a seasoned email user or a beginner, learning how to attach a file to an email is an essential skill to have in today’s digital age.
In this step-by-step guide, we will walk you through the process of attaching a file to an email. From composing a new email to confirming the attachment and sending it off, we’ll cover everything you need to know to ensure a seamless file-sharing experience.
Before we dive into the specific steps, it’s important to note that the exact process may vary slightly depending on the email provider or client you are using. However, the general principles are similar across most platforms, so you should be able to follow along regardless of your preferred email service. Now, let’s get started with attaching files to your emails!
Step 1: Compose a New Email
The first step in attaching a file to an email is to compose a new email. This is usually done by clicking on the “Compose” or “New Email” button, depending on the email service you are using. Once you have opened the email composition window, you will be ready to proceed with attaching your file.
When composing a new email, you will typically see fields such as “To,” “Subject,” and the main body of the email. Fill in the recipient’s email address in the “To” field, enter a relevant subject in the “Subject” field, and if desired, add any additional text or information in the body of the email. It’s important to provide clear and concise information in the email body, especially if you are attaching multiple files or need to provide specific instructions to the recipient.
Some email services also provide options to CC (carbon copy) or BCC (blind carbon copy) additional recipients. CC’ing someone means that they will receive a copy of the email, while BCC’ing someone means that they will receive a copy without other recipients seeing their email address. Use these options as needed, based on your preferences and the nature of the email.
Once you have filled in the necessary information in the email fields, you are ready to move on to the next step: attaching the file to the email.
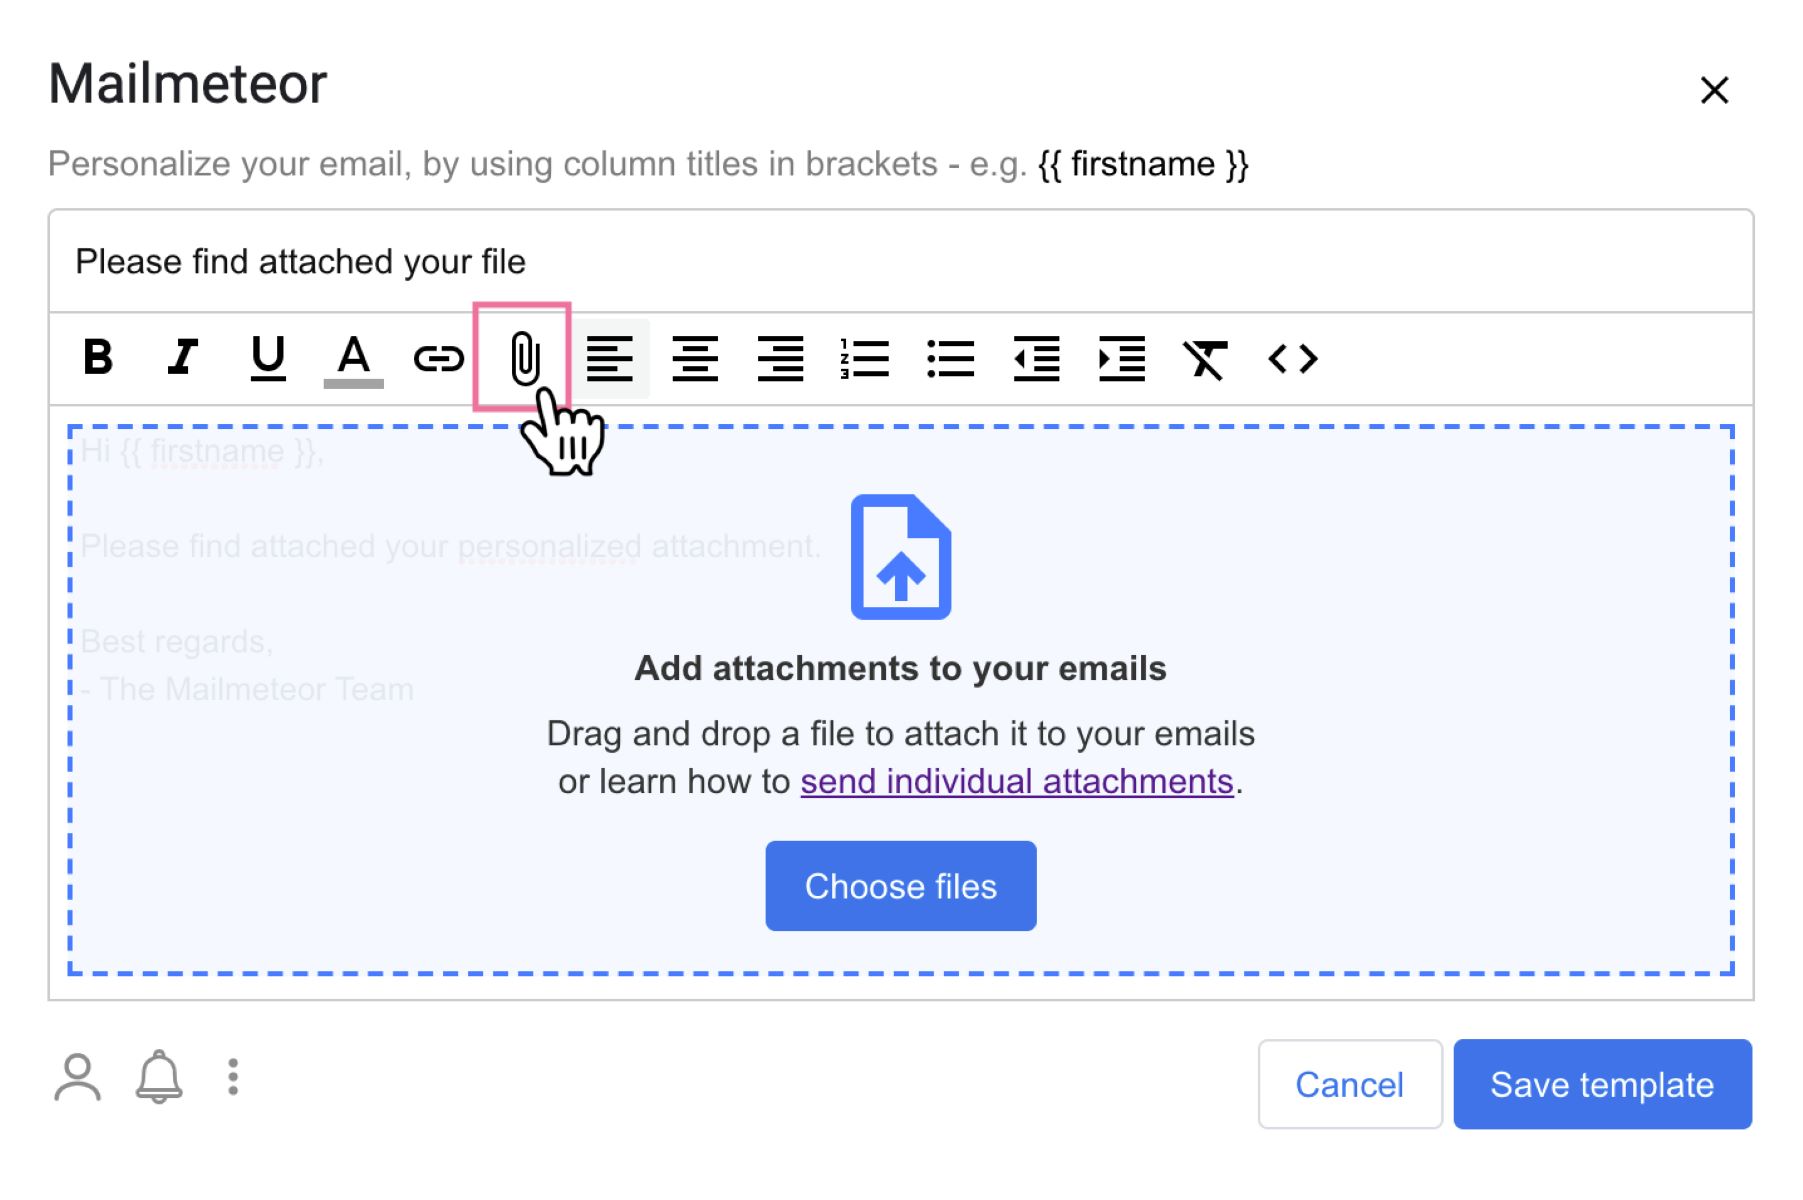
Step 2: Locate the Attachment Button
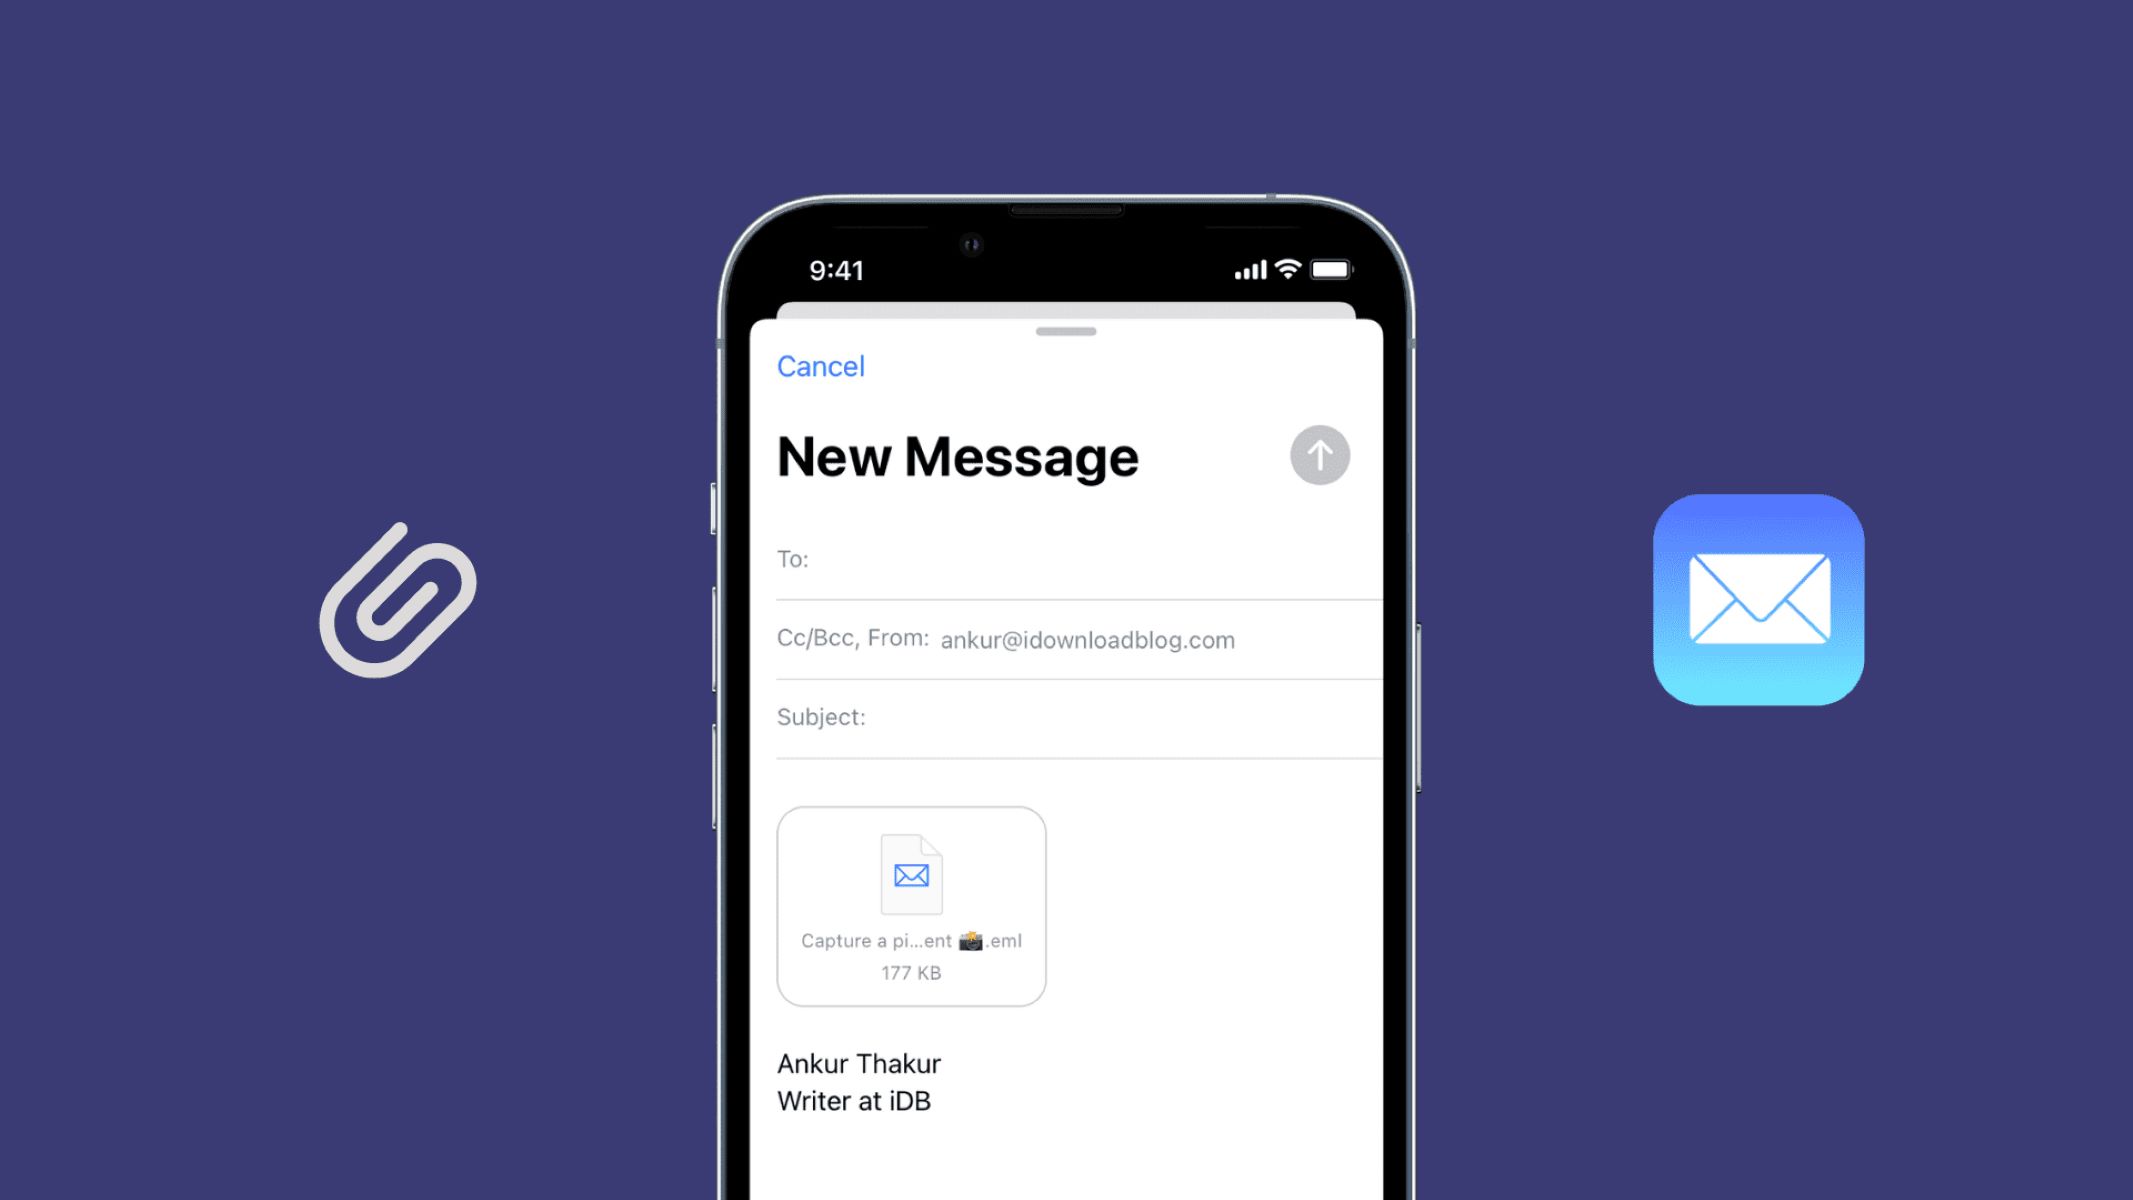
After composing a new email, the next step is to locate the attachment button. This button is typically represented by a paperclip icon or a button labeled “Attach” or “Attach File.” The exact placement and appearance of the attachment button may vary depending on the email service or client you are using.
In most cases, you will find the attachment button either at the top of the email composition window or within the toolbar. Look for icons or buttons related to file attachments and click on them to proceed with attaching your file.
If you are having trouble locating the attachment button, refer to the email service’s help documentation or perform a quick internet search for instructions specific to your email provider. They should be able to provide you with step-by-step instructions on how to find and use the attachment button.
It’s worth noting that some email services offer alternative methods for attaching files, such as drag-and-drop functionality or the ability to attach files directly from cloud storage services like Google Drive or Dropbox. These options can provide additional convenience and flexibility when attaching files to your emails. Take a moment to explore the functionality available within your email service to determine which method works best for you.
Once you have located the attachment button, you are ready to proceed to the next step: choosing the file you want to attach.
Step 3: Choose a File to Attach
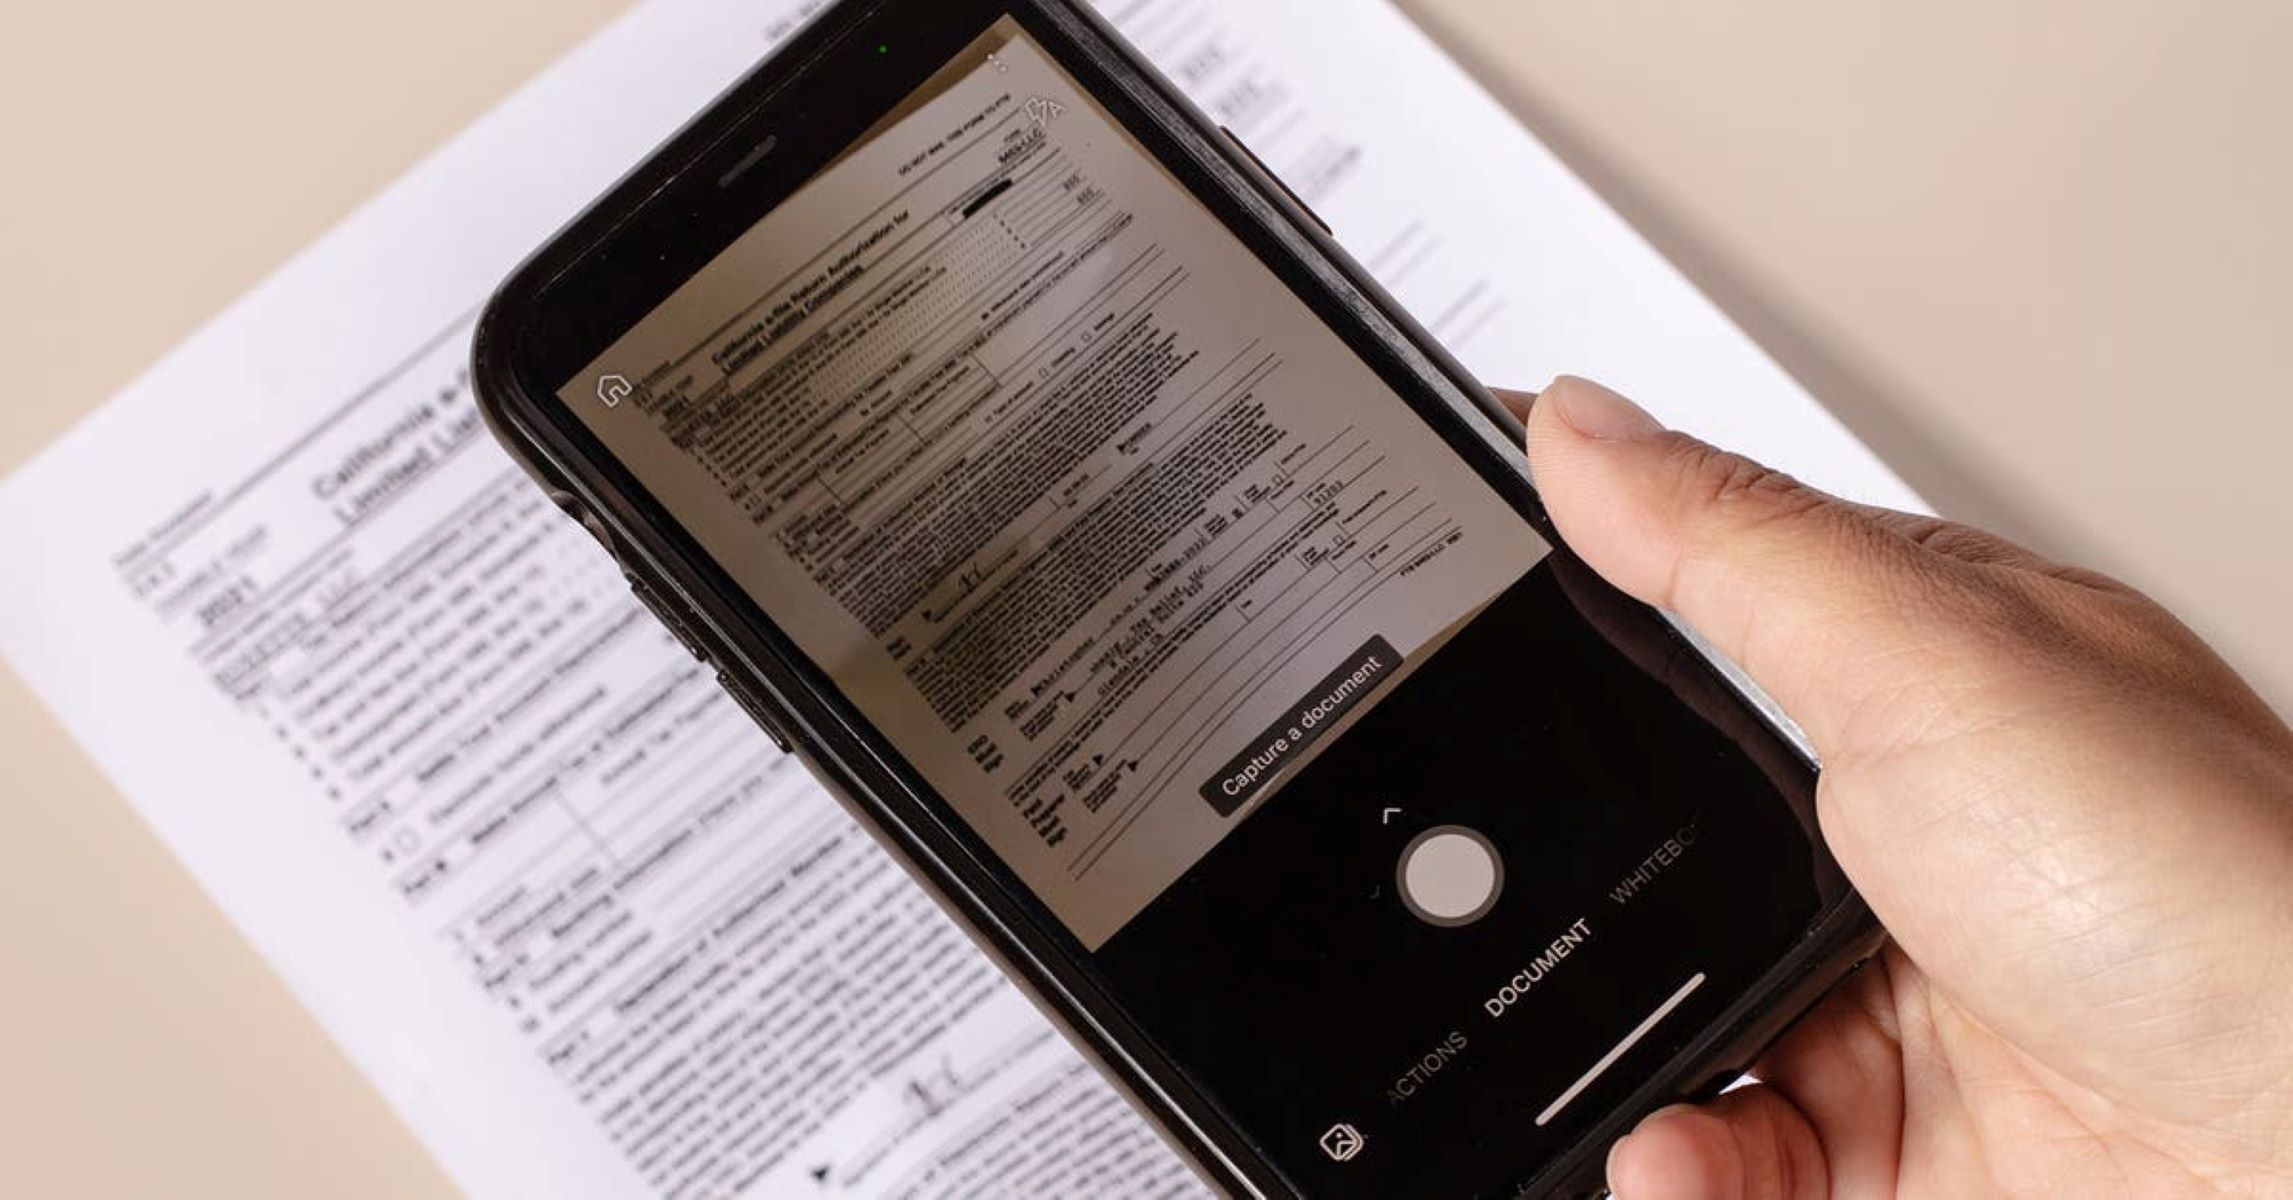
After clicking on the attachment button, a file explorer window will typically open, allowing you to choose the file you want to attach to the email. This window will display your computer’s file directory, enabling you to navigate to the location where the file is stored.
Take a moment to locate the file you wish to attach. You can do this by clicking on the folders to navigate through the directory structure, or by using the search functionality provided by your operating system. Once you have found the desired file, click on it to select it for attachment.
Most email services allow you to attach multiple files to a single email. To attach additional files, simply repeat the process for each file you want to include. Some email clients also provide the option to attach entire folders or zip files, which can be useful when sharing multiple files or large amounts of data.
It’s important to consider the file size limitations imposed by your email service. For example, some services may restrict attachments to a maximum size of 25 MB or less. If your file exceeds the size limit, you may need to compress it using file compression software or consider alternative methods of file sharing, such as using cloud storage services or sharing links.
Once you have selected the file or files you want to attach, click on the “Open” button or a similar option in the file explorer window. This will initiate the attachment process, and the selected file(s) will be added to your email.
With the file(s) successfully attached, you are now ready to move on to the next step: confirming the attachment before sending the email.
Step 4: Confirm the Attachment
Before sending your email, it is crucial to confirm that the attachment(s) have been successfully added. This step helps ensure that the recipient will receive the intended files without any issues. Fortunately, most email services provide a visual indicator or a list of attached files to help you verify the attachments.
Once you have attached the file(s), take a moment to review the email composition window. Look for any visual cues such as file icons, file names listed, or a designated area where attachments are displayed. Some email services may even provide a preview of the attached files directly within the composition window.
If you are unable to locate any indicators of attachment, double-check the email service’s documentation or help resources for assistance. Alternatively, you can send a test email to yourself or a trusted recipient to verify that the attachments are included as expected.
It’s a good practice to mention the attachment(s) within the email body to notify the recipient and to provide context. You can mention the file name or briefly describe the attached document to help the recipient understand its purpose.
If you have attached multiple files, it’s important to ensure that all the intended files are included. Verify that the file names match your expectations and that the total number of attachments matches your intent. You can also confirm the file size(s) to ensure that the attachment(s) do not exceed any size limitations imposed by your email service.
By taking a moment to confirm the attachment(s) and reviewing your email composition, you can prevent the inconvenience of sending incomplete or missing files to your recipients.
Once you are confident that the attachment(s) are correct and complete, you are ready for the final step: sending the email with the attached file(s).
Step 5: Send the Email with the Attached File
After confirming that the attachment(s) have been successfully added to your email, it is time to send it off to the intended recipient(s). Sending the email is the final step in the process of attaching a file and allows the recipient(s) to access the attached file(s) conveniently.
Before you hit the send button, take a moment to review the entire email content, including the subject line, email body, and attached file(s). Ensure that everything is accurate, clear, and properly formatted. Check for any spelling mistakes or grammatical errors that may have been overlooked during the composing and attachment process.
If you need to make any last-minute changes or additions, you can still do so at this stage. Simply edit the email content or add more attachments if necessary. However, ensure that any changes made do not remove or overwrite the intended attachments.
Once you are satisfied with the email and its attachments, it’s time to send it. Click on the “Send” button, which is usually located at the top or bottom of the email composition window. After clicking the send button, the email will be sent through the email service or client you are using.
Keep in mind that the speed at which the email is sent and received will depend on various factors, including the internet connection and the recipient’s email server. It may take a few moments or longer for the email to be delivered to the recipient’s inbox.
After sending the email, it’s a good practice to save a copy of the sent email in your email client’s sent folder or any other designated location. This allows you to have a record of the email, including the attached files, for future reference.
Congratulations! You have successfully attached a file to an email and sent it off to the recipient(s). Now, the recipient(s) can access and download the attached file(s) at their convenience.
Conclusion
Attaching a file to an email is a straightforward process that allows you to conveniently share documents, images, and other files with others. By following the steps outlined in this guide, you can ensure that your attachments are added correctly and successfully sent to the intended recipient(s).
Throughout the process, it’s essential to compose a new email, locate the attachment button, choose the file(s) to attach, confirm the attachment(s), and finally, send the email. Taking the time to double-check your attachments and review the email content ensures a smooth and error-free file-sharing experience.
Remember, the specific steps involved in attaching files to an email may vary slightly depending on the email service or client you are using. It’s always a good idea to consult the help resources or documentation provided by your email service if you encounter any difficulties or have specific questions.
By mastering the art of attaching files to emails, you can easily share important documents, collaborate with colleagues, or send memorable photos to your loved ones. So, whether you’re a seasoned email user or new to the world of digital communication, feel confident and empowered to attach files to your emails with ease.
Now that you have a comprehensive understanding of the process, go ahead and start sharing files through email. Happy attaching!