Introduction
Adding attachments to an email on your iPhone can be a useful feature when you need to share photos, documents, or other files with friends, family, or colleagues. Whether you want to send a memorable picture from your recent vacation or attach an important document for a business meeting, the Mail app on your iPhone makes it easy to include attachments in your emails.
While the process may seem daunting at first, this step-by-step guide will walk you through the simple process of adding attachments to your emails on an iPhone. With just a few taps, you’ll be able to attach photos, videos, and files directly from your device’s photo library or cloud storage services like iCloud Drive or Dropbox. Whether you’re an iPhone novice or a seasoned user, mastering this skill will greatly enhance your email communication and make sharing files a breeze.
In this comprehensive tutorial, we will explain the process in a clear and concise manner, ensuring that you can easily follow along and successfully add attachments to your emails. So, grab your iPhone, open the Mail app, and let’s get started on attaching those files and photos to your emails!
Step 1: Open the Mail App
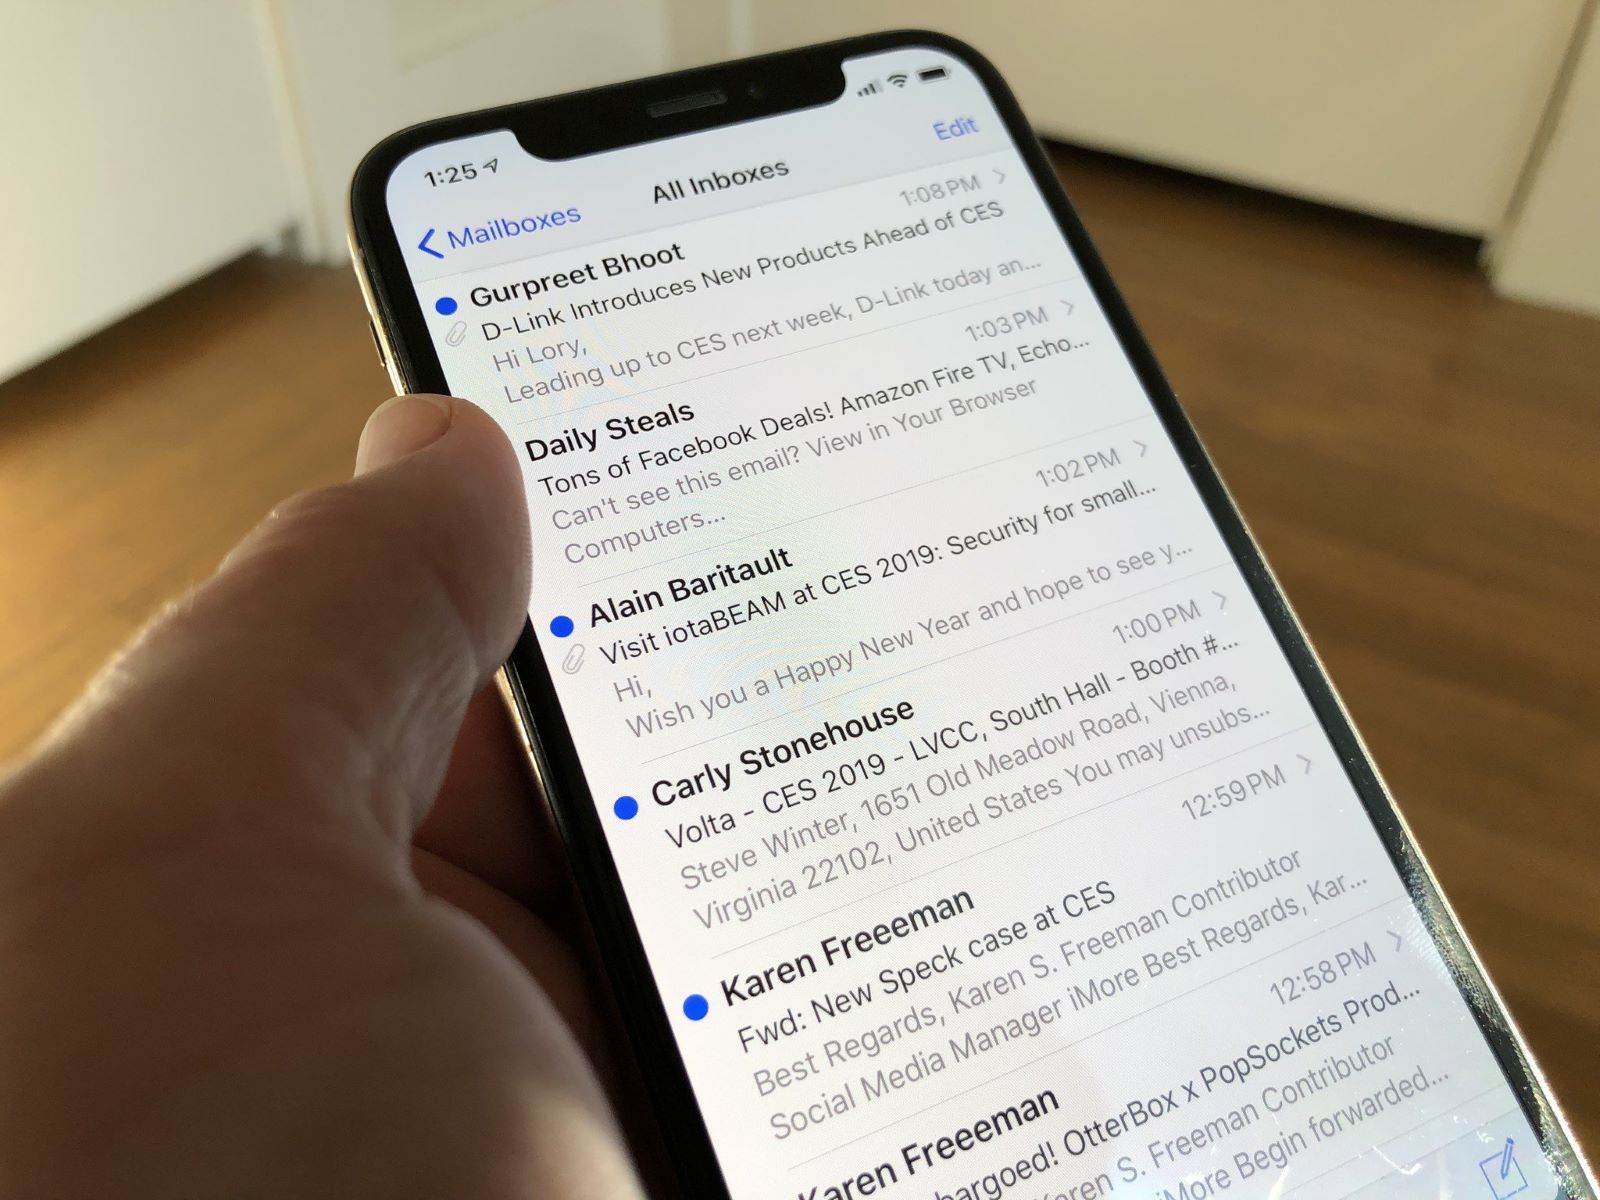
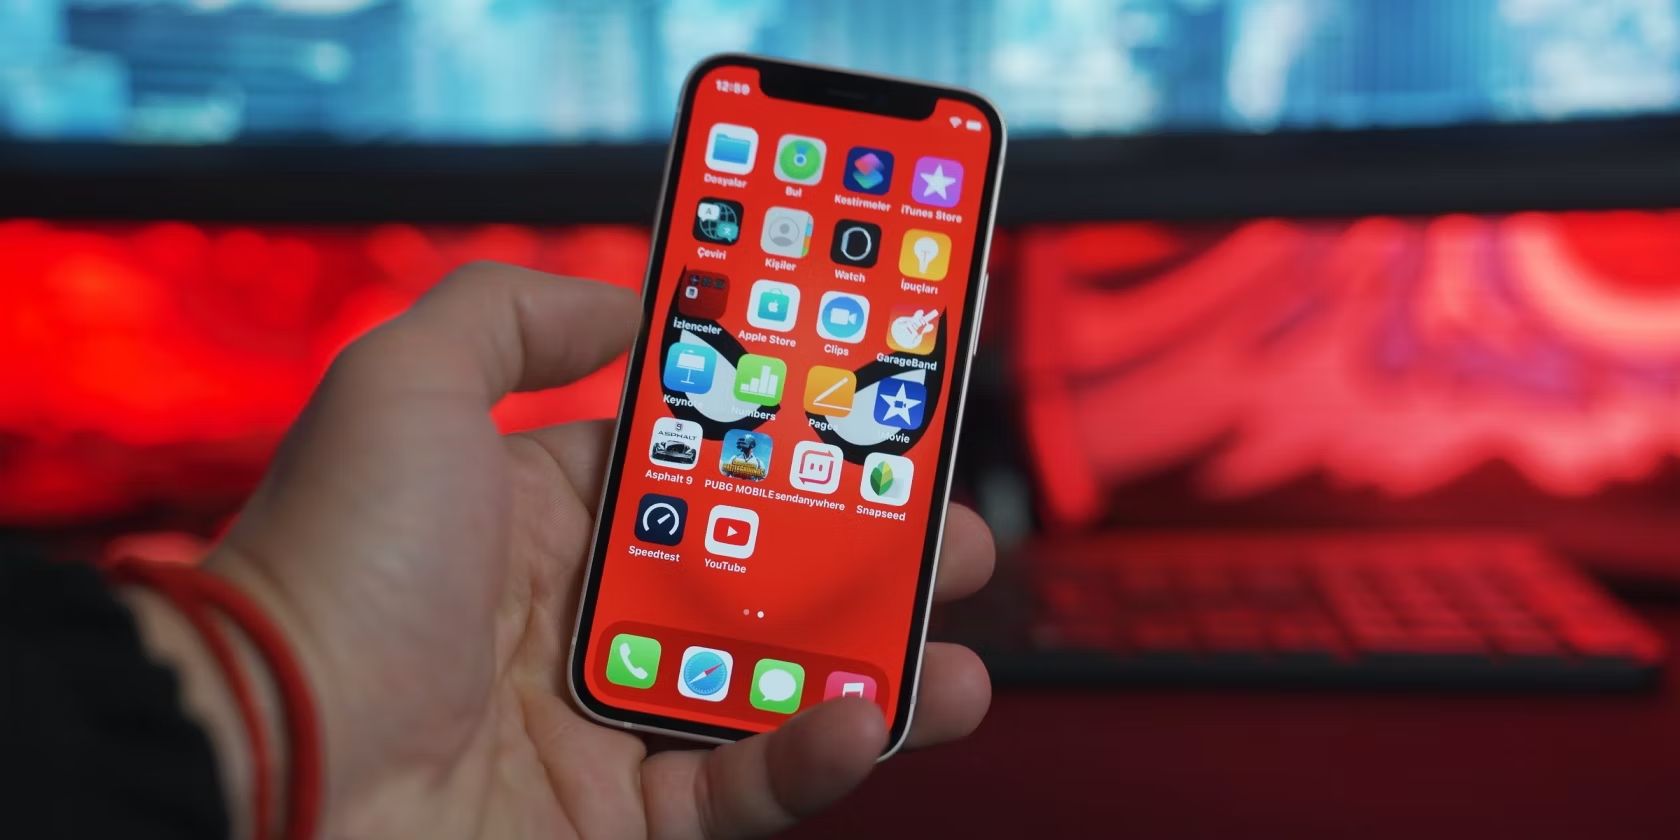
To begin the process of adding an attachment to your email on your iPhone, the first step is to open the Mail app. Locate the Mail app icon on your device’s home screen and tap on it to launch the application.
If you have multiple email accounts set up on your iPhone, the Mail app will display a unified inbox with all your emails from different accounts. Simply tap on the email account you wish to use to compose a new email or select the appropriate email thread to reply with an attachment.
Upon opening the Mail app, you will be greeted with your inbox, displaying a list of your received emails. If you are composing a new email, you can tap on the compose button, usually represented by a pen and paper icon, located at the bottom-right corner of the screen. This will bring up a blank email template ready for you to fill in the details and attach your desired files or photos.
By opening the Mail app as the first step, you ensure that you have a clean canvas to work with when composing your email. With the app open, you can now proceed to the next step of attaching files and photos to your email, making your message more informative and engaging.
Step 2: Compose a New Email
Once you have opened the Mail app on your iPhone, the next step is to compose a new email. Tap on the compose button located at the bottom-right corner of the screen, typically represented by a pen and paper icon.
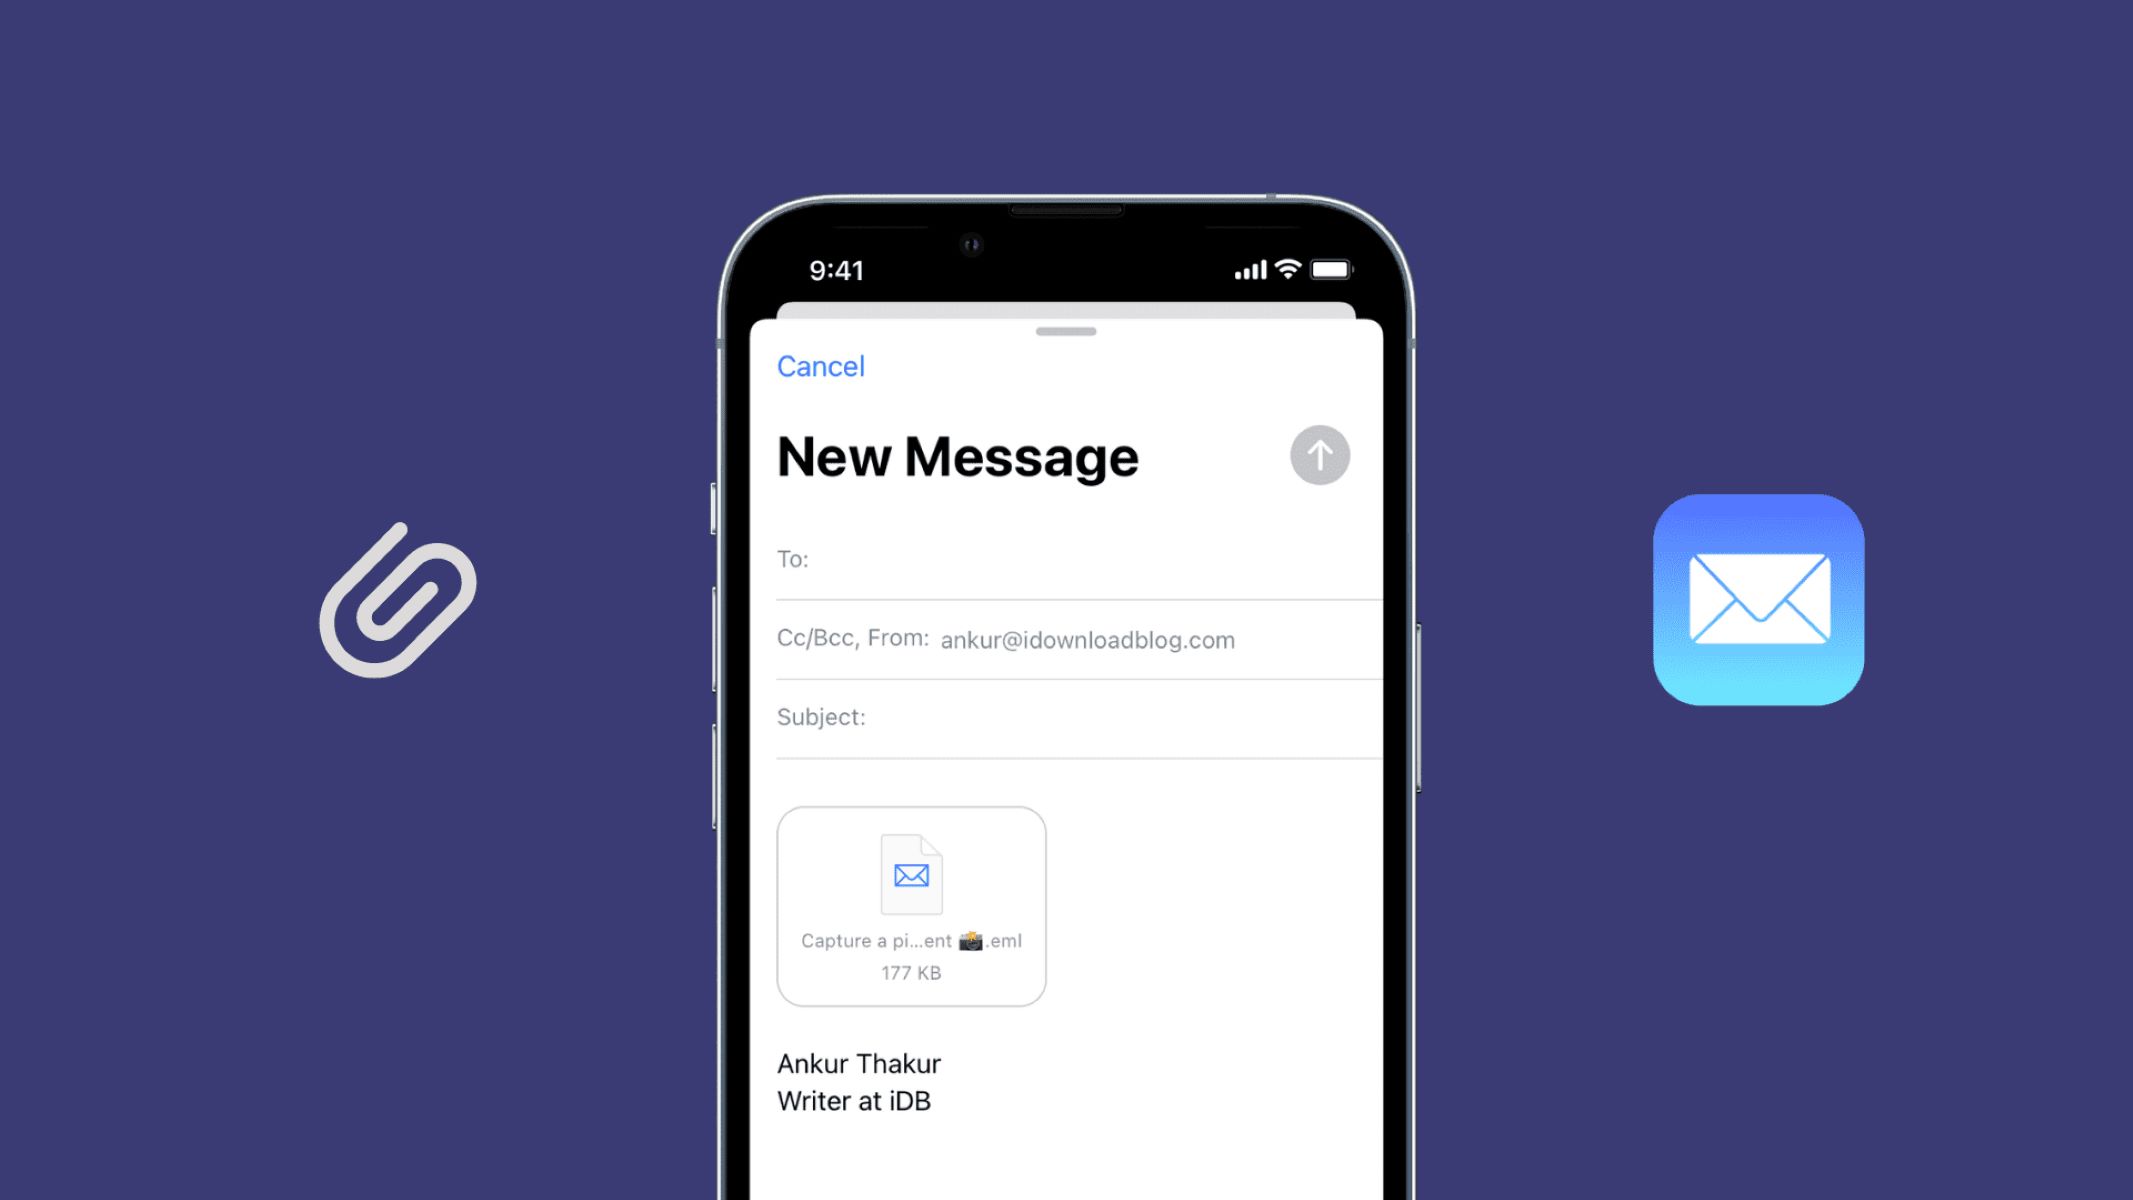
This will bring up a blank email template where you can enter the recipient’s email address in the “To” field. You can either manually type in the email address or choose from your contacts by tapping on the “+” button next to the field.
In addition to the recipient’s address, you can also enter the subject of the email in the designated field. The subject should be concise and descriptive to give the recipient an idea of the content of the email. This will help them prioritize their inbox and understand the purpose of your message.
Now, you can begin composing the body of your email. Tap in the large text field below the subject line to start typing. You can use the on-screen keyboard to input your message. The text field also provides formatting options such as bold, italic, and underline, allowing you to add emphasis to certain parts of your email. You can access these options by selecting the text and tapping on the formatting button that appears.
Additionally, you can include bulleted or numbered lists by tapping the list icon on the formatting toolbar. This can be useful when organizing information or presenting steps to follow. Remember to keep the content of your email concise yet informative, providing the necessary details to support your attachments and any additional information you wish to convey.
Once you have composed your email, proofread it for any errors or typos, ensuring that the message is clear and free of grammatical mistakes. Once you are satisfied with the content, you can move on to the next step of adding attachments to enhance your email.
Step 3: Tap and Hold to Show Menu
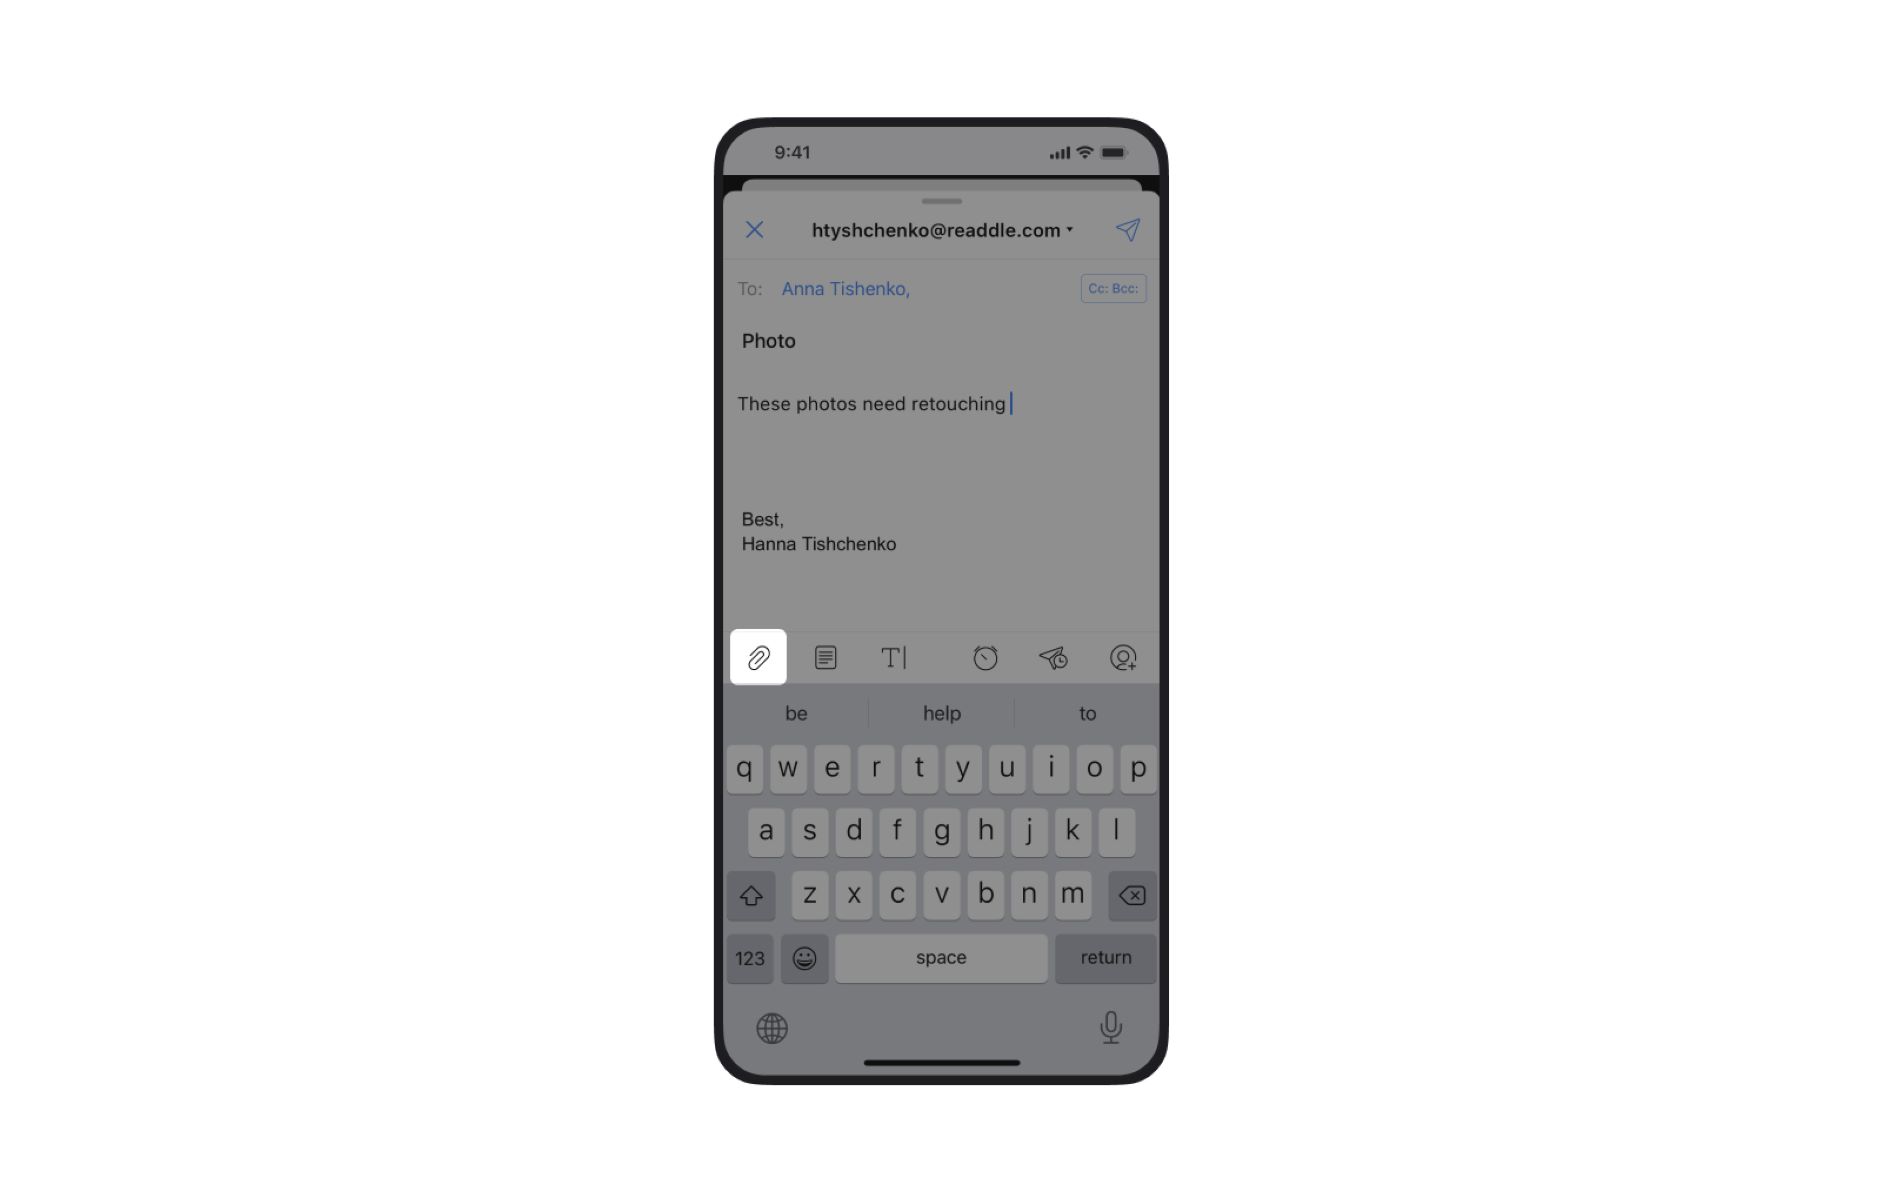
To add attachments to your email on your iPhone, you need to tap and hold on the screen to bring up a menu of options. This menu allows you to access various functions, including the option to insert attachments.
While composing your email, tap and hold anywhere on the screen to activate the menu. You may need to tap and hold for a brief moment until the menu appears. This action brings up a contextual menu that offers a range of options related to text formatting, copying and pasting, inserting images, and more.
The menu appears as a floating bar or a popover menu, depending on the version of iOS you are using. It provides a convenient way to access additional features without cluttering the main interface.
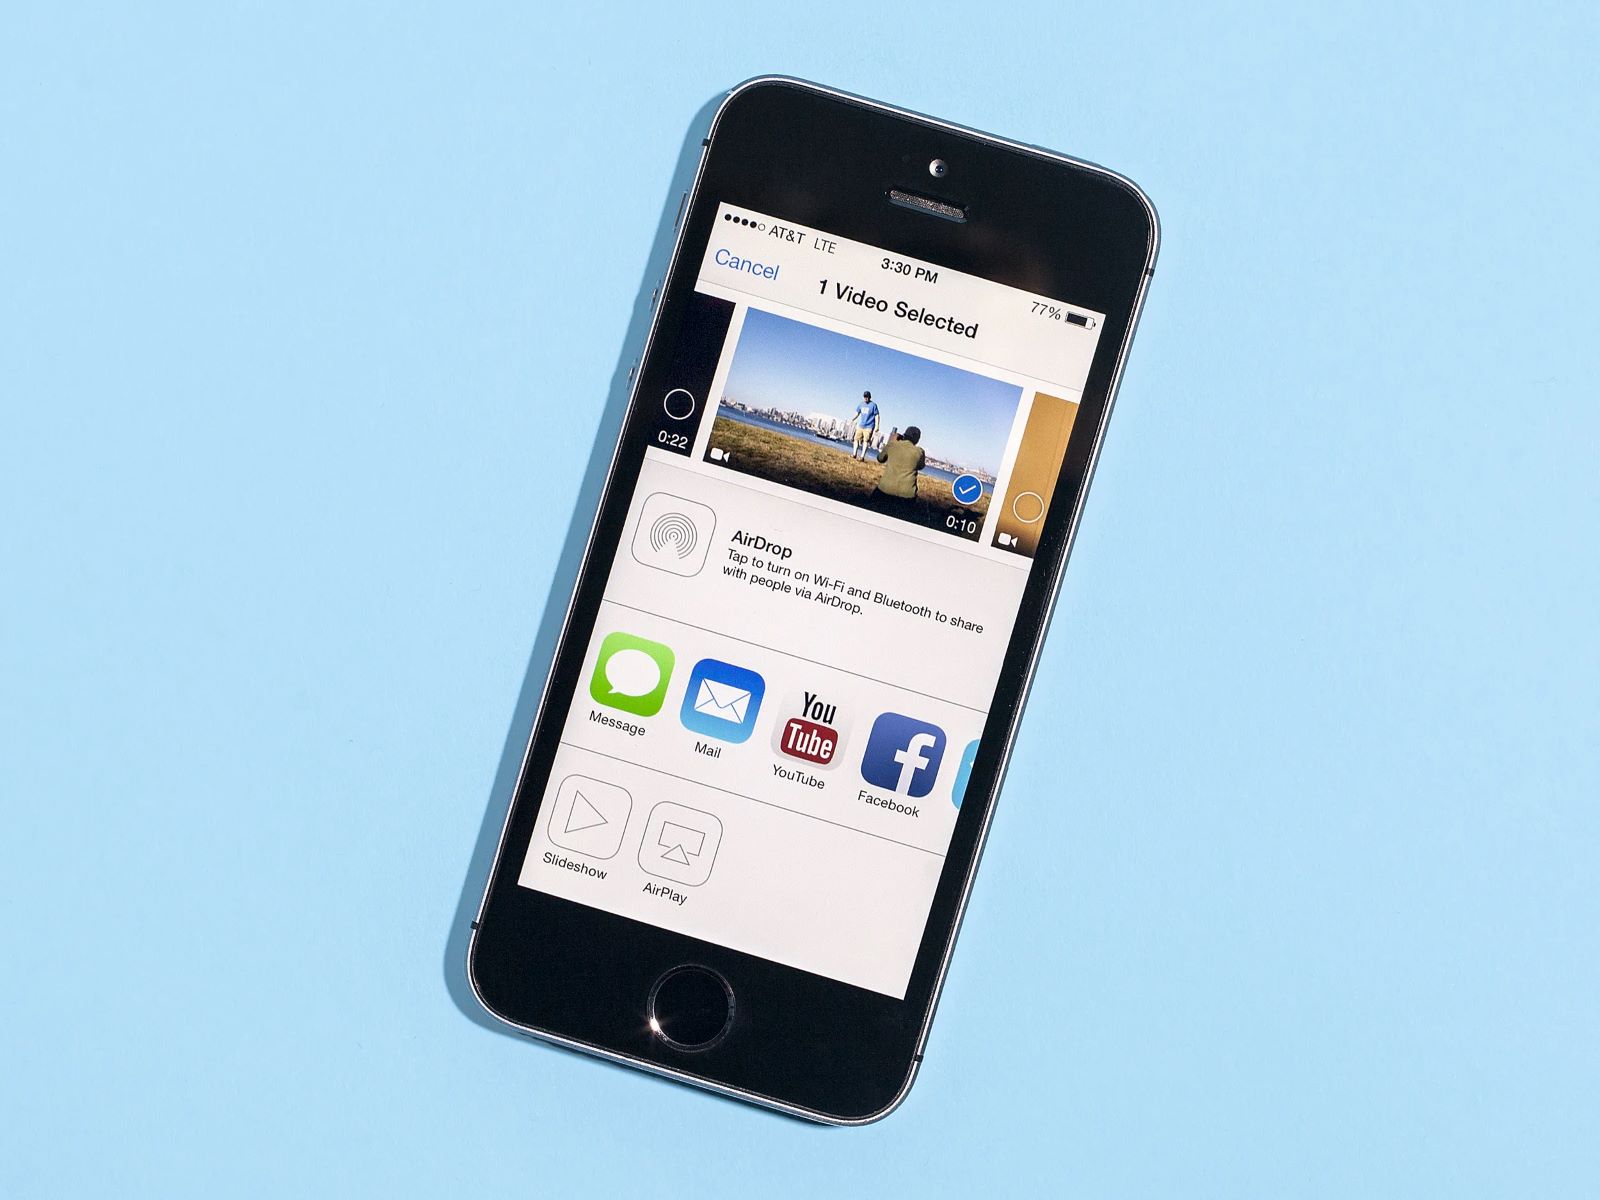
Look for the option that allows you to insert photos or videos. In some versions of iOS, you can find this option by tapping the right-facing arrow, marked with a “+”, while in others, it may be labeled “Insert Photo or Video.” Tap on this option to continue adding attachments to your email.
By tapping and holding to show the menu, you gain access to a wide range of editing and formatting options that enhance your email composition experience. This ensures you can seamlessly incorporate attachments into your email and create a visually appealing and informative message.
Step 4: Select the “Insert Photo or Video” Option
After tapping and holding to bring up the menu while composing your email on your iPhone, the next step is to select the “Insert Photo or Video” option. This option allows you to choose a file or photo from your device’s photo library to include as an attachment in your email.
Depending on your iOS version, you may find the “Insert Photo or Video” option labeled as a camera icon or a plus sign (+). Tap on this option to proceed with adding attachments to your email.
Upon selecting this option, the Mail app will open your device’s photo library, presenting you with a selection of photos and videos. Take a moment to navigate through your photo library and choose the file or photo you want to attach to your email.
If you have recently taken a photo or video and it’s not visible in the library, try tapping the “All Photos” album to ensure you can access all the files available on your device.
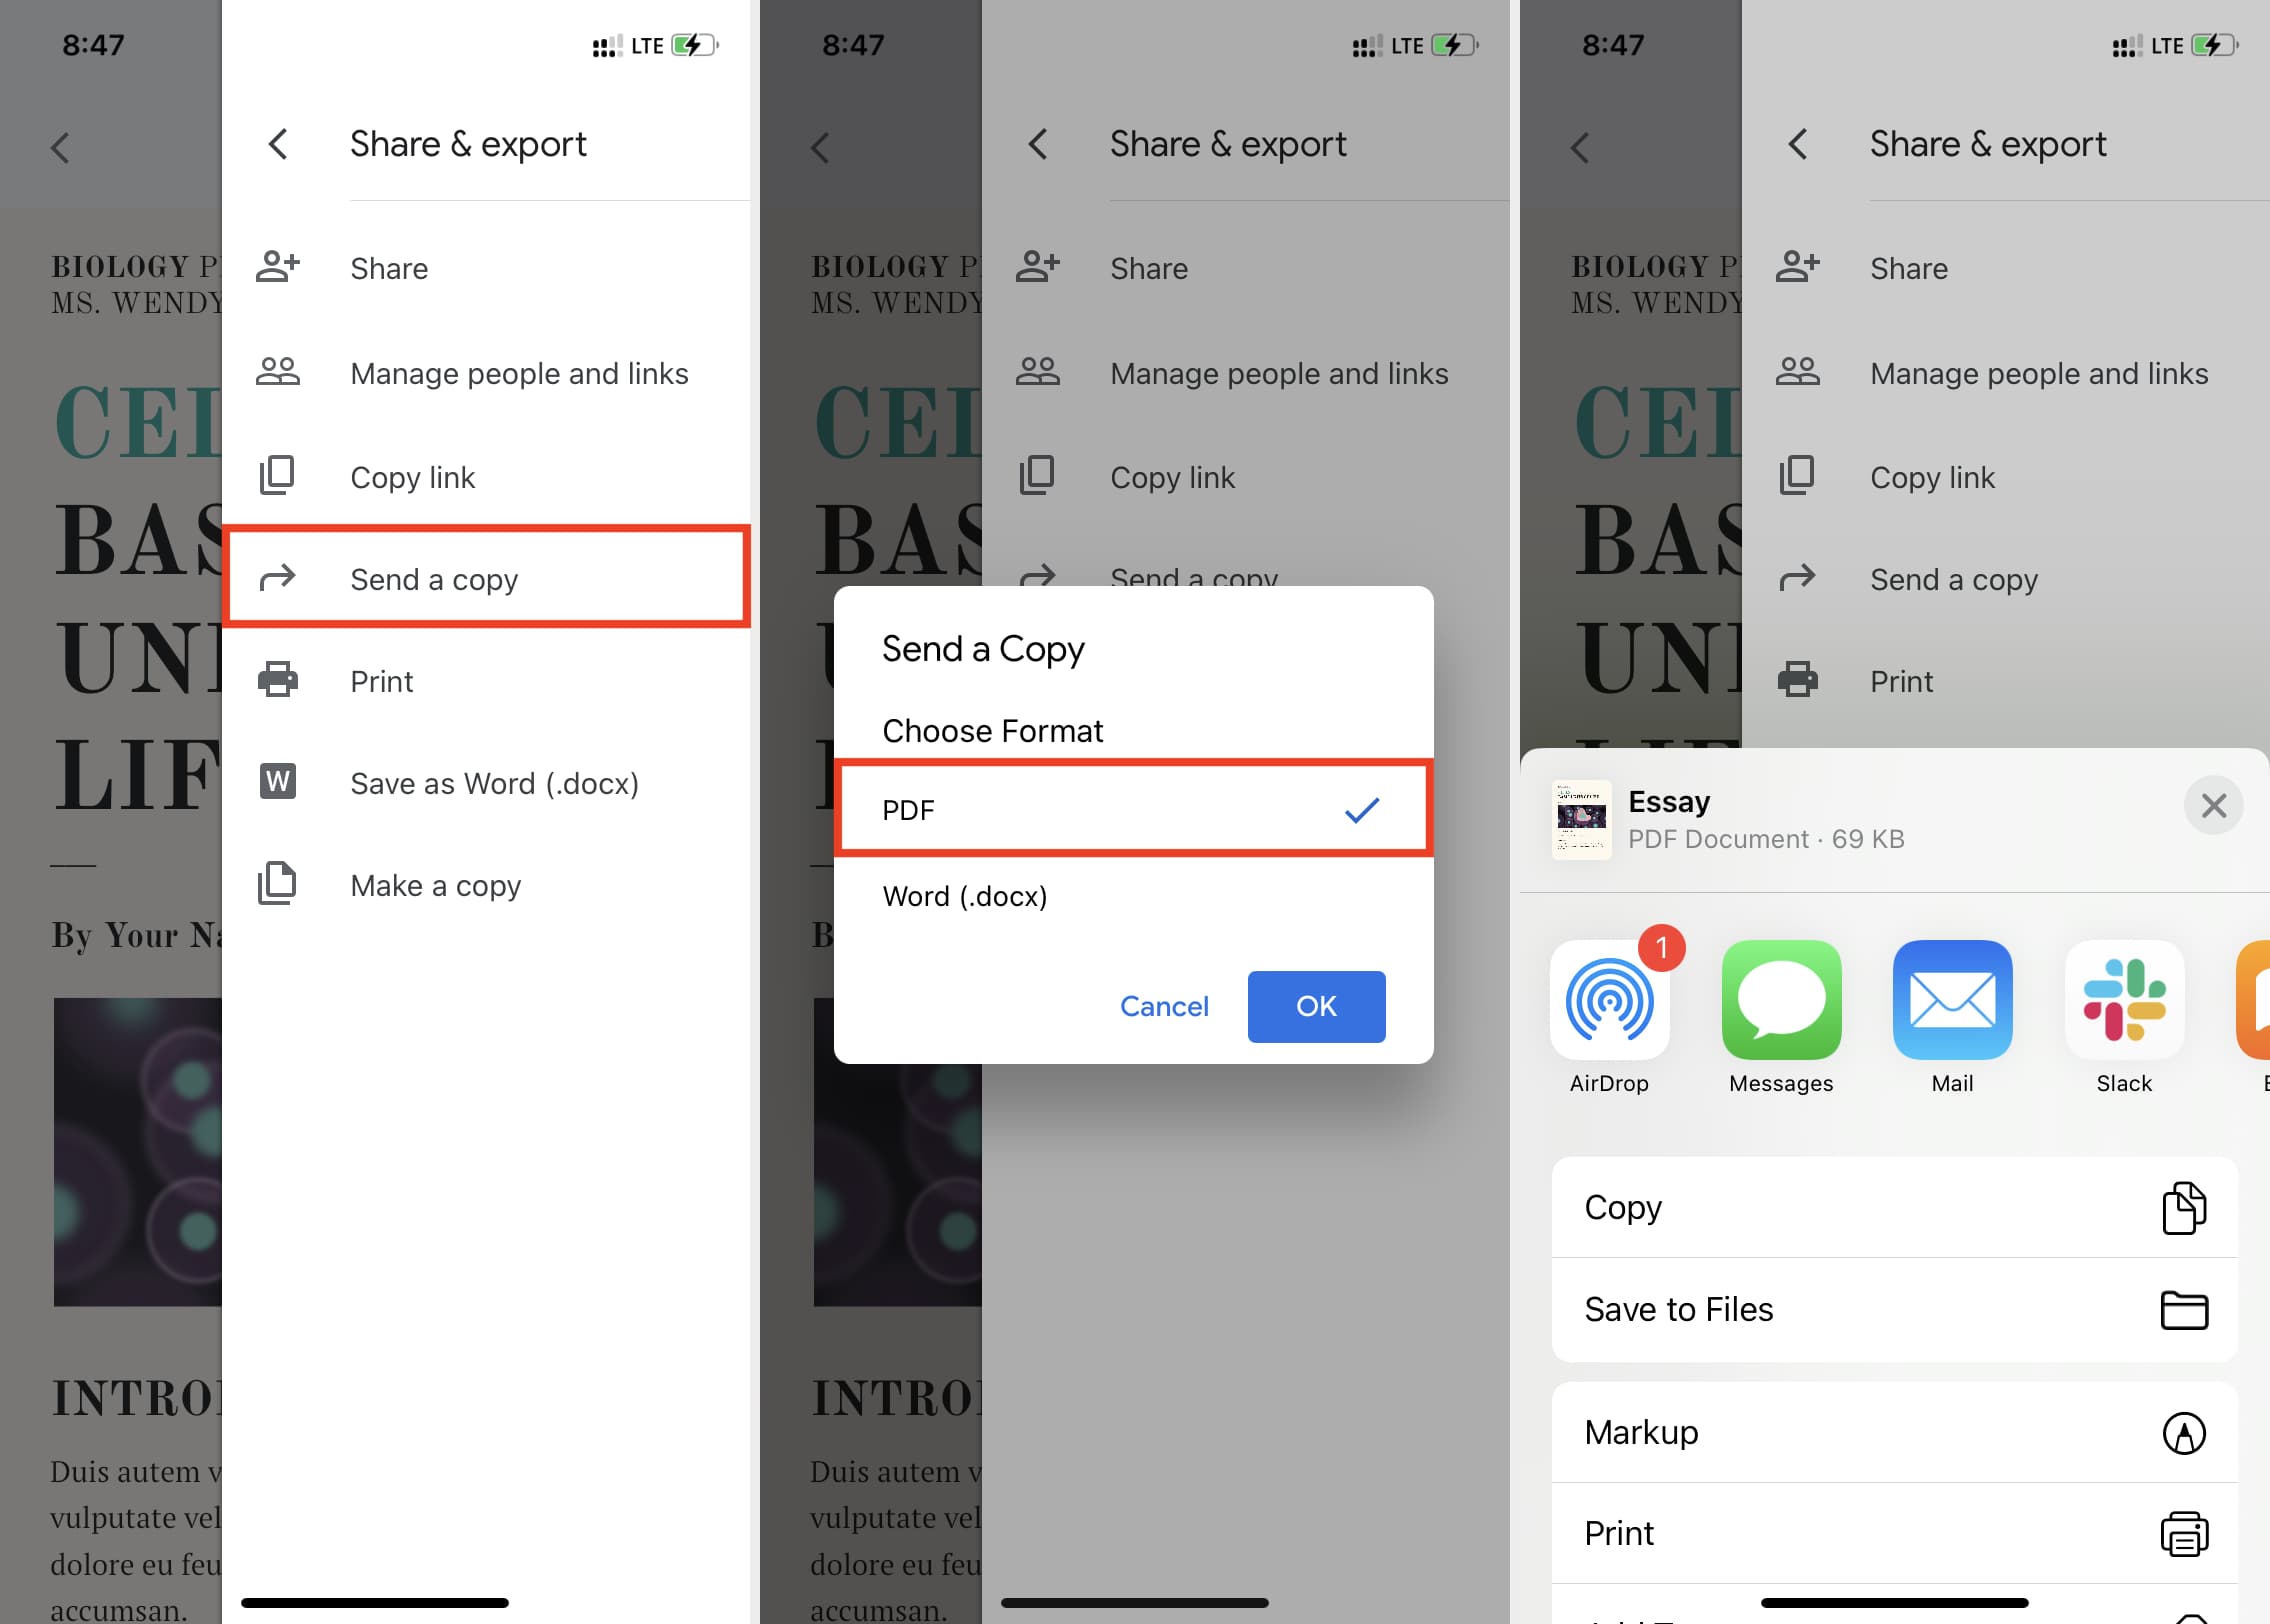
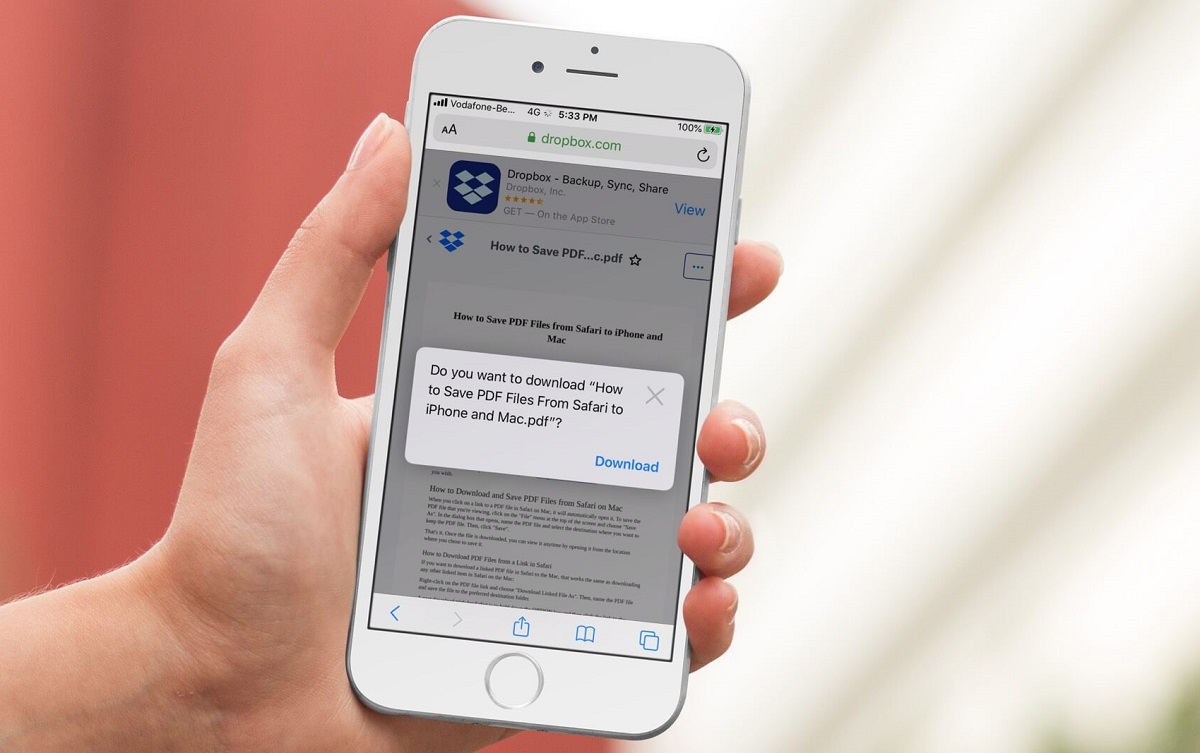
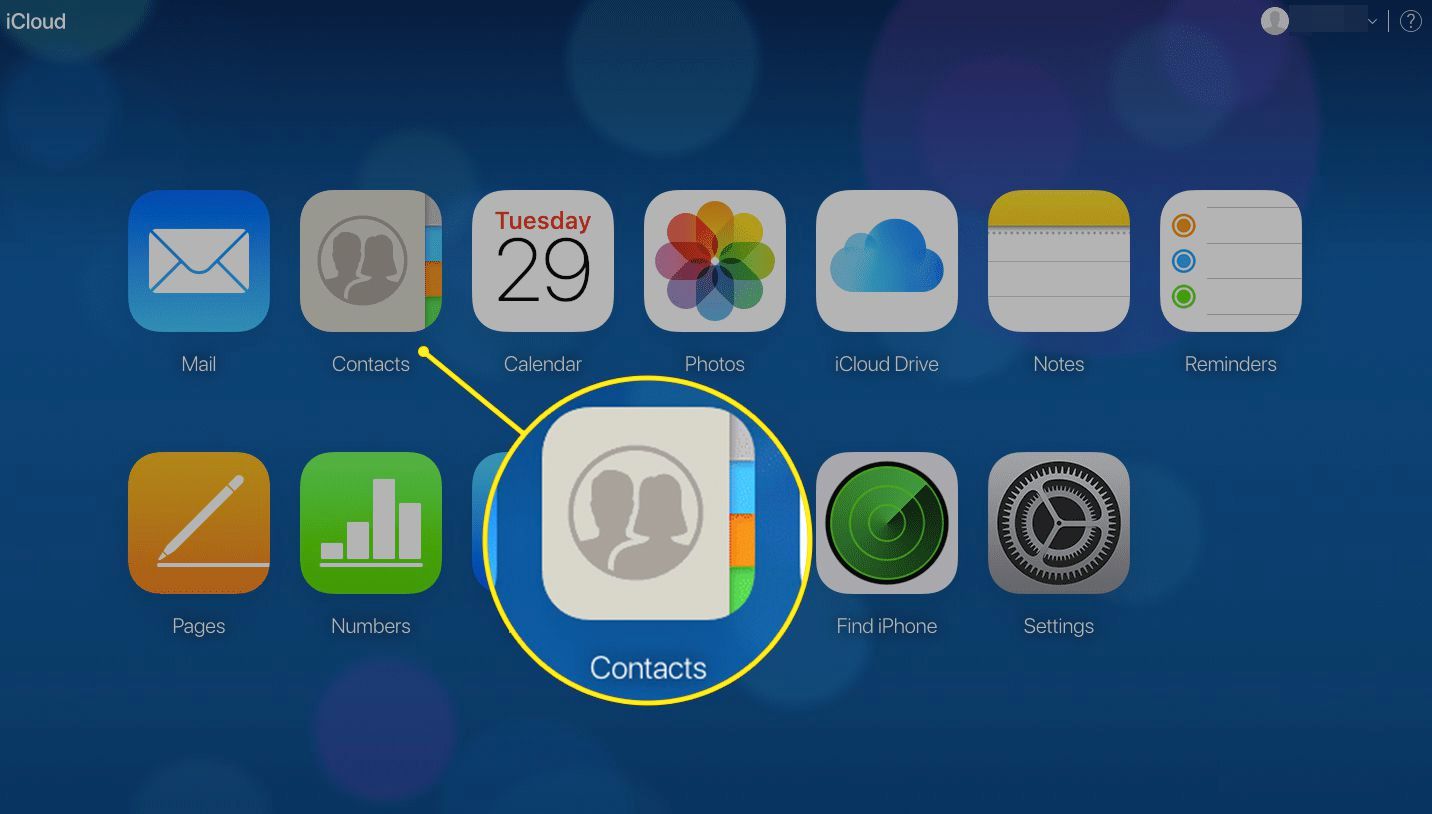
You may also have the option to access other photo albums or cloud storage services such as iCloud Drive or Dropbox, depending on your device settings and installed applications. This expands your choices and allows you to attach files from various sources.
Remember to select an appropriate file or photo that aligns with the content of your email. Consider the purpose of your message and choose attachments that support or provide additional information relevant to the email’s topic.
Once you have selected the desired file or photo, you can proceed to the next step to finalize the attachment and send your email with the added attachment for the recipient to access and view.
Step 5: Choose Attachment from Photo Library
After selecting the “Insert Photo or Video” option in the Mail app while composing your email on your iPhone, you will be presented with your device’s photo library. This is where you can choose the specific file or photo you want to attach to your email.
Take a moment to browse through your photo library, which includes all the photos and videos stored on your iPhone. Scroll through the albums to locate the desired file, or use the search function to find it quickly. The search function allows you to type keywords associated with the file’s name or relevant tags, helping you find the attachment more efficiently.
Once you have located the file or photo you wish to attach, tap on it to select it. This action highlights the chosen attachment and prepares it to be included in your email. If you have multiple attachments, repeat the process to select each file or photo you want to include.
The Mail app also allows you to customize the attachments before sending the email. You can tap on an attachment to view it in full screen or use editing tools to crop, rotate, or enhance the image quality. These options ensure that you can present your attachments exactly as you want them to appear in the received email.
Additionally, you may have the option to choose attachments from other photo albums or cloud storage services linked to your device. This expands your choices and allows you to include files from various sources, providing versatility and flexibility in attaching files to your email.
Once you have selected and reviewed the attachment(s), you can move on to the next step of reviewing and sending the email with the added attachment. Take a moment to ensure that your attachments accurately support the content of your email and enhance its overall message.
Step 6: Select the File or Photo to Attach
After navigating to your device’s photo library and choosing the “Insert Photo or Video” option in the Mail app on your iPhone, the next step is to select the specific file or photo you want to attach to your email. This step allows you to fine-tune your attachment selection and ensure it aligns with the content of your email.
Take a moment to browse through your photo library, which contains all the photos and videos stored on your iPhone. You can scroll through the albums or use the search function to locate the desired file quickly. The search function allows you to enter keywords associated with the file’s name or relevant tags, helping you find the attachment more efficiently.
Once you have located the file or photo you wish to attach, tap on it to select it. The selected attachment is highlighted, indicating that it is ready to be included in your email. If you have multiple attachments, repeat the process to select each file or photo you want to include.
It is essential to choose attachments that enhance and support the content of your email. For instance, if you are sharing a document related to a professional project, select the relevant file that represents the latest version of the document. If you want to share a memorable moment with a friend, choose the photo that best captures that moment.
The Mail app also provides various editing options for attachments. You can tap on an attachment to view it in full screen or utilize editing tools to crop, rotate, or enhance the image quality. These options allow you to customize your attachments and ensure they are visually appealing and convey the intended message effectively.
Additionally, you may have the option to choose attachments from other photo albums or cloud storage services linked to your device. This expands your choices and allows you to include files from various sources, providing versatility and flexibility in attaching files to your email.
Once you have selected and reviewed the attachment(s), you can proceed to the next step of reviewing and sending the email with the added attachment. Take a moment to ensure that your attachments accurately support the content of your email and enhance its overall message.
Step 7: Review and Send the Email with Attachment
After selecting the file or photo attachment(s) for your email in the Mail app on your iPhone, the final step is to review the email and attachments before sending them. Taking a moment to review the email ensures that everything is in order and that the message conveys your intended meaning coherently.
Carefully read through the email content to ensure it is clear, concise, and free of any errors or typos. Verify that the attachments you have selected align with the purpose of the email and provide the necessary information or visual context.
In addition to reviewing the email text, double-check the recipients’ email addresses in the “To” field to ensure accuracy. This helps prevent any accidental or unintended email deliveries.
If necessary, you can make any last-minute adjustments, such as adding or removing attachments or editing the email body. To make changes, tap on the respective sections to access the editing mode and make the necessary modifications.
Once you are satisfied with the email’s content and attachments, you can proceed to send it. Look for the “Send” button, typically located in the upper-right corner of the screen, represented by an arrow pointing upwards or the word “Send.” Tap on this button to send the email to the recipients.
The Mail app may show a confirmation message after sending the email, indicating that it has been successfully delivered. You may choose to view the email in your “Sent” folder to confirm its sending and review the final presentation of the email.
Sending an email with attachments from your iPhone allows you to share valuable information, engaging visuals, or important documents conveniently. By following these steps, you can confidently send emails with attachments, enhancing your communication and ensuring that the recipients receive the necessary information and materials.
Conclusion
Adding attachments to emails on your iPhone is a straightforward process that allows you to share files, photos, and videos effortlessly. By following the step-by-step guide outlined in this tutorial, you can easily attach files and photos to your emails using the Mail app on your iPhone.
The process begins by opening the Mail app on your device and composing a new email. From there, you tap and hold to bring up a menu of options, selecting the “Insert Photo or Video” option. This allows you to choose attachments from your device’s photo library or other linked storage services. With the selected attachments, you can then review your email and make any necessary adjustments before sending it to the recipients.
Remember, it is important to choose attachments that enhance and support the content of your email. Consider the purpose of your message and select files or photos that align with it. Additionally, take the time to review your email for errors and ensure that everything is in order before sending it.
By mastering the process of adding attachments to your emails on your iPhone, you can conveniently share important documents, memorable photos, or relevant files, making your communication more effective and engaging. Whether you are corresponding with friends, family, or colleagues, the ability to attach files and photos to your emails on your iPhone is a valuable skill to have.
So, the next time you need to send an email with attachments on your iPhone, simply follow the steps outlined in this guide. With a few taps and the right choices, you can send well-crafted emails that deliver the intended message along with the visual or informational support of attachments.
Now it’s time to put your newfound skills to use and start attaching files and photos to your emails with ease. Happy emailing!