Introduction
Downloading emails from a server on your iPhone is a convenient way to access your emails on the go. Whether you want to have all your emails available offline or you are experiencing a poor internet connection, downloading emails can ensure that you have all your important messages at your fingertips.
Setting up and configuring your email account to download emails from the server is a simple process that can be done directly on your iPhone. In this guide, we will walk you through the step-by-step process to download emails from a server on your iPhone.
By following these instructions, you will be able to access your emails even when you don’t have an internet connection. This can be especially useful when you’re traveling or in an area with unstable network coverage.
Additionally, downloading emails can also provide a more seamless and responsive email experience on your iPhone. Instead of waiting for emails to load in real-time, you can have them already downloaded and readily available for viewing and responding.
Keep in mind that the specific steps to download emails from the server may vary slightly depending on the email service provider you use. However, the general process remains the same across different email applications on the iPhone.
Now, let’s dive into the step-by-step instructions to set up and download emails from a server on your iPhone.
Step 1: Set up an email account on your iPhone
Before you can start downloading emails from a server on your iPhone, you need to make sure you have an email account set up on your device. If you already have an email account configured, you can skip this step and move on to the next one.
To set up a new email account, follow these simple steps:
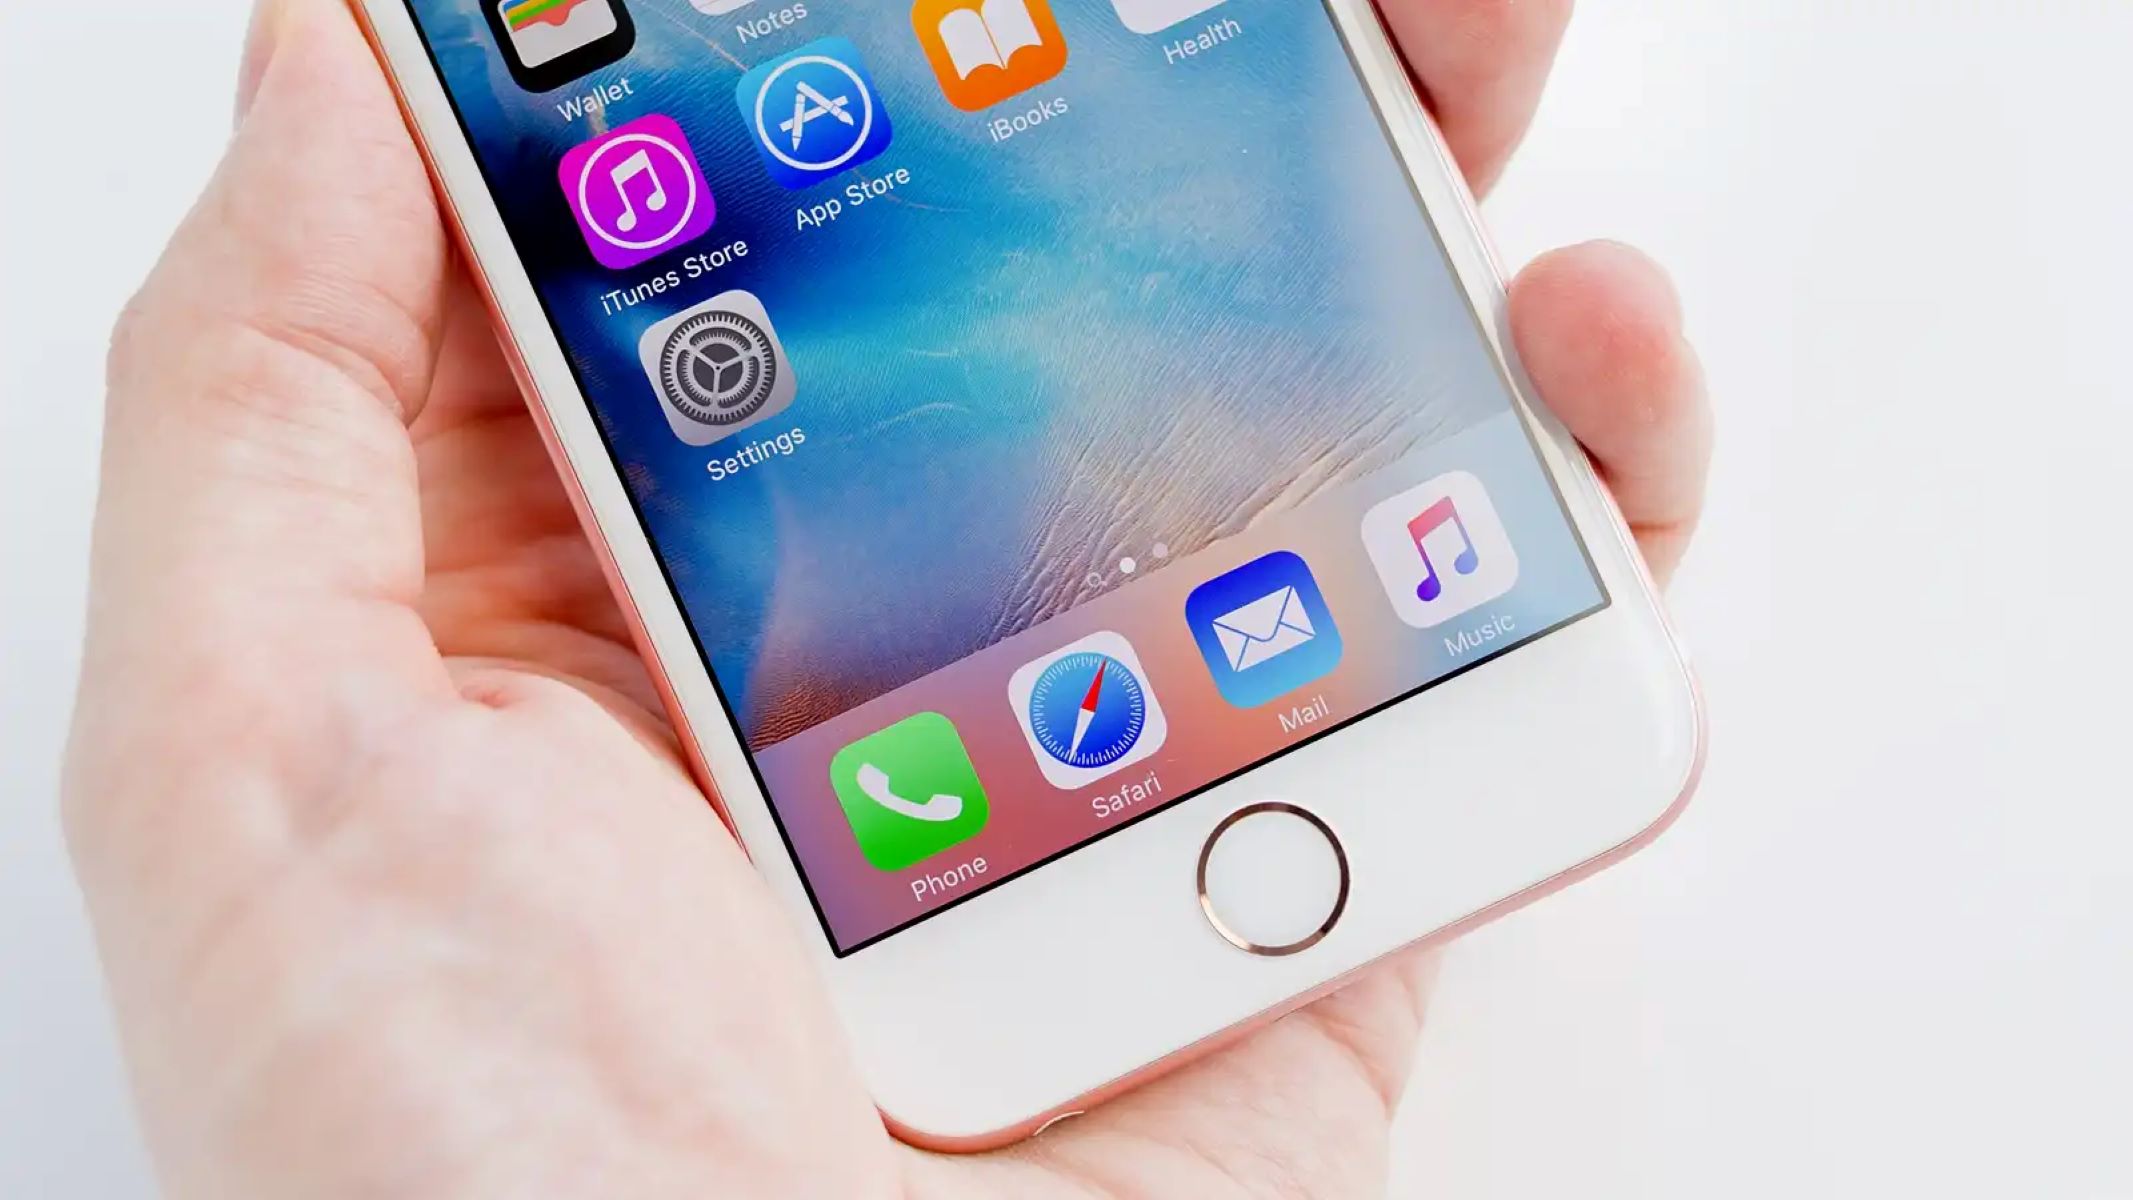
- Tap on the “Settings” app on your iPhone’s home screen. It resembles a gear icon.
- Scroll down and tap on “Mail.”
- Tap on “Accounts” and then select “Add Account.”
- You will see a list of popular email providers like Gmail, Microsoft Exchange, Yahoo, and Outlook.com. Tap on the one that corresponds to your email service provider. If you don’t see your provider on the list, select “Other” and manually enter your email account details.
- Enter your email address and password in the designated fields. If you have a two-factor authentication enabled for your email account, you may need to provide an app-specific password instead of your regular email password.
- Tap “Next” to let your iPhone verify the account information.
- Once the account is successfully verified, choose the data you want to sync with your iPhone, such as Mail, Contacts, Calendars, and Notes. Toggle the switches according to your preferences.
- Tap “Save” to complete the setup process.
After setting up your email account on your iPhone, you will now be able to proceed with the next steps to download emails from the server. Make sure to have your email account credentials handy for the upcoming steps.
Step 2: Open the Mail app
Once you have successfully set up your email account on your iPhone, it’s time to open the Mail app to access your emails. The Mail app comes pre-installed on your iPhone, so you can easily locate it on your device’s home screen. Follow these steps to open the Mail app:
- Locate the Mail app icon on your iPhone’s home screen. It resembles a white envelope against a blue background.
- Tap on the Mail app icon to launch the application.
- Upon opening the Mail app, you will see a list of your configured email accounts displayed on the main screen. Each account will be represented by its respective email address or account name.
- Tap on the email account that you want to download emails from. This will open the inbox for that specific account.
Once you have accessed your email account’s inbox, you will be able to view all the emails that are currently stored on the server. These emails may include both read and unread messages. From here, you can download and manage your emails according to your preferences.
Keep in mind that if you have multiple email accounts configured on your iPhone, you will need to choose the specific account from which you want to download emails. The Mail app allows you to switch between different accounts effortlessly, ensuring that you can access all your emails in one place.
Now that you have successfully opened the Mail app and accessed the inbox for your desired email account, you are ready to proceed with the next steps to begin downloading emails from the server.
Step 3: Access the server settings
To download emails from a server on your iPhone, you will need to access the server settings within the Mail app. This will allow you to configure the necessary options for downloading your emails. Follow these steps to access the server settings:
- With the Mail app open and your chosen email account’s inbox displayed, tap on the “Mailboxes” button located at the top-left corner of the screen.
- A list of mailboxes will appear, including your inbox, drafts, sent, and trash folders. Scroll down to find the “Accounts” section.
- Tap on the email account for which you want to access the server settings. This will display all the folders associated with that account.
- Scroll down to the “IMAP” or “POP” heading. These are the standard protocols used to access email on servers. Depending on your email service provider, your account may be set up with either IMAP or POP.
- Tap on the “IMAP” or “POP” heading to access the account settings.
Once you have accessed the server settings, you will see various options related to your email account’s configuration. These options may include the incoming and outgoing mail server addresses, ports, SSL settings, and authentication methods.
It is important to note that making changes to the server settings can have an impact on how your emails are downloaded and stored on your iPhone. Therefore, it is advisable to proceed with caution and only modify the settings if necessary or as instructed by your email service provider.
In the next step, we will explore how to download emails from the server using the available options and settings.
Step 4: Download emails from the server
Downloading emails from the server on your iPhone allows you to have a local copy of your emails stored directly on the device. This ensures that you can access your emails even when you don’t have an internet connection. Follow these steps to download emails from the server:
- Once you have accessed the server settings for your email account, look for the “Mail Days to Sync” or similar option. This setting determines how far back in time your iPhone will download emails from the server.
- Tap on the “Mail Days to Sync” or similar option and choose an appropriate time period. The available options may vary depending on your email service provider, but common choices include 1 day, 3 days, 1 week, 2 weeks, 1 month, and no limit.
- If you want to download all the existing emails from the server to your iPhone, select the “No Limit” option.
- Once you have selected the desired option, tap “Done” or a similar button to save the changes.
Your iPhone will now start downloading the selected emails from the server and store them locally on the device. This process might take a few moments or longer, depending on the number of emails and their sizes.
Once the download is complete, you will have offline access to all the downloaded emails on your iPhone. You can open the Mail app and navigate to your email account’s inbox to view these downloaded emails, even without an internet connection.
Remember that the downloaded emails are stored locally on your iPhone’s storage. It is essential to regularly clean up your inbox and delete any unnecessary emails to free up space and ensure optimal device performance.
Now that you have successfully downloaded emails from the server, you are ready to customize your email download settings for a more personalized experience. Let’s explore this in the upcoming step.
Step 5: Customize email download settings
To further enhance your email experience on your iPhone, you have the option to customize the email download settings. Customizing these settings allows you to tailor how your emails are downloaded and stored on your device. Follow these steps to customize the email download settings:
- Open the Mail app and go to your email account’s inbox.
- Tap on the “Mailboxes” button located at the top-left corner of the screen.
- Scroll down to the “Accounts” section and tap on the email account for which you want to customize the settings.
- Scroll down and tap on “Account” or “Mail Account” to access the account settings.
- Look for the “Download Attachments” or similar option. This setting determines whether attachments are automatically downloaded along with the email messages.
- Toggle the switch to enable or disable the automatic download of attachments, based on your preference.
- Scroll further to explore additional options like “Show To/Cc Label,” “Complete Threads,” and “Organize By Thread.” These options allow you to customize how your emails are displayed and organized within the Mail app.
- Make the desired selections or adjustments to these settings.
- Tap “Done” or a similar button to save the changes.
Customizing the email download settings on your iPhone gives you more control over how your emails are managed and displayed. By enabling or disabling the automatic download of attachments, you can optimize your device’s storage and data usage. Similarly, adjusting other options like thread organization can make it easier for you to navigate and locate specific conversations or emails.
Feel free to experiment with different settings to find what works best for your email workflow and preferences. You can always revisit these settings and make adjustments whenever needed.
Now that you have customized your email download settings, you can effectively manage your emails directly from your iPhone. In the next step, we will discuss how to manage and organize your emails on your device.
Step 6: Manage emails on your iPhone
Managing your emails on your iPhone allows you to stay organized and maintain a clutter-free inbox. With the Mail app, you can perform various actions on your emails right from your device. Follow these steps to effectively manage your emails on your iPhone:
- Open the Mail app and go to your email account’s inbox.
- Scroll through the list of emails to find the email you want to manage.
- If you want to delete an email, swipe left on the email and tap the “Delete” button. Alternatively, you can tap on the email to open it, and then tap the “Delete” button at the bottom of the screen.
- If you want to move an email to a folder, swipe left on the email and tap the “Move” button. Choose the desired folder or create a new folder to move the email to.
- To mark an email as unread or read, swipe right on the email and tap the “Mark as Unread” or “Mark as Read” button.
- If you want to reply to an email, tap on the email to open it, and then tap the “Reply” button.
- To compose a new email, tap on the “Compose” button located at the bottom-right corner of the screen.
- When composing or replying to an email, you can format the text, add attachments, and insert images using the options available in the email composer. Once you are done, tap the “Send” button to send the email.
These actions are just a few examples of how you can manage your emails on your iPhone. The Mail app offers even more features and functionalities to help you stay organized, such as flagging important emails, creating mailboxes and filters, and searching for specific emails.
By effectively managing your emails on your iPhone, you can keep your inbox organized, easily find important messages, and maintain a streamlined email workflow on the go.
Now that you know how to manage your emails on your iPhone, let’s move on to the next step to troubleshoot any common issues you may encounter during the process.
Step 7: Troubleshooting common issues
While setting up and downloading emails from a server on your iPhone is generally a straightforward process, you may encounter some common issues along the way. These issues can range from email sync problems to server connection errors. Here are some troubleshooting tips to help you resolve common issues:
- Check your internet connection: Ensure that your iPhone is connected to a stable internet connection. You can try turning off Wi-Fi and using cellular data or vice versa to see if it resolves the issue.
- Verify your email account settings: Double-check your email account settings, including the incoming and outgoing server addresses, port numbers, and authentication methods. Make sure all the information is correct and up-to-date.
- Restart your iPhone: Restarting your iPhone can help resolve minor software glitches and refresh the network connections. Simply press and hold the Power button until the Slide to Power Off option appears, then swipe the slider to turn off your device. Wait a few seconds, then press and hold the Power button again until the Apple logo appears to turn it back on.
- Delete and reconfigure your email account: If the issue persists, try removing the email account from your iPhone and adding it back again. This can refresh the account’s settings and resolve any configuration problems.
- Update your iPhone’s software: Keeping your iPhone’s software up to date is essential for optimal performance and compatibility. Check for any available software updates by going to Settings > General > Software Update, and install any updates if available.
- Contact your email service provider: If you have tried the above troubleshooting steps and are still experiencing issues, it may be helpful to reach out to your email service provider’s support team for further assistance. They can provide specific troubleshooting steps tailored to their email platform.
By following these troubleshooting tips, you can address common issues that may occur while setting up and downloading emails from a server on your iPhone. Remember to remain patient and thorough in the troubleshooting process, as some issues may require multiple attempts or further assistance.
Now that you are equipped with the necessary troubleshooting knowledge, you can confidently tackle any issues that may arise during the email setup and downloading process.
Conclusion
Downloading emails from a server on your iPhone offers a convenient way to access your emails offline and ensures that you have all your important messages at your fingertips. By following the step-by-step instructions provided in this guide, you can set up an email account, open the Mail app, access the server settings, download emails, customize the download settings, and effectively manage your emails on your iPhone.
Remember to regularly clean up your inbox and delete unnecessary emails to free up storage space on your device. Additionally, customizing the email download settings allows you to tailor your email experience to your preferences and optimize storage and data usage.
If you encounter any issues during the process, refer to the troubleshooting tips provided to help you resolve common problems. Restarting your device, verifying your email account settings, and updating your iPhone’s software are some of the steps you can take to troubleshoot and fix any issues that may arise.
By utilizing the features and functionalities of the Mail app, you can efficiently manage your emails, stay organized, and have a seamless email experience on your iPhone. Whether you’re traveling or have a poor internet connection, downloading emails from the server ensures that your important messages are accessible regardless of your connectivity status.
Now that you have the knowledge and tools to download and manage your emails on your iPhone, you can stay connected, organized, and in control of your email communication wherever you go.