Introduction
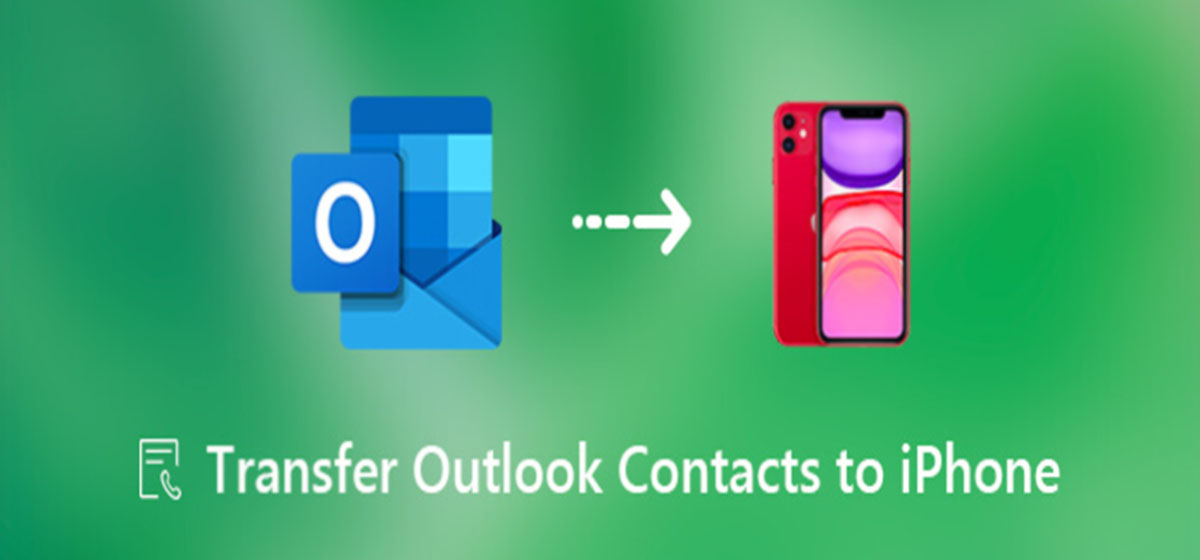
Welcome to our guide on how to download Outlook contacts to iPhone. If you’re switching from using Microsoft Outlook on your computer to managing your contacts on your iPhone, it’s essential to have a seamless transition. By downloading your Outlook contacts onto your iPhone, you can keep all your important contact information readily accessible and synced across your devices.
Whether you use your contacts to stay connected with friends, family, colleagues, or clients, having them easily accessible on your iPhone can save you time and effort. With a few simple steps, you can import your Outlook contacts onto your iPhone and simplify your communication process.
In this step-by-step guide, we will walk you through the process of exporting your Outlook contacts and transferring them to your iPhone. By following these instructions, you’ll be able to maintain your contact list and have it readily available on your iPhone for all your communication needs.
So let’s get started with the first step: exporting your Outlook contacts.
Step 1: Export Outlook Contacts
Before you can import your Outlook contacts to your iPhone, you need to export them from your Outlook account. Follow the steps below to export your contacts:
- Launch Microsoft Outlook on your computer and ensure that you’re signed in to your account.
- Click on the “File” tab located at the top left corner of the Outlook window. A drop-down menu will appear.
- Select the “Open & Export” option from the menu, and then click on “Import/Export.”
- In the Import and Export Wizard window, choose the “Export to a file” option and click on “Next.”
- Select the “Comma Separated Values” option and click on “Next.”
- Choose the folder that contains your contacts. Typically, this is the “Contacts” folder, but you can select any other folder that contains the contacts you want to export.
- Click on the “Next” button to proceed.
- Specify the location on your computer where you want to save the exported contacts file. You can choose any location that is easily accessible for later use, such as your desktop.
- Give the file a name and click on the “Finish” button.
That’s it! You have successfully exported your Outlook contacts. The next step is to import them into your iPhone.
Now that you have exported your contacts from Outlook, it’s time to move on to the second step: importing these contacts into your iPhone. We will guide you through the process in the next section.
Step 2: Import Contacts to iPhone
After exporting your Outlook contacts, the next step is to import them into your iPhone. Follow the instructions below to import your contacts:
- Make sure you have the latest version of iOS installed on your iPhone. You can check for updates by going to the “Settings” app, tapping on “General,” and selecting “Software Update.”
- On your iPhone’s home screen, locate and tap on the “Settings” app to open it.
- Scroll down and tap on “Contacts.”
- In the Contacts settings, tap on “Accounts.”
- Tap on “Add Account” and select “Other” from the list.
- Under the “Contacts” section, tap on “Add CardDAV Account.”
- In the Server field, enter outlook.office365.com.
- Enter your Outlook email address in the “Username” field and your password in the “Password” field.
- Give the description field a name, such as “Outlook Contacts.”
- Tap on “Next” to continue.
- Make sure the “Contacts” option is turned on, and then tap “Save.”
Your iPhone will now sync with your Outlook account and import your contacts. This process may take some time depending on the number of contacts you have.
After the syncing and import process is complete, you can go to the “Contacts” app on your iPhone to access your Outlook contacts. They should now be available alongside your other contacts.
Congratulations! You have successfully imported your Outlook contacts to your iPhone. Now you can easily access and manage your contacts directly from your iPhone’s built-in contacts app.
Now that you’ve completed the necessary steps to download your Outlook contacts to your iPhone, you can enjoy the convenience of having all your contacts in one place. Whether you need to make a call, send a text message, or share contact information, your Outlook contacts will be readily available on your iPhone.
We hope this guide has been helpful in assisting you with the process. If you have any further questions or need additional assistance, feel free to consult the user manual or reach out to your device’s manufacturer for support.
Conclusion
In conclusion, transferring your Outlook contacts to your iPhone is a straightforward process that ensures you have all your important contact information easily accessible on your mobile device. By following the steps outlined in this guide, you can seamlessly export your contacts from Outlook and import them onto your iPhone.
Having your Outlook contacts readily available on your iPhone eliminates the need to switch between devices or rely solely on your computer for contact management. Whether you’re on the go or prefer the convenience of using your iPhone for communication, this process allows you to keep all your contacts in one place.
Remember to regularly update your iPhone’s software to ensure compatibility and access to the latest features. Additionally, double-check that you have entered the correct server and login credentials during the setup process to avoid any syncing issues.
If you encounter any difficulties or have specific questions about the process, consult the user manual for your iPhone or seek support from the manufacturer’s customer service team.
We hope this guide has been helpful in assisting you with transferring your Outlook contacts to your iPhone. Enjoy the convenience and ease of managing your contacts directly from your iPhone and stay connected with all the important people in your life!