Introduction
Welcome to our guide on how to download a VPN on iPhone! In today’s digital age, protecting your online privacy and security has become more important than ever. A VPN (Virtual Private Network) is an essential tool that encrypts your internet connection and masks your IP address, allowing you to browse the web anonymously and securely.
While there are numerous VPN options available on the App Store, downloading and installing a VPN on your iPhone is a straightforward process. In this step-by-step guide, we will walk you through the necessary steps to download a VPN app on your iPhone and start enjoying a safer online experience.
Whether you want to access geo-restricted content, protect your personal information on public Wi-Fi networks, or simply safeguard your browsing activities from prying eyes, a VPN is the perfect solution. So, without further ado, let’s dive into the process of downloading a VPN on your iPhone!
Before we begin, it’s important to note that the steps provided here are based on the latest iOS version and may vary slightly depending on your device model and software version. However, the overall process remains the same regardless of these variables.
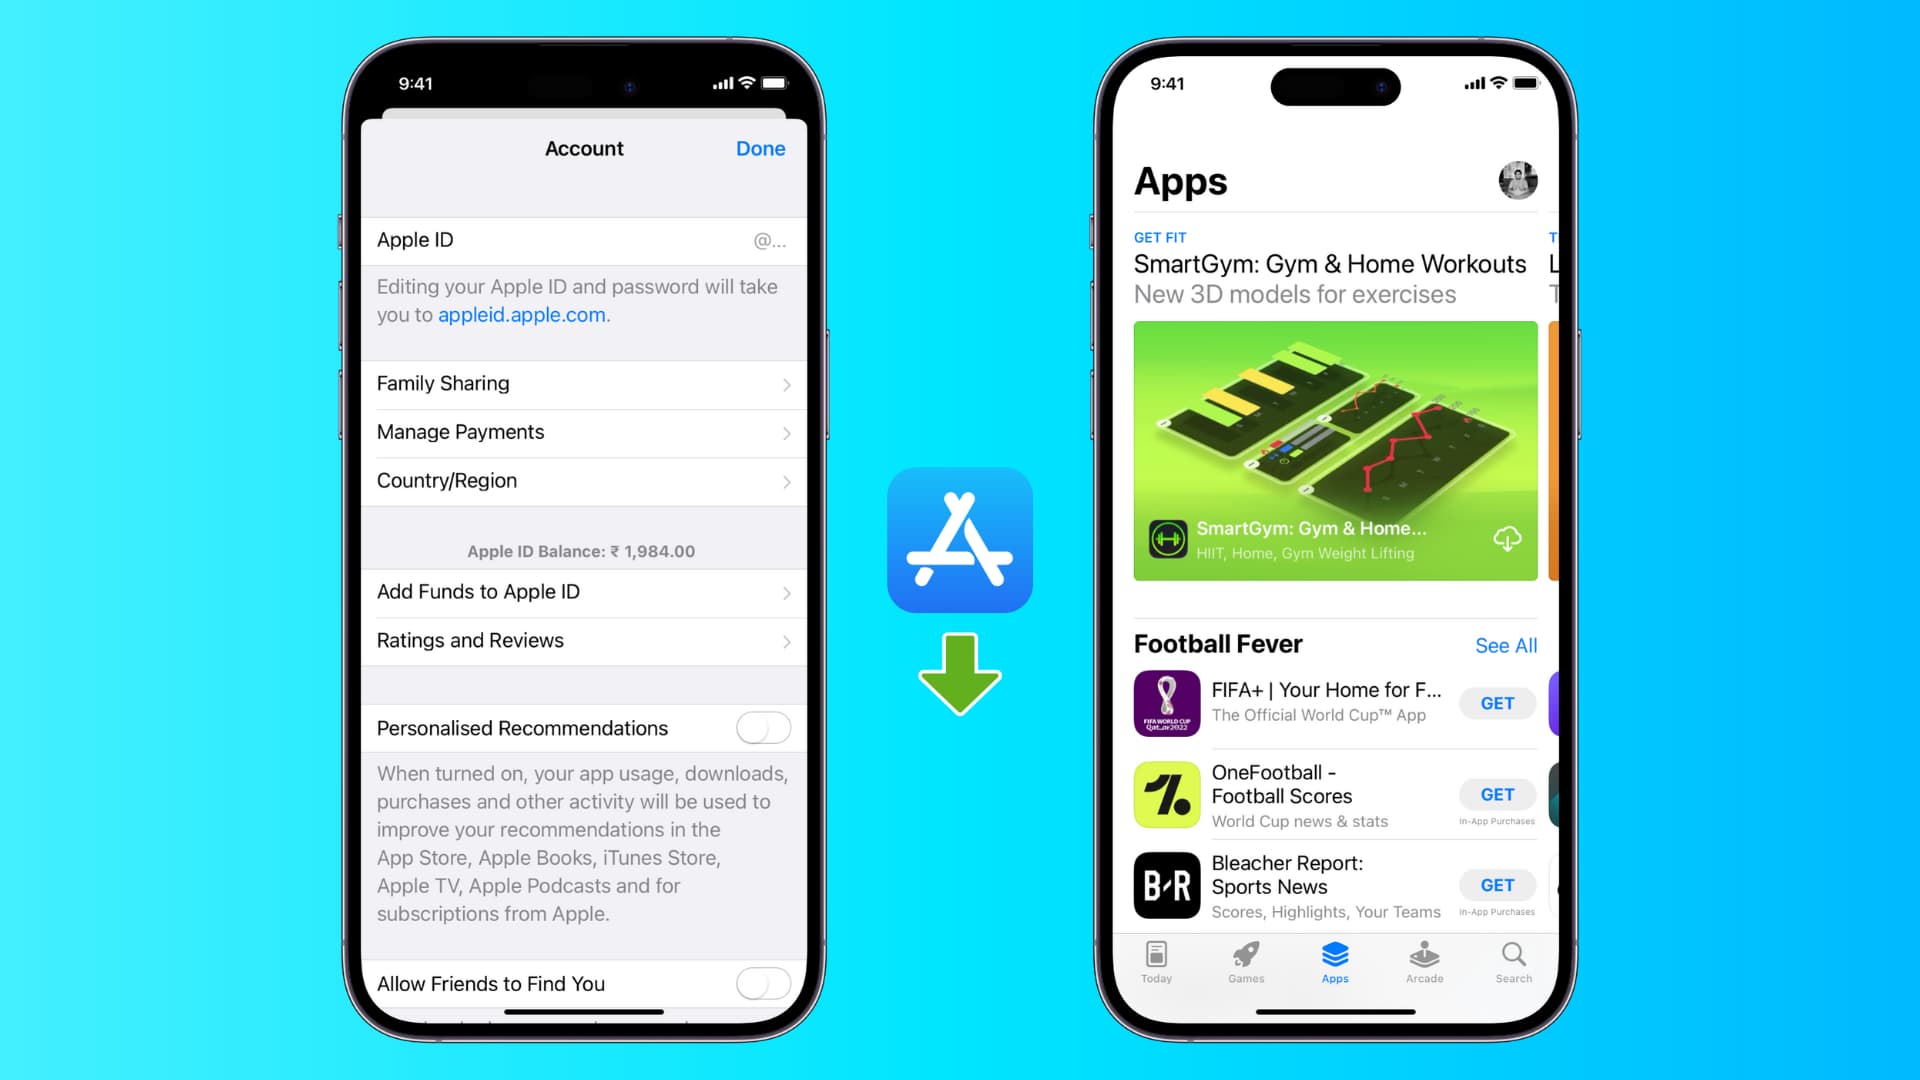
Step 1: Go to the App Store
The first step to download a VPN on your iPhone is to access the App Store. The App Store is the official marketplace for iOS apps, where you can find and download a wide range of applications, including VPNs.
To launch the App Store, locate the icon on your iPhone’s home screen, which resembles a blue icon with a white letter “A” inside. Tap on the App Store icon to open it.
Once you’re inside the App Store, you’ll be greeted with the home screen showcasing various featured apps and categories. At the bottom of the screen, you’ll find a menu with different tabs: Today, Games, Apps, Updates, and Search. Select the “Search” tab by tapping on it.
In the search bar located at the top of the screen, you can type in the keywords related to VPNs, such as “VPN” or the name of a specific VPN service you’re interested in. As you type, the App Store will start suggesting relevant search terms. Tap on the search suggestion or hit the search button on your iPhone’s keyboard to proceed with the search.
The App Store will then display a list of VPN apps that match your search query. You can browse through the search results to find the app that best suits your requirements. Pay attention to the app ratings, reviews, and descriptions to get an idea of the app’s reliability and features.
Once you have found the VPN app you want to download, tap on its title to access the app’s page. Here, you will find more detailed information about the app, including its features, compatibility, and user reviews. Take a moment to review this information to ensure the app meets your needs.
Once you are ready to proceed, tap on the “Get” or “Install” button located next to the app’s title on the app page. If you’re prompted to enter your Apple ID password, do so to initiate the download process. The App Store will then start downloading and installing the VPN app on your iPhone.
Once the installation is complete, the app’s icon will appear on your iPhone’s home screen, indicating that the VPN app is ready to be used. Now that you have successfully downloaded the VPN app, you can move on to the next step: setting up and configuring the VPN on your iPhone.
Step 2: Search for a VPN App
Now that you are in the App Store, the next step in downloading a VPN on your iPhone is to search for the VPN app you wish to download. There are numerous VPN apps available on the App Store, each offering different features and capabilities.
To start your search, tap on the search bar at the top of the App Store screen. This will activate the on-screen keyboard, allowing you to enter your search terms. Type in keywords such as “VPN,” “Virtual Private Network,” or the name of a specific VPN service you are interested in.
As you type your search terms, the App Store will provide you with suggested results. You can either choose one of the suggested terms or continue typing until you find the VPN app you are looking for.
Once you have entered your search terms, tap the search button on your iPhone’s keyboard or simply tap on the “Search” button to the right of the search bar.
The App Store will then display a list of VPN apps that match your search criteria. You can scroll through the results to explore the various options available. Pay attention to the ratings, reviews, and descriptions of each app to get an idea of their performance and features.
To further narrow down your search, you can use the filters provided by the App Store. These filters allow you to refine your search based on categories such as “Free” or “Paid” apps, app ratings, and compatibility with your iPhone model and iOS version.
Once you have found a VPN app that interests you, tap on its name to access its app page. Here, you will find more detailed information about the app, including its price, features, and screenshots.
Take the time to read the app description and user reviews to gain insights into the performance and reliability of the VPN app. This will help you make an informed decision before proceeding with the download.
If you are satisfied with the app’s features and user feedback, you can proceed with downloading the VPN app by tapping the “Get” or “Install” button next to its name. If prompted, enter your Apple ID password to initiate the download process.
Once the VPN app has finished downloading and installing on your iPhone, its icon will appear on your home screen, indicating that it is ready to be used. Now, you can move on to the next step: setting up and configuring the VPN app on your iPhone.
Step 3: Choose and Install the App
After searching for VPN apps in the App Store, the next step is to choose the VPN app that suits your needs and install it on your iPhone. With a wide range of options available, it’s important to consider factors such as features, user reviews, and compatibility before making a decision.
Once you have found a VPN app that you’re interested in, tap on its name to open its app page. Here, you will find detailed information about the app, including its price, features, and user reviews.
Take the time to review the app’s features and screenshots to ensure that it meets your requirements. Look for features such as a large server network, strong encryption protocols, user-friendly interface, and compatibility with streaming platforms if you have specific needs.
Reading user reviews can provide valuable insights into the VPN app’s performance, reliability, and user experience. Pay attention to both positive and negative reviews to get a balanced view of the app’s strengths and weaknesses.
If you’re satisfied with the app’s features and user feedback, you can proceed with downloading the VPN app. Tap on the “Get” or “Install” button next to the app’s name to initiate the download process. You may be prompted to enter your Apple ID password or use Touch ID/Face ID to authorize the installation.
The App Store will then download the VPN app to your iPhone. The duration of the download will vary depending on the size of the app and the speed of your internet connection.
Once the download is complete, the app’s icon will appear on your home screen. This indicates that the VPN app has been successfully installed on your iPhone.
It’s important to note that some VPN apps might require additional configuration or subscription activation after installation. These steps are usually guided within the app itself.
Before you start using the VPN app, it’s recommended to explore the app’s settings and options to ensure that it aligns with your preferences. This includes setting up features like automatic connection on startup, selecting the desired VPN server location, or adjusting protocol settings.
With the VPN app downloaded and installed on your iPhone, you’re now ready to move on to the next step: creating an account and setting up the VPN.
Step 4: Open the App and Create an Account
Now that you have installed the VPN app on your iPhone, it’s time to open the app and create an account. Most VPN services require users to have an account in order to access their network and enjoy the full benefits of their service.
Locate the VPN app’s icon on your iPhone’s home screen and tap on it to open the app. The app may take a few moments to load and initialize.
Upon opening the app, you will be greeted with a welcome screen or a login/signup screen. If you already have an account with the VPN provider, you can enter your login credentials, such as your email address and password, to proceed. If you are a new user, tap on the “Sign Up” or “Create Account” button to begin the registration process.
Follow the prompts provided by the app to create a new account. This typically involves entering your email address, choosing a strong password, and accepting the terms and conditions of the VPN service. Some VPN apps may also offer alternative signup methods, such as signing up with your Google or Facebook account.
Ensure that you provide accurate and valid information during the registration process. This will help in securing your account and accessing VPN features seamlessly.
After you have filled in the necessary information, tap on the “Continue” or “Sign Up” button to proceed. The VPN app will then validate your account details and, if everything checks out, will create your account.
Some VPN services may require additional verification steps, such as email verification or SMS verification, to ensure the security of your account. Follow the instructions provided by the app to complete these steps, if applicable.
Once your account has been successfully created and verified, you can log in to the VPN app using your credentials. If the app does not automatically log you in, tap on the “Log In” or “Sign In” button and enter your email address and password.
Now that you are signed in to the VPN app, you can access the app’s settings, choose your preferred VPN server location, and customize other options according to your preferences.
It’s worth noting that some VPN services offer a trial period or a limited free version of their app. This allows you to test the service before committing to a paid subscription. Take advantage of these options if they are available to make an informed decision about the VPN service.
With your VPN app account successfully created and logged in, you are ready to move on to the next step: configuring the VPN settings on your iPhone.
Step 5: Configure VPN Settings
After creating an account and logging in to the VPN app on your iPhone, the next step is to configure the VPN settings according to your preferences. This step involves selecting your desired VPN server location and customizing any additional options offered by the app.
Open the VPN app on your iPhone and navigate to the settings or preferences section. The layout and organization of the settings may vary between different VPN apps, but you should be able to find a section specifically dedicated to configuring the VPN settings.
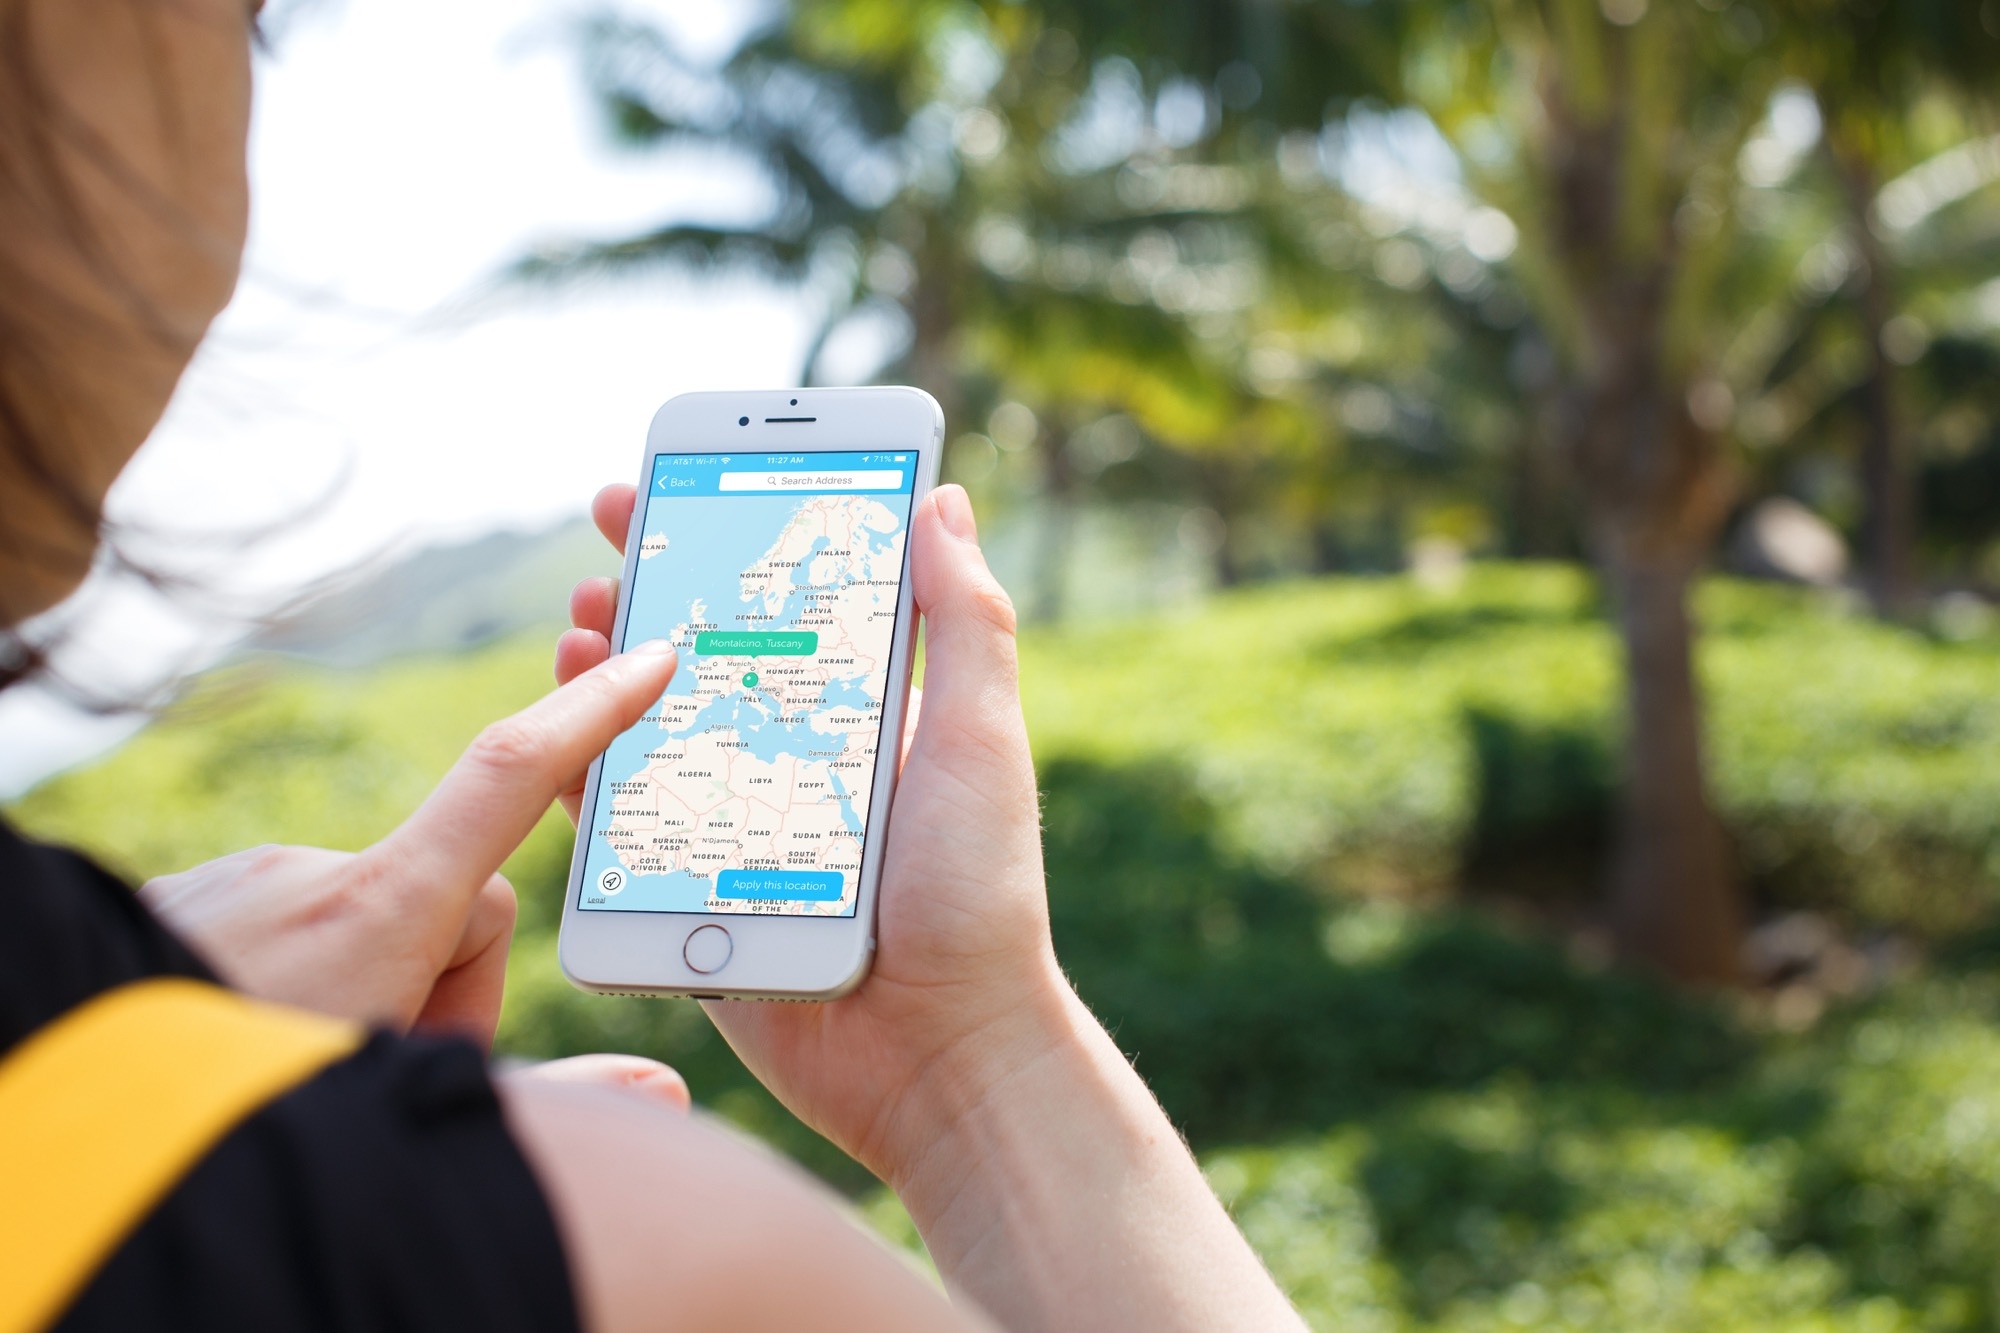
One of the most important settings to customize is the VPN server location. A VPN server location is the country or region where the VPN server is physically located. By connecting to different server locations, you can access content that is restricted to specific regions or enhance your online privacy by choosing a server in a jurisdiction with strong data protection laws.
In the settings, you will typically find a list of available server locations. This list may be organized by country or region. Tap on the server location of your choice to connect to it.
Depending on the VPN app, you may also have the option to let the app automatically select the best server location for you based on factors like speed and proximity. This can be a convenient option if you are not concerned about server location preferences.
Additionally, some VPN apps may offer advanced options such as choosing specific protocols (e.g., OpenVPN, PPTP, L2TP/IPsec), enabling features like kill switches and split tunneling, or customizing DNS settings. These options allow you to tailor the VPN performance and functionality to your specific needs.
Take some time to explore the different settings available in the VPN app and adjust them according to your preferences. Keep in mind that modifying certain settings may impact the VPN’s performance or security, so it’s important to proceed with caution and consult the app’s documentation or support resources if you have any questions.
Once you have configured the VPN settings to your satisfaction, you are ready to establish a connection to the VPN server.
Keep in mind that you may need to enable the VPN connection each time you want to use it, as some VPN apps do not automatically connect when you launch them or when your device connects to a new network.
Now that you have successfully configured the VPN settings on your iPhone, you can proceed to the next step: connecting to the VPN server.
Step 6: Connect to the VPN
With the VPN settings configured on your iPhone, you are now ready to establish a connection to the VPN server. The process of connecting to the VPN may vary slightly depending on the VPN app you have chosen, but the general steps remain the same.
Open the VPN app on your iPhone if it is not already open. You should be on the app’s main screen or dashboard, where you can see various information about the VPN service.
Look for a “Connect” or “On/Off” button within the app, usually located prominently on the screen. This button is usually labeled with a power symbol or the word “Connect.” Tap on this button to initiate the connection to the VPN server.
The VPN app will then establish a connection to the server you selected in the previous step. This process may take a few seconds or longer, depending on the speed of your internet connection and the server’s location.
During the connection process, you may see a loading or connecting animation, and the app may display status messages indicating the progress of the connection attempt.
Once the connection to the VPN server is established, the app will notify you that you are now connected. In some VPN apps, the “Connect” or “On/Off” button may change to indicate that you are connected to the VPN.
When connected to the VPN, your internet traffic is encrypted and routed through the VPN server, protecting your online activities and masking your IP address.
Depending on the VPN app, you may have the option to choose a different server location while connected to the VPN. This allows you to switch to a different server without disconnecting from the VPN entirely. Simply open the app’s settings or server selection section and choose a new server location from the list.
To disconnect from the VPN server, open the VPN app and find the “Disconnect” or “Off” button, usually located in the same location as the “Connect” button. Tap on this button to terminate the connection to the VPN server.
It’s important to note that some VPN apps may automatically disconnect after a period of inactivity or when your iPhone goes into sleep mode. This is a power-saving feature and can be adjusted in the app’s settings if desired.
Now that you have successfully connected to the VPN server on your iPhone, you can enjoy a secure and private internet browsing experience. It’s crucial to ensure that the VPN connection is actively engaged whenever you want to protect your online activities.
Now, let’s move on to the final step: verifying the VPN connection and ensuring that your internet traffic is indeed routed through the VPN server.
Step 7: Verify the VPN Connection
Once you have connected to a VPN server on your iPhone, it is important to verify that the VPN connection is active and routing your internet traffic through the VPN server. This step ensures that your online activities are secure and protected.
To verify the VPN connection, start by opening a web browser on your iPhone. You can use Safari, Chrome, or any other browser of your choice.
With the browser open, visit a website that provides information about your public IP address. Examples of such websites include “whatismyip.com” or “iplocation.net”. These websites will display your public IP address, which is the identifying address associated with your internet connection.
Before connecting to the VPN server, take note of your current public IP address. You can do this by visiting one of the websites mentioned above and checking the displayed IP address.
Now, return to the VPN app and ensure that the VPN connection is active and connected to the server. Typically, the app will display a “Connected” or “On” status indicator.
Once you have verified the VPN connection, return to the web browser and visit one of the IP address checking websites again. This time, the displayed IP address should be different from your original one.
If the displayed IP address corresponds to the VPN server location you selected, it means that your internet traffic is indeed being routed through the VPN server. This ensures that your online activities are encrypted and anonymized, providing you with increased privacy and security.
It is recommended to perform this verification step periodically, especially if you connect to different VPN servers or experience any issues with your VPN connection. This ensures that your VPN is functioning properly and that your IP address is masked as intended.
In addition to verifying the VPN connection using an IP address checking website, you can also test the VPN by accessing geo-restricted content or services that are only available in the VPN server’s location.
For example, if you connected to a VPN server located in the United States, you can try accessing streaming platforms that are only available to users within the United States. If you can successfully access and stream content that was previously unavailable to you, it indicates that the VPN connection is working correctly.
If you encounter any issues or have concerns about your VPN connection, it is recommended to refer to the VPN app’s documentation, support resources, or contact the VPN provider’s customer support for assistance.
With the VPN connection successfully verified, you can now enjoy a secure and private internet browsing experience on your iPhone.
Congratulations! You have successfully completed all the necessary steps to download, install, configure, connect to, and verify a VPN on your iPhone. You are now equipped with the knowledge and tools to protect your online privacy and security while enjoying the benefits of a VPN service.
Conclusion
In today’s digital landscape, where online privacy and security are of utmost importance, downloading and using a VPN on your iPhone is a crucial step. With a VPN, you can enjoy a secure and private internet browsing experience, access geo-restricted content, protect your personal information on public Wi-Fi networks, and safeguard your online activities from prying eyes.
In this guide, we have walked you through the step-by-step process of downloading, installing, configuring, connecting to, and verifying a VPN on your iPhone. From accessing the App Store and searching for a VPN app to creating an account, configuring VPN settings, and establishing a connection to a VPN server, each step plays a vital role in ensuring a smooth and secure VPN experience.
By following the steps outlined in this guide, you now have the knowledge and tools to confidently navigate the process of setting up a VPN on your iPhone. It is important to choose a reputable VPN provider, as not all VPNs offer the same level of security and privacy. Take the time to read reviews, compare features, and consider your specific needs before selecting a VPN service.
Remember to regularly verify your VPN connection to ensure that your internet traffic is being routed through the VPN server and that your IP address is hidden. This can be done through IP address checking websites or by accessing geo-restricted content to confirm that the VPN is working as intended.
Using a VPN on your iPhone is an effective way to protect your personal information, maintain your privacy online, and enhance your overall internet security. With the knowledge and steps provided in this guide, you can confidently download a VPN on your iPhone and enjoy a safer and more secure online experience.
Now that you have completed this guide, you are well-equipped to take control of your online privacy and security with a VPN on your iPhone. Stay safe, protected, and enjoy the benefits that a VPN provides!