Introduction
Welcome to the world of Java development! If you’re venturing into the realm of Java programming, one essential tool you’ll need is Eclipse. Eclipse is a powerful and widely-used integrated development environment (IDE) that provides a robust platform for Java development. In this article, we’ll guide you through the process of downloading Eclipse for Java.
Whether you’re a beginner taking your first steps in Java programming or an experienced developer looking for a reliable IDE, Eclipse offers a user-friendly interface and a wide range of features that make writing, testing, and debugging Java code a breeze.
Downloading Eclipse for Java is straightforward, and we’ll take you through the step-by-step process. By the end of this guide, you’ll have a fully functional Eclipse IDE up and running on your computer, ready to embark on your Java coding adventures.
Before we get started, it’s worth mentioning that Eclipse is an open-source software developed by the Eclipse Foundation. It’s available for free, making it an excellent choice for programmers of all levels.
So, if you’re ready to dive into the world of Java programming and harness the power of Eclipse, let’s get started on downloading this fantastic IDE!
Step 1: Go to the official Eclipse website
The first step in downloading Eclipse for Java is to visit the official Eclipse website. Open your preferred web browser and navigate to https://www.eclipse.org.
Once you’re on the Eclipse website, you’ll notice that it offers a range of different versions and packages for various programming languages. For Java development, we’ll focus specifically on the Eclipse IDE for Java Developers.
On the Eclipse homepage, you can find a prominent download button that will take you to the download page. Alternatively, you can navigate to the download page directly by clicking on the ‘Downloads’ tab at the top of the website.
It’s important to ensure that you’re downloading Eclipse from the official website to guarantee the authenticity and integrity of the software. By doing so, you can have peace of mind knowing that you’re getting the latest stable version and avoiding any potential security risks.
Keep in mind that as technology evolves, updates and new versions of the Eclipse IDE are released. Therefore, it’s crucial to check for the latest version available to ensure you have access to the most up-to-date features and bug fixes.
Now that you’re on the Eclipse website and ready to download the IDE, let’s move on to the next step: choosing the appropriate Eclipse version for your Java development needs.
Step 2: Choose the Eclipse version
After navigating to the official Eclipse website, it’s time to choose the Eclipse version that is best suited for your Java development needs. Eclipse offers different versions, each tailored to specific programming languages and development purposes.
For Java development, the recommended version is the Eclipse IDE for Java Developers. This version comes with all the necessary tools and features specifically designed to enhance Java coding and development.
When choosing the Eclipse version, it’s important to consider factors such as your programming expertise, project requirements, and personal preferences. If you’re just starting out with Java programming or working on small-scale projects, the Eclipse IDE for Java Developers is a great choice.
However, if you have more advanced needs, such as developing enterprise-level Java applications or working in specialized fields like web development or Android app development, Eclipse also offers tailored versions like Eclipse IDE for Enterprise Java Developers or Eclipse IDE for Java EE Developers.
These specialized versions provide additional features and plugins that cater to specific industries or frameworks, streamlining the development process and improving productivity. However, for most Java developers, the Eclipse IDE for Java Developers is more than sufficient to kickstart their coding journey.
Once you’ve decided on the Eclipse version that best aligns with your needs and goals, it’s time to move on to the next step: selecting the appropriate download package for Java.
Step 3: Select the download package for Java
Now that you’ve chosen the appropriate version of Eclipse for your Java development, it’s time to select the download package that includes the necessary components for Java programming.
On the Eclipse download page, you will find different packages available for download. Look for the package that is specifically labeled for Java development. In most cases, it will be called “Eclipse IDE for Java Developers” or something similar.
Make sure to select the package that matches your operating system. Eclipse is available for Windows, macOS, and Linux, so ensure you choose the version that is compatible with your computer’s operating system.
Choosing the right download package is essential because it ensures that you have all the necessary components for Java development readily available. The Java package usually comes bundled with the essential tools, libraries, and plugins needed to write, test, and debug Java code efficiently.
Additionally, during the package selection process, it’s worth considering whether you want to download the 32-bit or 64-bit version of Eclipse. The 64-bit version is recommended for computers with a 64-bit operating system, as it can take full advantage of the additional memory available.
Once you have chosen the appropriate package for your Java development needs and operating system, you’re now ready to proceed to the next step: checking the system requirements to ensure compatibility.
Step 4: Check the system requirements
Before proceeding with the Eclipse download, it’s crucial to check the system requirements to ensure that your computer can support the IDE and run it smoothly. By verifying the system requirements in advance, you can avoid any compatibility issues or performance issues down the line.
The system requirements for Eclipse can vary slightly depending on the version and package you choose. However, there are some general minimum requirements that you should consider:
- Operating System: Eclipse is compatible with Windows, macOS, and Linux, so ensure that your operating system meets the version requirements.
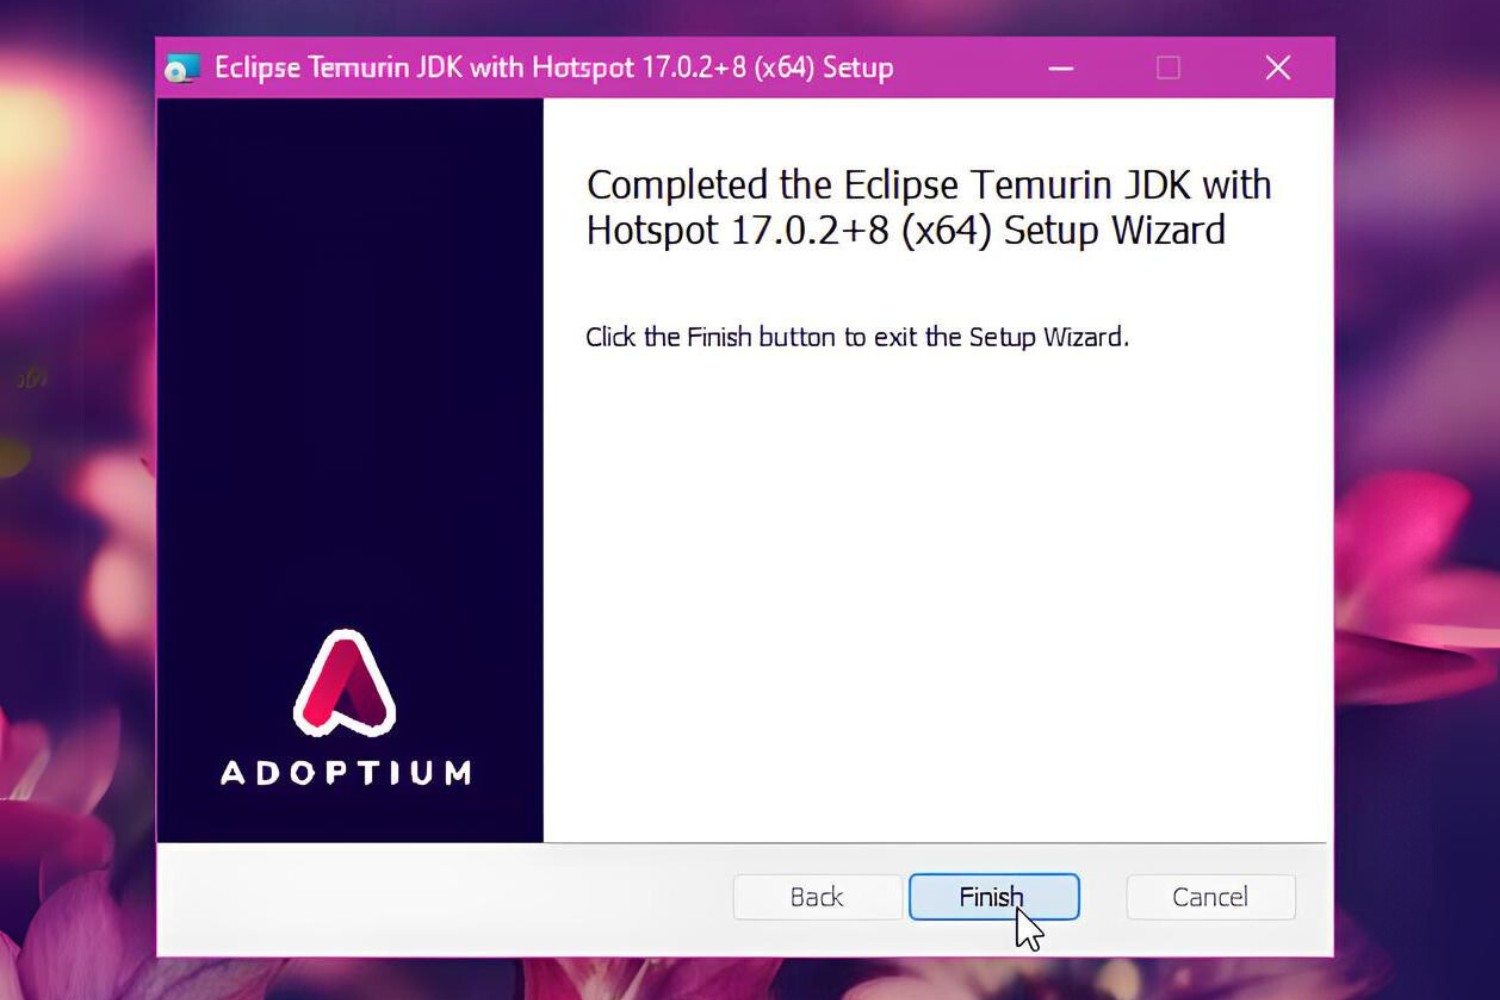
- Java Development Kit (JDK): Eclipse requires a Java Development Kit (JDK) to function correctly. Make sure you have a compatible JDK installed on your computer.
- Processor: Check the recommended processor specifications to ensure that your computer’s processor meets or exceeds the minimum requirements.
- Memory (RAM): Eclipse recommends a certain amount of RAM for optimal performance. Verify that your computer has the required amount of memory available.
- Disk Space: Eclipse requires a certain amount of disk space to install and run efficiently. Ensure that you have enough free disk space to accommodate the IDE and any additional plugins or extensions you may want to add.
Checking the system requirements is an essential step to ensure a smooth installation and usage experience of Eclipse. It guarantees that your computer has the necessary resources to accommodate the IDE and its features without encountering any performance issues or compatibility problems.
If your computer meets the system requirements, you’re now ready to proceed to the next step: starting the Eclipse download.
Step 5: Start the download
With all the necessary preparations in place, it’s time to start the download process for Eclipse. Follow these simple steps to initiate the download:
- On the Eclipse download page, locate the download button corresponding to your chosen package for Java development.
- Click on the download button to begin the download process. Your web browser will initiate the download and prompt you to choose a location on your computer to save the Eclipse installation file.
- Select a suitable location on your computer where you want to store the installation file. It’s advisable to choose a location that is easily accessible and memorable for future reference.
- Once you’ve selected the location, click on the “Save” or “OK” button to start the download. The size of the Eclipse installation file may vary depending on the version and package you selected, so the download time can vary.
- While the download is in progress, it’s essential to avoid interrupting or canceling the process. Doing so may result in an incomplete or corrupted installation file.
- Once the download is complete, you can proceed to the next step: installing Eclipse on your computer.
The download speed can vary depending on your internet connection, so it’s best to be patient during the download process. If the download takes longer than expected, ensure that your internet connection is stable, and try again if necessary.
Congratulations! You have successfully completed the download of the Eclipse installation file. Now, let’s move on to the next step: installing Eclipse on your computer.
Step 6: Install Eclipse on your computer
Now that you have successfully downloaded the Eclipse installation file, it’s time to proceed with the installation process. Follow these steps to install Eclipse on your computer:
- Locate the Eclipse installation file that you downloaded earlier. It is usually saved in the location you specified during the download process.
- Double-click on the installation file to initiate the installation wizard. The wizard will guide you through the installation process and prompt you to make several choices.
- Choose a suitable destination folder where you want to install Eclipse. The default path is usually recommended, but you can choose a different location if desired.
- Select the components you want to install. For Java development, make sure that the necessary Java components are selected.
- Customize any additional settings or configurations based on your preferences. You can choose to create desktop shortcuts, associate file types with Eclipse, or modify other installation options.
- Review the installation summary to ensure all the selected options and components are correct.
- Click on the “Install” or “Finish” button to begin the installation process. The installation may take a few minutes to complete.
- Once the installation is finished, you will be notified of the successful installation of Eclipse.
Congratulations! You have now installed Eclipse on your computer. Take a moment to explore the installed files and folders to familiarize yourself with the Eclipse IDE’s directory structure.
Now that Eclipse is properly installed, let’s move on to the final step: configuring Eclipse for Java development.
Step 7: Configure Eclipse for Java development
After installing Eclipse on your computer, the next step is to configure the IDE specifically for Java development. Follow these steps to set up Eclipse for your Java projects:
- Launch Eclipse by double-clicking on the Eclipse icon or selecting it from your computer’s program list.
- Upon launching Eclipse, you will be asked to select a workspace location. The workspace is a directory where Eclipse stores your projects, settings, and preferences. Choose a suitable location or accept the default workspace.
- Once you’ve selected the workspace, Eclipse will open to the Welcome screen. You can explore the various options and resources available on this screen, or you can close it to access the main Eclipse interface.
- In the Eclipse interface, select the “Window” menu option from the top navigation bar and click on “Perspective”. From the drop-down menu, choose “Java” perspective. This will change the layout and settings of Eclipse to best suit Java development.
- Next, configure the Java Development Kit (JDK) within Eclipse. Go to the “Window” menu again and select “Preferences”. In the Preferences window, navigate to “Java” and then “Installed JREs”. Here, click on the “Add” button and select the installed JDK on your system. Click “OK” to save the changes.
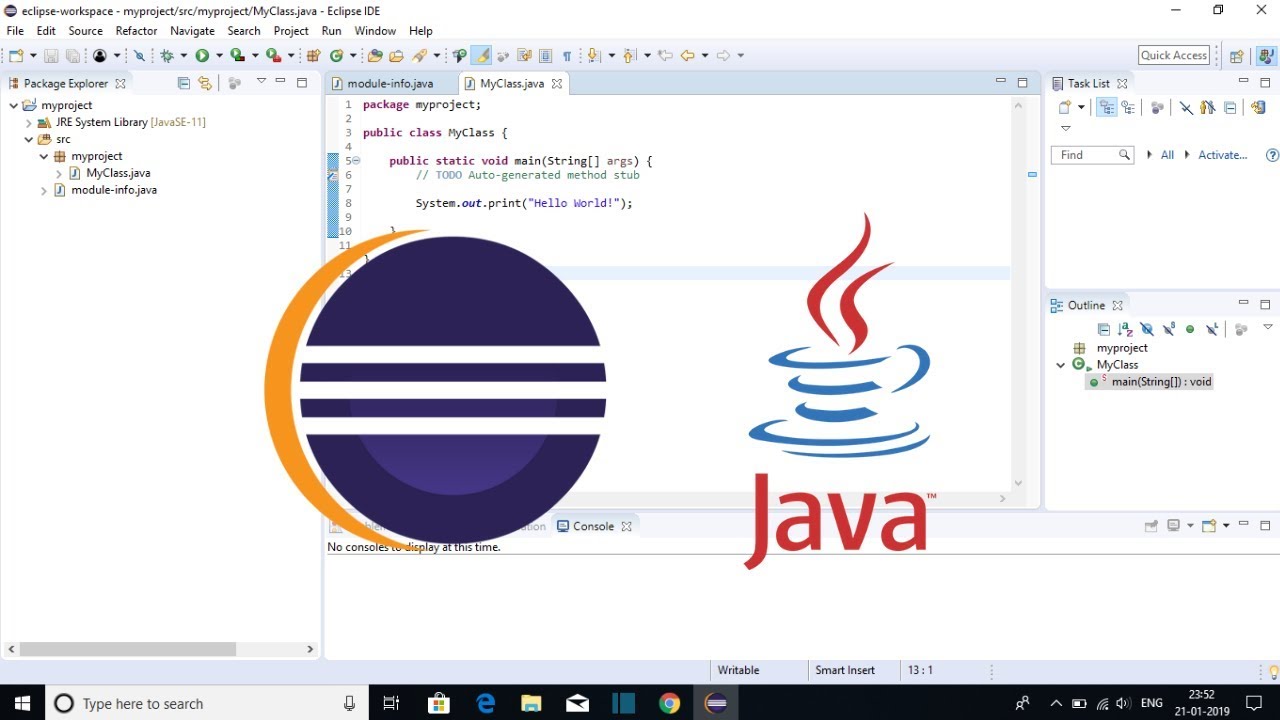
- Now, it’s time to create your first Java project in Eclipse. From the main Eclipse interface, select “File” and then “New” to access the project creation options. Choose “Java Project” and provide a suitable project name. Specify the project location and other project details as desired.
- Once the project is created, you can start adding Java source code files, creating classes, and building your Java application within Eclipse.
- Remember to save your work regularly and take advantage of the various built-in features and shortcuts offered by Eclipse to streamline your Java development process.
Congratulations! You have successfully configured Eclipse for Java development. You can now take full advantage of Eclipse’s powerful tools, features, and debugging capabilities to write and test your Java code.
Continue exploring the various menus, options, and preferences within Eclipse to customize your development environment to suit your specific coding preferences and workflow.
Now that you have successfully installed and configured Eclipse for Java development, you’re ready to embark on your coding journey!
Conclusion
Congratulations on successfully downloading and installing Eclipse for Java development! In this guide, we have walked you through the step-by-step process of obtaining Eclipse, choosing the appropriate version, selecting the Java package, checking system requirements, initiating the download, installing Eclipse, and configuring it for Java development.
Eclipse is a powerful and versatile IDE that provides a robust platform for writing, testing, and debugging Java code. With its user-friendly interface, extensive features, and vast plugin ecosystem, Eclipse is a top choice for both beginners and experienced Java developers.
By following the steps outlined in this guide, you have laid a solid foundation for your Java coding journey. You now have Eclipse up and running on your computer, ready to help you build amazing Java applications.
Remember to regularly update Eclipse to take advantage of the latest features and bug fixes. Additionally, be sure to explore the vast range of plugins and extensions available for Eclipse, as they can further enhance your Java development experience by providing additional tools, frameworks, and integrations.
As you dive deeper into Java programming, make use of the resources and documentation available within Eclipse to expand your knowledge and improve your skills. Eclipse offers a wealth of tutorials, documentation, and community support to help you overcome challenges and learn new techniques.
Now that you have unleashed the power of Eclipse for your Java development, the possibilities are endless. Whether you’re working on personal projects, developing enterprise-level applications, or collaborating with a team, Eclipse is your trusted companion on the Java coding journey.
Happy coding with Eclipse!