Unleash Your Creativity: A Step-by-Step Guide to Creating Mods for Minecraft
Are you an avid Minecraft player looking to take your gaming experience to the next level? Have you ever wondered how to create your own mods and customize the game according to your preferences? In this comprehensive guide, we will dive into the world of Minecraft modding and show you how to unlock endless possibilities and unleash your creativity.
Key Takeaways:
- Minecraft mods allow players to customize the game and add new features.
- Modding requires basic programming and Minecraft knowledge.
Before we begin, let’s answer a fundamental question: what exactly is a mod? In the context of Minecraft, a mod is a user-created modification or alteration to the original game. Mods can add new gameplay elements, introduce new mechanics, create additional blocks and items, enhance graphics, and much more. With mods, you have the power to transform Minecraft into your own personal playground.
Here’s how you can create mods for Minecraft:
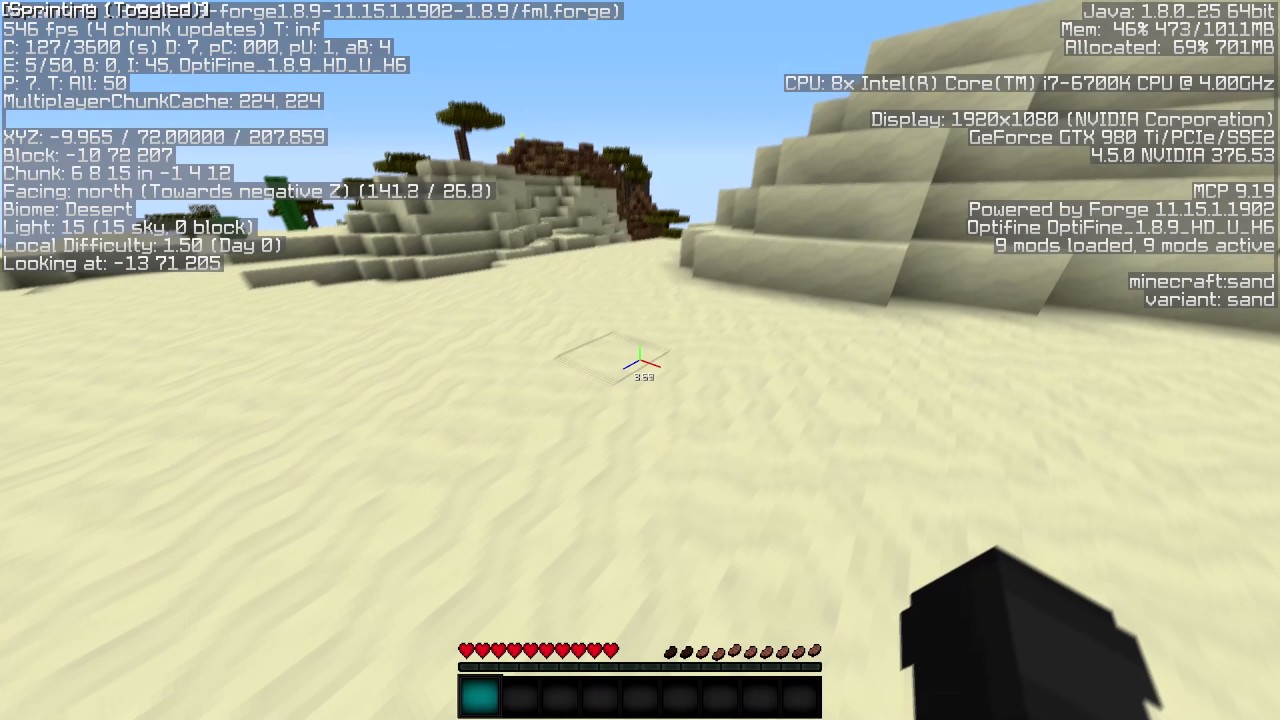
- Learn the Basics: Familiarize yourself with the fundamentals of Minecraft modding. Understand the different files and folders within the game’s directory, such as the Minecraft.jar file, resource packs, and the mods folder. This foundational knowledge will help you navigate and manipulate the game’s files effectively.
- Choose Your Modding Platform: There are several modding platforms available for Minecraft, each with its own features and tools. Some popular options include Forge, Fabric, and Bukkit. Research each platform and choose the one that aligns with your goals and skill level.
- Set Up Your Modding Environment: Install the modding platform of your choice and set up the necessary development environment. This typically involves downloading and configuring the required software, such as Java Development Kit (JDK) and Integrated Development Environment (IDE) like Eclipse or IntelliJ IDEA.
- Start Coding: Get ready to dive into the world of programming! Begin by writing simple Minecraft mods, such as adding a new block or item. Use programming languages like Java to create and modify the game’s code. Online resources, forums, and tutorials can be invaluable in helping you understand the syntax and structure of modding with Java.
- Test and Refine: As you develop your mods, it’s essential to test them thoroughly for bugs and compatibility issues. Minecraft has a built-in testing environment that allows you to launch the game and test your mods in a controlled setting. Continuously refine your mods based on feedback and user experience.
- Share Your Creations: Once you are satisfied with your mods, it’s time to share them with the Minecraft community! Upload your mods to reliable modding platforms and forums, such as CurseForge or Planet Minecraft. Don’t forget to provide detailed descriptions, instructions, and credits for your creations.
Embarking on the journey of creating mods for Minecraft can be challenging but incredibly rewarding. It allows you to push the boundaries of the game, express your creativity, and contribute to the ever-growing Minecraft modding community. Remember, practice makes perfect, so don’t be discouraged if your first mods aren’t perfect. Keep experimenting, learning, and improving, and soon enough, your mods will be sought after by fellow Minecraft enthusiasts.
Key Takeaways:
- Minecraft mods allow players to customize the game and add new features.
- Modding requires basic programming and Minecraft knowledge.
Now that you know the essential steps to create mods for Minecraft, it’s time to embark on your modding journey. Let your imagination run wild, and bring your unique ideas to life within the Minecraft universe. Happy modding!