Introduction:
Welcome to this step-by-step guide on how to create an email template in Microsoft Outlook. With the ability to customize and save email templates, you can save time and maintain consistency when composing emails. Whether you need to send out regular newsletters, promotional emails, or simple follow-up messages, having a well-designed template can streamline your email communication process.
Microsoft Outlook is a widely used email client that offers a range of features to simplify email management. By creating an email template in Outlook, you can easily customize the content, layout, and formatting of your emails, making them visually appealing and professional.
In this guide, we will walk you through the process of creating an email template in Outlook, step by step. We will cover everything from opening Outlook and designing your template to saving and using the template for future emails. Whether you are a business professional, a marketer, or someone who sends frequent emails, this guide will help you enhance your email communication efficiency.
So let’s get started with the first step: opening Microsoft Outlook and getting ready to create your email template.
Step 1: Open Microsoft Outlook
The first step in creating an email template in Microsoft Outlook is to open the application on your computer. Outlook is typically installed as part of the Microsoft Office suite, and you can locate it in your Start menu or desktop shortcut.
Once you have located and clicked on the Outlook icon, the program will open, and you will be greeted with the Outlook interface. The appearance and layout may vary slightly depending on the version of Outlook you are using.
After launching Outlook, you will need to log in to your email account if you haven’t already done so. Enter your email address and password in the required fields and click on the “Sign In” or “Log In” button to access your Outlook mailbox.
Once you are logged in to Outlook, you will see the main interface, which consists of various elements such as the navigation panel, email folders, and the reading pane. Familiarize yourself with the Outlook interface if you are new to the application.
Now that you have successfully opened Microsoft Outlook and are logged in to your email account, you are ready to proceed to the next step: creating a new email.
Step 2: Click on “New Email” button
After opening Microsoft Outlook and logging in to your email account, the next step in creating an email template is to click on the “New Email” button. This button is located in the toolbar or ribbon at the top of the Outlook window and is typically represented by a picture of an envelope with a plus sign.
Clicking on the “New Email” button will open a new email composition window. This window allows you to enter the recipient’s email address, subject line, and the body of the email. It is the starting point for creating your email template.
Once you have clicked on the “New Email” button, you will see a blank email composition window with various options and fields. The exact layout and appearance may vary slightly depending on the version of Outlook you are using.
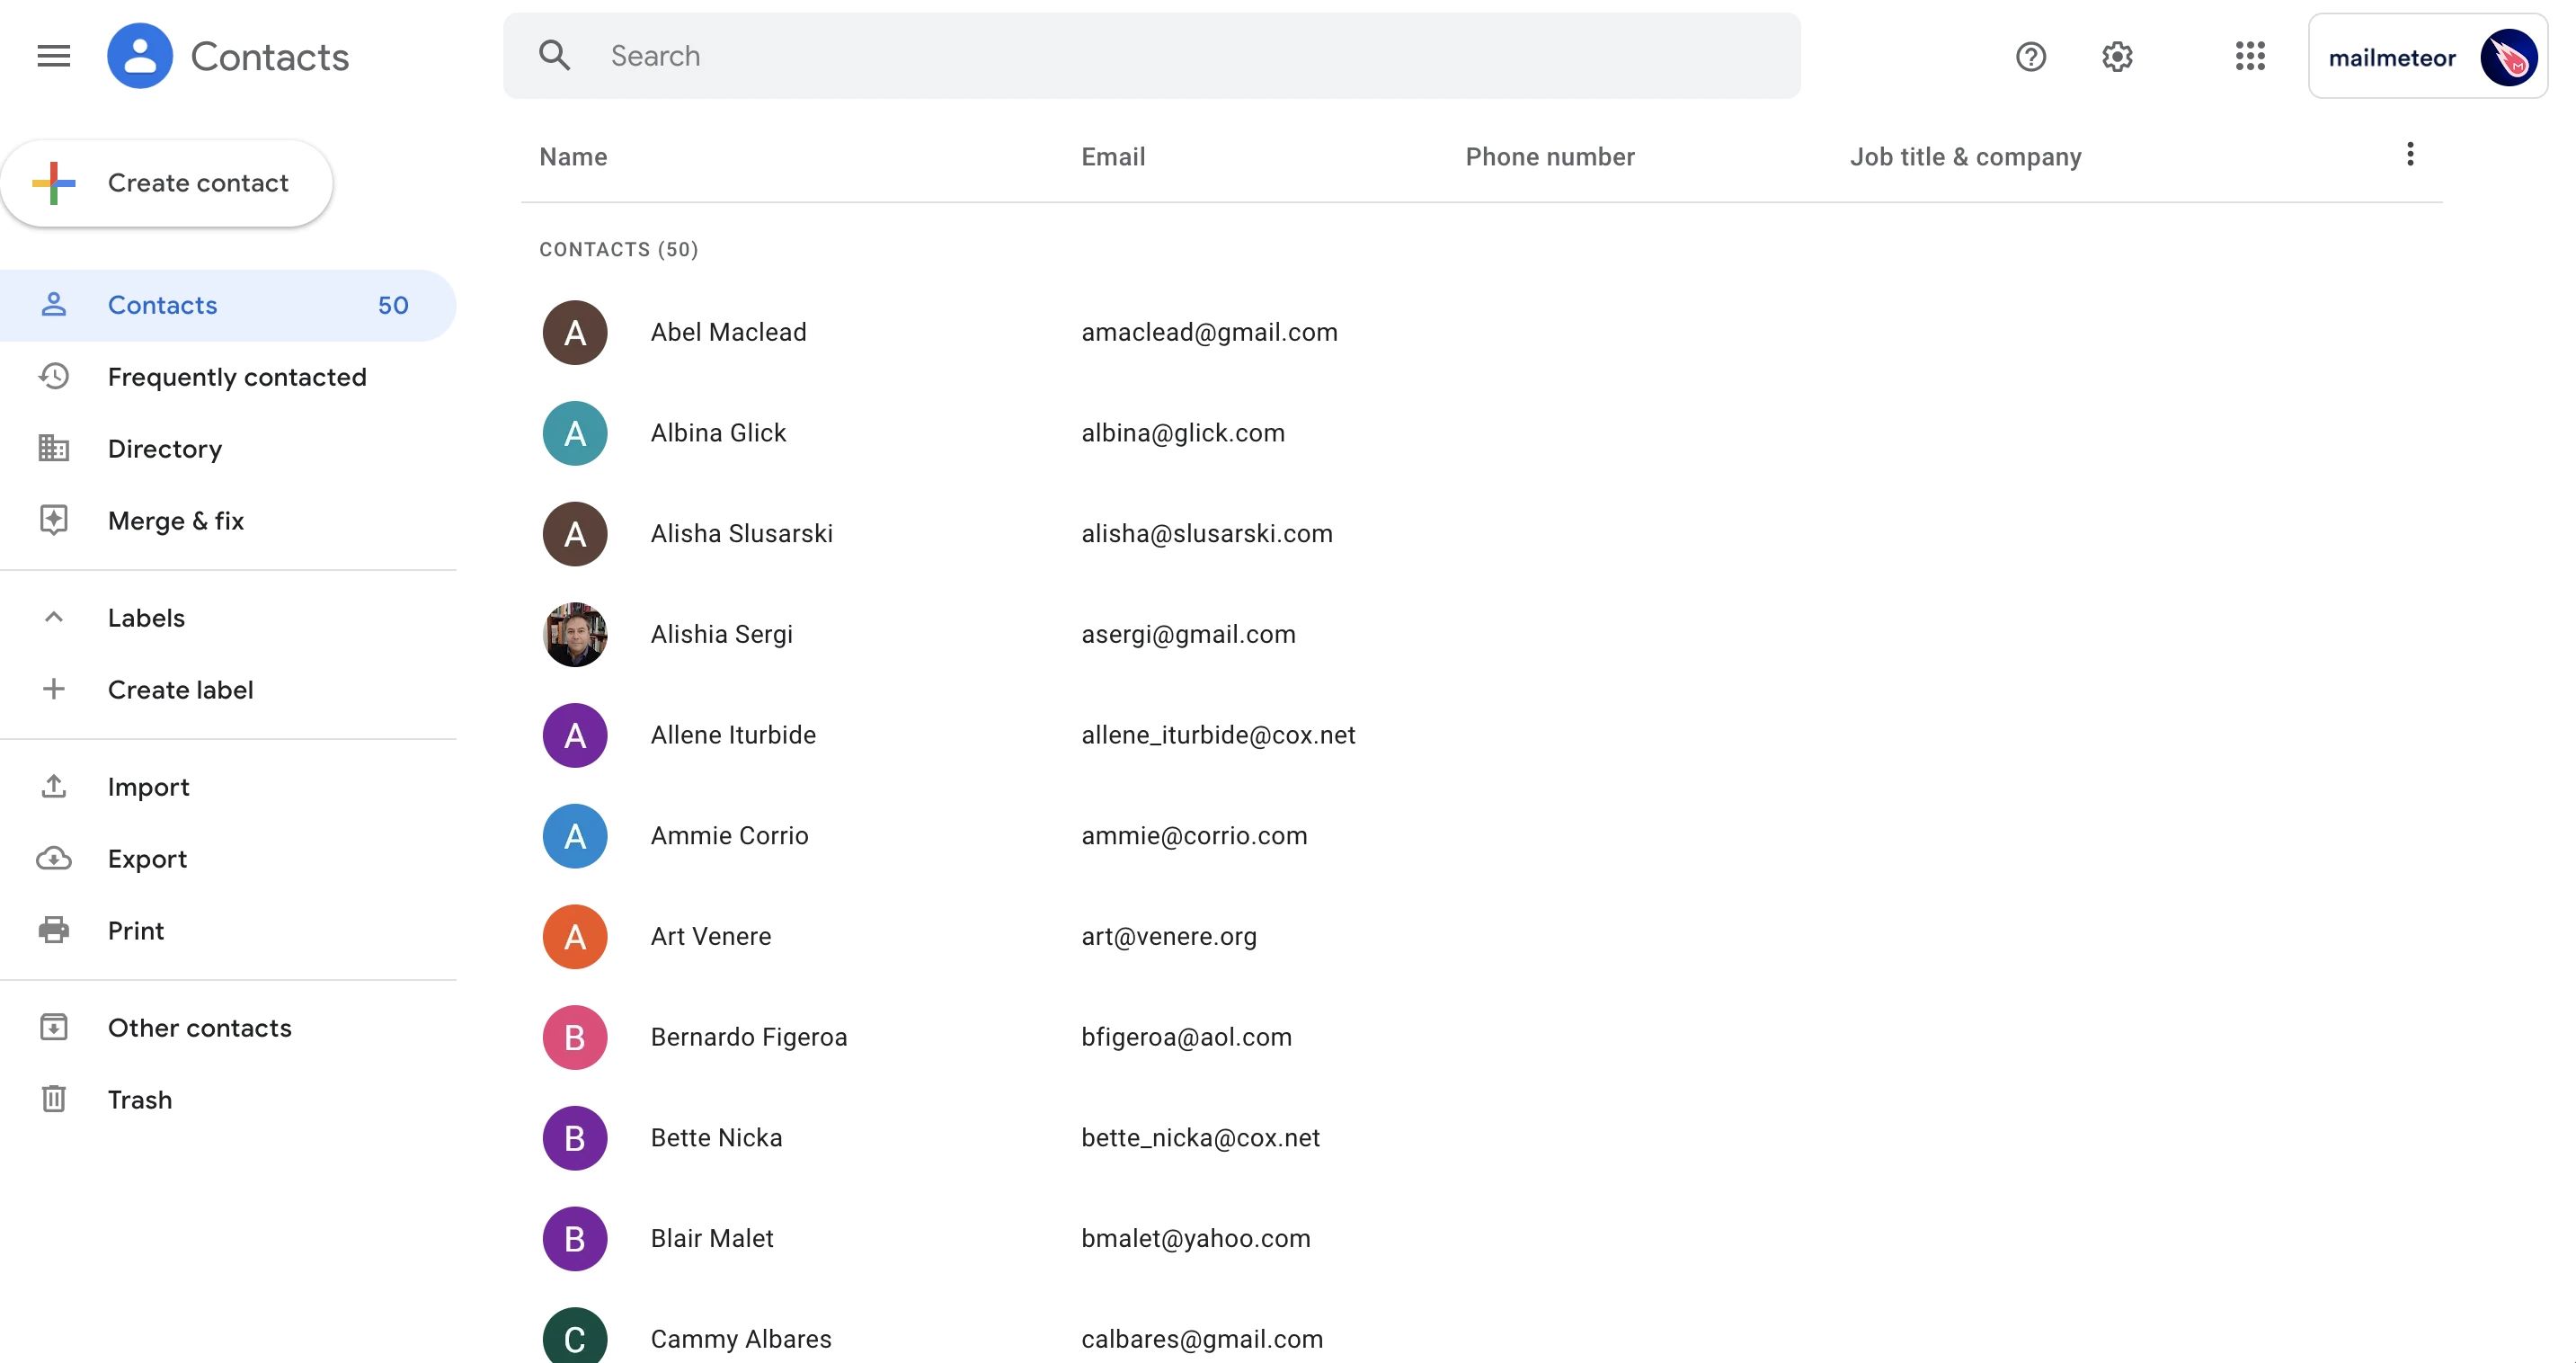
In the “To” field, enter the email address of the recipient or recipients to whom you want to send the email template. You can enter multiple email addresses by separating them with commas.
Next, in the “Subject” field, enter a concise and descriptive subject line for your email template. The subject line should summarize the purpose or content of the email.
Now that you have entered the recipient’s email address and a subject line, you are ready to move on to the next step: designing your email template in Outlook.
Step 3: Design your email template
Now that you have opened a new email composition window in Microsoft Outlook, it’s time to design your email template. This step involves customizing the layout, formatting, and content of your email to create a visually appealing and professional template.
Outlook provides a range of tools and options to help you design your email template. Here are some key aspects to consider when designing your template:
1. Layout: Choose a layout that suits your needs. Outlook offers different options for organizing the structure of your email, such as single-column, multi-column, or hybrid layouts. Select the layout that best showcases your content.
2. Formatting: Use formatting options to enhance the readability and visual appeal of your template. Customize font styles, sizes, colors, and alignments to make your email stand out. Remember to maintain consistency in your formatting throughout the template.
3. Images and Media: Incorporate images, illustrations, and other media elements to make your email template more engaging. Outlook allows you to insert images from your computer or online sources, as well as embed videos or audio files.
4. Branding: Ensure that your email template reflects your brand identity. Use your company’s logo, colors, and fonts to create a consistent visual experience for your recipients. Adding your brand elements will help establish credibility and recognition.
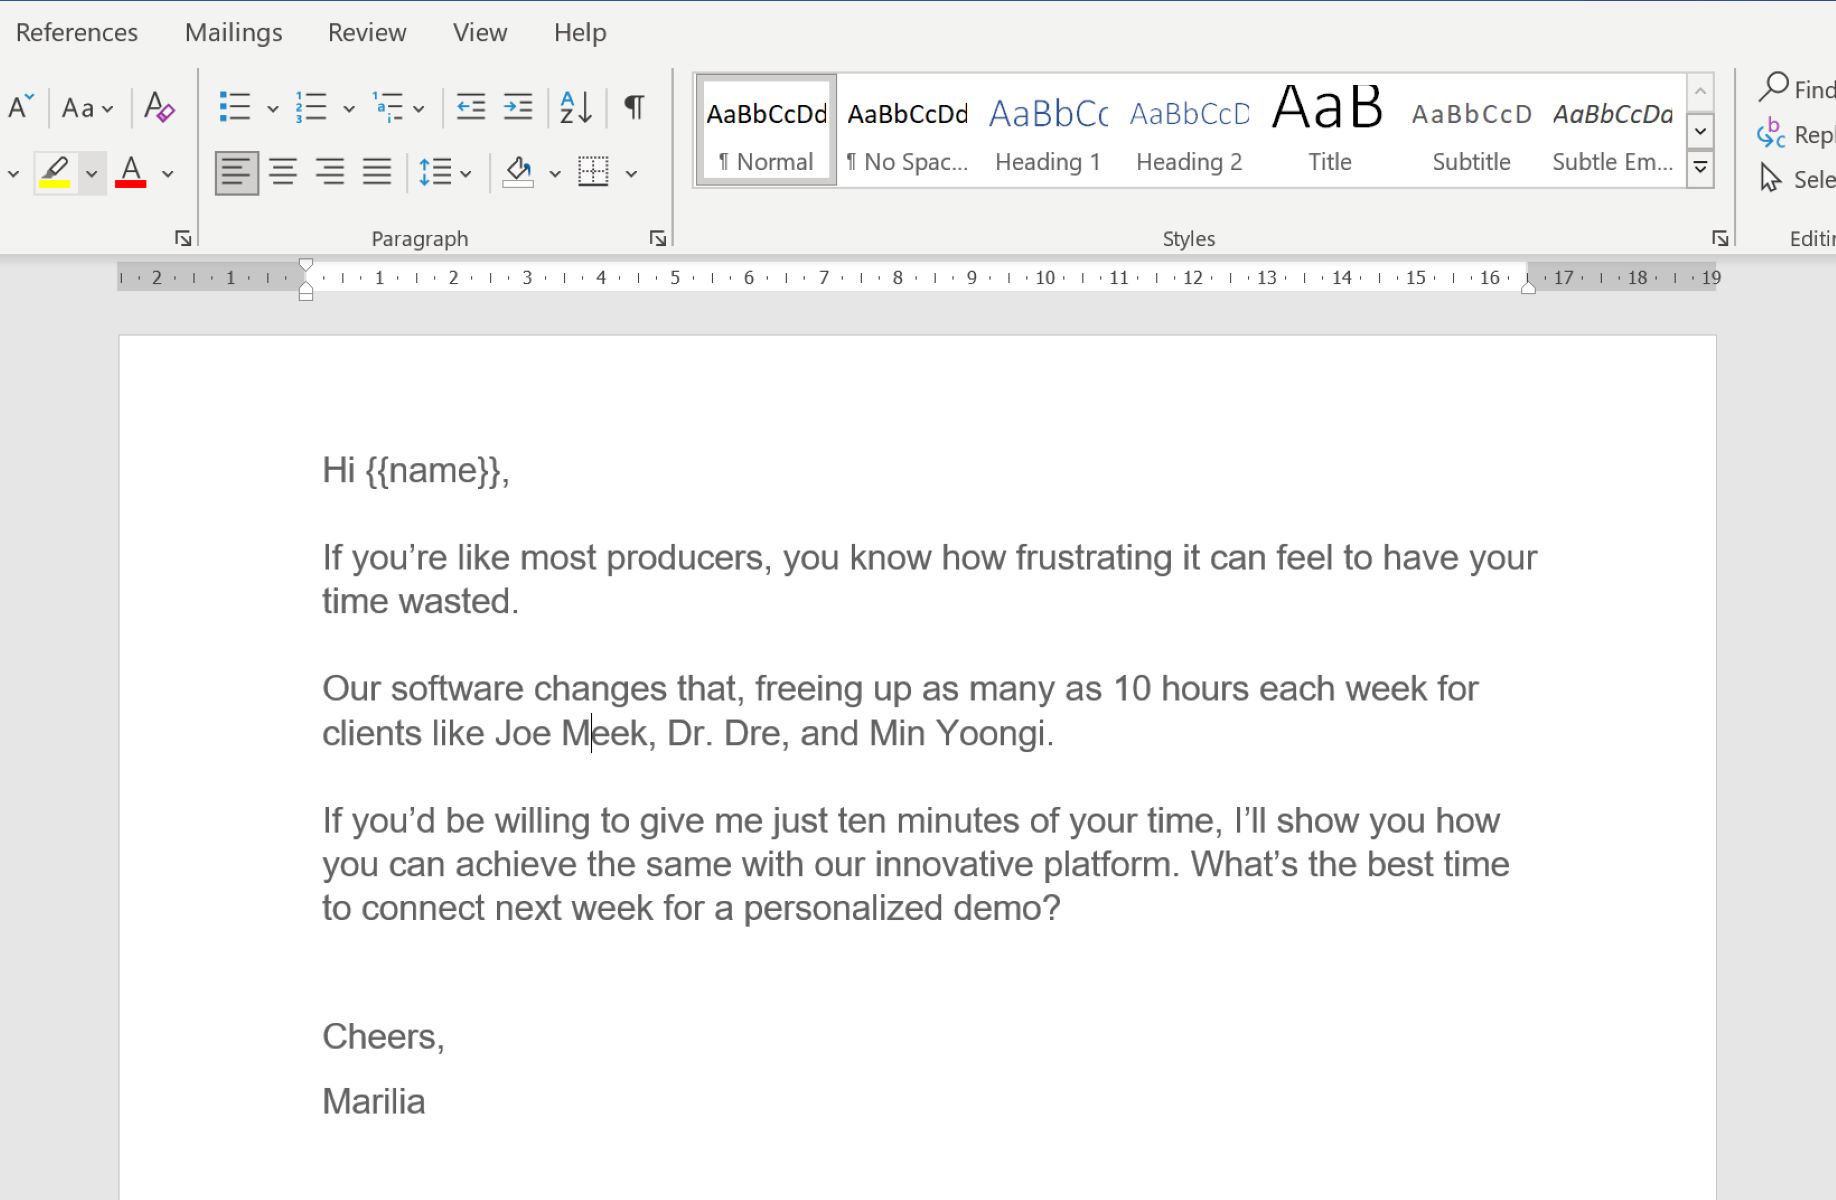
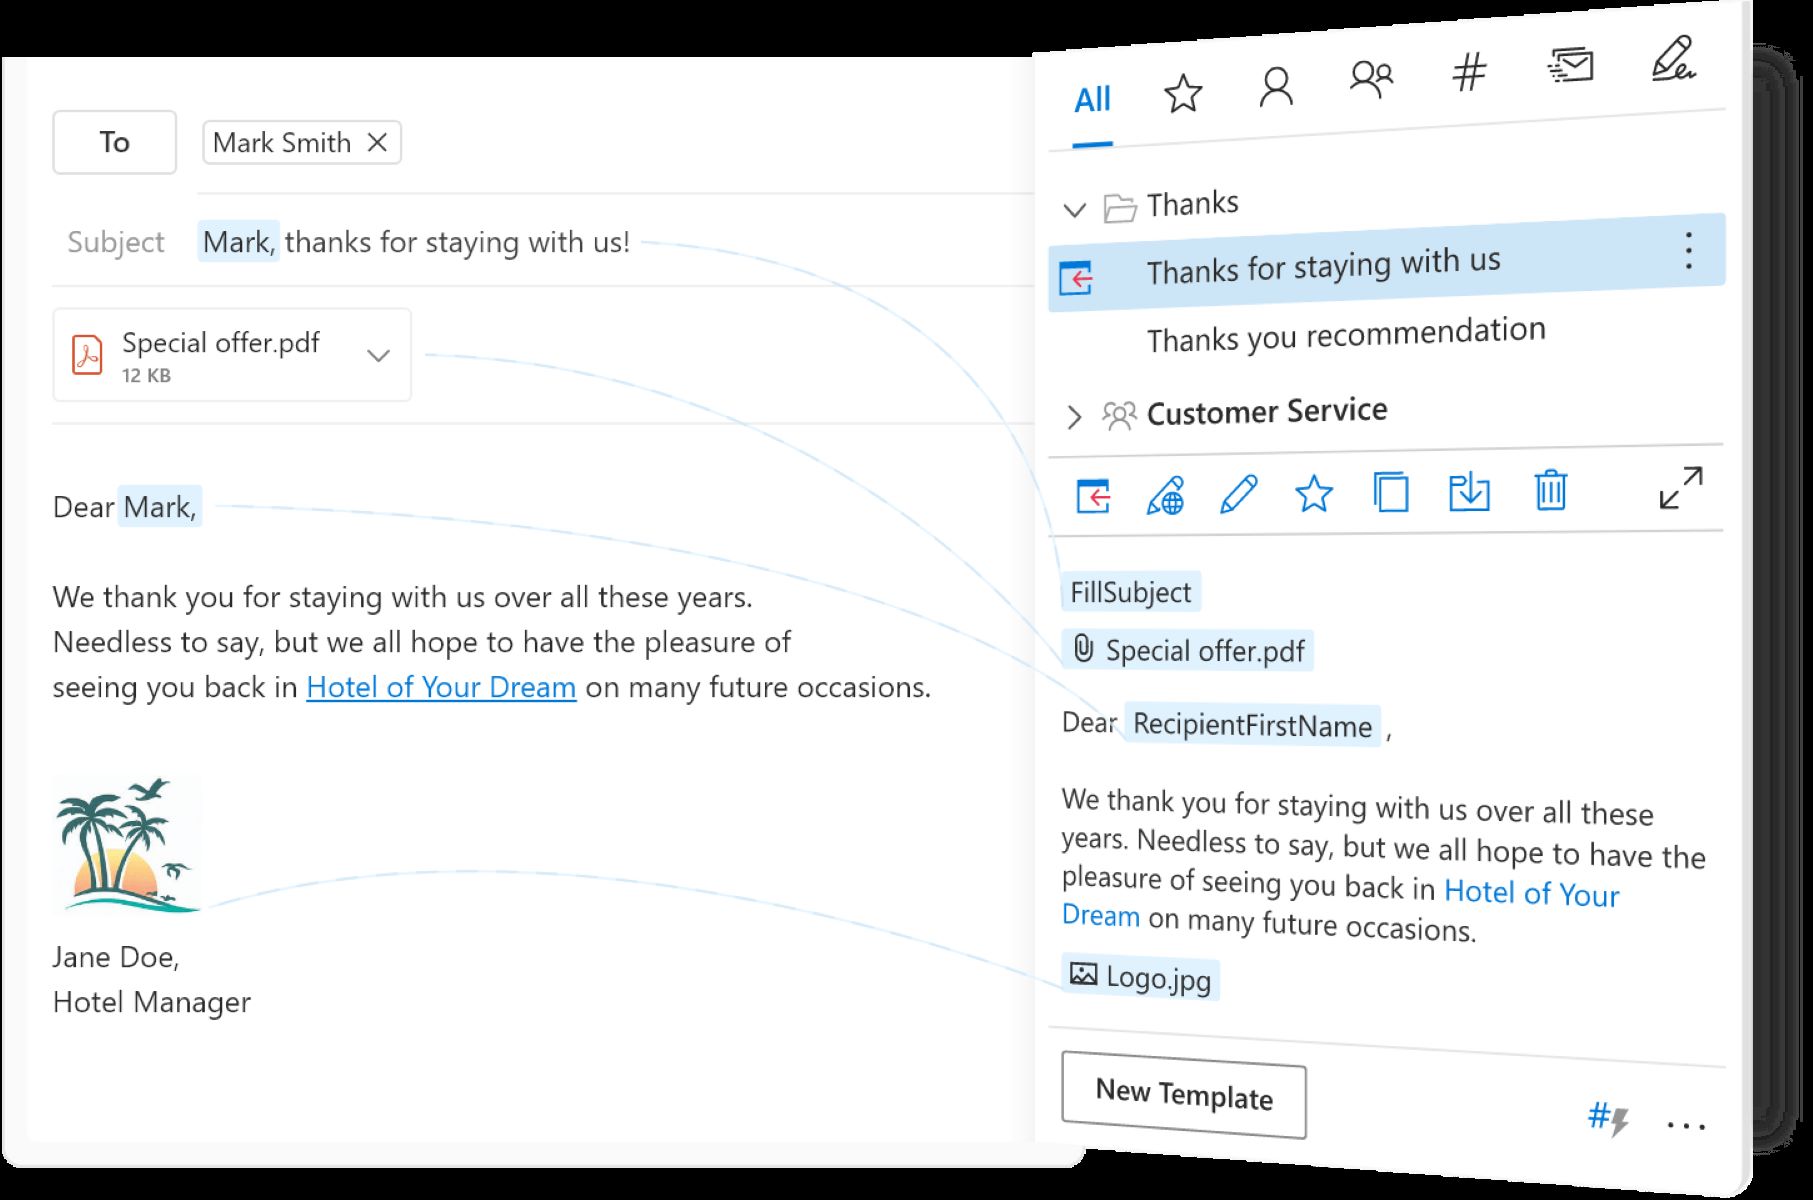
5. Personalization: Consider personalizing your email template by including dynamic content such as merge fields or placeholders. These allow you to automatically insert recipient-specific information, such as the recipient’s name or personalized greetings.
Take your time to design and refine your email template until you are satisfied with its appearance. Experiment with different elements and make use of Outlook’s editing features to create a template that aligns with your goals and branding.
Once you have designed your email template, it’s time to save it for future use. Let’s move on to the next step: saving the email as a template in Outlook.
Step 4: Save the email as a template
After designing your email template in Microsoft Outlook, it’s important to save it so that you can easily reuse it for future emails. Outlook allows you to save your customized email as a template, which can save you time and effort when composing similar emails in the future.
To save your email as a template, follow these steps:
1. Review and finalize your email: Before saving it as a template, make sure to proofread your email and check for any errors or inconsistencies in the content, formatting, or design. It’s essential to ensure that your template is professional and error-free.
2. Click on the “File” tab: In the toolbar or ribbon at the top of the Outlook window, click on the “File” tab. This will open the File menu, which contains various options for managing your email and Outlook settings.
3. Select “Save As” from the menu: In the File menu, select the “Save As” option. A dialog box will appear, allowing you to specify the location where you want to save the email template.
4. Choose the template file format: In the Save As dialog box, select the file format for your email template. Outlook offers different options, such as “Outlook Template” or “HTML” format. Choose the format that best suits your needs.
5. Provide a name for your template: In the dialog box, enter a name for your email template. Choose a descriptive name that will help you easily identify and locate the template in the future.
6. Save the template: Once you have specified the file format and provided a name for your template, click on the “Save” button to save the email as a template. The template file will be saved to the specified location on your computer.
Congratulations! You have successfully saved your email as a template in Outlook. Now, whenever you need to use this template for a new email, simply open the template file and customize the content as needed, saving you time and effort.
Now that you have created and saved your email template, let’s move on to the final step: using the template in Outlook to compose emails more efficiently.
Step 5: Use the email template in Outlook
Now that you have successfully created and saved your email template in Microsoft Outlook, it’s time to put it to use. Using the template in Outlook can save you time and effort when composing similar emails, as you can easily customize the template for each recipient without starting from scratch.
Here’s how you can use the email template in Outlook:
1. Open Microsoft Outlook: Launch Outlook on your computer and log in to your email account if you haven’t already done so. Make sure you are in the main Outlook interface where you can view your mailbox and folders.
2. Click on the “New Email” button: Look for the “New Email” button in the toolbar or ribbon at the top of the Outlook window. Click on this button to open a new email composition window, just like you did when creating the template.
3. Access the email templates: In the new email composition window, you will notice a toolbar or ribbon with various options. Look for the “Template” or “Insert Template” option, which allows you to access your saved email templates.
4. Select your email template: Click on the “Template” or “Insert Template” option, and a dropdown menu or popup will appear showing your saved email templates. Choose the template you want to use for the current email.
5. Customize the email content: After selecting your email template, the content of the template will be inserted into the new email composition window. Customize the content, recipient’s email address, and any other details as needed for the current email.
6. Send or save the email: Once you have customized the email content, review it to ensure accuracy and completeness. You can then send the email to the recipient by clicking on the “Send” button. Alternatively, you can save it as a draft or schedule it for later sending.
Using the email template in Outlook allows you to streamline your email communication process by eliminating the need to recreate the same email content repeatedly. It ensures consistency and saves time, making your email communication more efficient and effective.
With these steps, you now know how to create, save, and use an email template in Microsoft Outlook. Take advantage of this feature to simplify your email composition process and enhance your productivity.
That concludes our guide on how to create an email template in Outlook. Start applying these steps today and experience the convenience and efficiency of using templates for your email communication.