Introduction
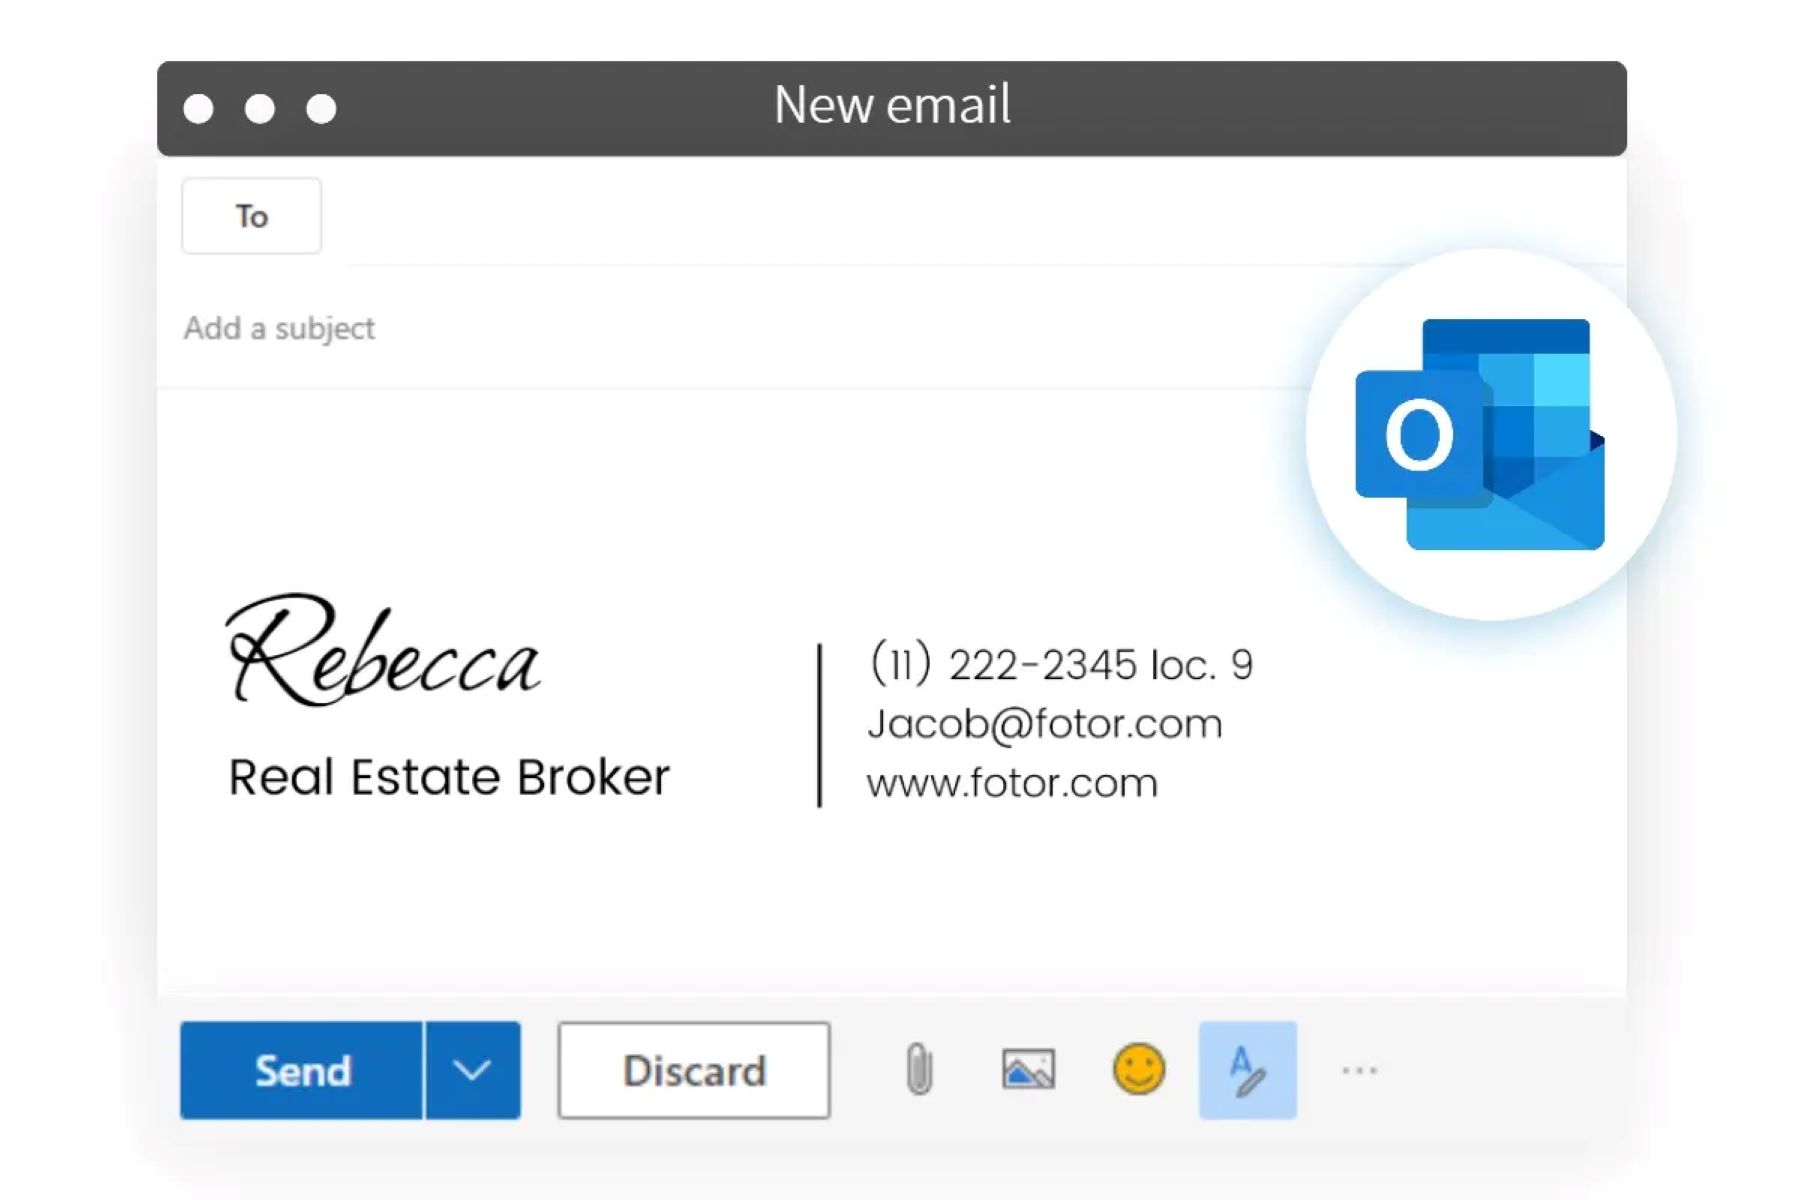
Welcome to our comprehensive guide on how to add an email signature in Microsoft Outlook. An email signature is a personal touch that adds professionalism and credibility to your emails. It includes essential contact information such as your name, job title, phone number, and email address, creating a lasting impression on recipients.
Having a well-designed and informative email signature not only serves as your virtual business card but also promotes brand consistency and helps in building your online presence. Outlook provides various options to customize your email signature, from the basic text signature to more advanced HTML signatures with images, social media icons, and legal disclaimers.
In this guide, we will explore the different methods of adding an email signature in Outlook. Whether you are a beginner or an experienced Outlook user, this step-by-step tutorial will help you create and implement an email signature that represents you or your business professionally.
Before we dive into the methods, it is important to note that the steps mentioned in this guide are specific to Microsoft Outlook for Windows (version 2019, 2016, or later) and may vary slightly in older versions or Outlook for Mac. With that said, let’s explore the different methods and discover the one that suits your needs!
Method 1: Adding a Basic Email Signature
If you prefer a simple and straightforward email signature, Outlook allows you to create a text-based signature without any extra formatting or images. Follow these steps to add a basic email signature:
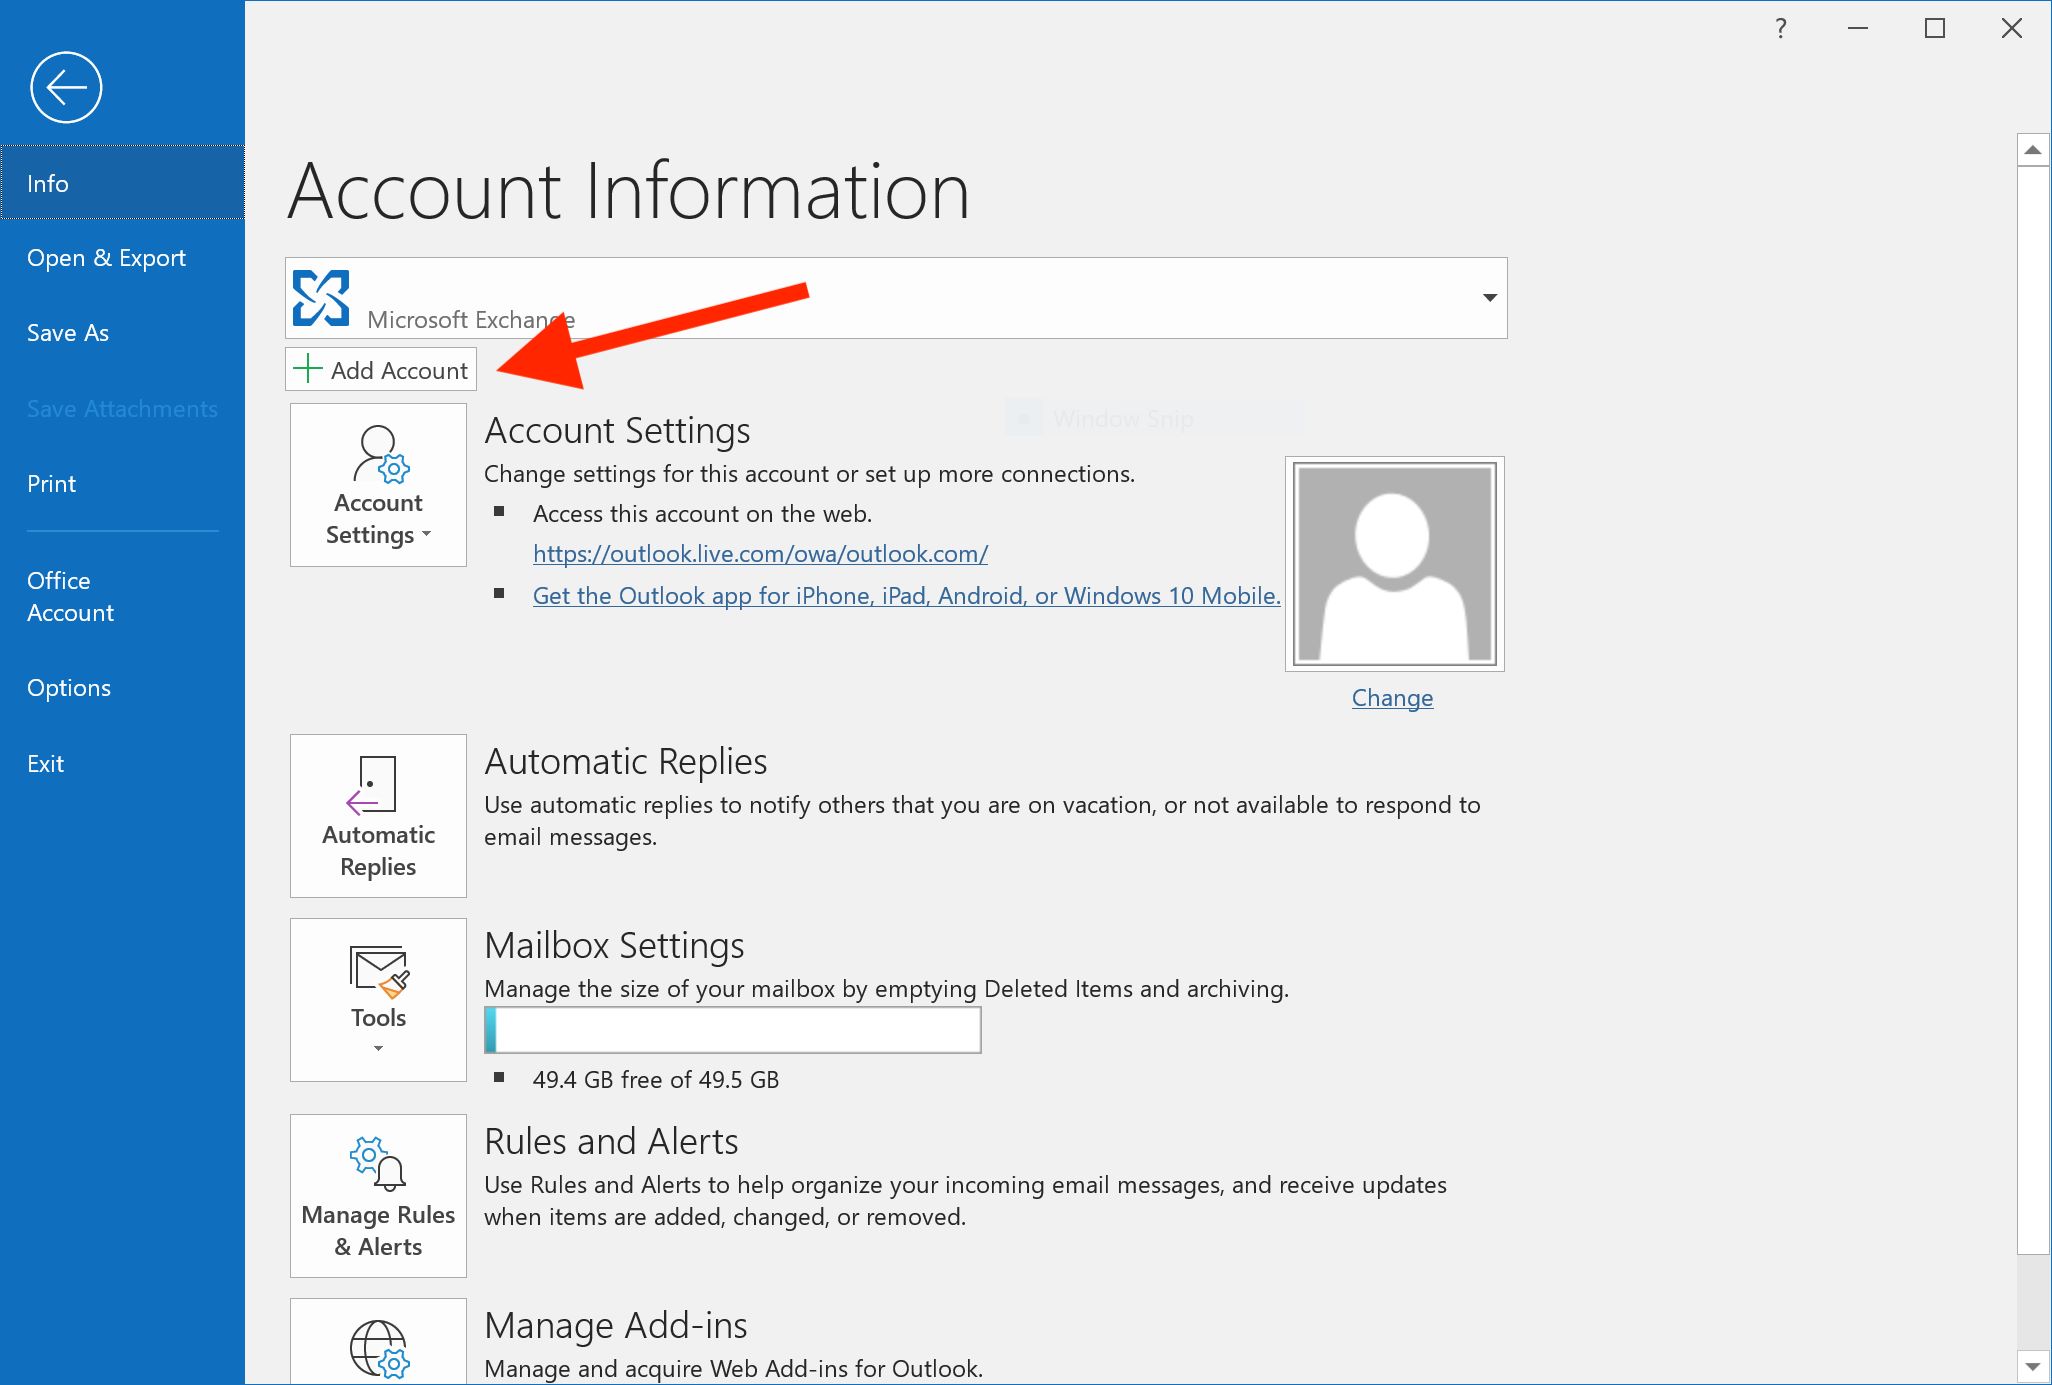
- Open Outlook and click on the “File” tab located in the top left corner of the screen.
- From the menu on the left, select “Options.”
- In the Outlook Options window, click on “Mail” in the left panel.
- Under the “Compose messages” section, click on the “Signatures…” button.
- In the Signatures and Stationery window, click on the “New” button to create a new signature.
- Enter a name for your signature and click “OK.”
- In the Edit signature box, type in your desired email signature. You can include your name, job title, company, contact information, and any other details you want to include.
- Customize the font, color, and size of the text using the formatting options available.
- If you want your signature to appear at the bottom of all new messages, select the signature from the drop-down menu next to the “New messages” option.
- Similarly, if you want your signature to be added to all replies/forwards, select it from the drop-down menu next to the “Replies/forwards” option.
- Click “OK” to save your signature and exit the window.
Congratulations! You have successfully added a basic email signature to your Outlook. Try composing a new email to see your signature automatically included at the bottom of the message.
It’s important to note that this method allows only plain text signatures, which means no logos, images, or formatting options. If you want to make your email signature more visually appealing or add extra elements, consider exploring the next methods in this guide.
Method 2: Adding an HTML Email Signature
If you’re looking to create a more visually appealing and customizable email signature, using HTML allows you to add images, formatting, and hyperlinks to your signature. Here’s how to add an HTML email signature in Outlook:
- Open a web browser and create your desired HTML signature. You can use an HTML editor or a pre-made HTML signature template available online. Make sure to include your name, job title, contact information, and any other details you want to include.
- Once you’ve created your HTML signature, open Outlook and click on the “File” tab in the top left corner.
- Select “Options” from the menu on the left.
- In the Outlook Options window, click on “Mail” in the left panel.
- Under the “Compose messages” section, click on the “Signatures…” button.
- In the Signatures and Stationery window, click on the “New” button to create a new signature.
- Enter a name for your signature and click “OK”.
- In the Edit signature box, switch to HTML mode by clicking on the “Use “HTML”” checkbox.
- Open your web browser and open the HTML signature you created in step 1.
- Select all the HTML code, right-click, and choose “Copy”.
- Switch back to the Edit signature box in Outlook and paste the copied HTML code into the box.
- Click “OK” to save your signature and exit the window.
That’s it! You have successfully added an HTML email signature to Outlook. Whenever you compose a new email, your HTML signature will be automatically included at the bottom of the message.
With an HTML email signature, you can customize the font, color, and layout, and even add images, logos, and hyperlinks. Take advantage of these customization options to create a unique and professional signature that represents your personal or business brand.
Now, let’s move on to the next method, where we’ll explore how to add an image to your email signature.
Method 3: Adding an Image to Your Email Signature
If you want to add a logo or a personal image to your email signature, Outlook allows you to easily insert an image and include it in your signature. Here’s how you can do it:
- Open Outlook and click on the “File” tab located in the top left corner.
- From the menu on the left, select “Options”.
- In the Outlook Options window, click on “Mail” in the left panel.
- Under the “Compose messages” section, click on the “Signatures…” button.
- In the Signatures and Stationery window, select the signature to which you want to add the image or click on the “New” button to create a new signature.
- In the Edit signature box, place the cursor at the position where you want to insert the image.
- Click on the “Insert Picture” icon located in the toolbar of the signature editor.
- Choose the source of the image you want to add. You can select a file from your computer or insert an image from the web by providing the image URL.
- Once you have selected the image, click “Insert” to add it to your signature.
- Resize the image if necessary by clicking and dragging its corners.
- Adjust the image alignment and add any additional text or formatting as desired.
- Click “OK” to save your signature and exit the window.
Voila! You have now successfully added an image to your email signature in Outlook. The image will appear in all new messages and can help enhance the visual appeal of your emails.
Remember to choose an image that is professional, relevant to your brand, and optimized for web viewing. Large images may slow down the loading time of your emails, so it’s recommended to resize and compress the image before adding it to your signature.
Now that you know how to add an image, let’s move on to the next method, where we’ll explore how to add social media icons to your email signature.
Method 4: Adding Social Media Icons to Your Email Signature
In today’s digital age, social media plays a crucial role in personal and professional branding. By adding social media icons to your email signature, you can make it easier for recipients to connect with you on various social platforms. Here’s how you can add social media icons to your email signature in Outlook:
- Open Outlook and click on the “File” tab located in the top left corner.
- From the menu on the left, select “Options”.
- In the Outlook Options window, click on “Mail” in the left panel.
- Under the “Compose messages” section, click on the “Signatures…” button.
- In the Signatures and Stationery window, select the signature to which you want to add the social media icons or click on the “New” button to create a new signature.
- In the Edit signature box, place the cursor at the position where you want to insert the social media icons.
- Open a web browser and search for social media icon packs or find individual social media icons that you want to include in your signature.
- Download the social media icons and save them to your computer.
- Switch back to the Edit signature box in Outlook.
- Click on the “Insert Picture” icon located in the toolbar of the signature editor.
- Choose the social media icon image you want to add from your saved files and click “Insert”.
- Repeat this step for each social media icon you want to include.
- Resize and align the social media icons as desired.
- Select each individual icon and insert a hyperlink to your corresponding social media profiles or pages.
- Style the icons and add any additional text or formatting if desired.
- Click “OK” to save your signature and exit the window.
Great job! You have successfully added social media icons to your email signature in Outlook. Now, recipients can easily navigate to your social media profiles, increasing your online visibility and encouraging further engagement.
Remember to choose relevant and recognizable social media icons that represent the platforms you are active on. Additionally, ensure that the hyperlinks are correct and lead directly to your profiles.
Now that you have social media icons incorporated into your signature, let’s move on to the next method, where we’ll explore how to add a legal disclaimer to your email signature.
Method 5: Adding a Legal Disclaimer to Your Email Signature
In certain industries or professions, it is necessary to include a legal disclaimer in your email signature. A legal disclaimer helps protect your organization from liability and ensures that recipients understand the legal implications of the information you provide. Here’s how you can add a legal disclaimer to your email signature in Outlook:
- Open Outlook and click on the “File” tab located in the top left corner.
- From the menu on the left, select “Options”.
- In the Outlook Options window, click on “Mail” in the left panel.
- Under the “Compose messages” section, click on the “Signatures…” button.
- In the Signatures and Stationery window, select the signature to which you want to add the legal disclaimer or click on the “New” button to create a new signature.
- In the Edit signature box, place the cursor at the position where you want to insert the legal disclaimer.
- Type or copy the legal disclaimer text into the Edit signature box.
- Customize the font, size, and formatting of the legal disclaimer text as necessary.
- Ensure that the legal disclaimer is concise, clear, and addresses any legal requirements specific to your industry or organization.
- Click “OK” to save your signature and exit the window.
Well done! You have successfully added a legal disclaimer to your email signature in Outlook. This helps ensure that your emails are in compliance with any legal obligations while protecting your organization’s interests.
Remember to consult with legal experts or your organization’s legal department to create an appropriate and compliant legal disclaimer. The disclaimer should address any specific legal considerations or regulations regarding the information you provide in your emails.
With the legal disclaimer now integrated into your email signature, you have achieved a comprehensive and professional representation of yourself or your organization. Congratulations!
Conclusion
Congratulations! You have reached the end of our comprehensive guide on how to add an email signature in Microsoft Outlook. Now you have the tools and knowledge to create a professional and visually appealing signature that leaves a lasting impression on your recipients.
We explored various methods, including adding a basic text signature, incorporating an HTML signature with customization options, including images in your signature, adding social media icons to encourage engagement, and including a legal disclaimer to protect your organization.
Remember, your email signature is an important element of your overall professional image. It provides essential contact information, helps reinforce your brand, and adds a personal touch to your communications.
When creating your email signature, keep in mind the following tips:
- Keep it concise and avoid excessive information that may overwhelm recipients.
- Maintain a professional and consistent appearance that aligns with your brand’s identity.
- Ensure that any images or icons are optimized for web viewing and do not slow down email loading times.
- Consider the legal implications of your email content and include a legal disclaimer if necessary.
By following these guidelines and using the methods outlined in this guide, you can create an impressive and effective email signature that enhances your professional communications.
Now it’s time to take what you have learned and apply it to your own Outlook account. Experiment with different designs, formats, and elements to create a signature that truly represents you or your organization.
Thank you for reading, and we hope this guide has been helpful in your journey to create an exceptional email signature in Microsoft Outlook.