Introduction
Welcome to this guide on how to create an email list in Outlook! Building an email list is a valuable asset for any individual or business. It allows you to effectively communicate and engage with a specific group of people, whether it’s for personal or professional purposes. With Outlook, one of the most popular email clients, you can easily create and manage your email lists, making it simpler to send messages to targeted audiences.
In this step-by-step guide, we will walk you through the process of creating an email list in Outlook, from configuring your settings to managing the contacts within the list. Whether you’re looking to send newsletters, updates, or promotional offers, this guide will equip you with the knowledge and skills needed to build and maintain an email list using Outlook.
Before we dive in, it’s important to note that Outlook offers different versions, such as Outlook for Windows, Outlook for Mac, and Outlook Online. The steps may vary slightly depending on the version you are using, but the fundamental process remains the same.
Now, without further ado, let’s get started on creating your email list in Outlook!
Step 1: Configuring Outlook Settings
Before you begin creating an email list in Outlook, it’s essential to configure a few settings to ensure a smooth email management experience. Follow these steps to set up your Outlook:
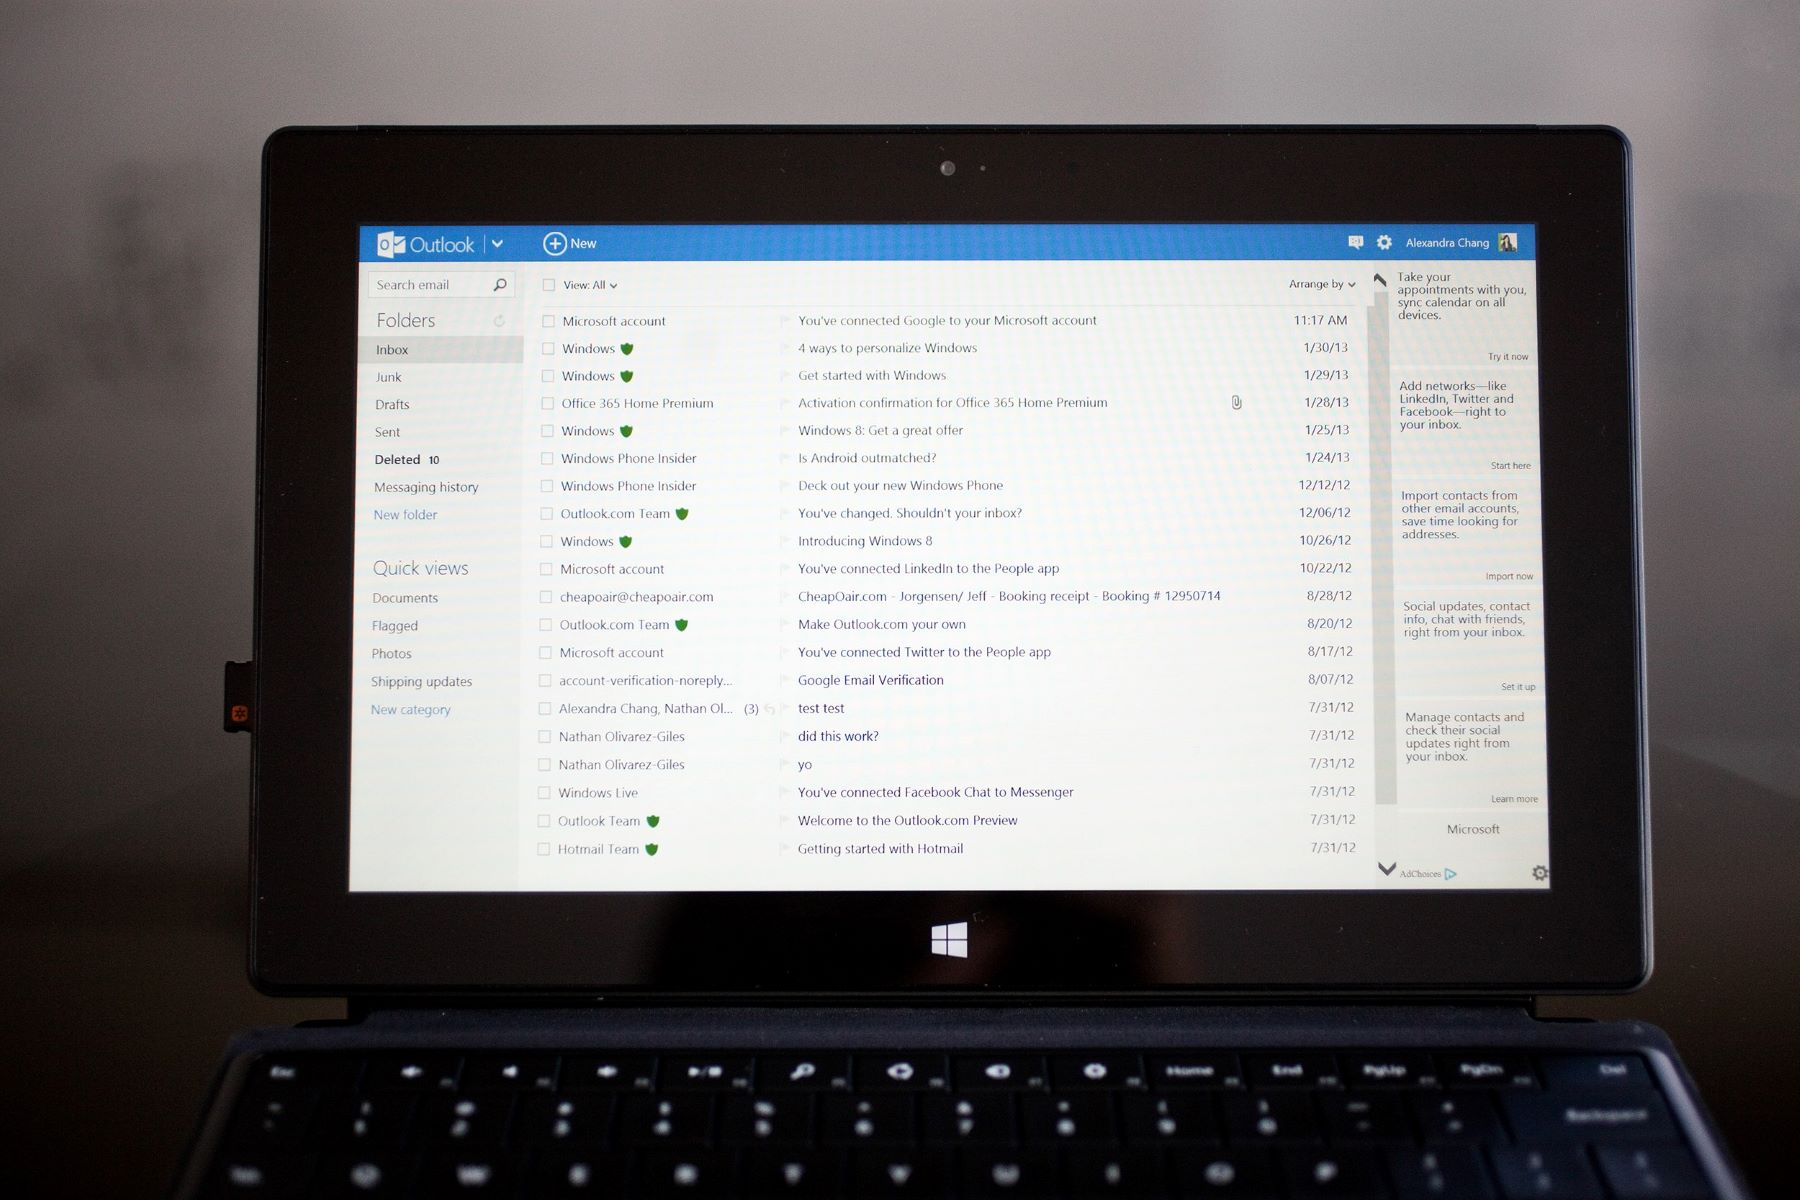
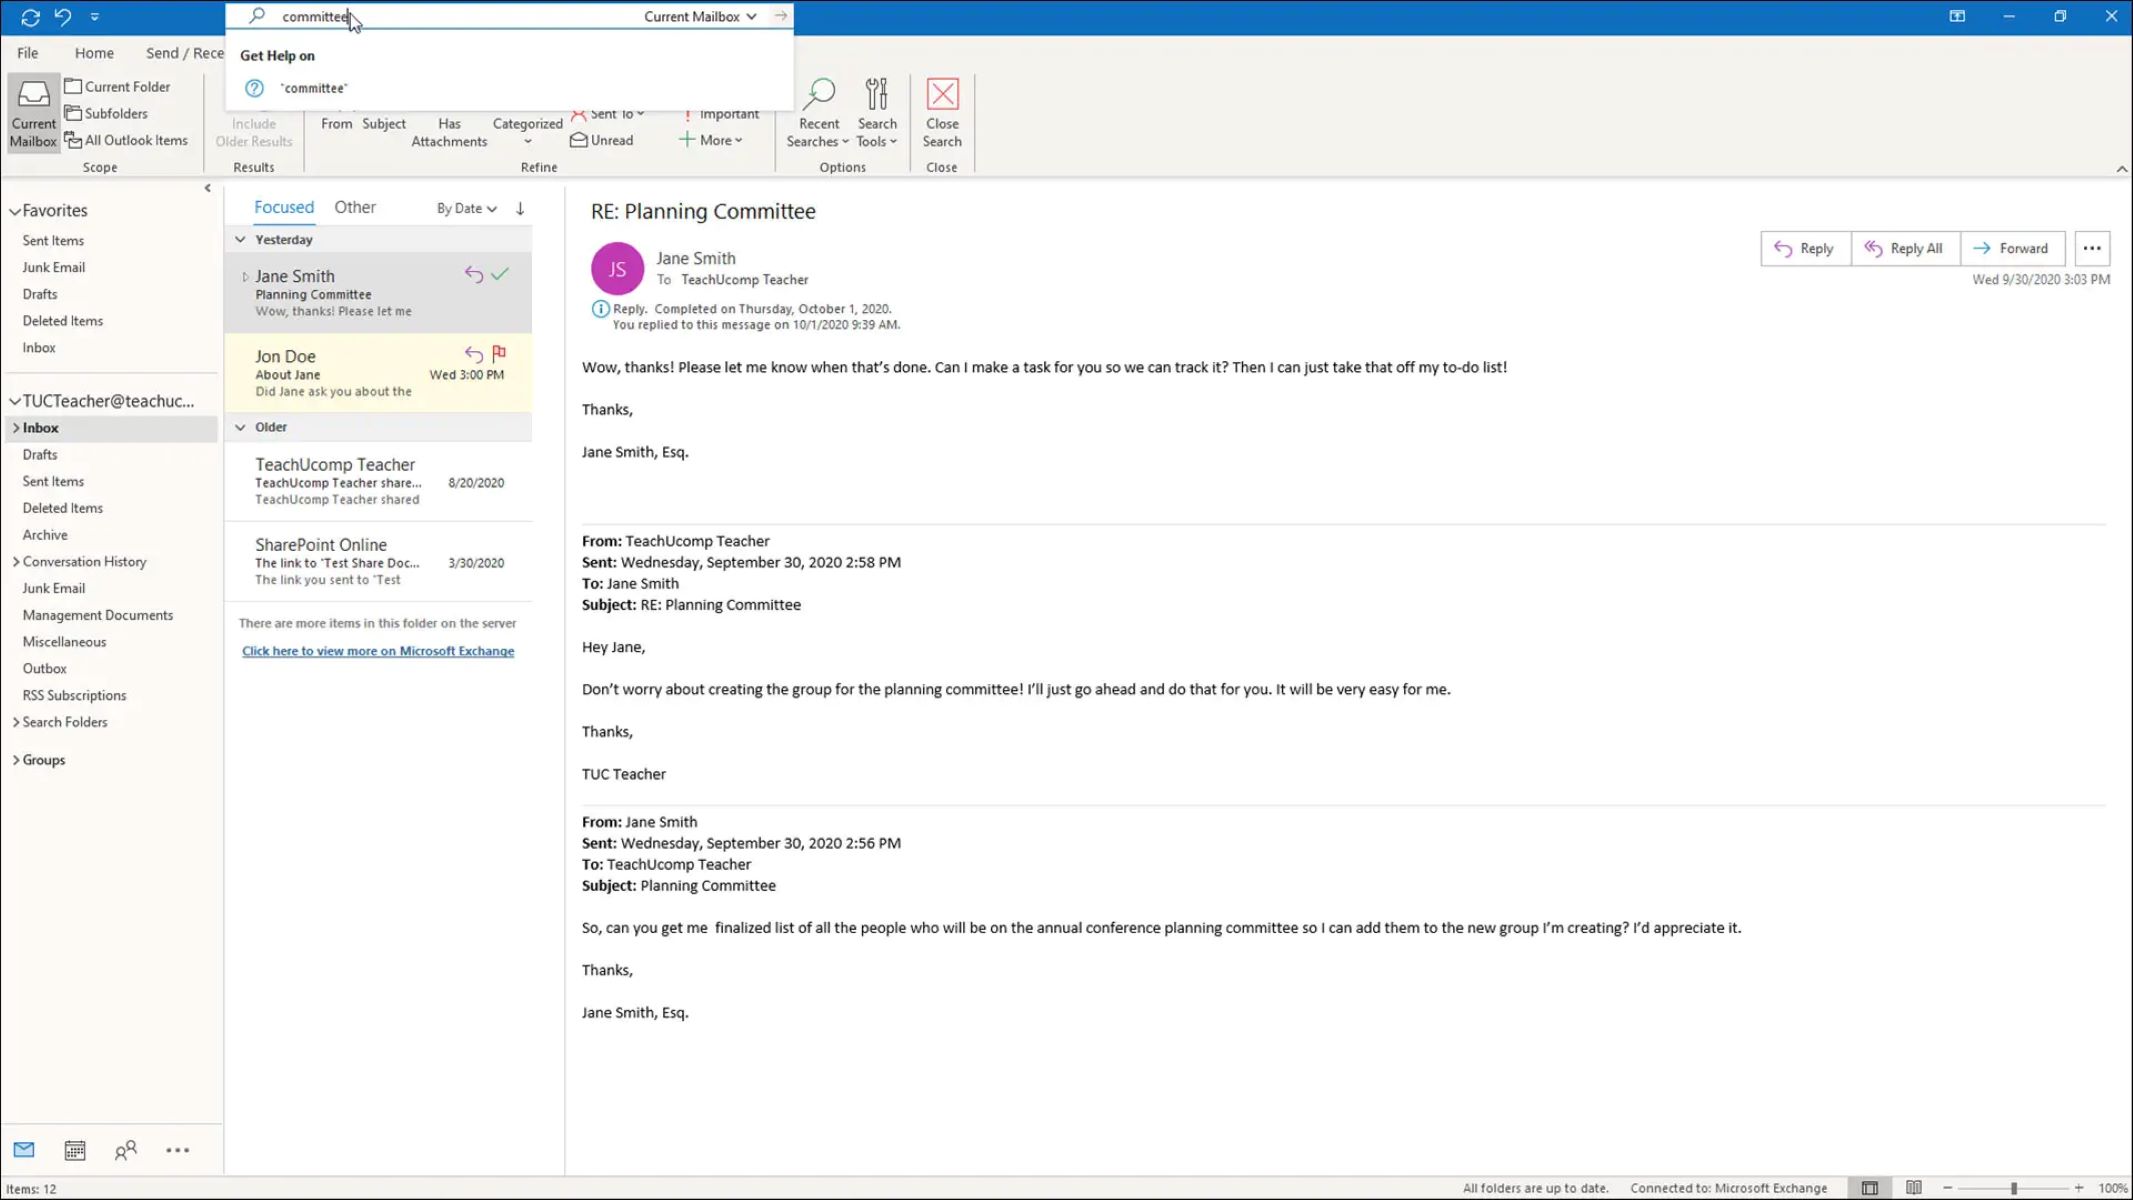
- Open Outlook: Launch the Outlook application or navigate to Outlook Online in your web browser.
- Go to Settings: Look for the settings icon, usually represented by a gear or cog symbol. Click on it to access the settings menu.
- Select Mail Settings: In the settings menu, locate and click on the “Mail” or “Mail Settings” option.
- Customize Options: Once you’re in the mail settings, you can customize various options to optimize your email management experience. These options may include selecting a default email signature, enabling read receipts, organizing folders, and setting up rules for incoming emails.
- Save Changes: After making any desired changes, be sure to save them before proceeding.
Configuring these settings will help you personalize your email experience and streamline your email list management. Now that you have set up your Outlook, you are ready to move on to the next step of adding contacts to your email list.
Step 2: Adding Contacts to Outlook
Once you have configured your Outlook settings, it’s time to start building your email list by adding contacts. Outlook provides several methods to add contacts, including manual entry, importing from a CSV file, or syncing with other platforms like Google Contacts. Follow these steps to add contacts to Outlook:
- Manual Entry: To manually add contacts, open the Contacts section in Outlook. Click on the “New Contact” or “New Contact Group” button and enter the contact details, such as name, email address, phone number, and any additional information you want to include. Click “Save” or “Save and Close” to add the contact to your list.
- Import from CSV: If you have a pre-existing contact list in a CSV file, you can import it to Outlook. In the Contacts section, go to the “File” or “Import/Export” menu and select “Import from File” or “Import from CSV.” Follow the prompts to locate and import the CSV file, and Outlook will automatically add the contacts to your list.
- Sync with Other Platforms: If you use other contact management platforms, such as Google Contacts or a CRM system, you can sync your contacts with Outlook. Look for the options to connect or sync accounts in the Contacts section of Outlook and follow the on-screen instructions to integrate your contacts.
By adding contacts to Outlook, you are gradually building your email list. You can continue to add new contacts as needed to expand your list and keep it up to date. With your contacts in place, let’s move on to the next step of creating a new email list in Outlook.
Step 3: Creating a New Email List
Now that you have your contacts added to Outlook, it’s time to create a new email list to group them together. This will allow you to easily send emails to specific groups of contacts without having to manually select each recipient. Follow these steps to create a new email list in Outlook:
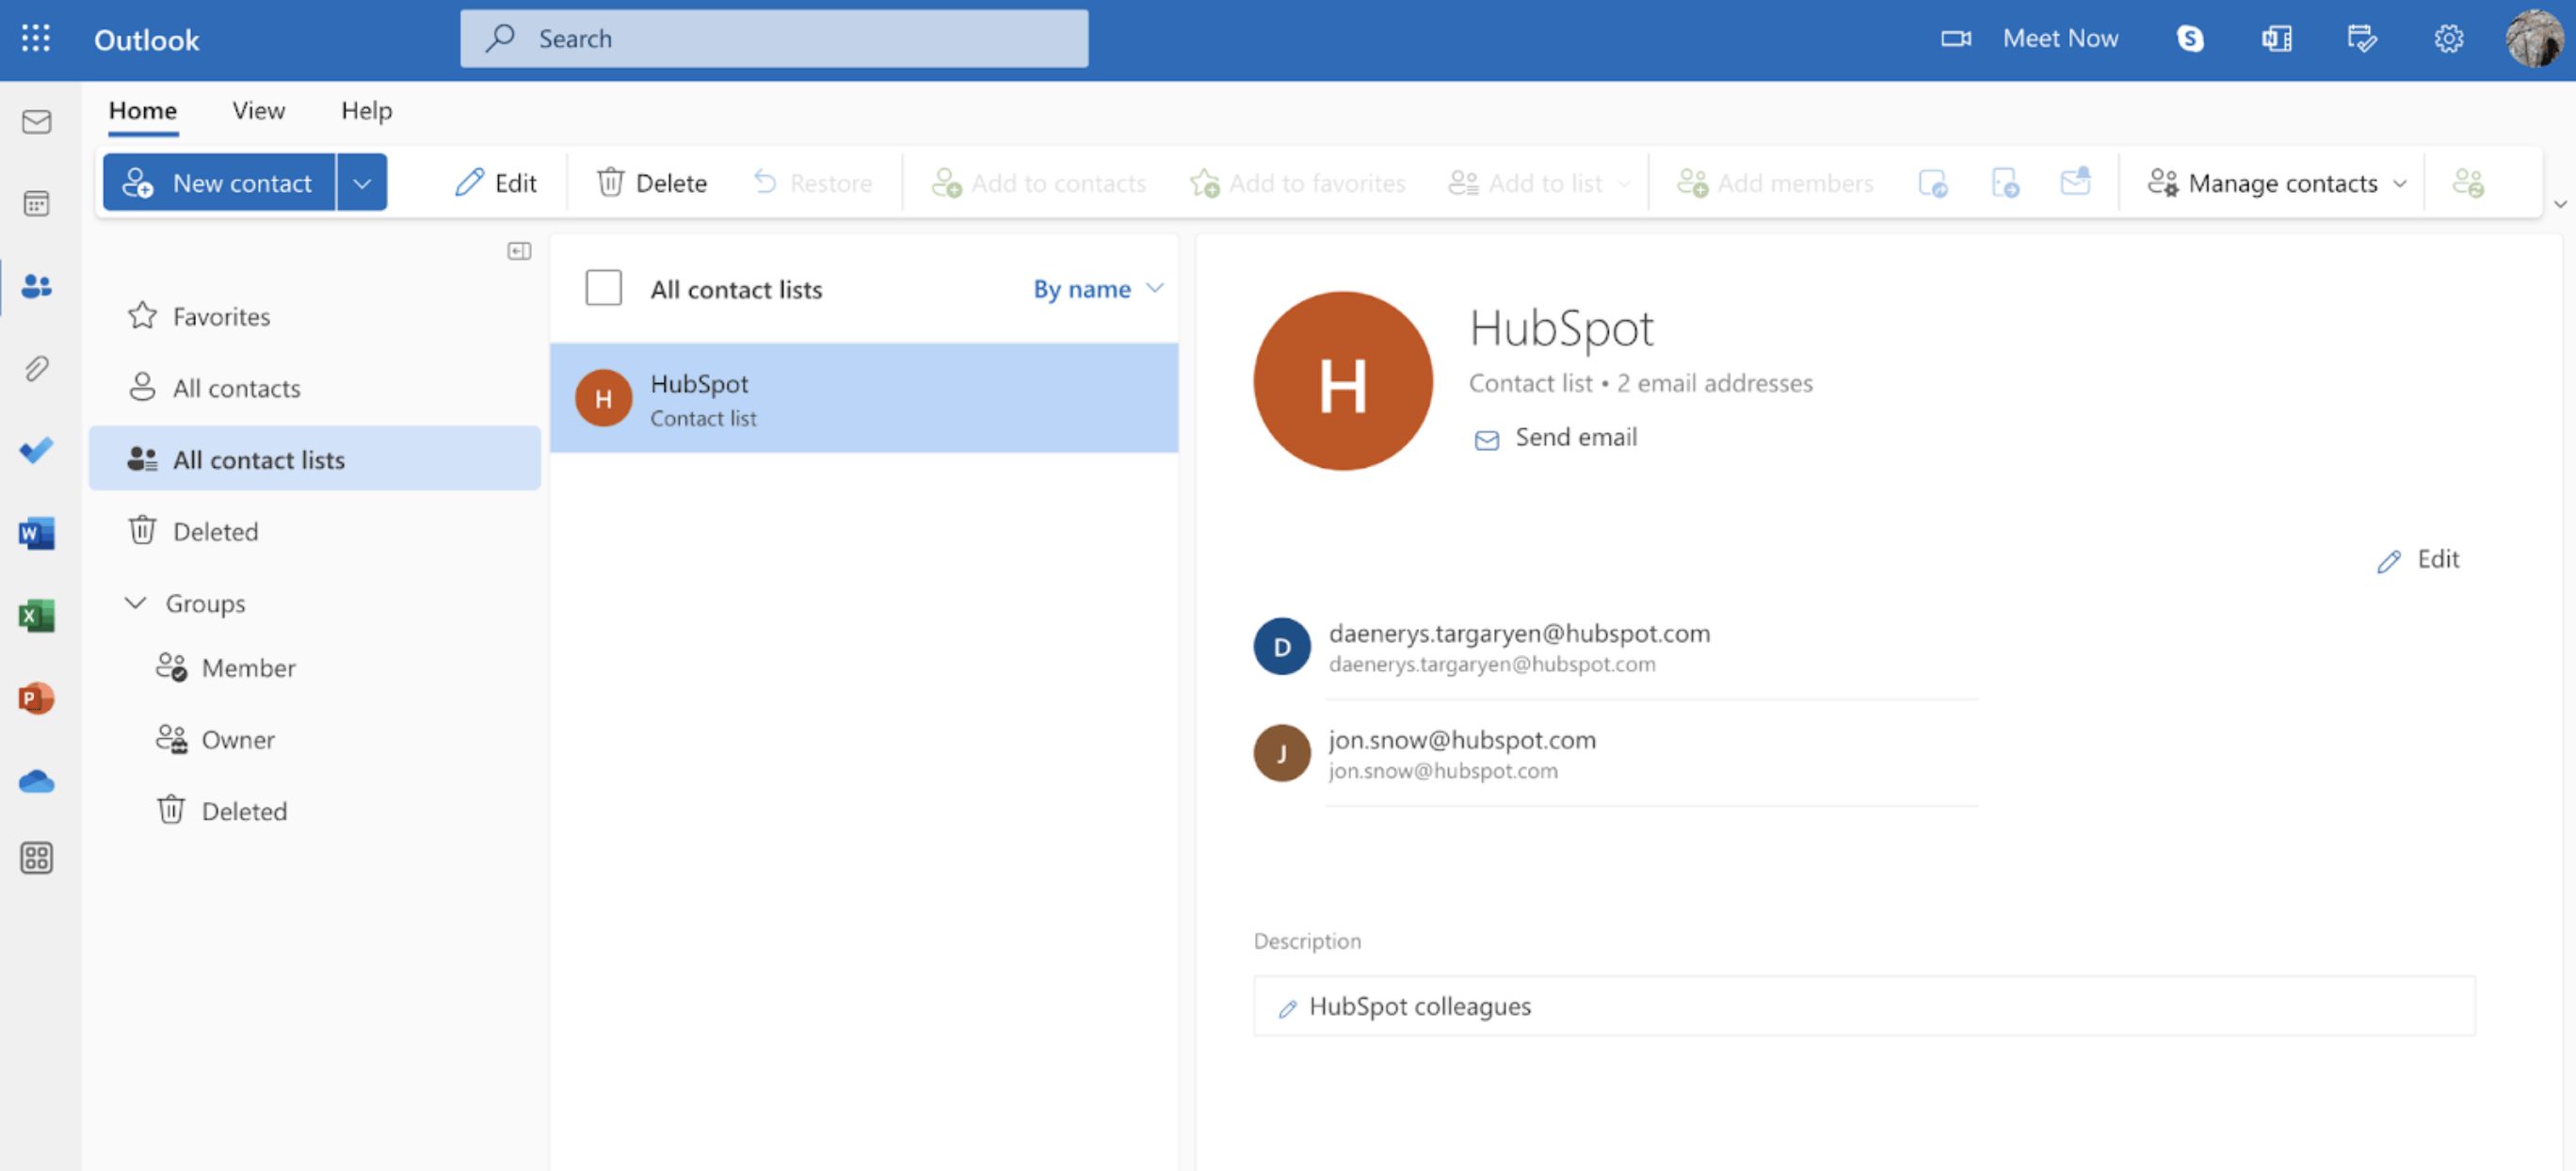
- Open Contacts: In Outlook, navigate to the Contacts section, usually located in the navigation pane on the left-hand side.
- Create a New Contact Group: Look for an option like “New Contact Group” or “New Distribution List.” Click on it to start creating your new email list.
- Name Your Email List: Provide a name for your email list that accurately represents the group of contacts it will include. This name will help you identify and select the right list when sending emails.
- Add Contacts: To add contacts to your newly created email list, click on the “Add Members” or “Select Contacts” button. Choose the contacts you want to include in the list by selecting their names from your contacts list or search for them using the search bar.
- Save Your Email List: Once you have added all the desired contacts, save your email list. Outlook will now remember this grouping and allow you to easily send emails to the entire list.
Creating a new email list in Outlook makes it convenient to organize your contacts and send targeted emails. With your email list ready, let’s move on to the next step of adding contacts to the list.
Step 4: Adding Contacts to the Email List
With your email list created, you can now start adding contacts to it in Outlook. Follow these steps to add contacts to your email list:
- Open the Email List: In Outlook, navigate to the Contacts or People section where you created your email list. Look for the name of your email list and click on it to open it.
- Add Contacts: To add new contacts to the email list, click on the “Add Members” or “Select Contacts” button. You can choose contacts by searching for them using the search bar, selecting them from the contacts list, or adding them from your address book.
- Save Changes: After selecting the desired contacts, save your changes. Outlook will now include these new contacts in your email list.
- Remove Contacts: If you need to remove contacts from the email list, select the contacts you want to remove and click on the “Remove” or “Delete” button. Confirm the action, and the selected contacts will be removed from your email list.
By adding and removing contacts from your email list as necessary, you can keep it up to date and ensure that you are sending emails to the correct recipients. Now that you know how to add contacts to your email list, let’s move on to the next step of managing the email list.
Step 5: Managing the Email List
To ensure the effectiveness and efficiency of your email list, it’s essential to actively manage and maintain it in Outlook. Managing your email list involves various tasks, including updating contacts, organizing groups, and removing inactive or unsubscribed recipients. Follow these steps to effectively manage your email list:
- Regularly Update Contacts: Keep your email list up to date by adding new contacts and removing outdated or incorrect information. This ensures that your emails reach the right recipients and reduces the chances of bounced or undelivered messages.
- Segment Your Email List: Consider segmenting your email list based on specific characteristics or preferences. This allows you to send targeted emails to different sub-groups within your list, increasing personalization and engagement.
- Monitor Engagement: Keep an eye on the engagement level of your email list recipients. Review metrics such as open rates, click-through rates, and conversions to gauge the effectiveness of your emails. This information can help you tailor your email content to better resonate with your audience.
- Handle Unsubscribes: Respect the preferences of your subscribers by promptly handling unsubscribe requests. Provide an easy and visible option for recipients to unsubscribe from your emails, and ensure their removal from your email list.
- Regularly Clean Your List: Periodically review and clean your email list to remove inactive or disengaged contacts. This helps maintain a healthy list and improves deliverability rates.
By actively managing your email list, you can optimize its performance and achieve better results with your email marketing efforts. Remember that a well-managed and engaged email list is a valuable asset for your outreach campaigns.
Conclusion
Congratulations! You have successfully learned how to create an email list in Outlook. By following the steps outlined in this guide, you are now equipped with the knowledge to configure your Outlook settings, add contacts, create email lists, and manage them efficiently.
An email list is a powerful tool for effective communication, whether you are sending newsletters, promotional offers, or updates to a targeted audience. Outlook provides a user-friendly interface and robust features to help you build and maintain your email lists with ease.
Remember to regularly update your contacts, segment your email lists, monitor engagement, and handle unsubscribes to ensure the effectiveness and deliverability of your emails. Maintain a clean and engaged email list, and you’ll be on your way to achieving better results with your email marketing efforts.
Now it’s time to start harnessing the power of your newly created email list in Outlook. Use it to stay connected, build relationships, and drive engagement with your audience. Happy emailing!